*This post may contain affiliate links to support the cost of this blog. At no cost to you, I may make a small commission if you purchase through these links. Read our Privacy Policy HERE


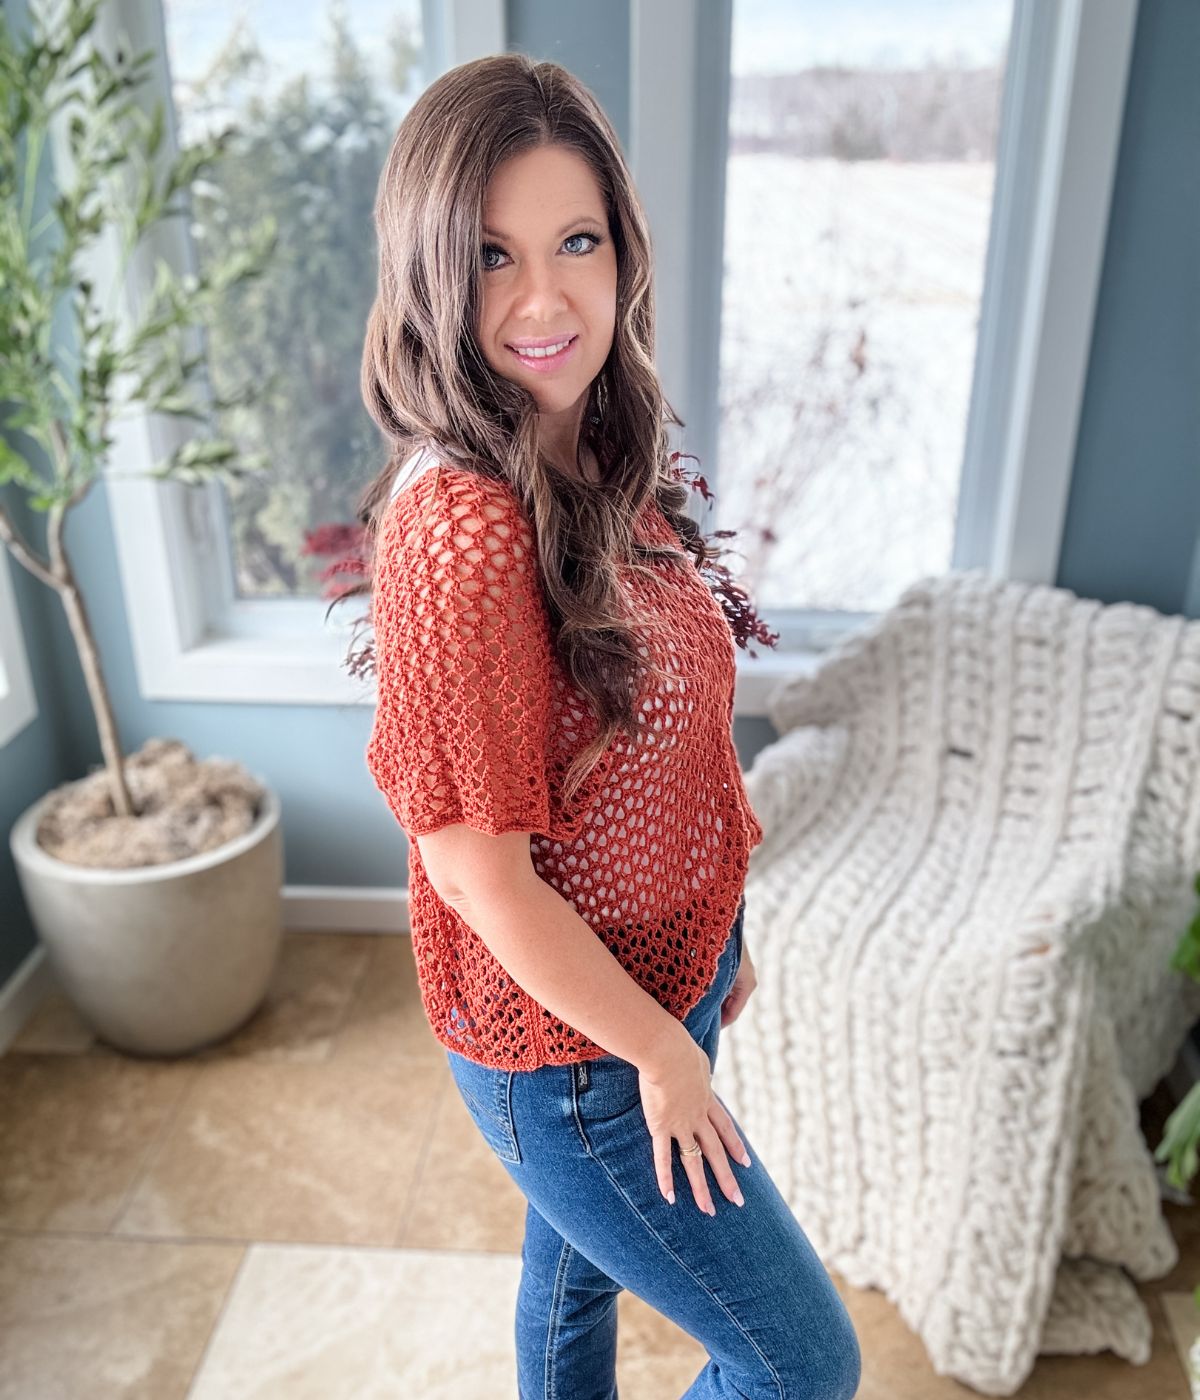
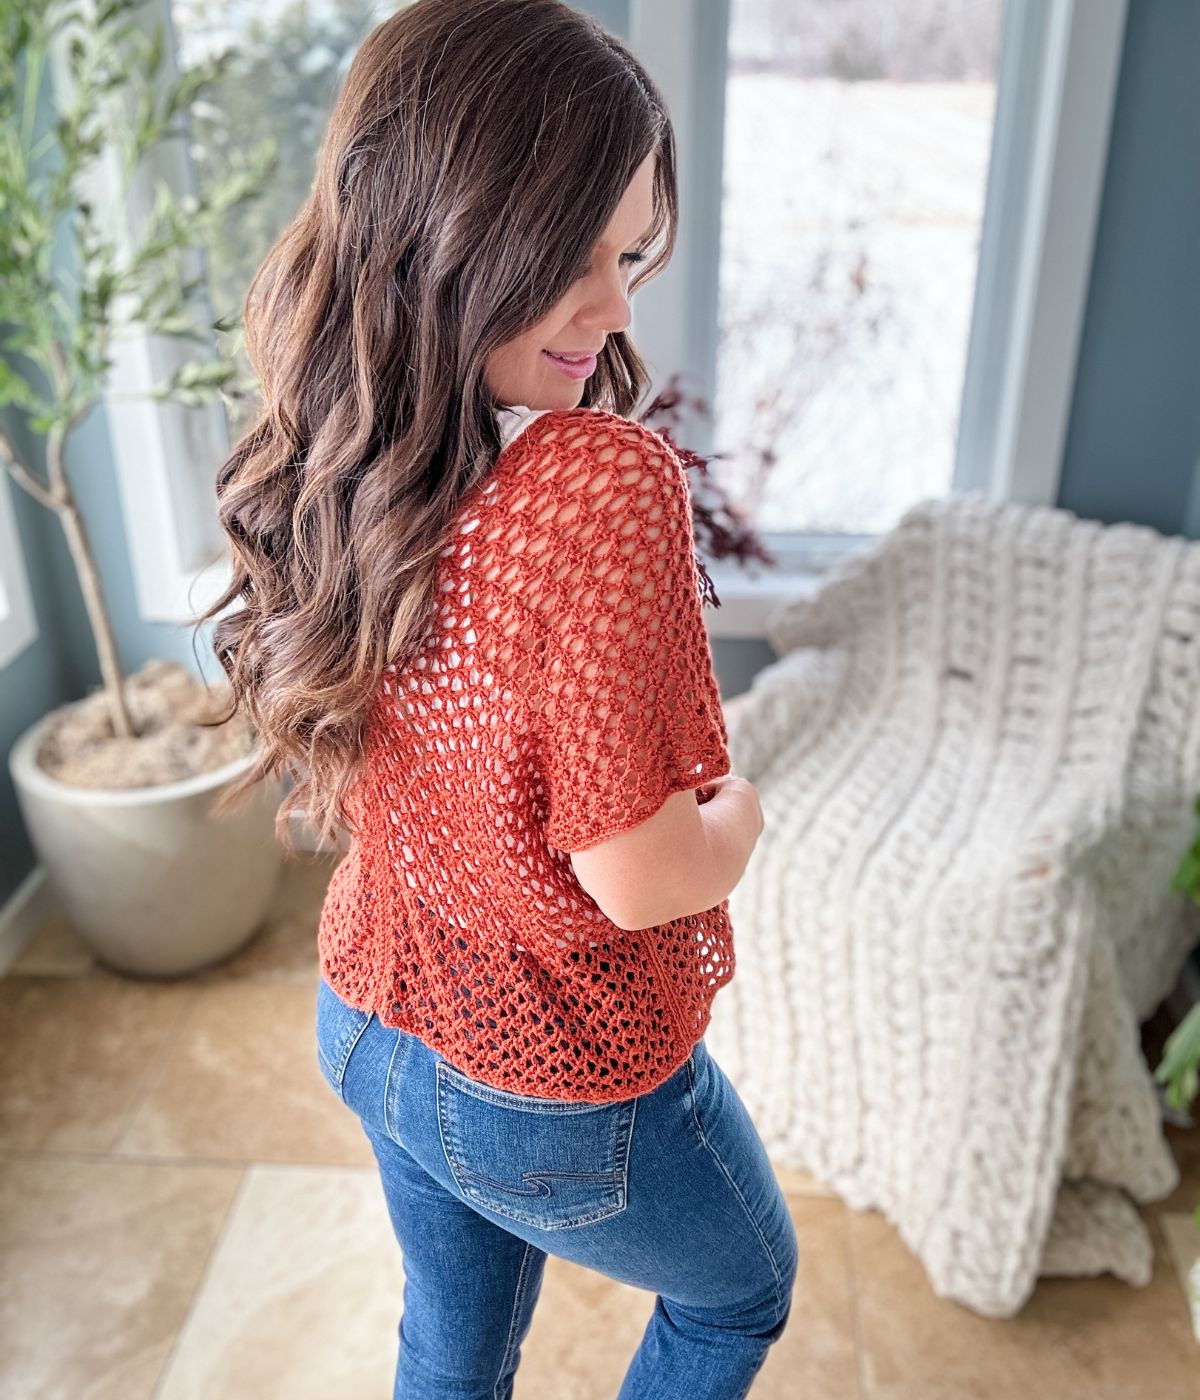
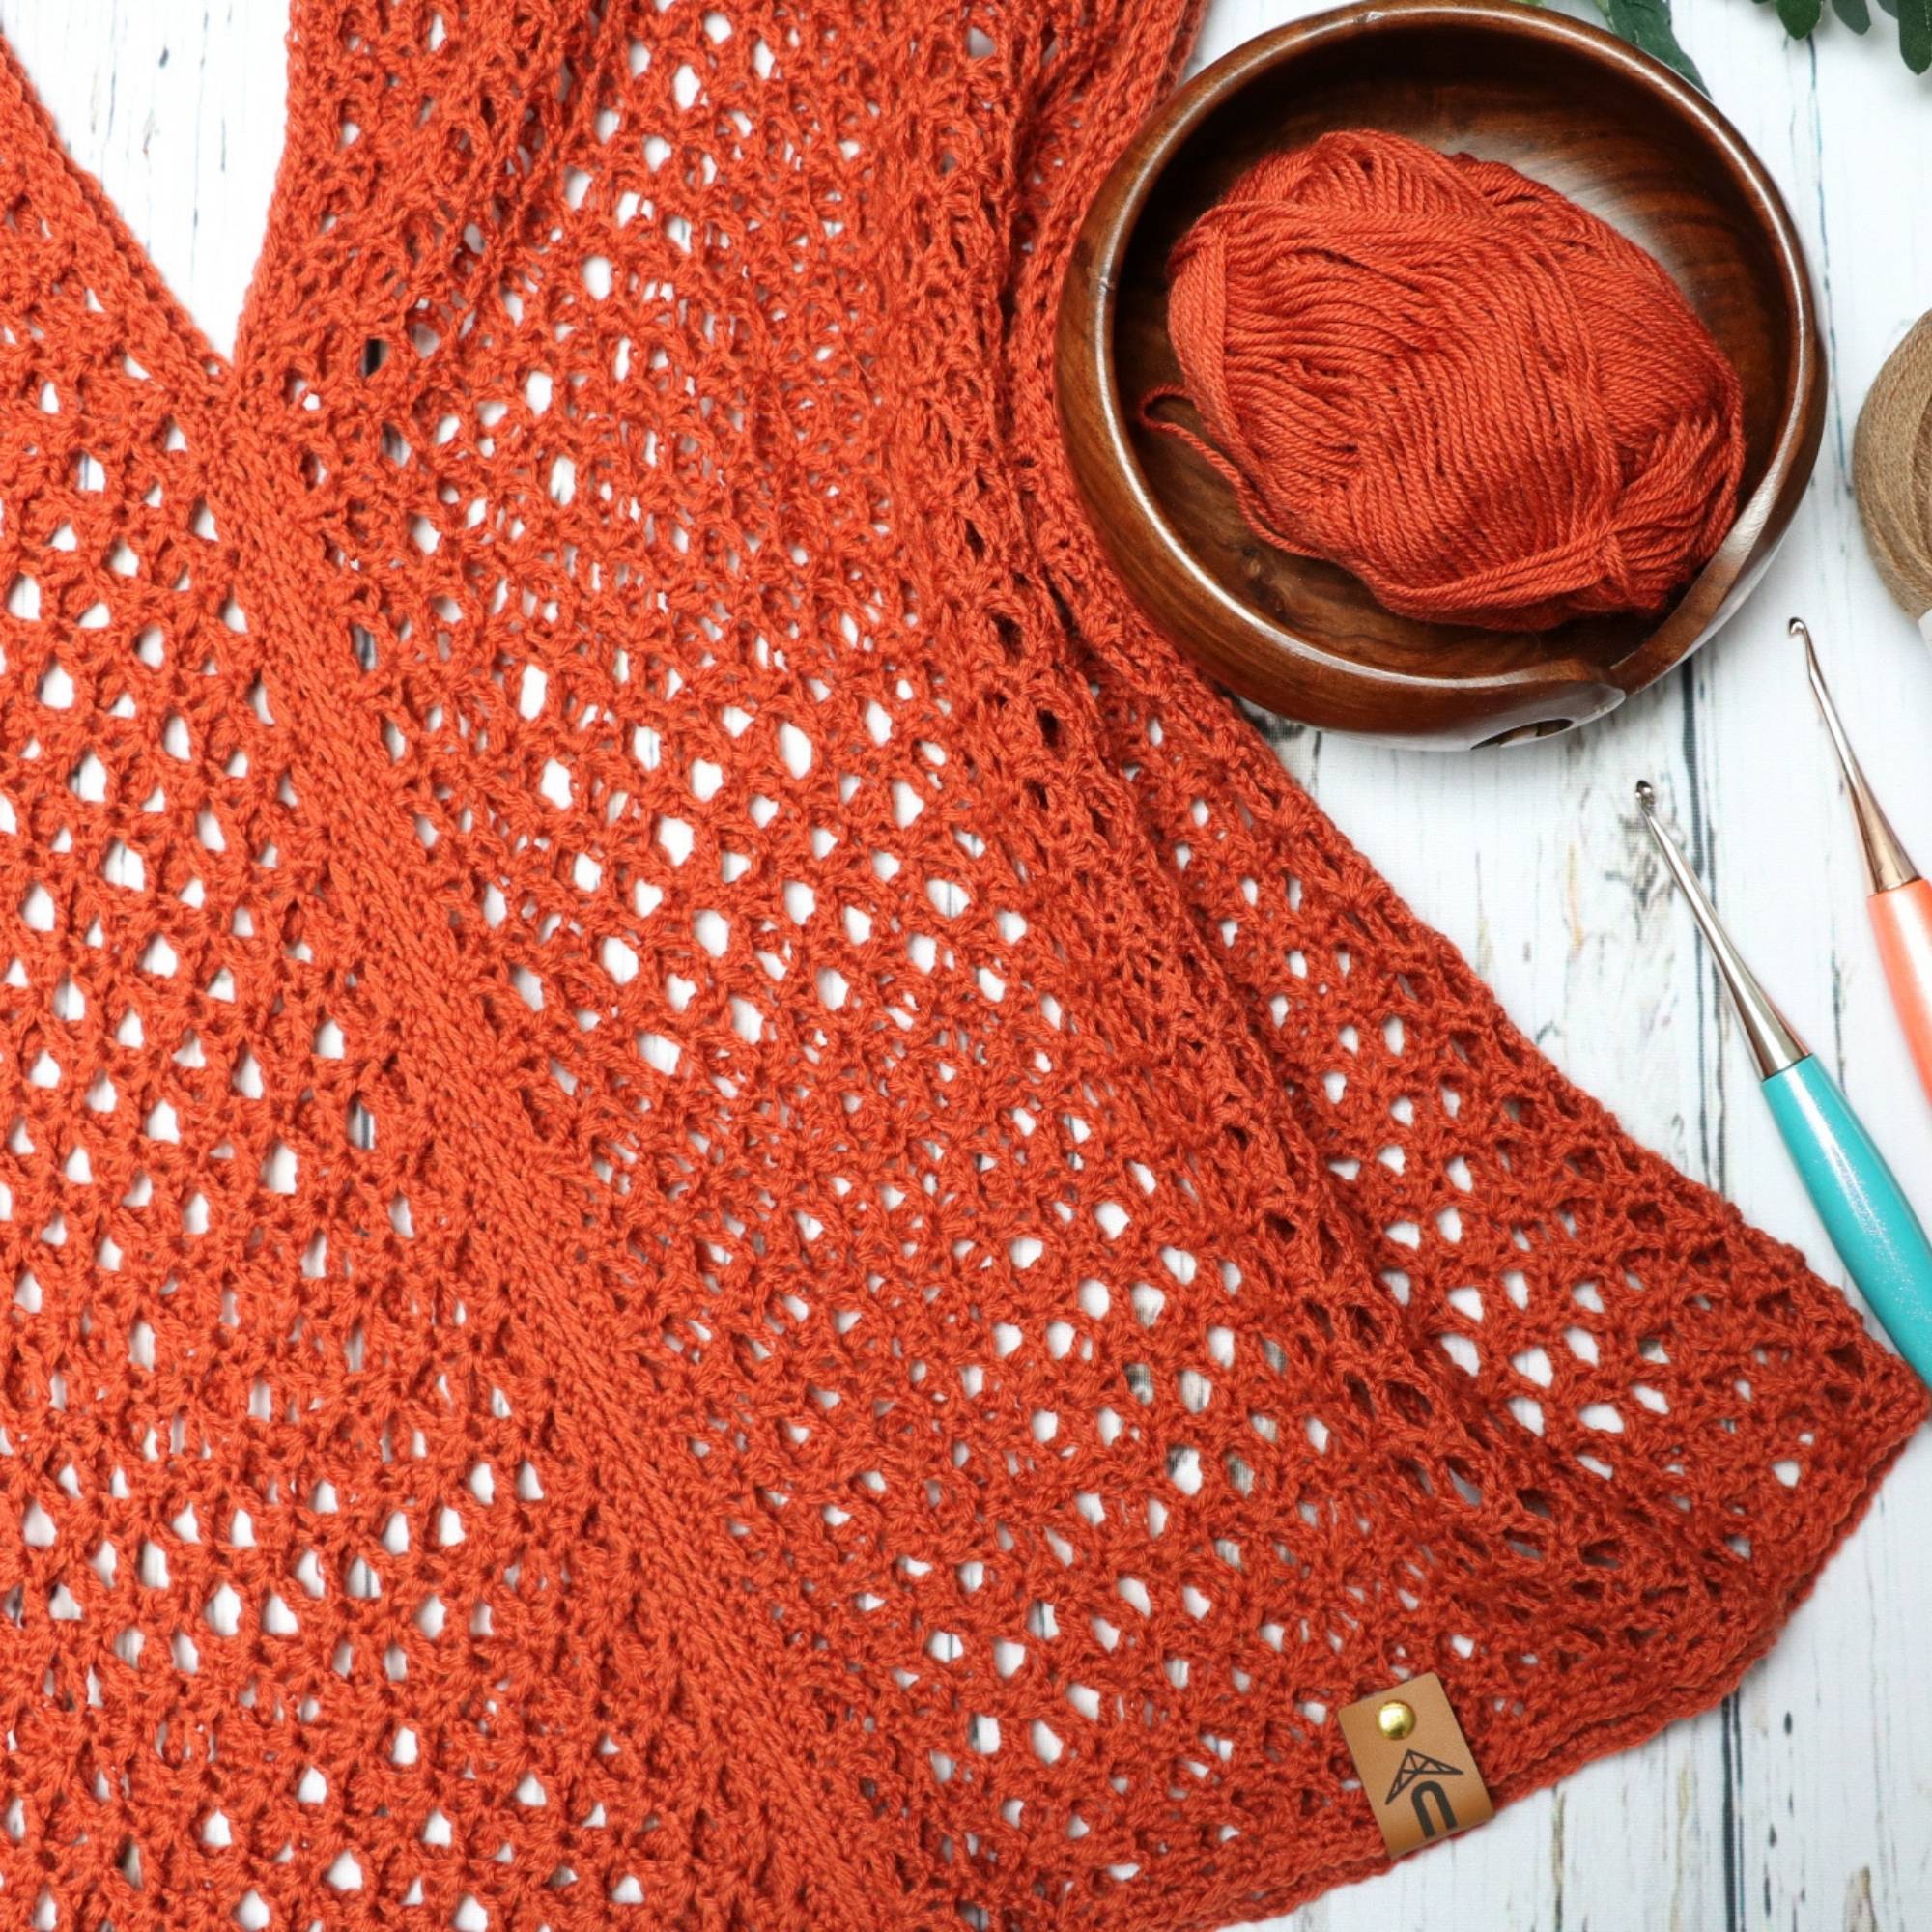
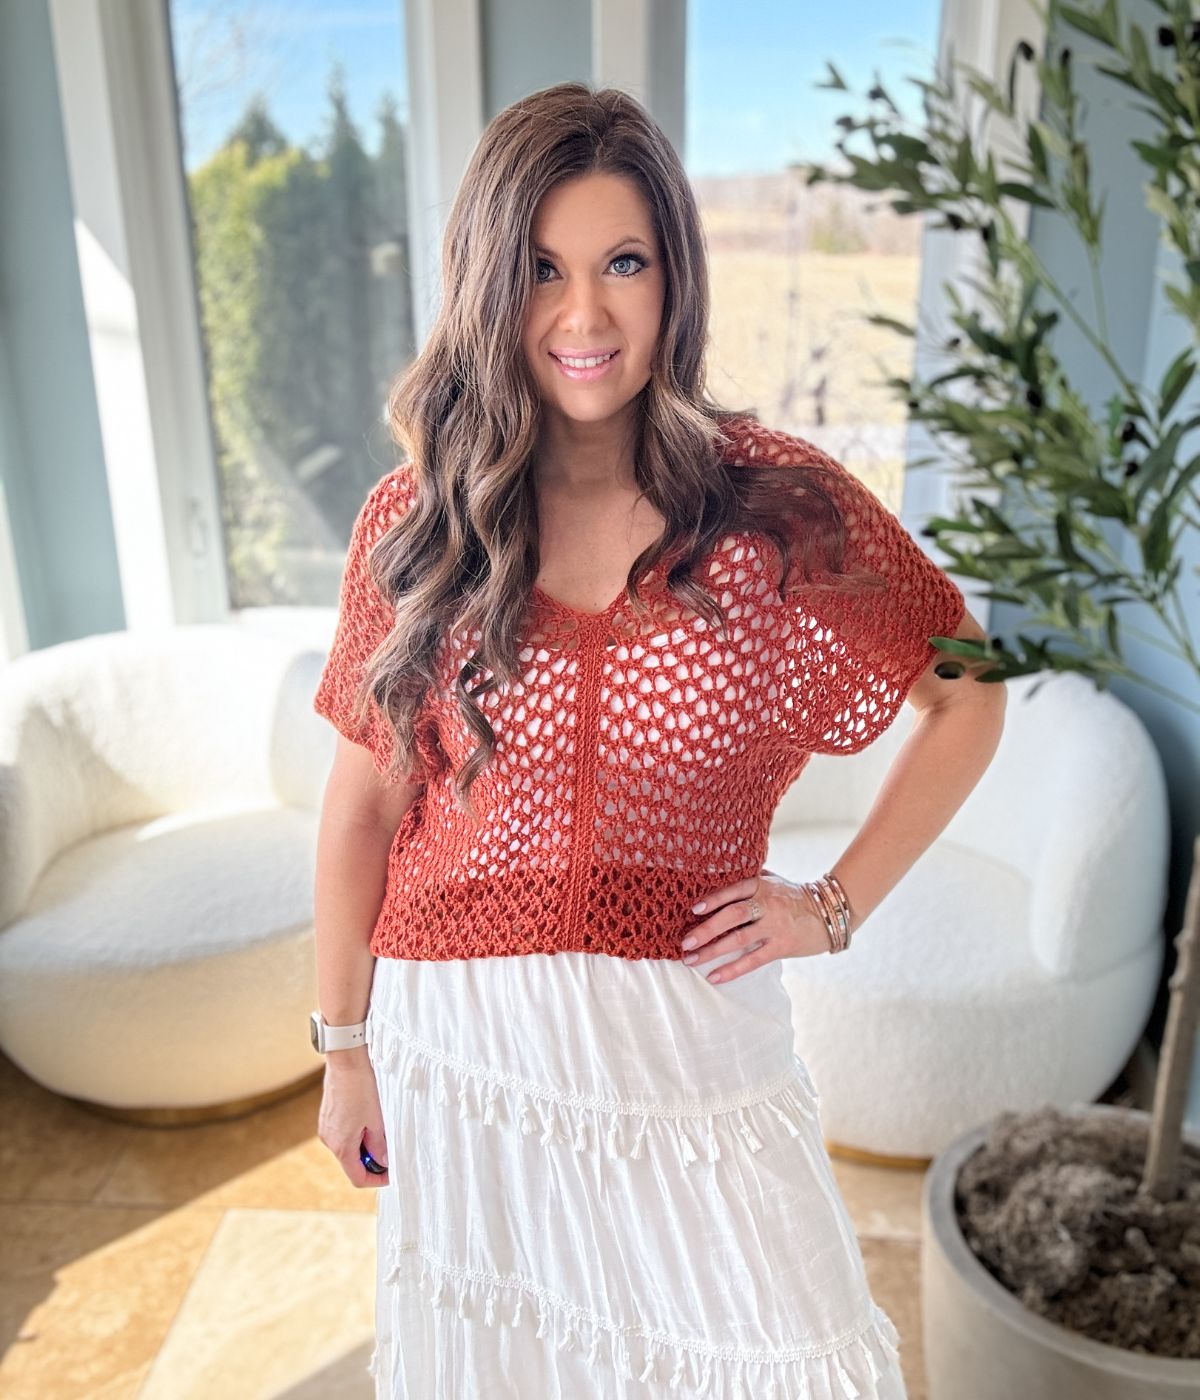
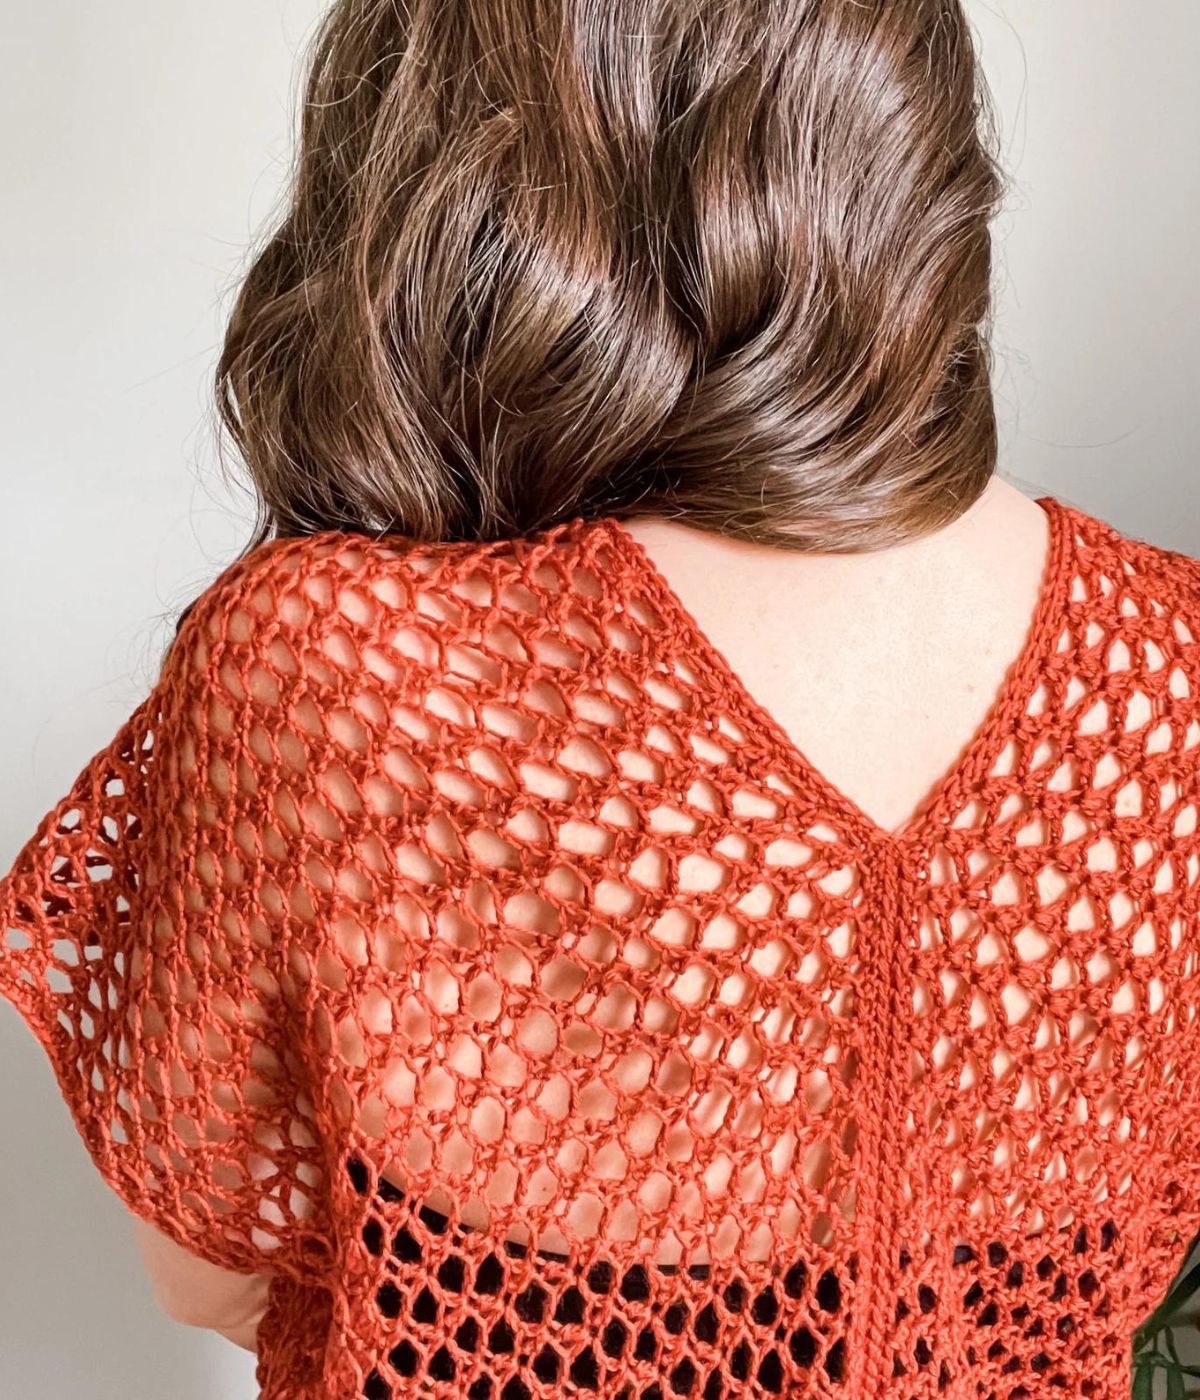
Introducing the “Rusty Road” Crochet Top Pattern, your go-to choice for a light and lacy garment designed for the refreshing seasons of Spring and Summer. This delightful top features an easy construction method created by crocheting two simple rectangles that are joined together. The pattern showcases a quick and easy lace stitch pattern that adds a touch of elegance to your wardrobe.
With the convenience of a detailed video tutorial, mastering this design is enjoyable and achievable. The Rusty Road Crop top is tailored to fit a wide range of sizes, offering inclusivity from XS to 5X. Get ready to embrace the beauty of simplicity and sophistication with this versatile crochet top pattern.
Below, you will find everything you need to make the Rusty Road Crop Top Crochet Pattern, including the yarn, hook, materials, free written pattern for blog subscribers, pictures and a video tutorial. If you love this free crochet pullover pattern, please share!

Project Overview
The Rusty Road Crop Top is a light and airy summer design worked in two simple panels using an easy lace stitch. Crocheted in soft fingering weight yarn, this breezy top is perfect for warm weather and can easily be customized in length for the perfect fit.
Hook Sizes: US E/4 (3.5mm), US G+/7 (4.5mm)
Construction: Two panels seamed with neckline opening
Video Tutorial: https://youtu.be/9b0ErjfBEBE
Inspiration
Ever since my teenage daughters introduced me to the high-waisted mom jeans trend, I found myself in need of new tops to complete the look. Initially skeptical, I have grown to adore the relaxed and comfortable style that comes with it.
The Rusty Road Crop Top is a perfect match for any high-waisted jeans or shorts, adding a touch of flair to your outfit. This light and airy piece is ideal for the breezy seasons of Spring and Summer, effortlessly elevating your wardrobe with its stylish charm.

The versatility of the Rusty Road Crop Top extends to its adaptability in length to complement your unique body shape and style preferences. Inspired by my daughters’ creative input, you can easily adjust the length of this crochet top, with the option to elongate it for a fashionable bathing suit coverup.
Whether you decide to tailor it to a shorter or longer length, I am confident that this piece will become a favourite in your wardrobe. Crocheted in two rectangular pieces using a straightforward crochet lace stitch, the crop top is effortlessly assembled by seaming the rectangles together, resulting in a chic design with a stylish neck opening. Embrace the simplicity and beauty of this crochet project – it’s truly that effortless!
The Lace Stitch Crochet Pattern
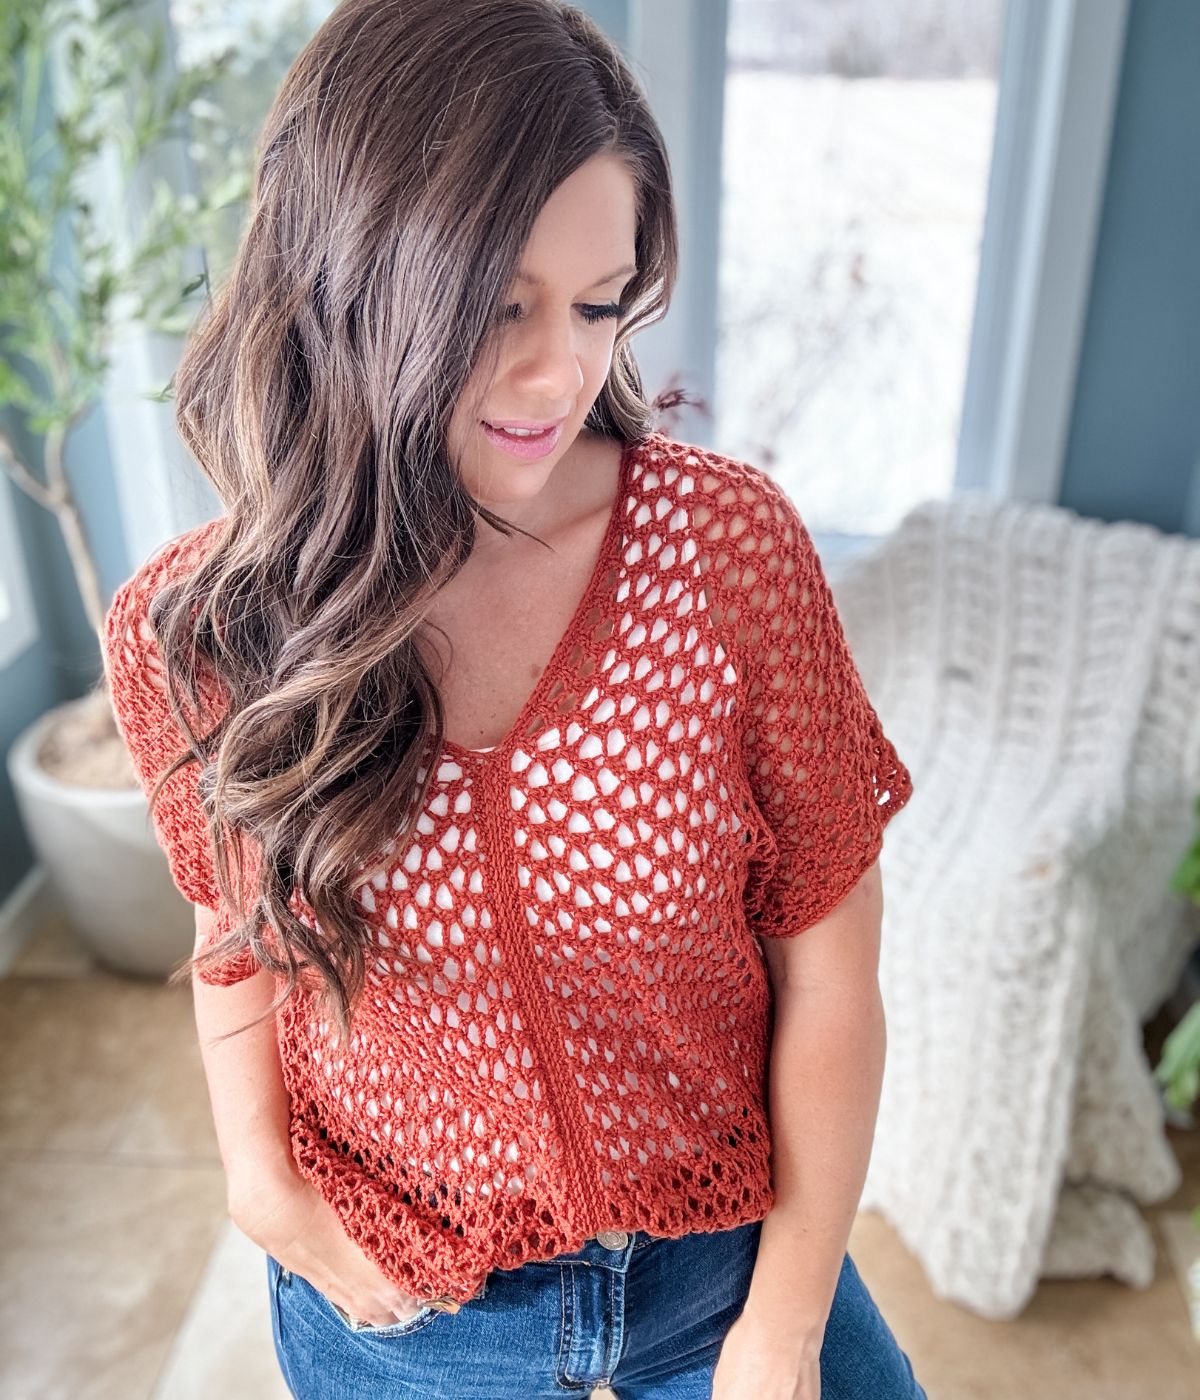
The lace stitch crochet pattern featured in the Rusty Road Crop Top creates a stunning openwork design that exudes a light and airy feel with a graceful drape. This exquisite pattern truly comes to life when blocked, revealing its intricate details in all its glory.
Blocking is crucial in allowing the stitches to relax and stretch out, enhancing the overall aesthetic of the piece. Once the blocking process is complete, you’ll be captivated by the transformation.
Additionally, the pattern’s one-row repeat is not only visually striking but also incredibly simple to memorize. This user-friendly design ensures a smooth and enjoyable crocheting experience, making it a delightful project to work on.
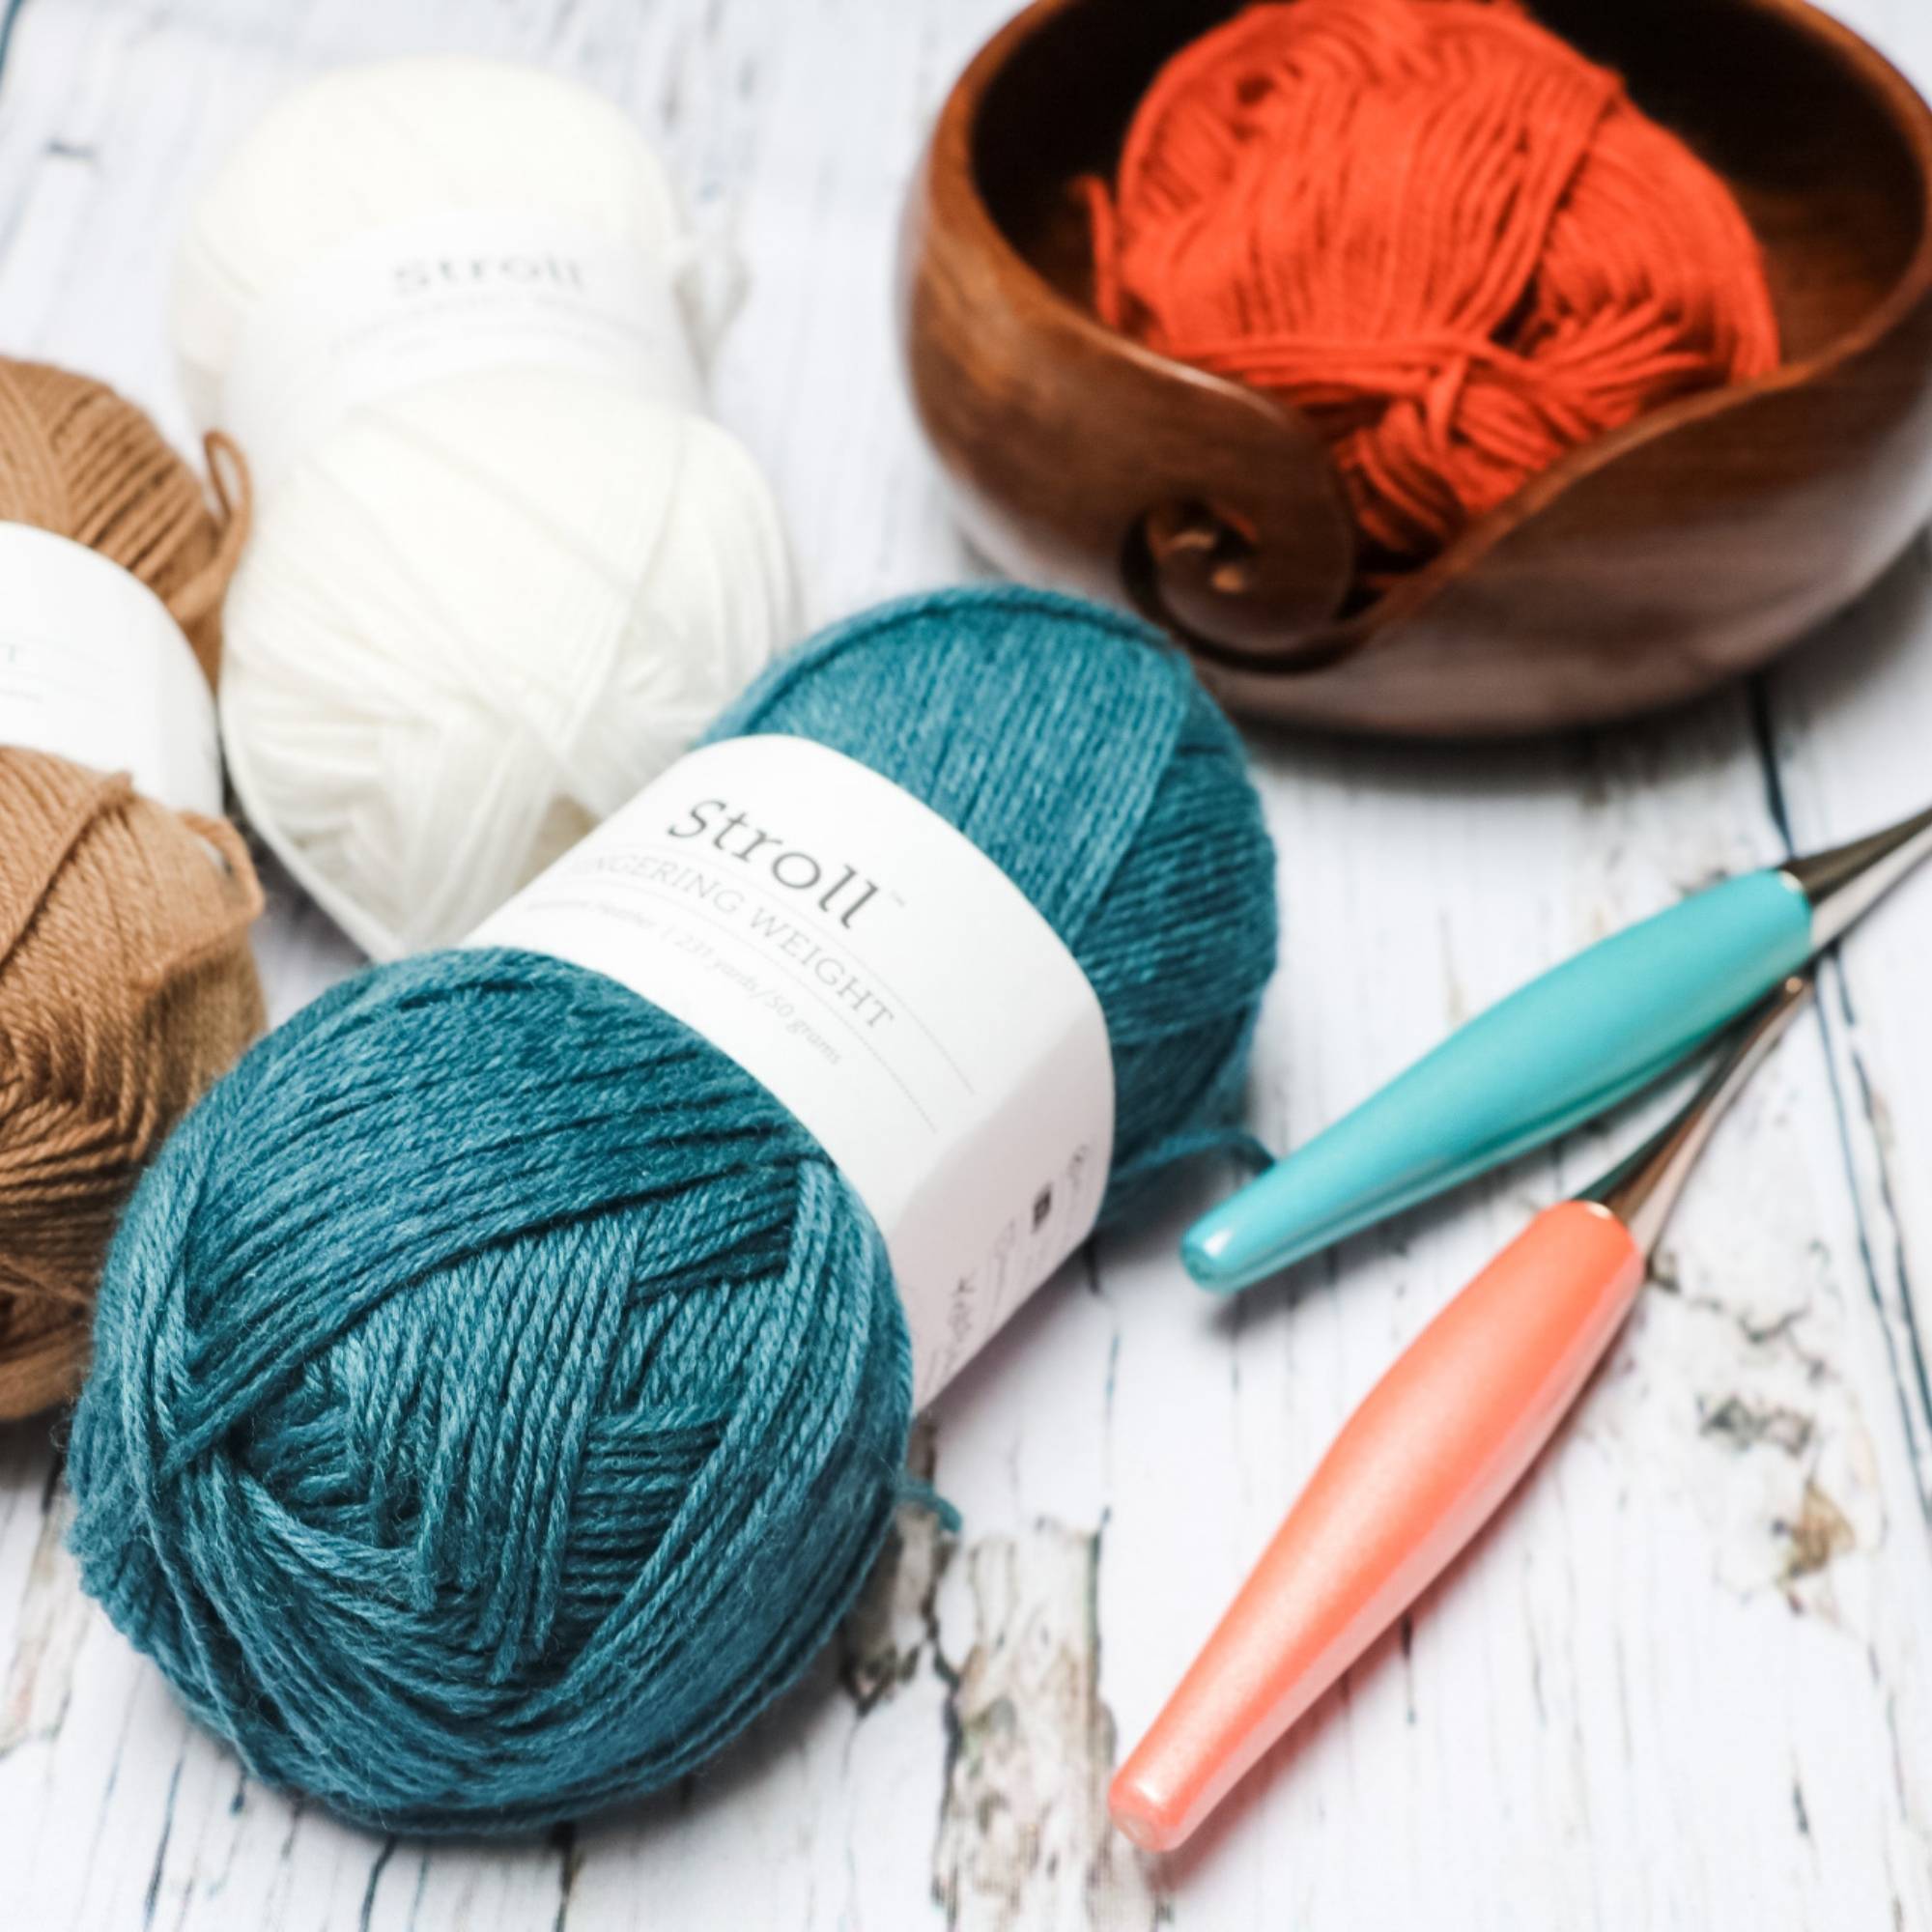
What Yarn should I use to Crochet a Summer Top?
When selecting yarn for a summer crochet top, I recommend choosing a lightweight option such as fingering or sport-weight yarn. These yarn weights will result in a breezy top that keeps you cool and comfortable, preventing overheating during the warmer months.
For optimal breathability, consider using a cotton blend or Merino wool yarn. These materials offer a good balance of breathability and comfort, making them ideal choices for a summer garment that you’ll love to wear.
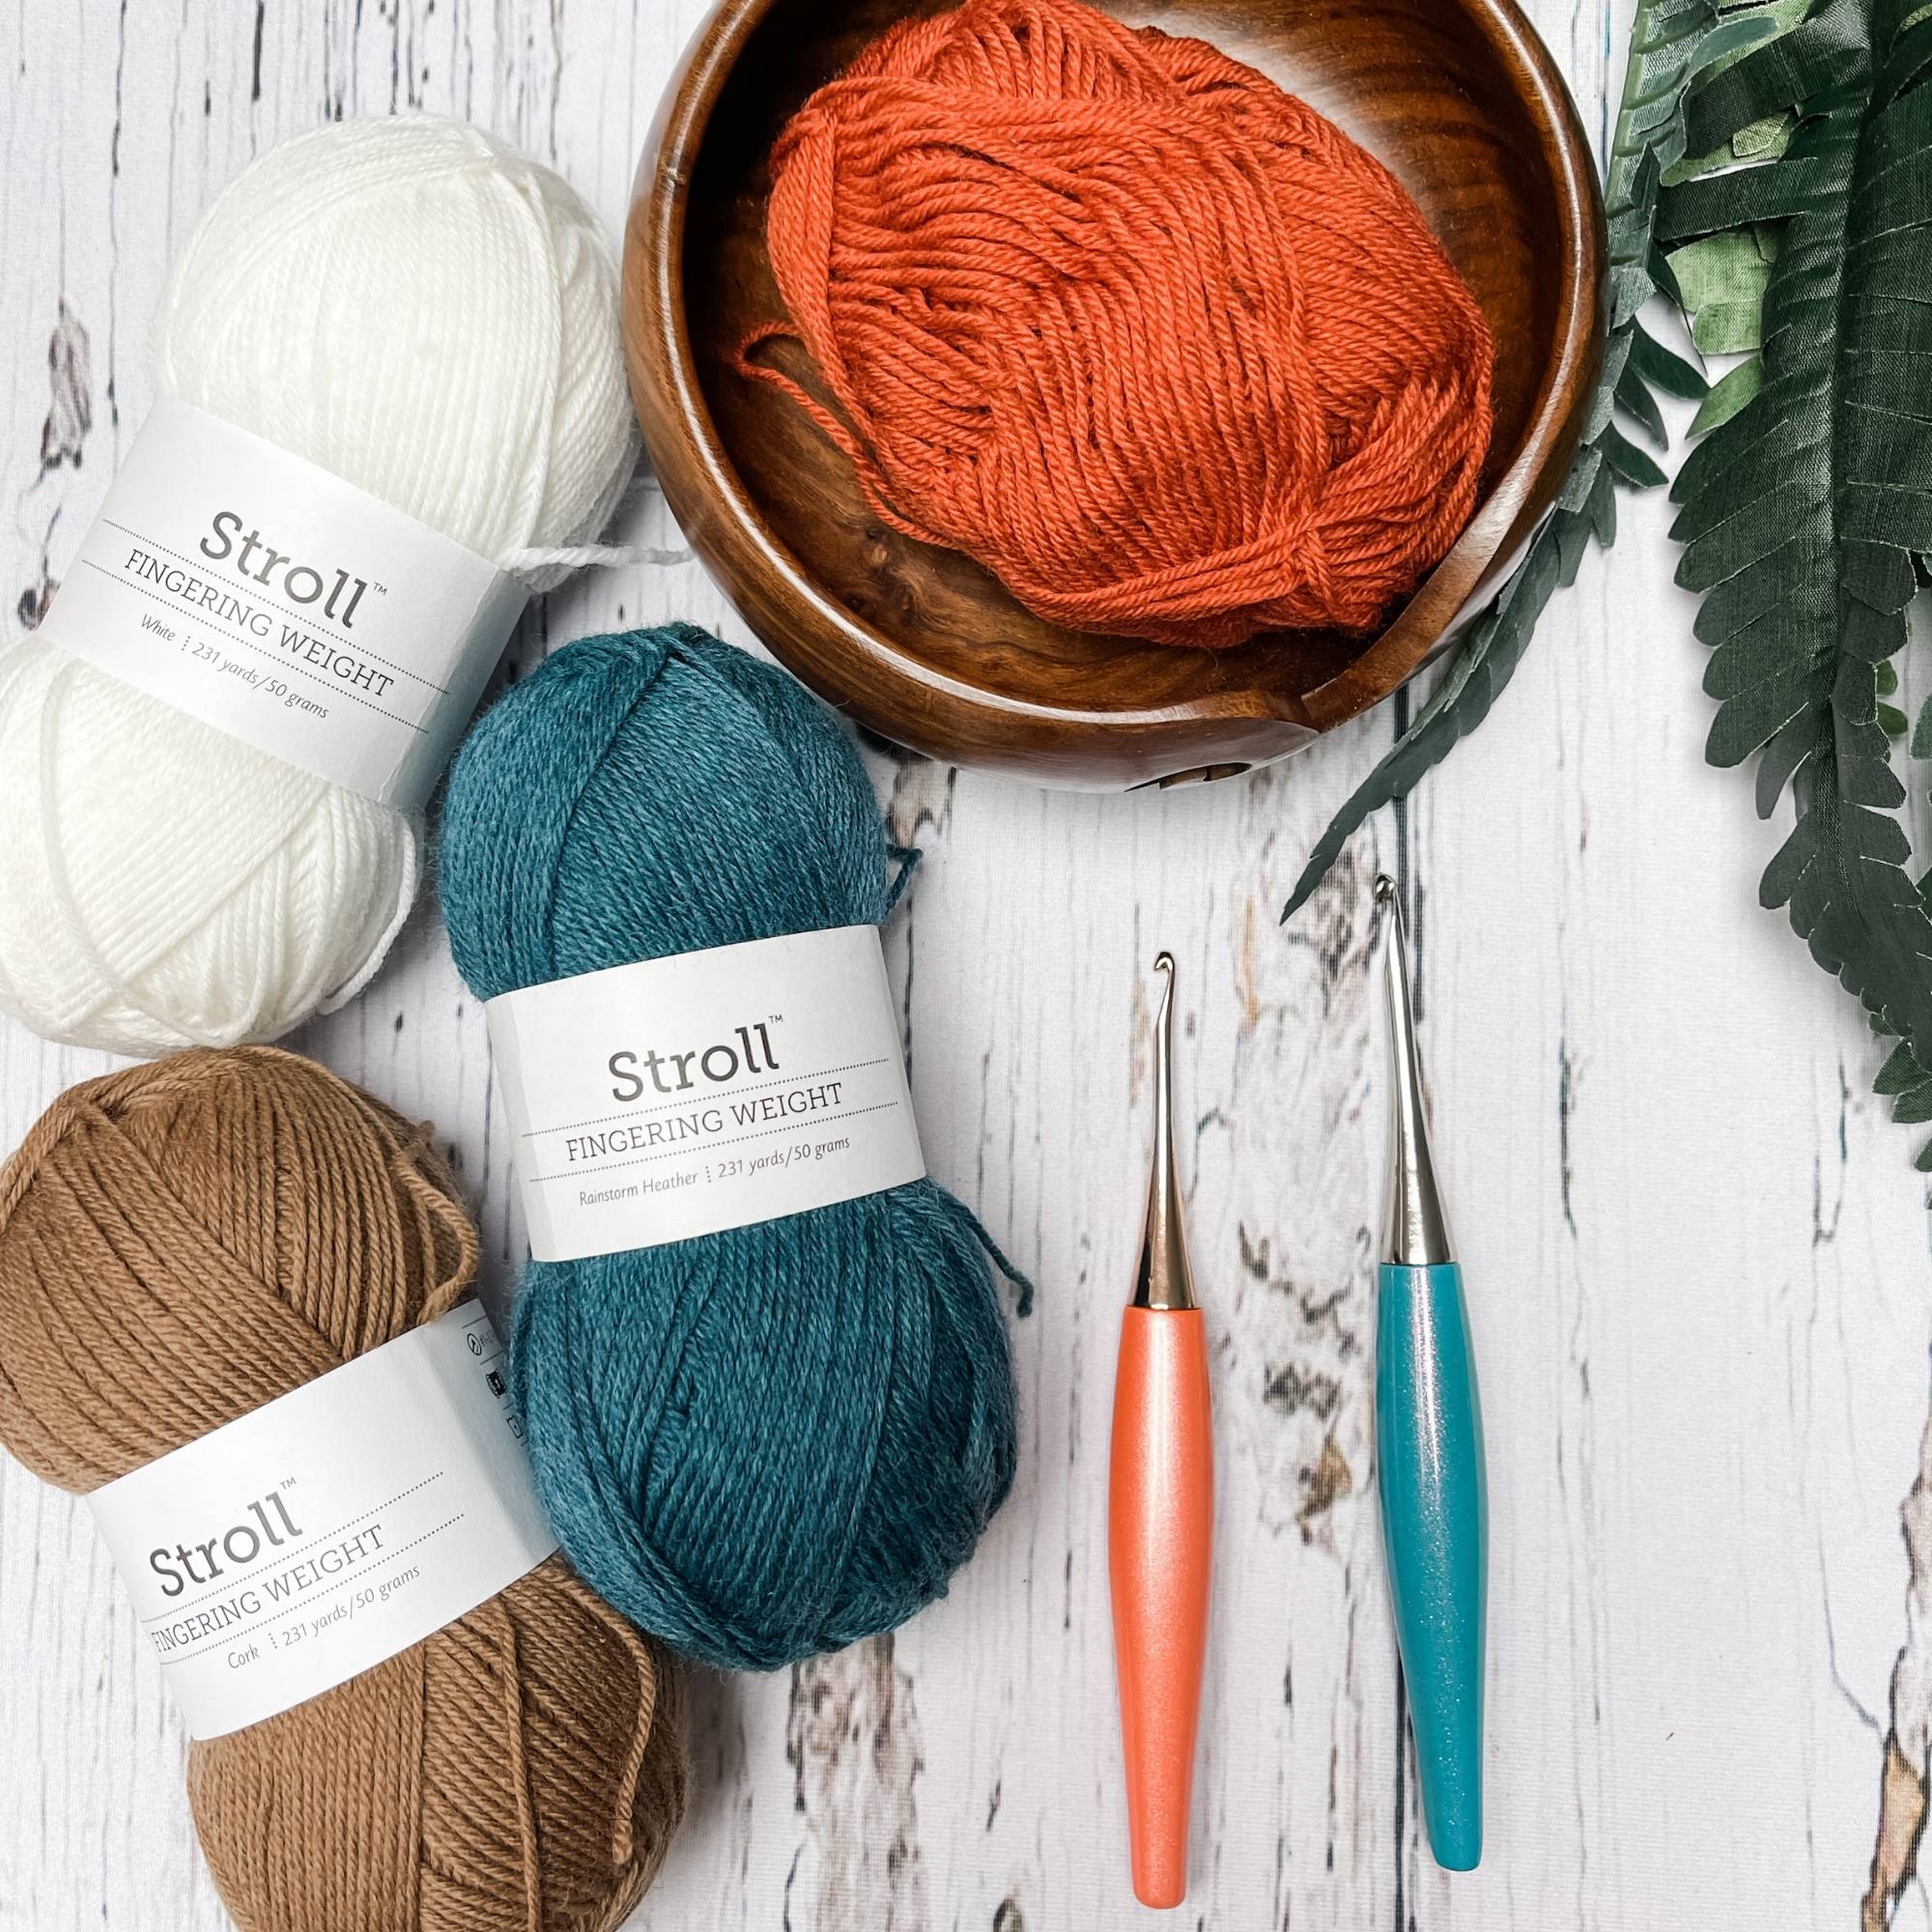
In creating the Rusty Road Crop Top, I opted for Stroll Fingering weight yarn, a choice that exceeded my expectations. This marked my first experience working with Stroll Fingering yarn, and I was delighted by how smoothly it progressed in the stitch pattern. Not only was the yarn incredibly soft and lightweight, but it also showcased a quick work-up time, allowing me to see progress swiftly.
After blocking, the yarn responded beautifully, aligning perfectly with my envisioned outcome. Despite initial hesitations about using such a fine-weight yarn, I am thrilled with the results. The Rusty Road Crop Top turned out to be exceptionally comfortable and promises to be the ideal companion for basking in warm weather.
Stroll Fingering Weight – 75% Fine Superwash Merino Wool, 25% Nylon (231 yds/50g) Shown in pumpkin
Substitute Yarns
There are lots of good yarn alternatives for the Rusty Road Crop Top pattern. Browse all fingering options from WeCrochet HERE
Save $
Fiber Content: 75% Pima Cotton, 25% Acrylic
Weight: Fingering
Crochet Gauge: 21 – 32 sc = 4” on B – E hooks (2.25mm-3.5mm)
Yards: 218
Grams: 50
Put Up: Skein
Care: Machine Wash Gentle/Tumble Dry Low
Spend $$
Fiber Content: 70% Linen, 30% Pima Cotton
Weight: Fingering
Crochet Gauge: 21 – 32 sc = 4” on B – E hooks (2.25mm-3.5mm)
Yards: 180
Grams: 50
Put Up: Ball
Care: Hand Wash/Dry Flat

Splurge $$$
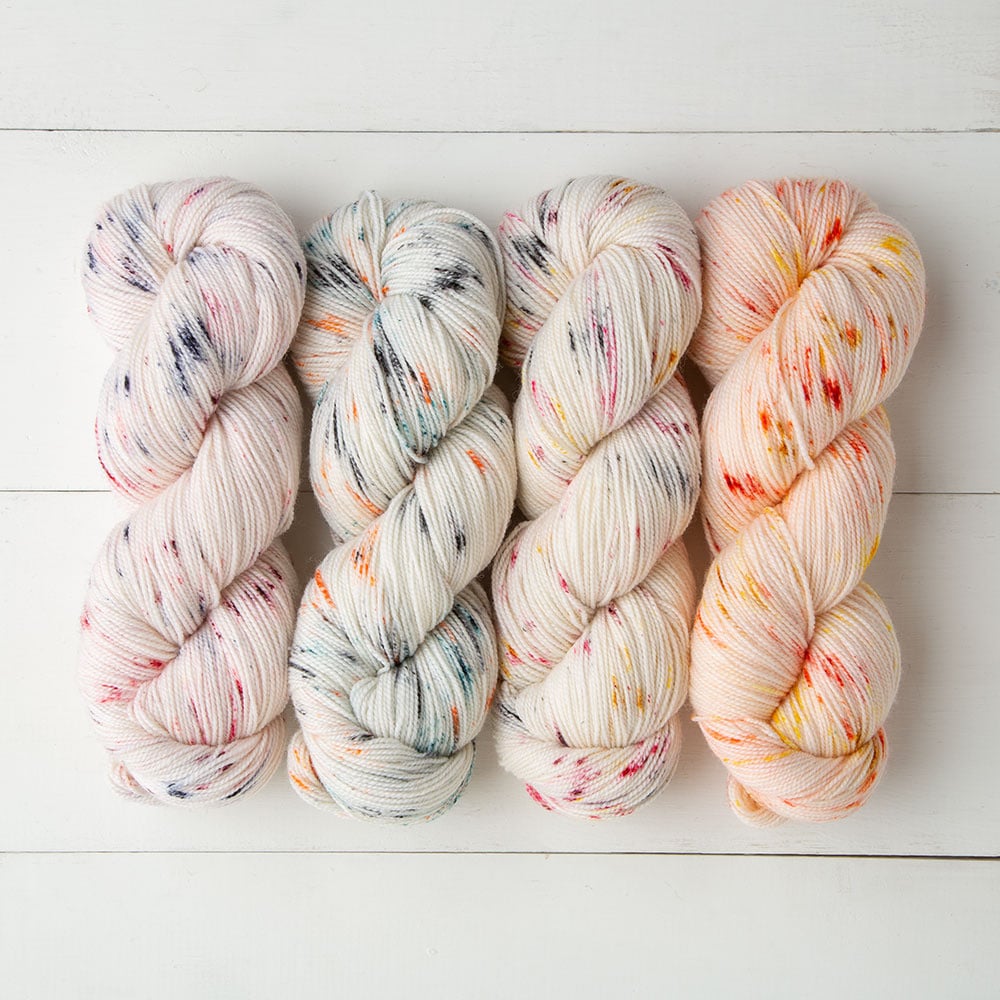
Hawthorne Speckle Hand Painted
Fiber Content: 80% Fine Superwash Highland Wool, 20% Polyamide (Nylon)
Weight: Fingering
Crochet Gauge: 21 – 32 sc = 4” on B – E hooks (2.25mm-3.5mm)
Yards: 357
Grams: 100
Put Up: hank
Care: Machine Wash Gentle/Tumble Dry Low
Yarn Requirements
Size Chart: XS (S, M, L, XL, 2X, 3X, 4X, 5X)
Bust Measurement:
inches 28-30 (32-34, 36-38, 40-42, 44-46, 48-50, 52-54, 56-58, 60-62)
Finished Bust:
inches 41.5 (45, 48.5, 52, 55.5, 59, 62.5, 66, 69.5)
Knit Picks/WeCrochet Stroll– 75% Fine Superwash Merino Wool, 25% Nylon (231 yds/50g) Shown in pumpkin.
Yards 500 (560, 625, 680, 740, 790, 875, 915, 1000)
# Balls 3 (3, 3, 4, 4, 4, 4, 5, 5)
Crochet Hook Requirements:
I used Furls Odyssey Crochet hooks. They make working with fine yarns easy on the hands.
US E/4 (3.5mm) or size needed to obtain gauge
US G+/7 (4.5mm) or size needed to obtain gauge
OR Dots Crochet Hooks from WeCrochet

Additional Supplies:
Would you like to save this?
You can unsubscribe at any time.
Gauge:
16 sts and 9.25 rows equal to 4″ in lace pattern with 3.5mm hook blocked
18.5 sts and 11.75 rows equal to 4″ in lace pattern with 3.5mm hook NOT blocked
Video Tutorial

FAQ & Terms
This post may contain affiliate links. Purchases made through these links may earn MJ’s Off The Hook Designs Inc. a small commission at no extra cost to you. Content on this site is supported by ads—please do not block or remove them.
Copyright
All patterns, photos, and written content are the property of MJ’s Off The Hook Designs Inc. and protected by copyright law.
Usage
Free patterns are for viewing only on this blog. You may not copy, download, print, screenshot, or redistribute any part of the pattern. Access must remain through this page with ads visible. Use of ad blockers, reader view, or any similar tools that remove or hide ads and site content is strictly prohibited.
Legal Notice
Unauthorized reproduction or distribution may result in copyright infringement penalties.
By accessing this post, you agree to these terms and conditions.
Yes! You may sell finished items made from MJ’s patterns, but please credit:
“Pattern by MJ’s Off The Hook Designs Inc.”
Pattern Support is only available in our Facebook Community group and Video Tutorials.
No additional support is provided for modified patterns, alternate yarns, or changes to gauge.
Having trouble unlocking the pattern?
If you’re seeing the message “Email subscription failed, please try again”, don’t worry — it’s usually an easy fix! Here are a few quick things to try:
First, double-check your login details. Make sure you’re signing in with the same email you originally used to create your Grow account. If you’re not sure, click “Forgot Password” to reset your login. Once you’ve updated it, return to my site and try again.
Next, clear your browser’s cache and cookies. Sometimes the login just gets stuck. You can also try opening the page in a private or incognito window, or switching to another browser like Chrome, Safari, or Firefox to see if that does the trick.
It also helps to make sure you’re logged into Grow directly. Visit https://grow.me and sign in there first. Once you’re logged in, come back to my site and refresh the page — your pattern should unlock automatically.
If you’re still having trouble, check your browser’s privacy settings. Grow needs cookies to verify your account, so make sure cookies and cross-site tracking are allowed. On iPhone, go to Settings → Safari → Privacy & Security, then turn off “Prevent Cross-Site Tracking” and “Block All Cookies.” On Android or Chrome, go to Settings → Site Settings → Cookies and select “Allow all cookies.”
Lastly, ad blockers or browser extensions can sometimes block the login pop-up. Try turning them off temporarily while you sign in. If nothing seems to work, log out of Grow completely by going to https://grow.me, selecting your profile icon, and choosing Log Out. Then come back to my site and try logging in again.
If you’re still stuck after trying all of this, please reach out through my Contact Page and let me know what device and browser you’re using (and include a screenshot if you can).
Pattern Instructions
To create the Rusty Road crop top, begin by crocheting two rectangular pieces. Using a 3.5mm hook, work the panel from one side across. Following this, it’s essential to block the panels for optimal results. Once blocked, the panels will expand significantly, emphasizing the beauty of the design.
To block the panels effectively, start by soaking them in lukewarm water mixed with wool wash or a small amount of dish soap for approximately 30 minutes. After soaking, gently remove excess water by wringing out the panels and rolling them in a towel. Lay the pieces on blocking mats, carefully pinning them to the desired measurements, and allow them to air dry completely.
Complete the look with a single crochet-edged border using a 4.5mm hook. Mark the neck opening and proceed with seaming the panels together. The pattern is written for the smallest size with larger sizes in parentheses. For a detailed visual guide, check out the step-by-step video tutorial available on our YouTube channel.

Upgrade to the Premium PDF Pattern!
Digital PDF Download
Digital pattern only. No physical item will be shipped.
To unlock Exclusive Content on my Blog, all you need to do is click the box below and the Grow.me app will pop up, allowing you to enter your email and create a password. Once you’ve created an account, every time you see Exclusive Content on my blog, simply login to your Grow account. Be sure to switch to the login screen to enter your login credentials.
If you forget your password, click the “forgot password” link and follow the prompts. Please note that I’m unable to assist with resetting Grow passwords or accessing your Grow account, so be sure to save your login information in a safe place.
To make things even easier, I’ve created a video for both desktop and mobile users that offer additional assistance. You can access this video by visiting my FAQs page HERE or by watching the video below.
Thank you for subscribing and for joining me on my crochet journey. I hope you enjoy the exclusive content available to our subscribers and create beautiful crochet projects using the resources you discover.

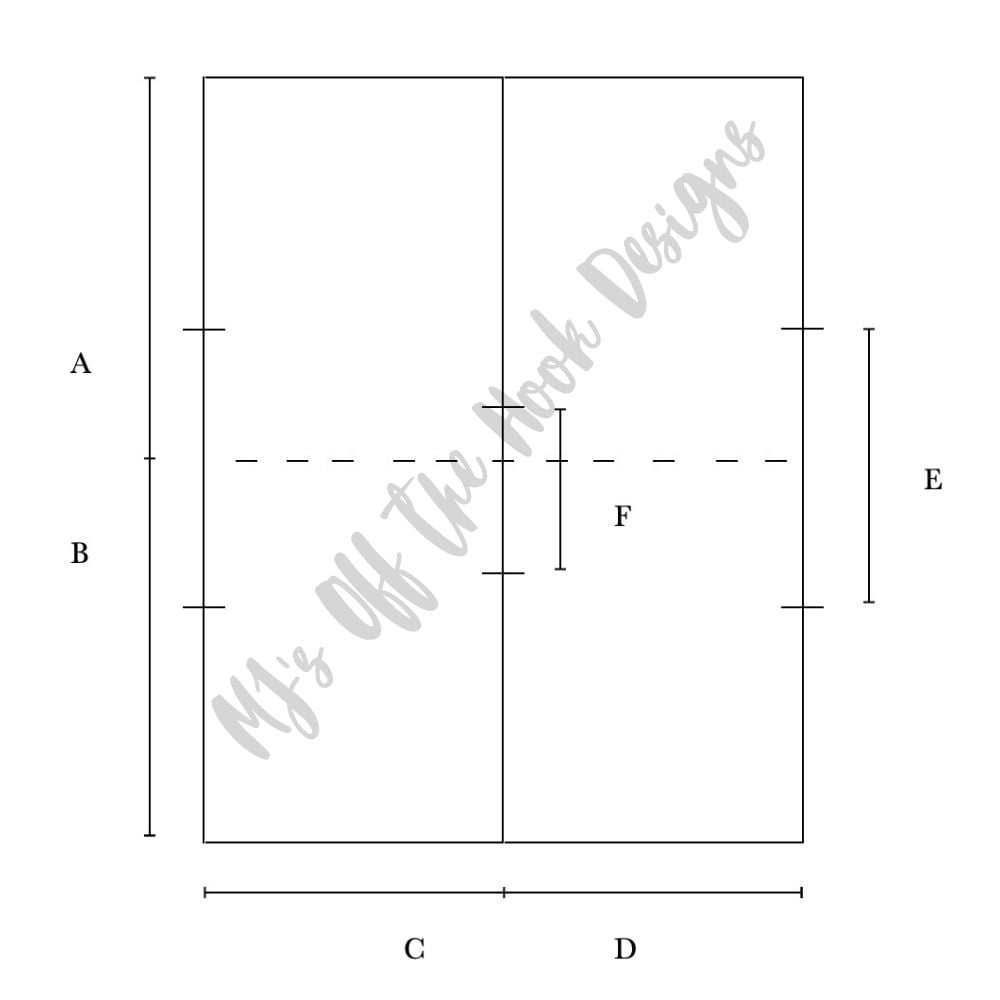
Schematic
A: Total Length 37.5 (39, 41, 41, 42) (42, 43.5, 43.5, 45)”
B: Half Length 18.75 (19.5, 20.5, 20.5, 21) (21, 21.75, 21.75, 22.5)”
C: One Panel Width 10.5 (11.25, 12, 13, 14) (14.75, 15.5, 16.5, 17.5)”
D: Finished Width 20.75 (22.5, 24.25, 26, 27.75) (29.5, 31.25, 33, 34.75)”
E: Arm Hole 8 (8.5, 9, 9.5, 10) (10.5, 11, 11.5, 12)”
F: Neck Opening 12″
Panel – Make 2
XS (S, M, L, XL) (2X, 3X, 4X, 5X)
Notes: The panel is worked from the side across. The length equals the front and back of the top. To shorten the top, decrease the starting chain in multiples of 3. To lengthen the top, increase the starting chain in multiples of 3. Order an extra ball for a longer top.
Row 1 (RS):
With smaller hook, ch 151 (157, 163, 163, 169) (169, 175, 175, 181) work 1 sc in the back hump (leg) of the 2nd ch from hook and in each ch across, turn—150 (156, 162, 162, 168) (168, 174, 174, 180) sts.
Row 2 (WS):
Ch 3 (included as a st here and throughout), sk the next st, work (1 dc, 1 sc) in the next st, *ch 2, sk 2 sts, next st work (1 dc, 1 sc); rep from * across, turn—50 (52, 54, 54, 56) (56, 58, 58, 60) clusters.
Row 3:
Ch 3, sk sc, work (1 dc, 1 sc) in the dc of previous row, *ch 2, sk ch-2 and sc, work (1 dc, 1 sc) in dc; rep from * across, turn—50 (52, 54, 54, 56) (56, 58, 58, 60) clusters.
Rows 4 – 24 (26, 28, 30, 32) (34, 36, 38, 40): Rep Row 3.
Last Row: Ch 1, work 1 sc in first 2 sts, *work 1 sc in ch-2 sp, work 1 sc in next 2 sts; rep from * across, work 1 sc in turning ch, fasten off and weave in ends—150 (156, 162, 162, 168) (168, 174, 174, 180) sts.
Block:
When working on lace crochet projects, it’s crucial to block your finished pieces to highlight the intricate lace details. In projects where a large number of chain stitches are involved, the pattern may initially appear slightly bunched up, not fully showcasing the beauty of the lacework until it’s stretched out. This can also impact the overall size of the garment, especially if the gauge is determined based on blocked measurements.
Blocking plays a vital role in giving your fabric a polished and neat appearance, along with a beautiful drape. There are two common methods to achieve this:
- Submerge your finished piece in lukewarm water with a small amount of woolwash. Let sit for around 25 minutes, rinse and remove as much water as possible by rolling into a towel. carefully pin it out to the desired measurements.
- Alternatively, you can use a spray bottle to dampen your project and then pin it out for drying.
Once pinned, allow your project to fully dry before removing the pins. This process will result in a finished piece that not only looks professionally pressed but also showcases the intricate lacework in its full glory.
Finishing
Notes: Adjust hook size if the edging pulls the stitch pattern.
Round 1: With larger hook and RS facing, join yarn to first st at right corner. Ch 1, *work 1 sc in each st across, at corner work 3 sc, work 46 (50, 54, 58, 62) (66, 72, 76, 80) across, at corner work 3 sc; rep from * around, sl st in first sc to join. Fasten off and weave in ends.
Mark Neck Opening
With RS facing, place the sides of the panels together. Pm at the centre of the panels. Measure 4″ to the back and 8″ to the front and place markers. The total neck opening is 12″. You can try on the top to make sure the neck opening is a good fit. Adjust markers if needed.
Seaming
Front/Back
RS facing with yarn needle whip stitch the front panels together. Start at the bottom and work up to the marker. Repeat for the back. Weave in ends.
Sides
With the RS facing, fold the garment together from the shoulder, measuring down 8 (8.5, 9, 9.5, 10) (10.5, 11, 11.5, 12)” for the arm opening and pm. With yarn, needle whip stitch the sides together. Start at the bottom and work up to the marker. Repeat for the other side. Weave in ends.
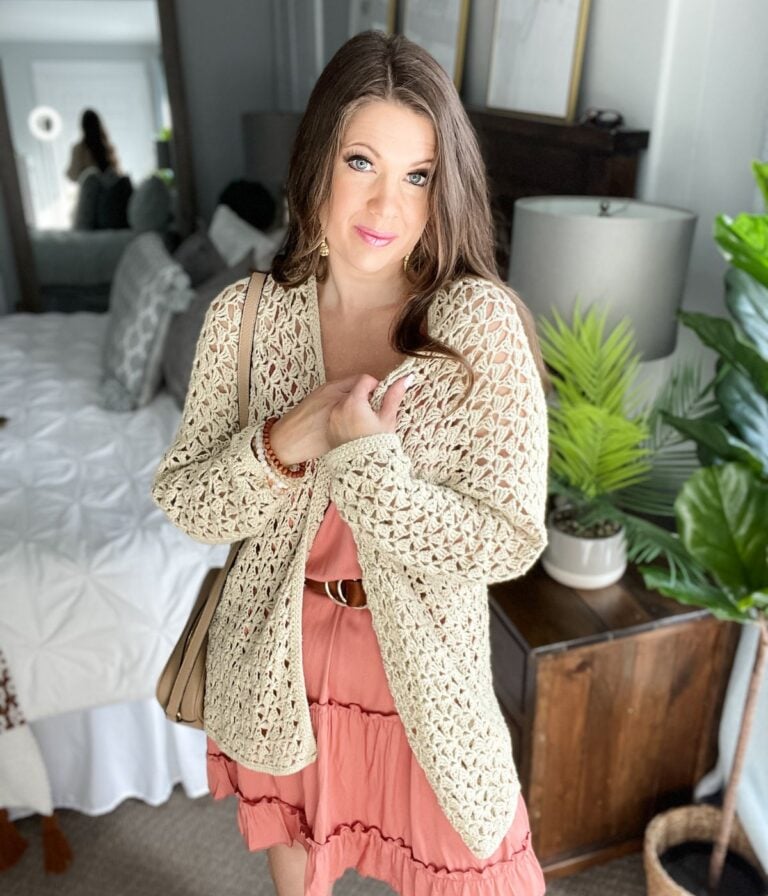
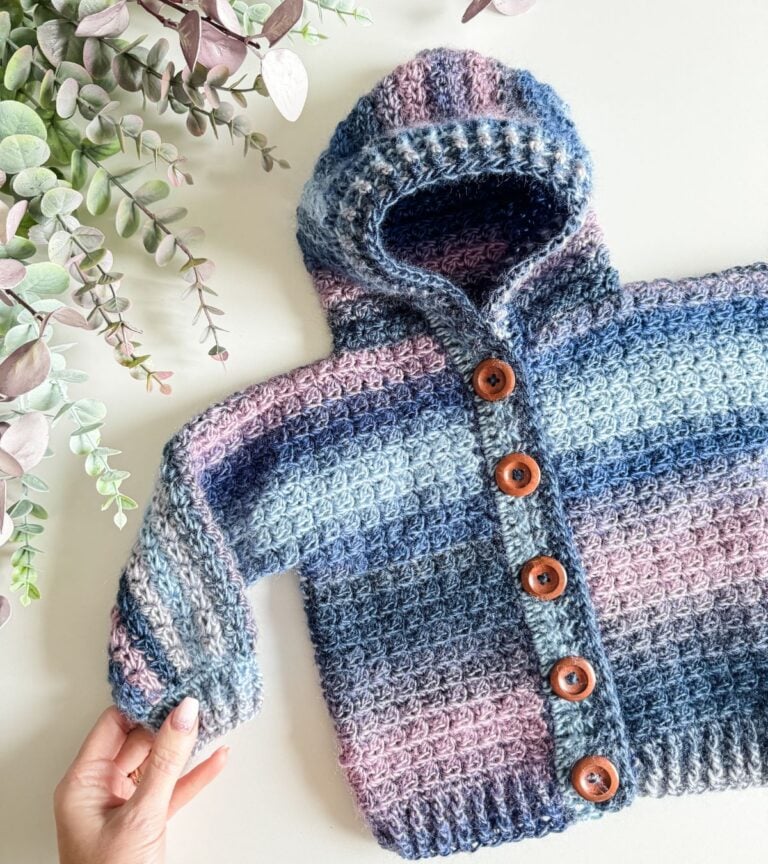
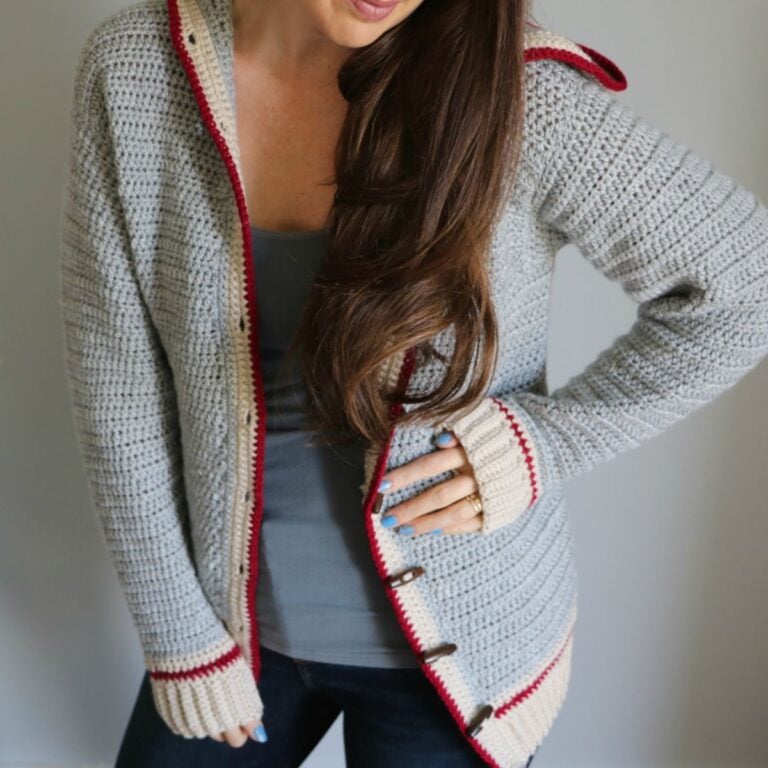
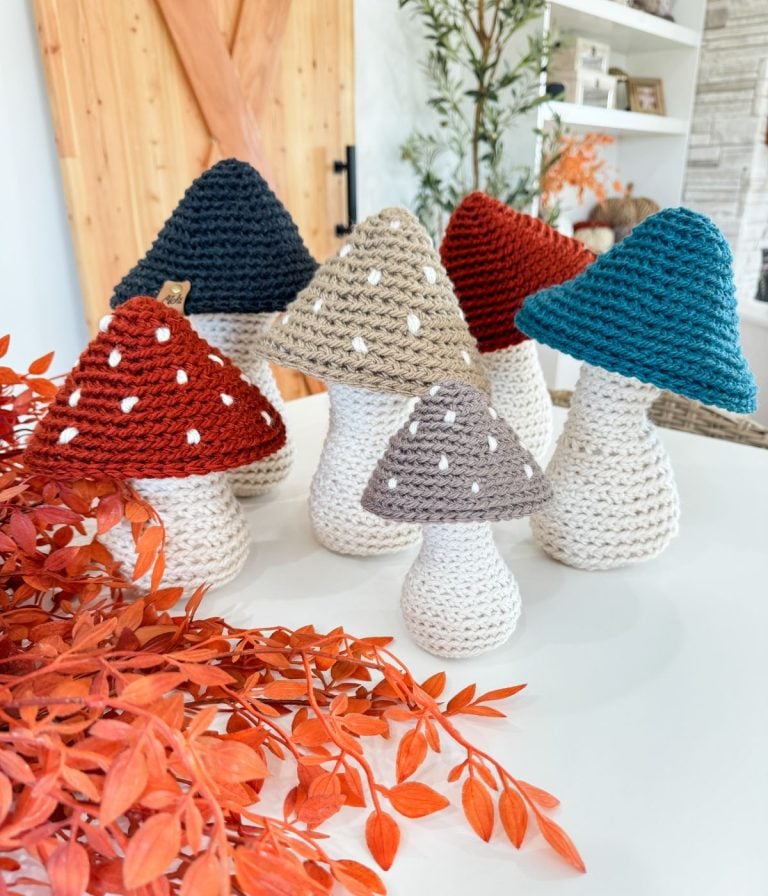
If you enjoyed this pattern, you may also like these patterns:
This pattern is designed by Michelle Moore of MJ’s Off The Hook Designs Inc, based in Lakefield, Ontario, Canada. Your go-to source for modern, easy crochet patterns. Published on April 13th, 2021.
Thank you for visiting MJ’s Off The Hook Designs. I hope you enjoyed this pattern and feel inspired to pick up your hook and start creating.
You can find even more crochet patterns in our Ravelry and Etsy shops.
For daily inspiration and behind-the-scenes peeks, join me over on Facebook or Instagram, or join our YouTube Membership for exclusive content!
You’ve got questions, we’ve got a community!
Crocheting is better with friends! Join our group to post pictures and ask all your pattern support questions.