*This post may contain affiliate links to support the cost of this blog. At no cost to you, I may make a small commission if you purchase through these links. Read our Privacy Policy HERE

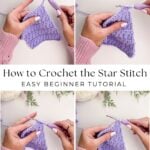
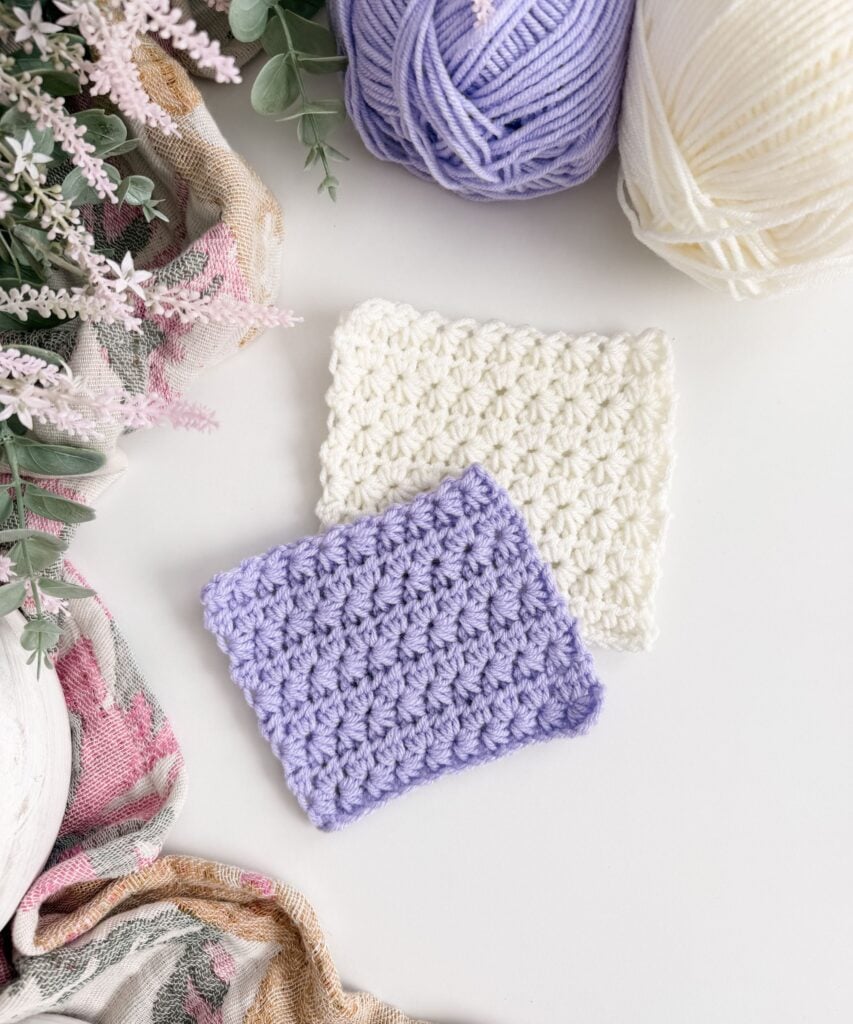
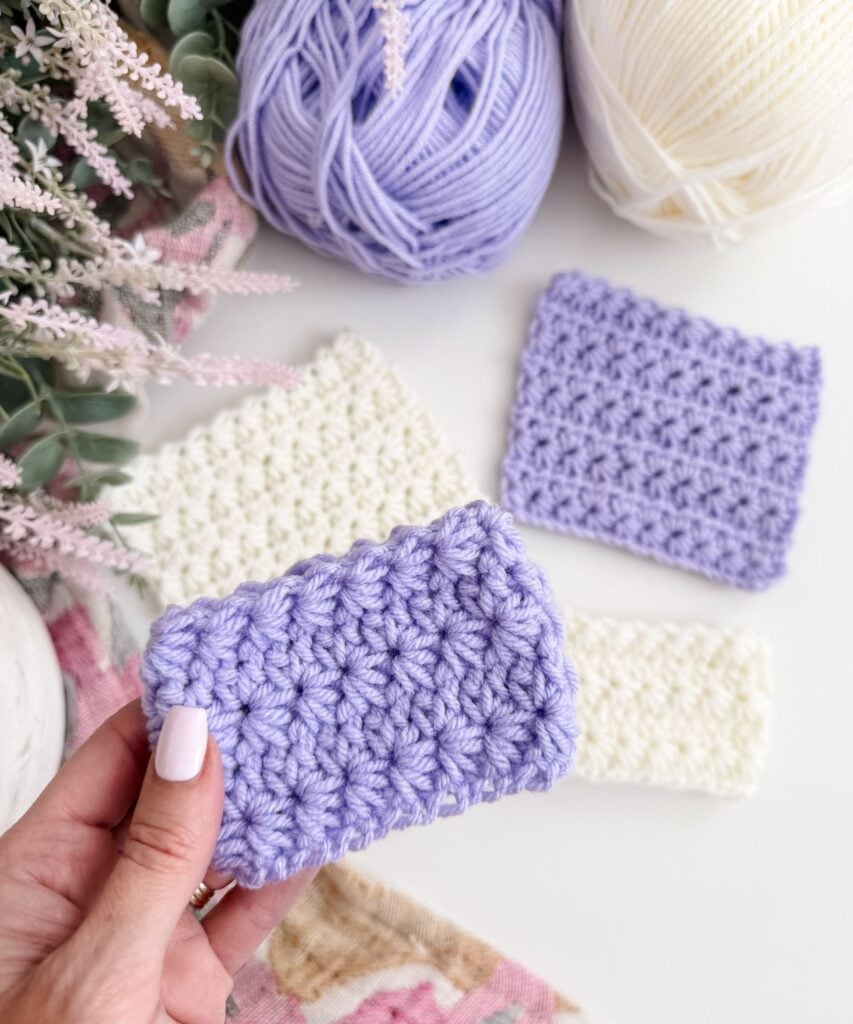
The crochet star stitch is a beautiful, textured stitch that creates a soft, dense fabric with a repeating star-like pattern. It looks intricate, but once you understand how the stitch is built, it becomes very rhythmic and relaxing to crochet.
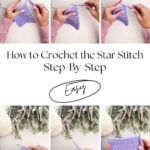
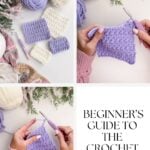
In this tutorial, I’ll walk you through how to crochet the star stitch step-by-step, both in rows and in the round. This stitch appears in several of my patterns, so I wanted to create a detailed tutorial you can always come back to when learning or practicing it.
If you’ve never tried star stitch before, don’t worry. I’ll show you exactly where to insert your hook and how the loops come together to form each star.

How Do You Crochet the Star Stitch?
The crochet star stitch is created by pulling up loops from several stitches and closing them together to form a small star-shaped cluster.
To make a star stitch:
- Ch 3
- Pull up loops from multiple stitches until you have six loops on your hook.
- Yarn over and pull through all loops.
- Chain one to close the star.
The stitch is typically worked in a two-row repeat, alternating between a row of star stitches and a return row of half-double crochet.
What Is the Crochet Star Stitch?
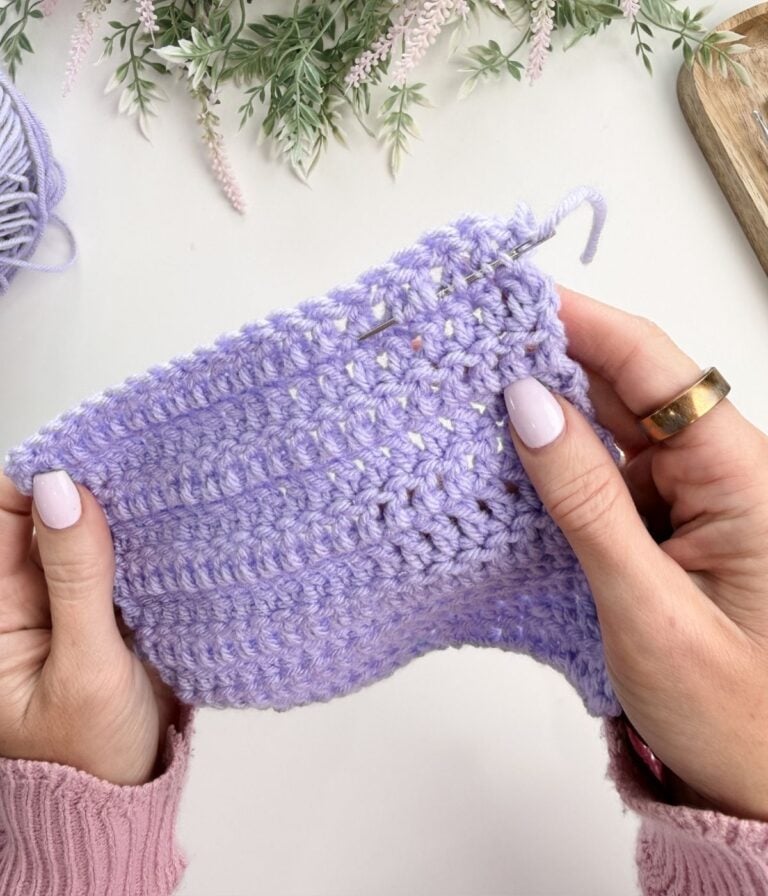
The star stitch is created by pulling up multiple loops from your work and finishing them together to form a small star-shaped cluster.
Each star is made by pulling up loops from several stitches and then closing them together with a chain stitch. As you continue across the row, those stars connect to form a beautifully textured fabric.
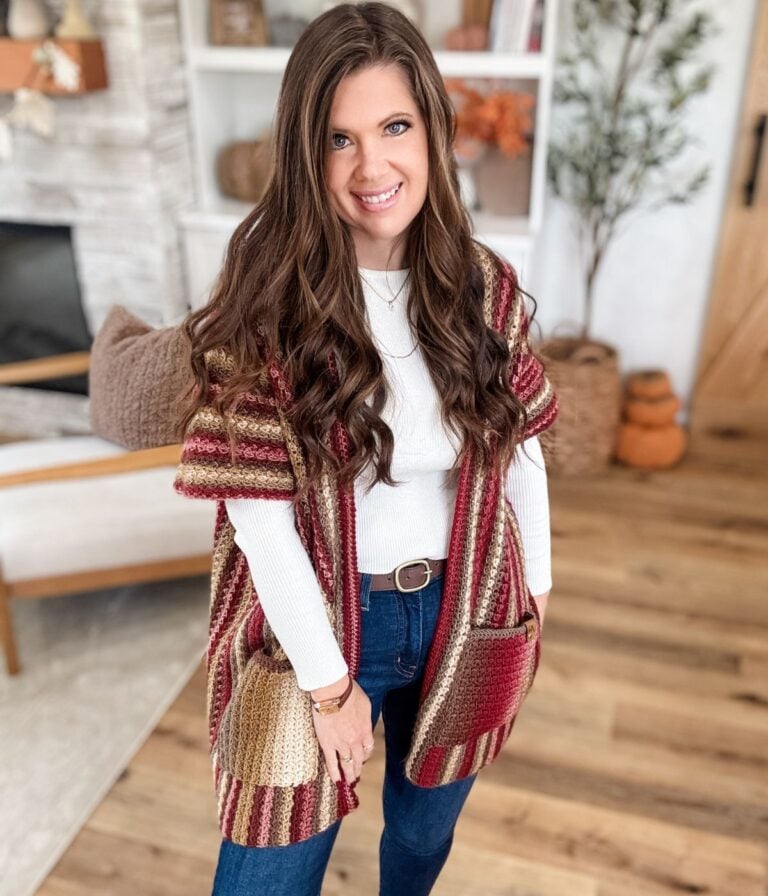
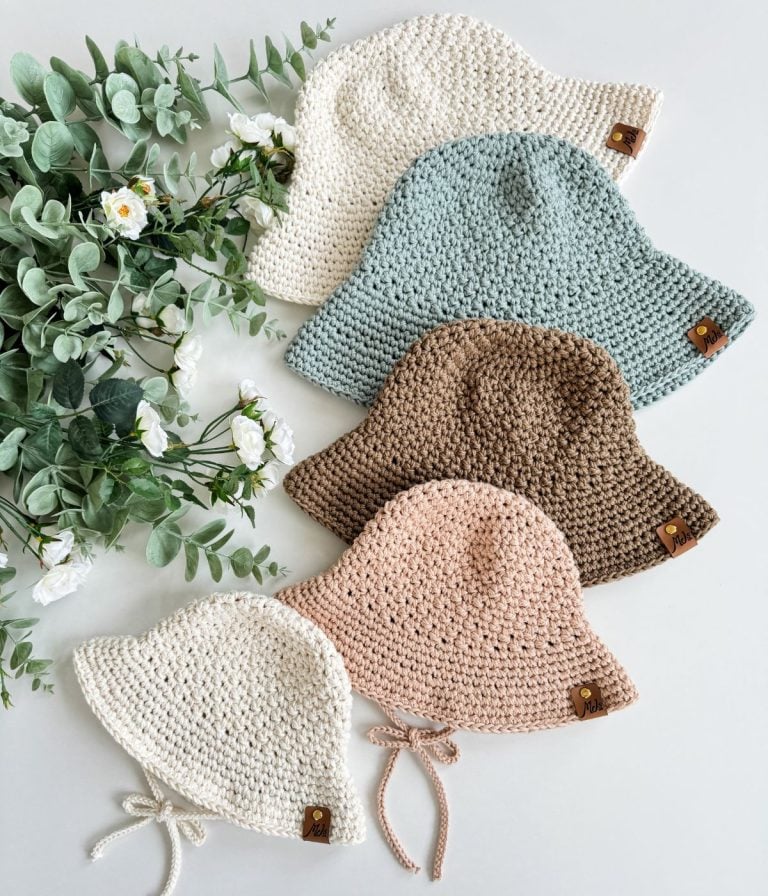
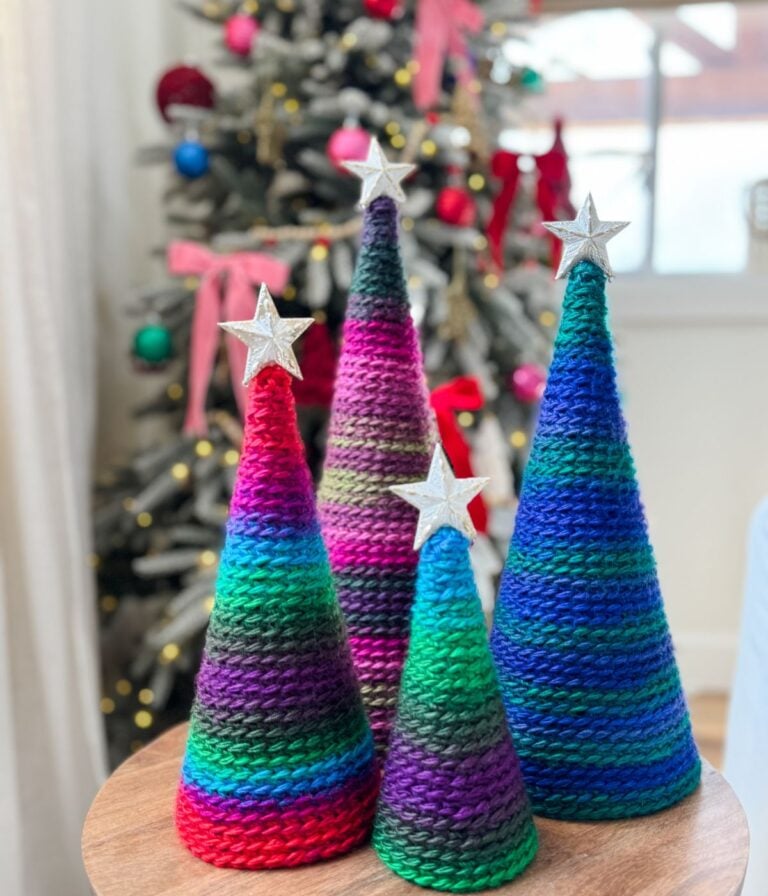
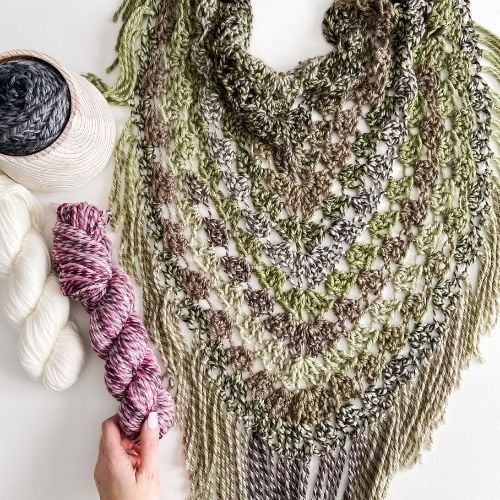
This stitch is great for projects that benefit from texture and structure, such as:
• dishcloths
• hats
• blankets
• scarves and accessories
Because the stitch pulls several loops together, it creates a fabric that is thicker and more textured than basic stitches like single crochet.
A Helpful Tip About Star Stitch
One thing you’ll notice when working the star stitch is that the fabric tends to pull in slightly compared to other stitches.
For example, if you work a row of single crochet and then begin the star stitch, the single crochet row may appear a bit wider than the star stitch section.
This is completely normal. The stitch naturally cinches inward as the loops are pulled together.
In some patterns, like dishcloths or blankets, you may see small adjustments or decreases worked along the edges or borders so everything lines up evenly.
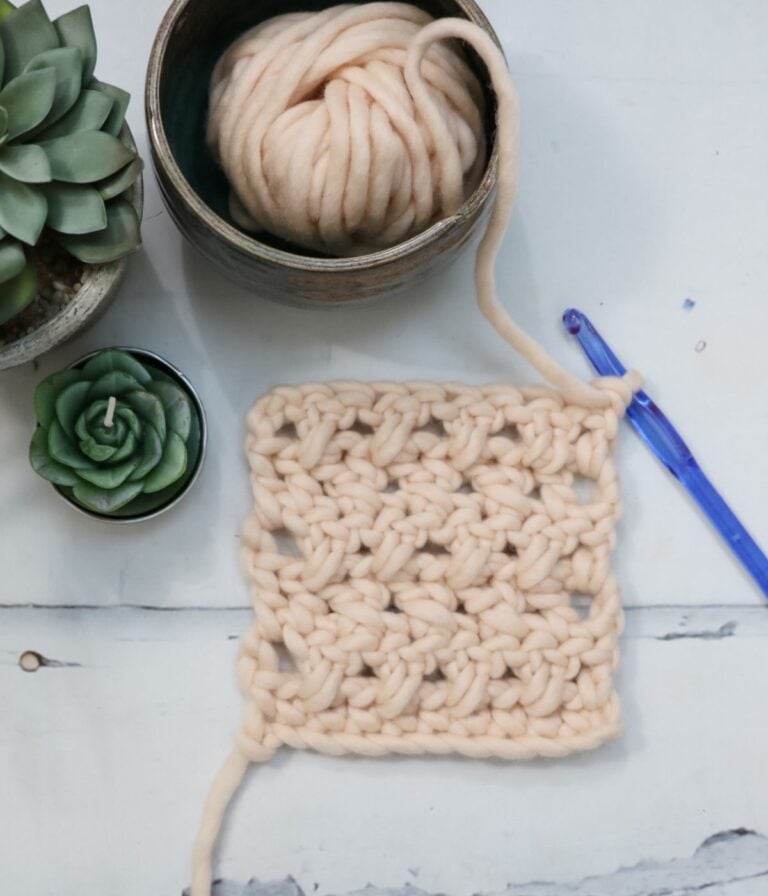
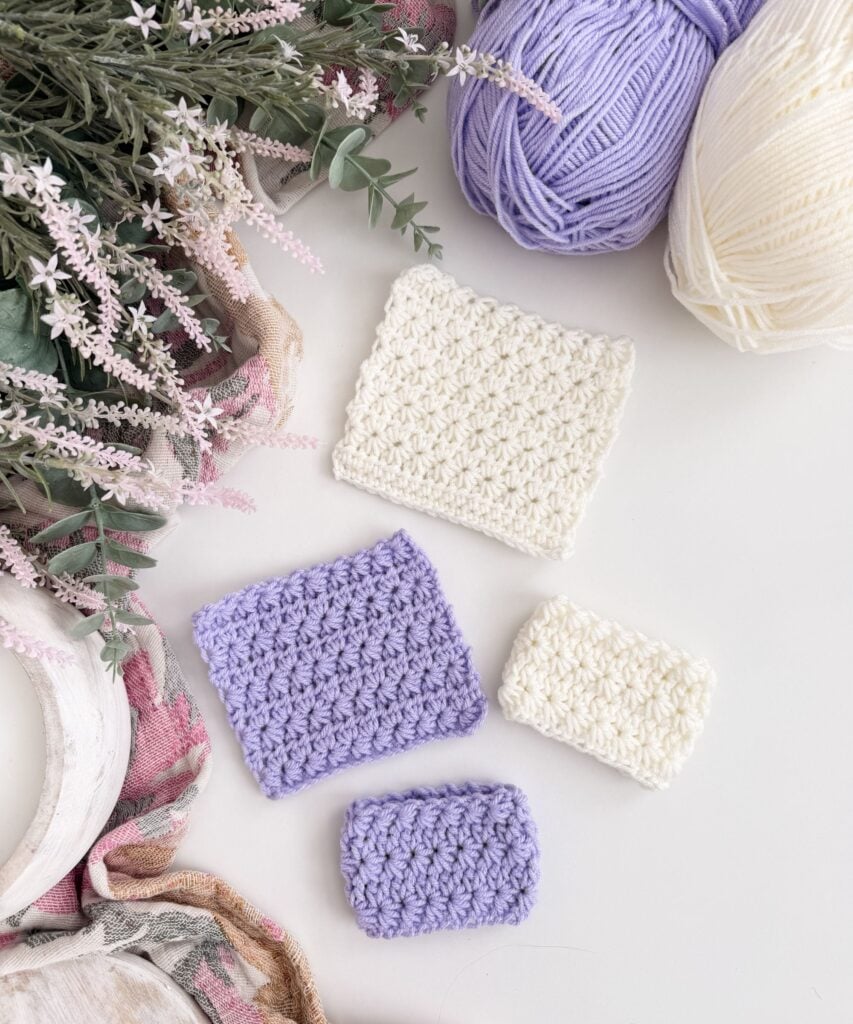
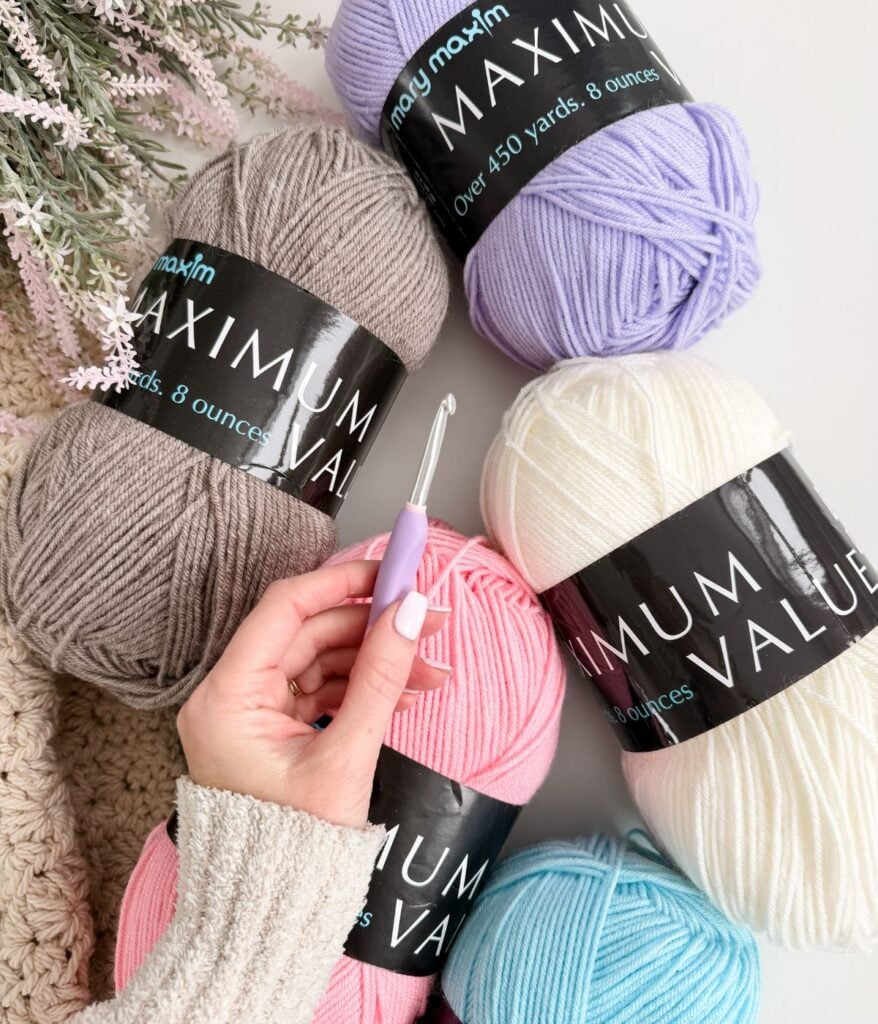
Supplies Used in This Tutorial
For this tutorial, I kept things simple so it’s easy to see the stitches.
Yarn
Mary Maxim Maximum Value Yarn (CDN link),
Worsted weight
This combination creates clear stitch definition, which makes it easier to see where each loop should be pulled up.
How to Crochet the Star Stitch (Rows)
To demonstrate the stitch, we will begin with a small practice swatch. This makes it easier to see how each star is formed and where to insert your hook.
Foundation Chain
Start by chaining 23 stitches.
The star stitch is worked using a multiple of 2 plus 3, and chaining 23 gives us 20 working stitches, which creates a nice swatch for practicing the stitch.
This is the same swatch size used in the video tutorial, so you can easily follow along.
Row 1: First Star Stitch Row
Insert your hook into the second chain from the hook and pull up a loop.
Insert your hook into the next chain and pull up a loop.
Insert your hook into the next chain and pull up a loop.
Insert your hook into the next chain and pull up a loop.
Insert your hook into the next chain and pull up a loop.
You should now have six loops on your hook.
Yarn over and pull through all loops.
Chain 1 to close the star.
Your first star stitch is complete.
Continue the Star Stitches
To create the next star:
Insert your hook into the eye of the previous star and pull up a loop.
Insert your hook into the last loop of the previous star and pull up a loop.
Insert your hook into the same stitch where the last loop of the previous star was worked and pull up a loop.
Insert your hook into the next chain and pull up a loop.
Insert your hook into the next chain and pull up a loop.
You should again have 6 loops on your hook.
Yarn over and pull through all loops.
Chain 1 to close the star.
Repeat this process across the row.
Note:
You may see the star stitch worked slightly differently in other tutorials. Some crocheters insert their hook between the posts of the previous star. In this tutorial, we insert the hook into the last loop of the previous star, which creates the same stitch pattern and is often easier to see when learning the stitch.
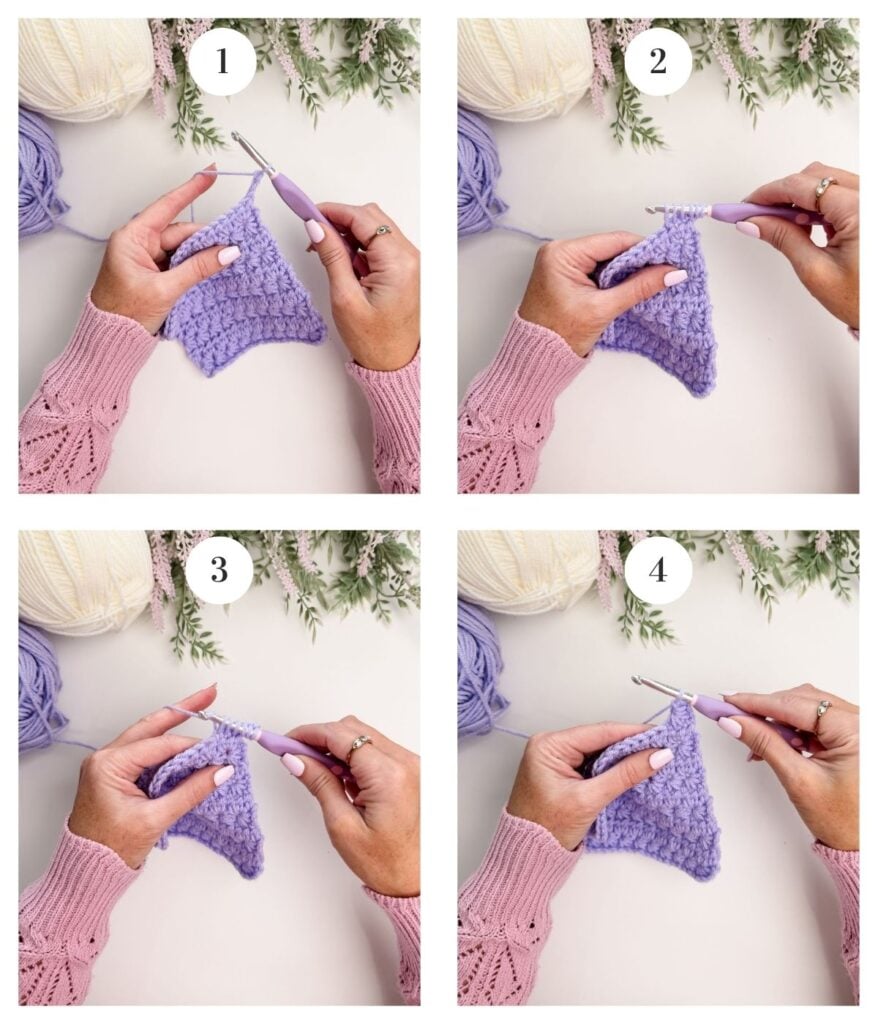
End Star Stitch
When you reach the last stitch of the row, you will complete the final star slightly differently.
Insert your hook into the eye of the previous star and pull up a loop.
Insert your hook into the last loop of the previous star and pull up a loop.
Insert your hook into the same stitch as the last leg of the previous star and pull up a loop.
Insert your hook into the next chain and pull up a loop.
Insert your hook into the final chain and pull up a loop.
You should have 6 loops on your hook.
Yarn over and pull through all loops.
Chain 1 to close the star.
Turn your work.
Row 2: Half Double Crochet Row
This row prepares the foundation for the next row of star stitches.
Chain 1 (does not count as a stitch).
Work 1 half double crochet in the eye of the first star.
Work 2 half double crochets in the eye of each star across the row.
When you reach the end of the row, work 1 half double crochet in the last stitch.
Turn your work.
Row 3: Beginning Star Stitch
To begin the next row of stars:
Chain 3.
Insert your hook into the second chain from the hook and pull up a loop.
Insert your hook into the third chain from the hook and pull up a loop.
Insert your hook into the first stitch and pull up a loop.
Insert your hook into the next stitch and pull up a loop.
Insert your hook into the next stitch and pull up a loop.
You should have 6 loops on your hook.
Yarn over and pull through all loops.
Chain 1 to close the star.
Continue Across the Row
Work the remaining stars exactly as before:
Insert hook into the eye of the previous star, pull up a loop.
Insert your hook into the last loop of the previous star and pull up a loop.
Insert hook into the same stitch where the last leg was worked, pull up a loop.
Insert hook into the next stitch, pull up a loop.
Insert hook into the next stitch, pull up a loop.
Yarn over and pull through all loops.
Chain 1 to close the star.
Repeat across the row.
Finish the row with the end star stitch as described above.
Repeat the Pattern
Repeat:
Row 2 – Half double crochet row
Row 3 – Star stitch row
Continue repeating these two rows for your project.
How to Crochet the Star Stitch in the Round
The star stitch can also be worked in the round, which is great for projects like hats and textured accessories.
For the tutorial swatch, we will begin with a foundation chain of 30 stitches.
Join with a slip stitch to the first chain, being careful not to twist the chain.
Round 1: Beginning Star Round
Chain 3.
To begin the first star:
Insert your hook into the second chain from the hook and pull up a loop.
Insert your hook into the third chain from the hook and pull up a loop.
Insert your hook into the same chain where you joined with the slip stitch and pull up a loop.
Insert your hook into the next chain and pull up a loop.
Insert your hook into the next chain and pull up a loop.
You should now have 6 loops on your hook.
Yarn over and pull through all loops.
Chain 1 to close the star.
Continue the Stars
Work the remaining stars around the chain using the same placement as when working in rows:
• Insert hook into the eye of the previous star
• Insert your hook into the last loop of the previous star and pull up a loop.
• Insert hook into the same stitch where the last loop was worked
• Insert hook into the next chain
• Insert hook into the next chain
Yarn over and pull through all loops.
Chain 1 to close the star.
Repeat this process around the round.
Last Star of the Round
When you reach the end of the round, work the final star slightly differently so it finishes neatly.
The last leg of the star is worked into the slip stitch join from the beginning of the round. This allows the round to finish with a complete star.
Slip stitch into the beginning chain 3 to join the round.
Round 2: Half Double Crochet Round
Chain 2.
Work 1 half double crochet in the first eye of the star.
Work 2 half double crochets in the eye of each star around.
Work 1 half double crochet in the final eye.
Slip stitch into the top of the first half double crochet to join.
Round 3: Star Stitch Round
Chain 3.
Work the beginning star the same way as Round 1:
• second chain from hook
• third chain from hook
• same stitch as the join
• next stitch
• next stitch
Yarn over and pull through all loops.
Chain 1 to close the star.
Continue working stars around the round as before.
For the final star, place the last leg into the slip stitch join from the previous round.
Slip stitch into the beginning chain 3 to join.
Helpful Tip
Finishing the last star in the slip stitch join and then joining into the chain 3 helps prevent gaps where the round begins and ends. This keeps the star stitches looking continuous around the project.

Star Stitch Video Tutorial
Star Stitch Troubleshooting Tips
If you are new to the star stitch, it can feel a little tricky at first. Once you understand where each loop is pulled up, the stitch becomes very rhythmic. Here are a few common issues crocheters run into and how to fix them.
My Star Stitches Are Too Tight
If you are struggling to pull through all the loops on your hook, your loops may be too tight.
When pulling up the loops for each star, try lifting them slightly higher on your hook so they are all about the same height. This gives you a little more space to pull through all the loops comfortably.
Using a hook with a smoother throat can also help when working textured stitches like this.
I Can’t Find the Eye of the Star
The eye of the star is the small opening created by the chain that closes each star stitch.
This is where the next star begins. When inserting your hook, look for that small opening at the top center of the star.
If you are unsure, gently stretch the stitch with your fingers, and the eye will become easier to see.
My Fabric Looks Narrower Than My Foundation Row
This is completely normal when working the star stitch.
Because the stitch pulls several loops together, the fabric naturally cinches inward slightly, making it appear narrower than stitches like single crochet.
When combining star stitch with other stitches in a pattern, small adjustments may be needed in the borders or edges to keep everything even.
I’m Getting Gaps at the Join When Working in the Round
If you notice a small gap where your round begins and ends, make sure the last leg of the final star is worked into the slip stitch join from the previous round.
After finishing the star, slip stitch into the beginning chain to join the round.
This helps the stitches flow smoothly around the round and prevents visible gaps.
My Star Stitches Don’t Look Even
If your stars look uneven, it usually comes down to loop height consistency.
Try to pull up each loop to about the same height before finishing the stitch. This keeps the stars uniform and gives the fabric a smoother texture.
Tip for Beginners
If this is your first time trying star stitch, practice slowly on a swatch before starting a project.
Once you crochet a few rows, the placement becomes much easier to recognize, and the stitch starts to flow naturally.
Star Stitch vs Jasmine Stitch
The star stitch and jasmine stitch are often confused because they both create a similar star-shaped texture. However, they are worked quite differently.
The star stitch is created by pulling up loops from several stitches and finishing them together to form each star. It is worked in rows or rounds and typically includes a return row of half double crochet or single crochet.
The jasmine stitch, on the other hand, is made from puff-style clusters that are worked together to form flower-like shapes. It is a much thicker stitch and uses larger groups of loops that are closed together.
Both stitches create beautiful, textured fabric, but the star stitch is generally easier to learn and works well for projects like dishcloths, hats, blankets, and garments.
Quick Comparison
Star Stitch
• created from pulled-up loops
• uses a two-row repeat
• medium texture
• beginner-friendly once understood
Jasmine Stitch
• created from puff clusters
• thicker, more dimensional fabric
• more advanced tension control required
The star stitch may look complicated at first, but it is very beginner-friendly once you understand where to insert your hook. The stitch follows a simple rhythm of pulling up loops and closing them together to form each star. After a few rows of practice, the placement becomes much easier to recognize.
Yes, the star stitch can be worked in the round. The technique is very similar to working in rows, but the last leg of the final star is typically worked into the slip stitch join to prevent gaps where the round begins and ends.
If it is hard to pull through all the loops, your loops may be too tight. Try pulling each loop up slightly higher on your hook before completing the stitch. This gives you more room to pull through all the loops comfortably.
The eye of the star is the small opening created by the chain that closes each star stitch. This is where the next star stitch begins. Inserting your hook into the eye helps the stars connect neatly across the row.
Star stitch works well for projects that benefit from texture and structure. Some popular projects include:
• dishcloths
• hats and beanies
• blankets
• scarves and cowls
• textured garments
When forming a star stitch, you will have six loops on your hook before completing the stitch. After pulling up the loops, yarn over and pull through all six loops, then chain one to close the star.
The star stitch naturally pulls the fabric inward because several loops are pulled together to create each star. This creates a dense, textured fabric that is slightly narrower than stitches like single crochet. This is completely normal and part of the stitch design.
Helpful Resources
- Join our Facebook Crochet Community for pattern support and inspiration
- Subscribe on YouTube for hundreds of free tutorials
- Sign up for our newsletter and receive 40% off your first Ravelry purchase!
- Sign up for our YouTube Membership
This post is written by Michelle Moore of MJ’s Off The Hook Designs Inc, based in Lakefield, Ontario, Canada. Your go-to source for modern, easy crochet patterns. Published on April 1, 2026.
Thank you for visiting MJ’s Off The Hook Designs. You can find more crochet patterns in our Ravelry and Etsy shops.
For daily inspiration and behind-the-scenes peeks, join me over on Facebook or Instagram, or join our YouTube Membership for exclusive content!
You’ve got questions, we’ve got a community!
Crocheting is better with friends! Join our group to post pictures and ask all your pattern support questions.