*This post may contain affiliate links to support the cost of this blog. At no cost to you, I may make a small commission if you purchase through these links. Read our Privacy Policy HERE

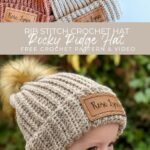


Introducing the new Rocky Ridge Crochet Hat pattern! Inspired by the breathtaking Canadian Rocky Mountains, this crochet pattern is a true gem.
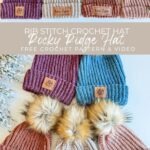
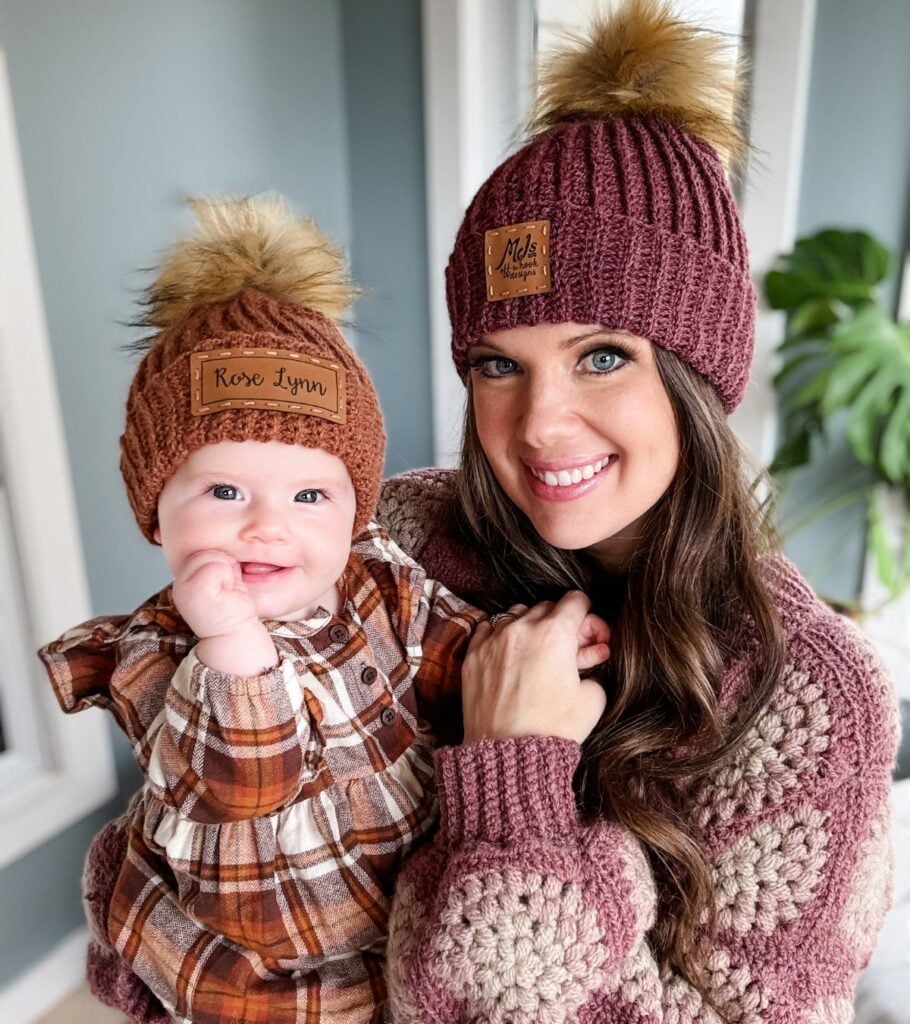
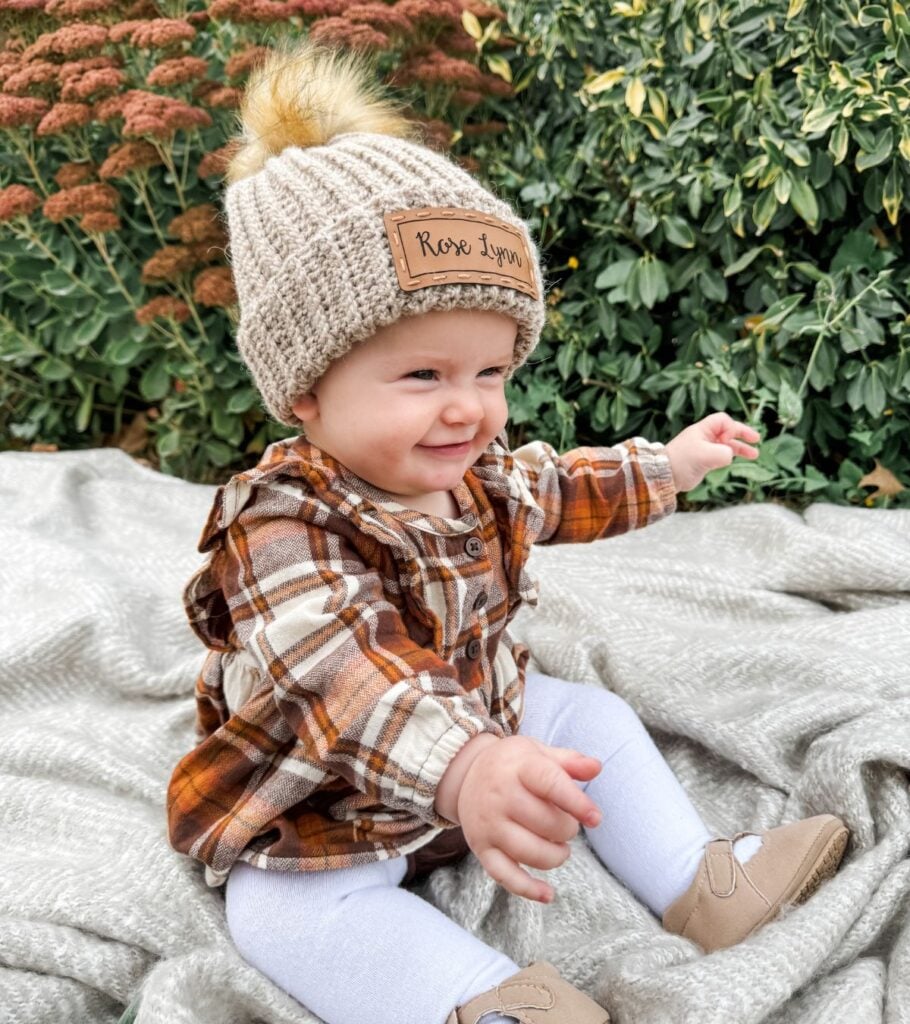
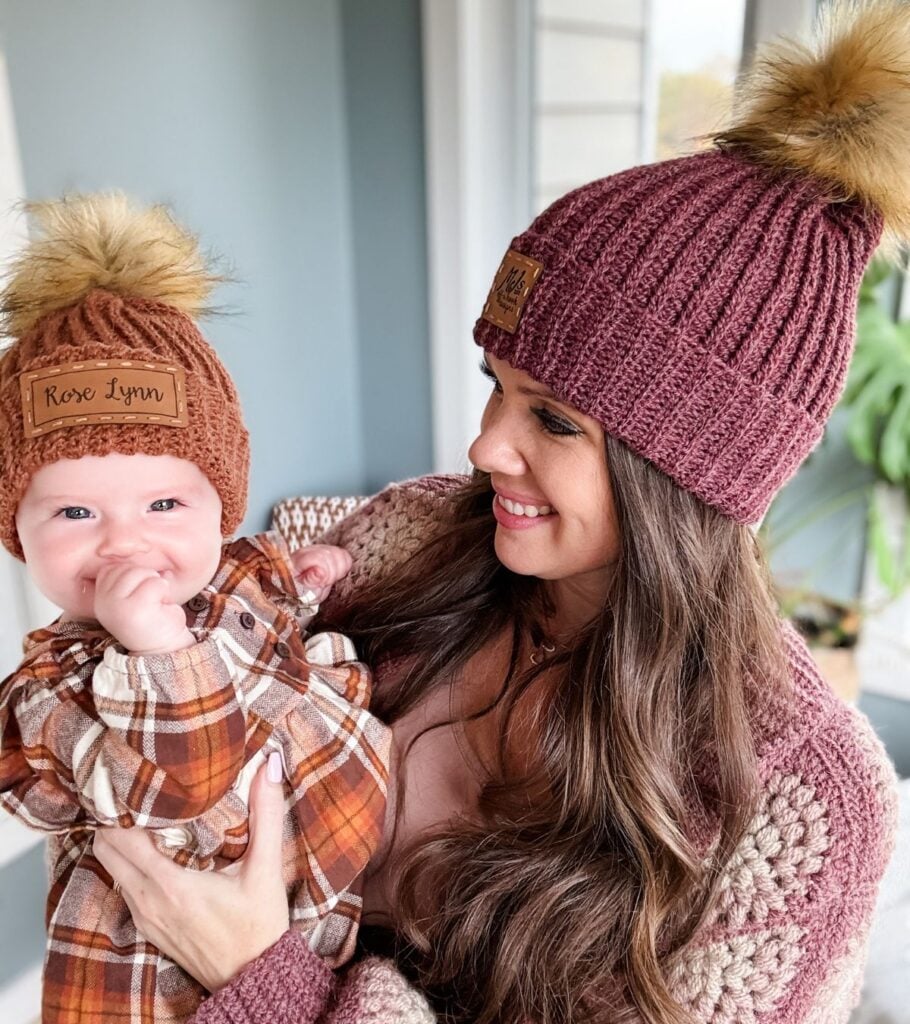
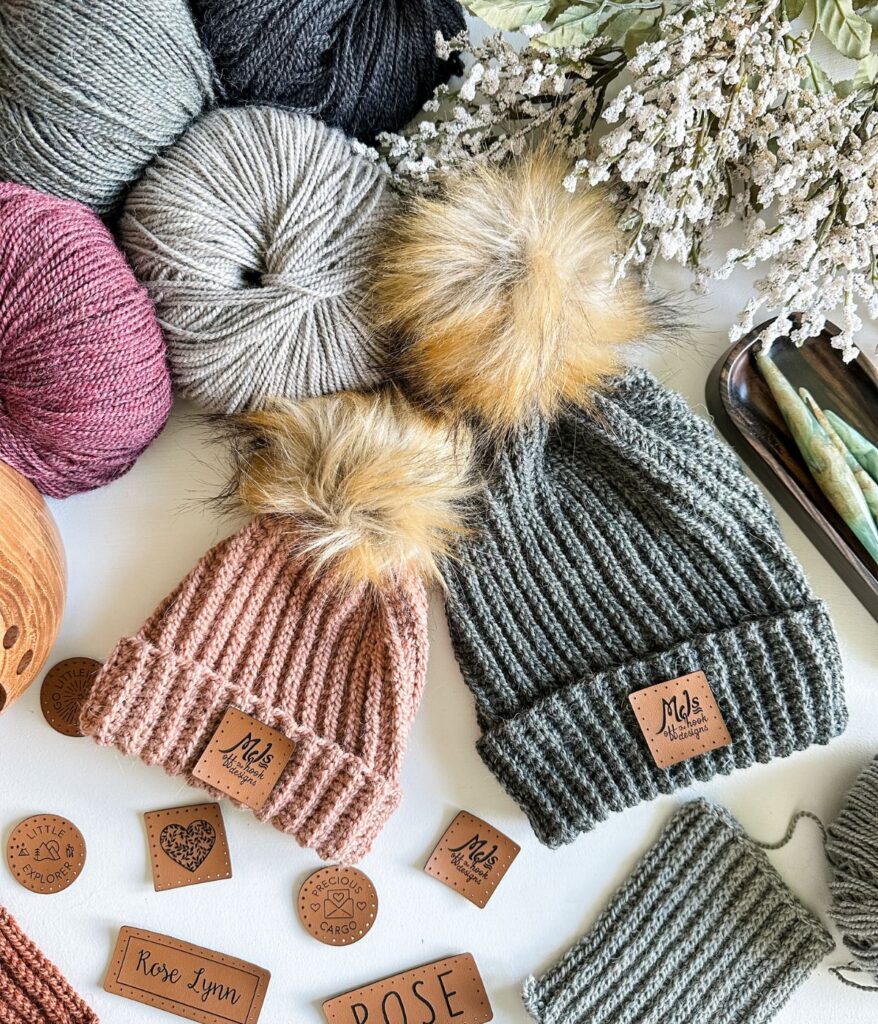
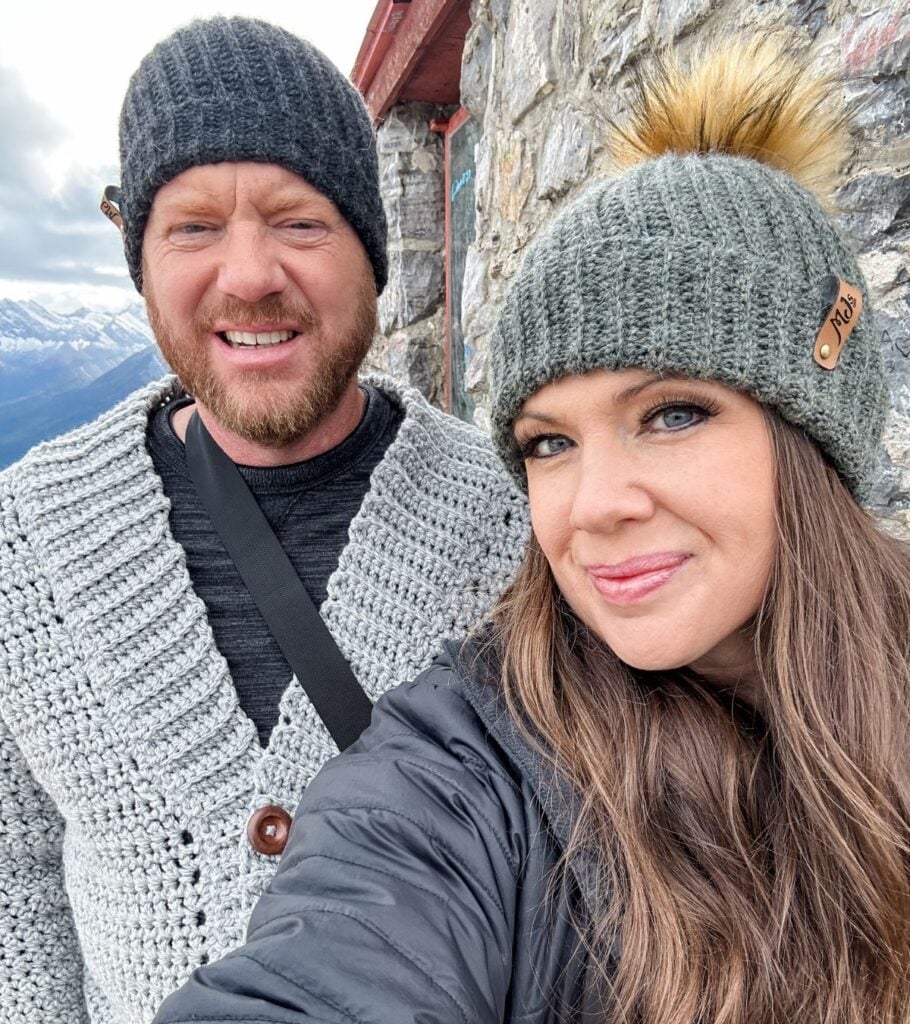
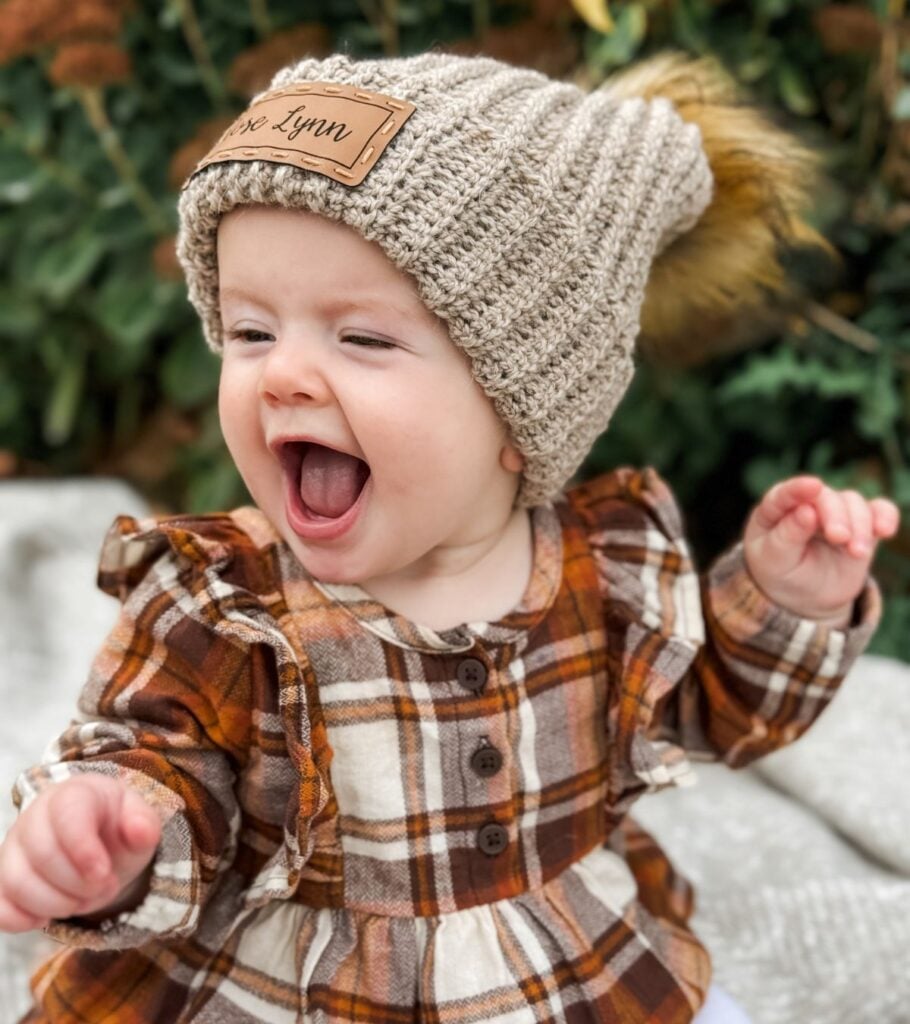
The hat features a stunning ribbed design that creates a stretchy, ridged texture, adding a touch of rustic to your winter wardrobe. Whether you’re exploring the picturesque trails or admiring the sights in beautiful Banff, Alberta, this hat is a must-have for your outdoor adventures.
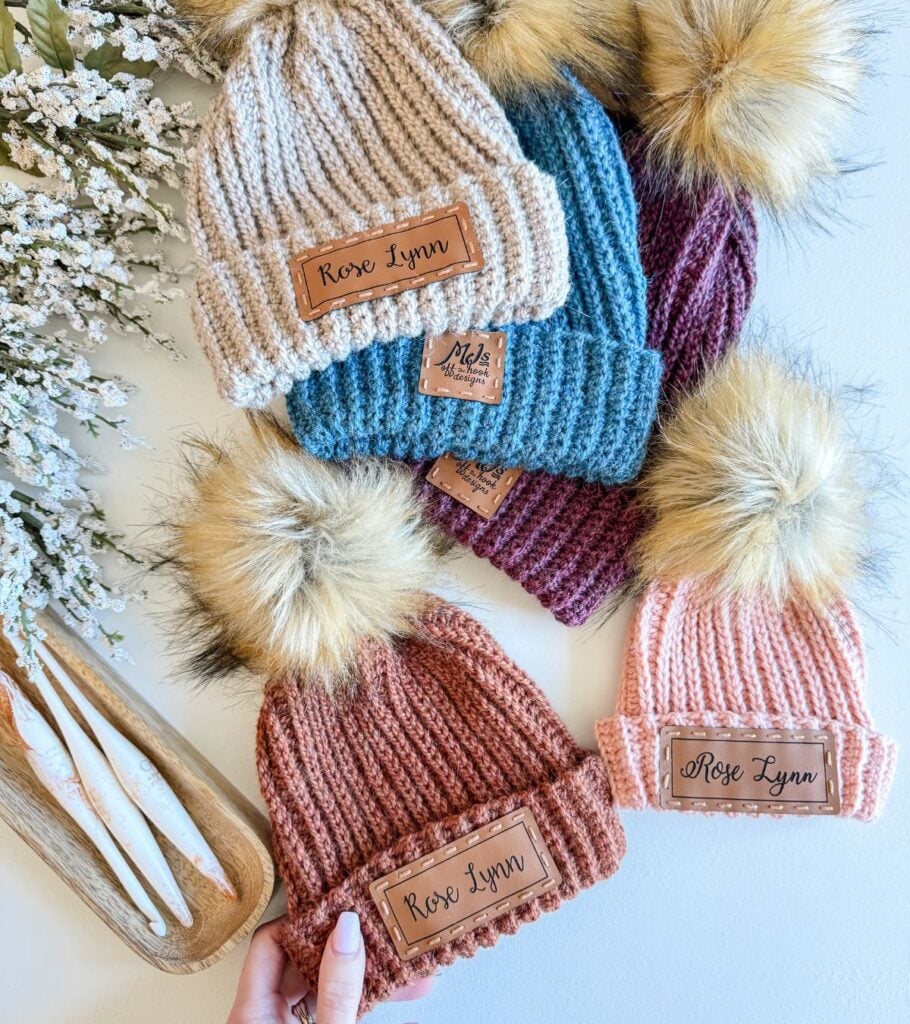
Designed to cater to the entire family, the Rocky Ridge Hat pattern comes in sizes for all ages. So, you can create matching hats for the whole family and tackle the chilly weather together.
Crafted with the luxurious Upcycle Alpaca Blend from WeCrochet, which combines alpaca, wool, and acrylic, this hat offers a unique blend of softness, durability, and warmth. It’s perfect for keeping you cozy during your fall and winter escapades.
Don’t miss out on the opportunity to crochet this stunning Rocky Ridge Hat and embark on your own mountain-inspired journey. So, grab your crochet hooks and the Upcycle Alpaca Blend yarn, and let’s create something beautiful together!
Below, you will find everything you need to make this ribbed crochet hat, including the yarn, hook, materials, free written pattern for blog subscribers, pictures and a video tutorial. If you love this free crochet hat pattern, please share!

Key Takeaways
- The Rocky Ridge Crochet Hat pattern is inspired by the Canadian Rocky Mountains, featuring a comfy ribbed design.
- It accommodates all family members, allowing you to crochet matching hats for outdoor activities.
- Made with Upcycle Alpaca Blend yarn, this hat balances softness, durability, and warmth for winter.
- The pattern is beginner-friendly, worked flat with clear instructions and a video tutorial to assist.
- Enjoy creating your Rocky Ridge Crochet Hat with eco-friendly materials that reflect nature’s beauty.
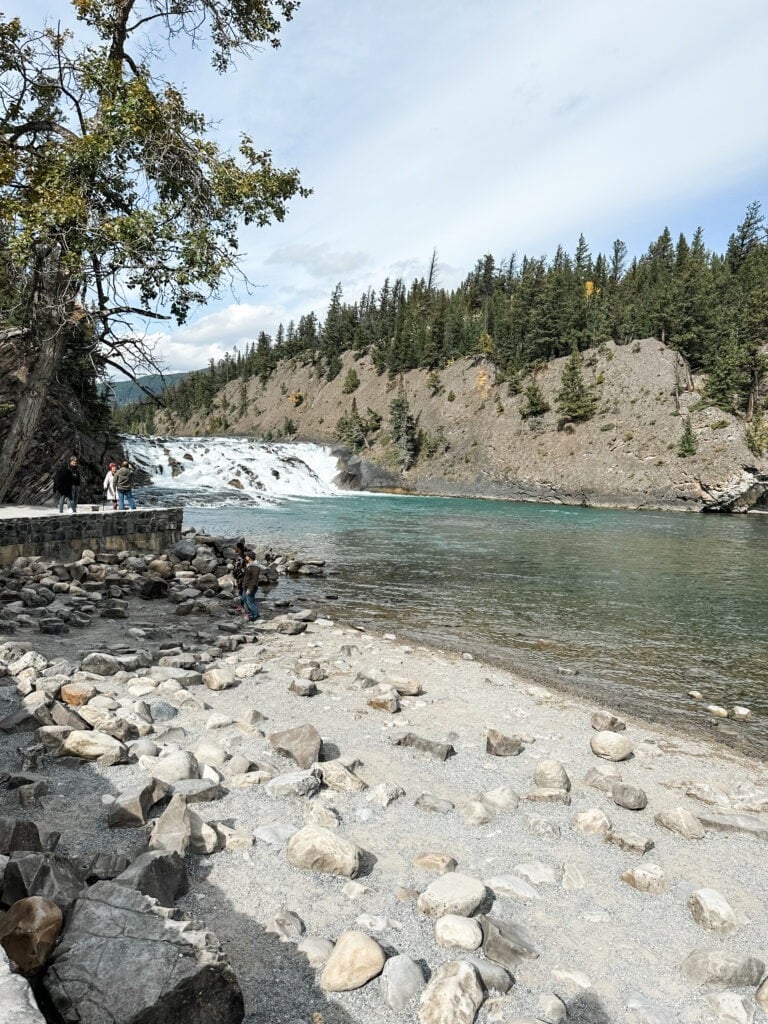
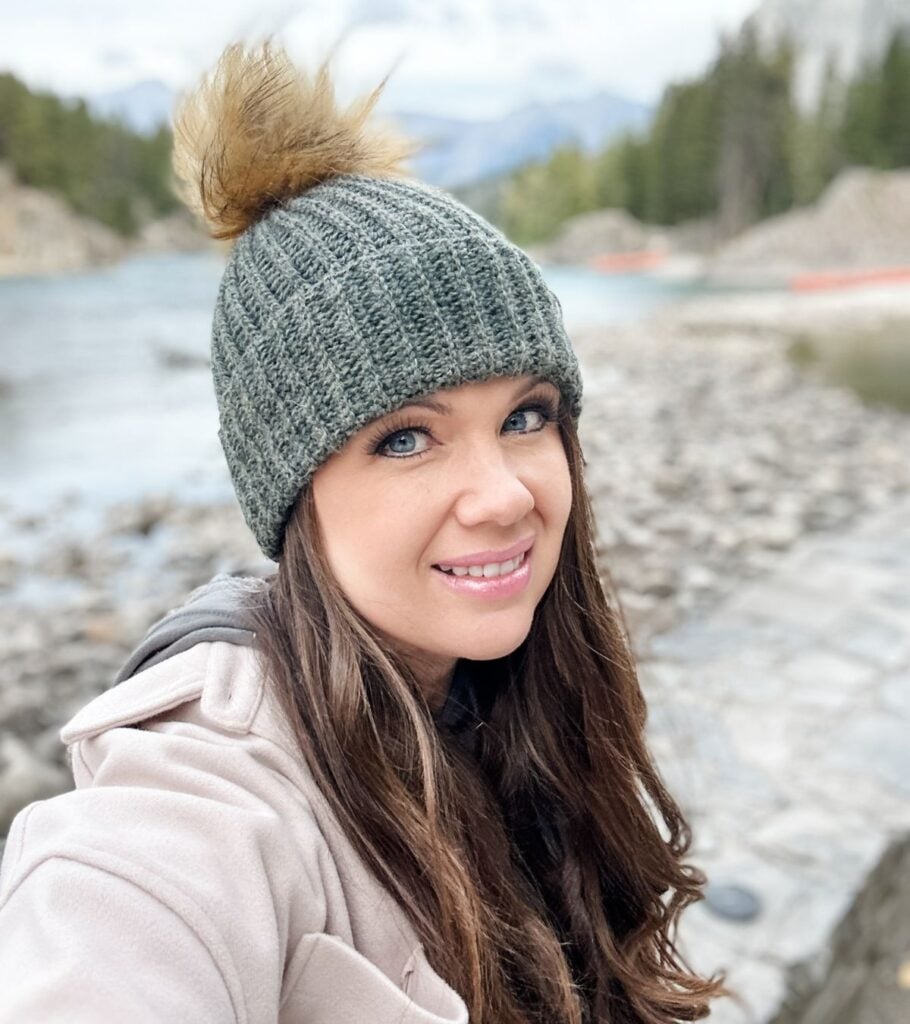
Bow River Falls
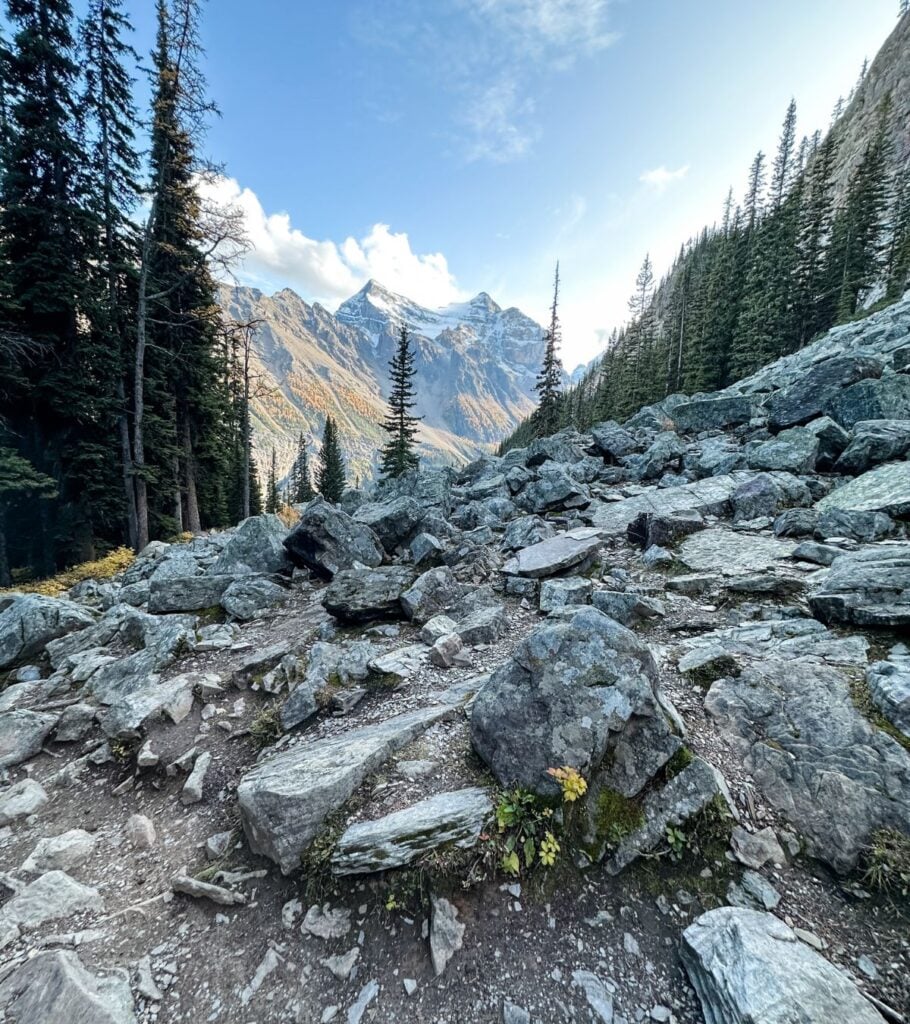
Standing at the Banff Bow River Falls, I was captivated by the sheer magnificence of the Canadian Rockies unfolding before my eyes. The roaring waters and the rugged beauty of the landscape were a sight to behold. As a passionate crocheter, I was instantly drawn to the idea of channeling this awe-inspiring scenery into a tangible creation: the Rocky Ridge Hat.
The falls, with their cascading water and the gentle mist, inspired a sense of tranquility and peace within me. I wanted to capture that spirit in a cozy and warm accessory that would serve as a reminder of that remarkable place.
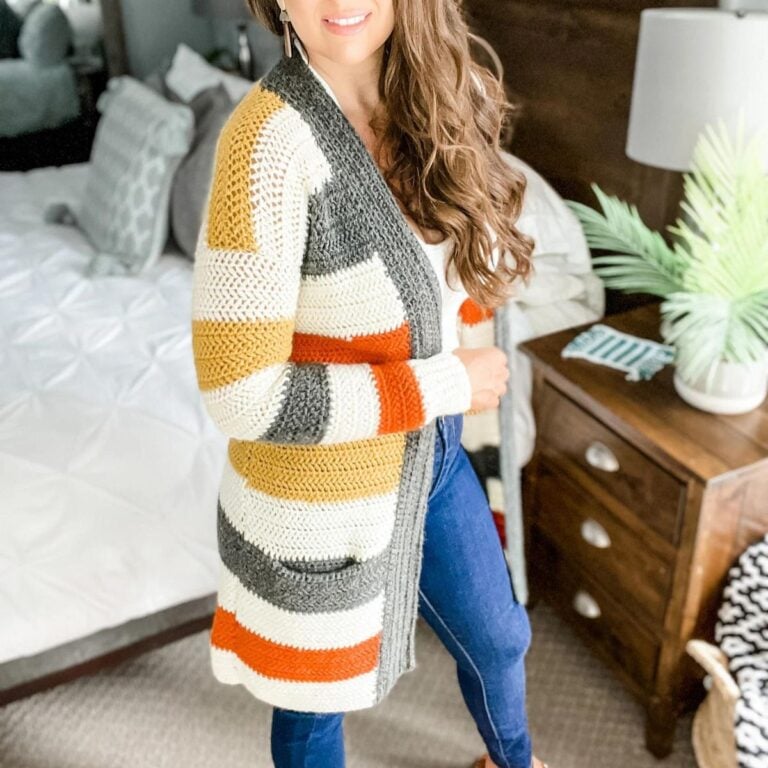
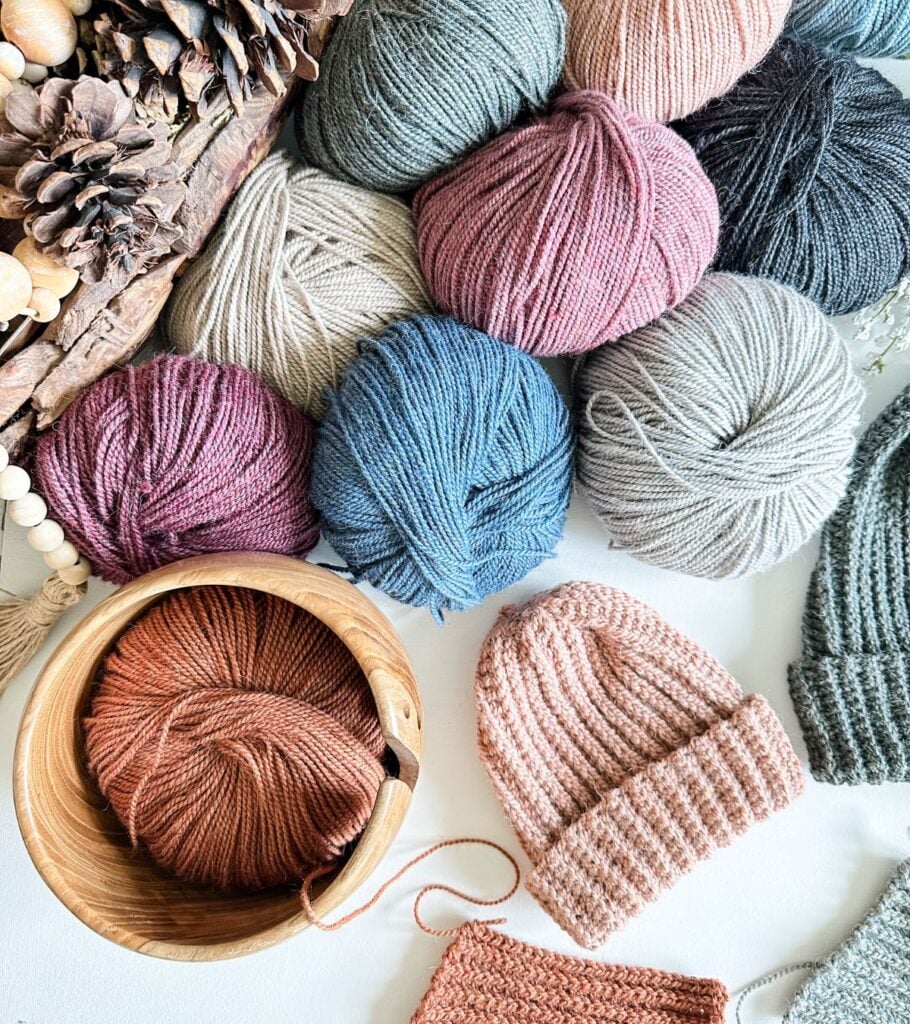
With my trusty crochet hooks and leftover Upcycle alpaca yarn from my River Stone Coatigan, I dived into the task of translating nature’s grandeur into stitches. The brim of the hat mirrored the rugged cliff faces surrounding the falls, while the textured patterns were reminiscent of the swirling waters. I then selected earthy colors that echoed the hues present in the rocks and foliage, for my collection of hats.
The process of crocheting the Rocky Ridge Hat became a meditative escape, each stitch weaving together memories of that remarkable day. As I worked on the hat, I imagined the cool breeze brushing against my face and the sound of the falls enveloping me once more. It was as if I was breathing life into the very essence of the Banff Bow River Falls.
Completing the hat, I couldn’t help but feel a sense of accomplishment and connection to the natural world. The Rocky Ridge Hat became more than just a fashion accessory; it became a statement piece that embodies the magnificence of nature and the creative spirit within.

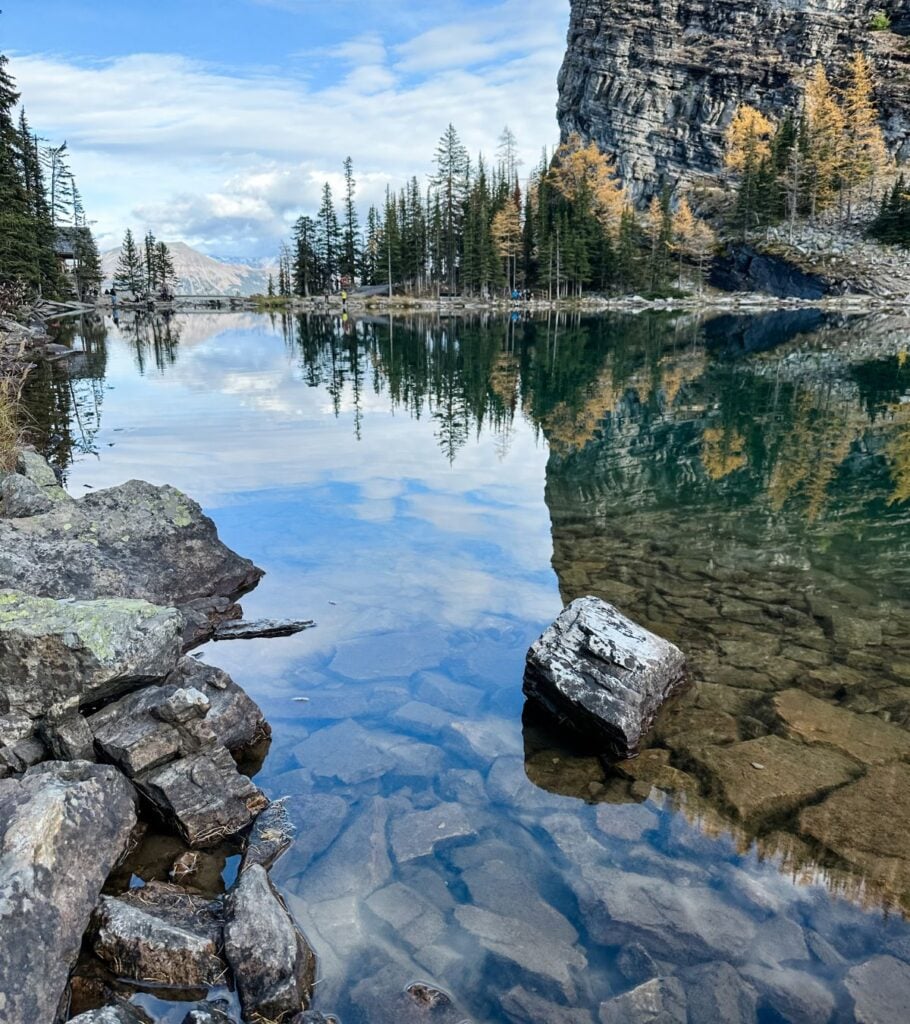
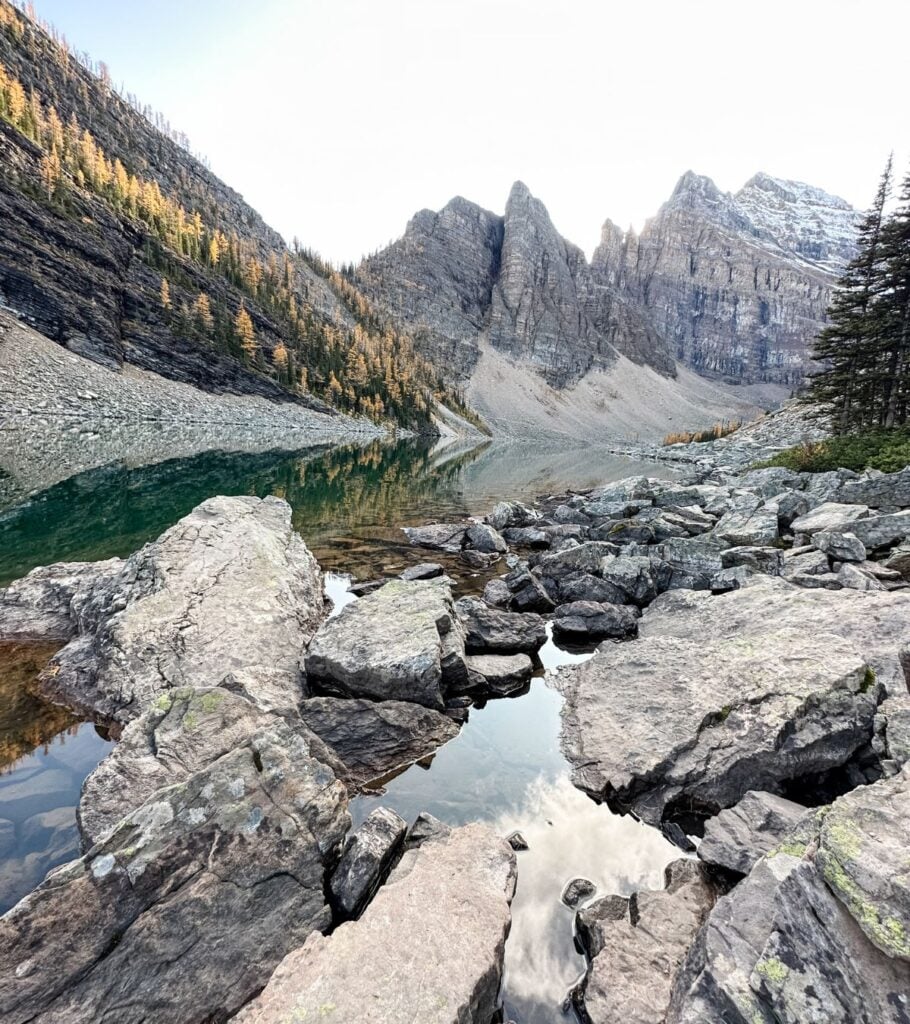
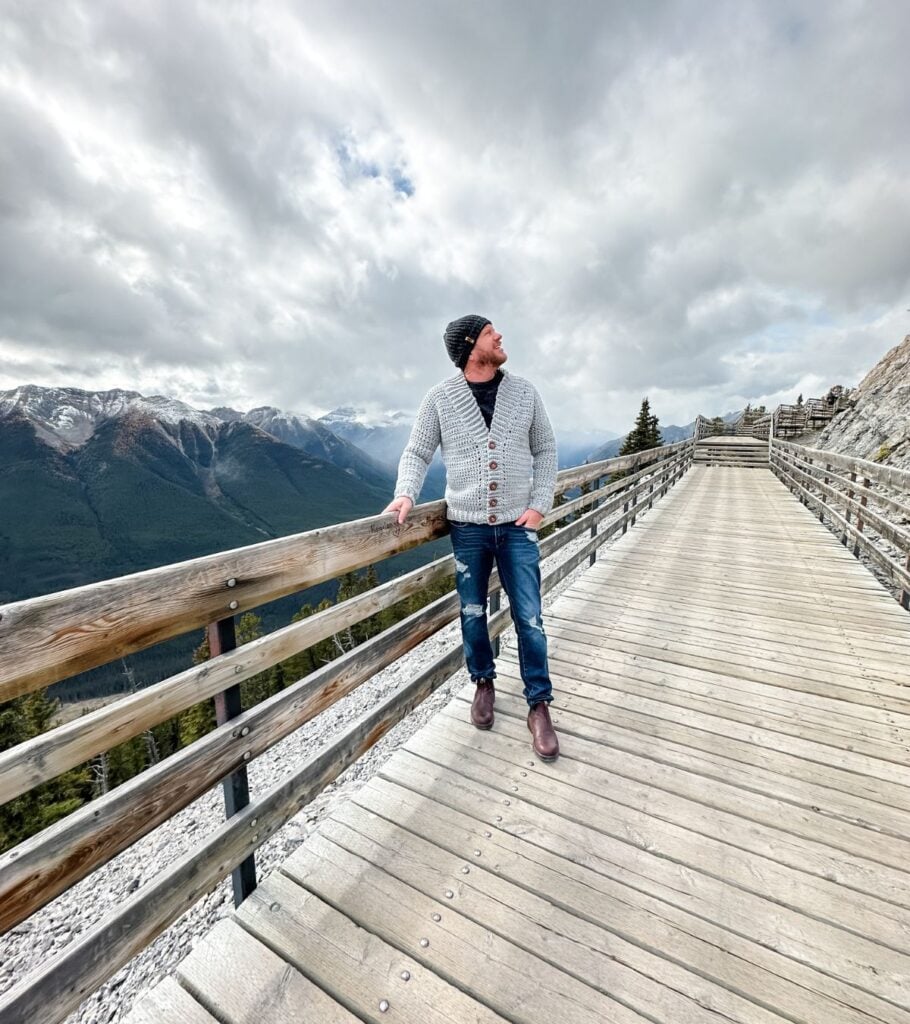
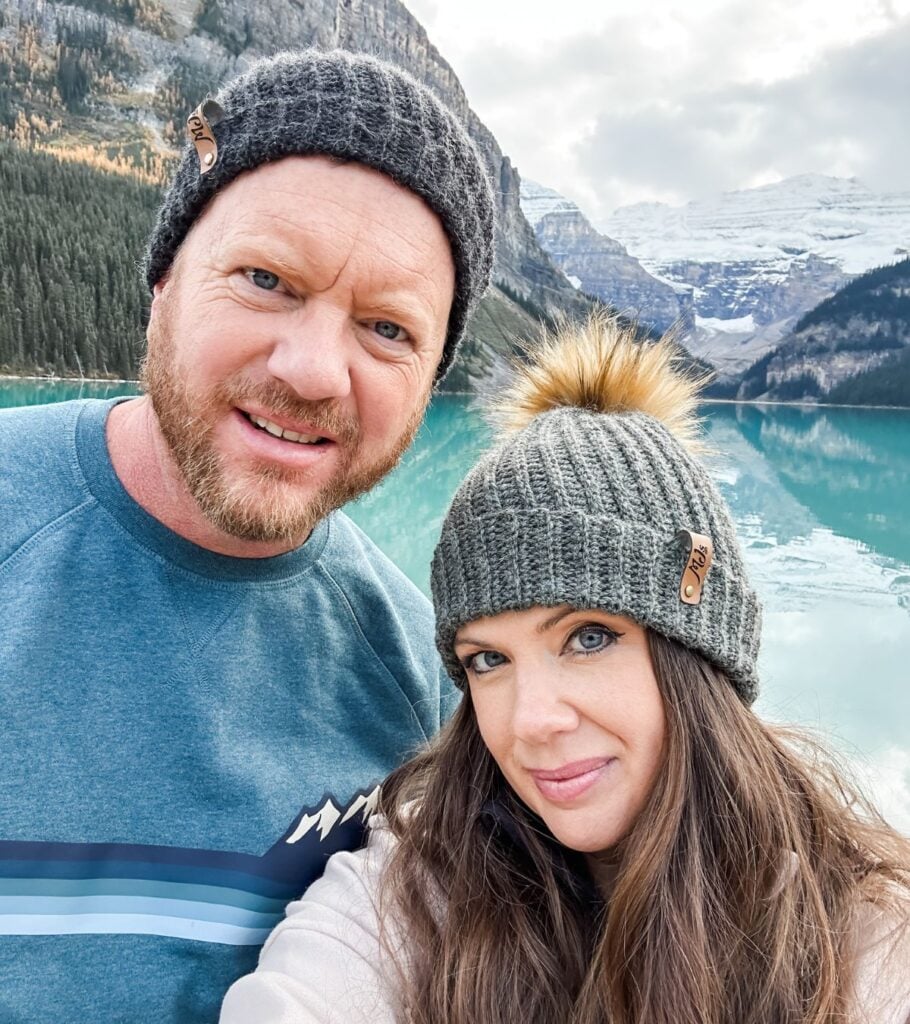
Canadian Rocky Mountains
Last December, I embarked on my first trip to the majestic Canadian Rockies in order to visit my eldest daughter, who was living in the town of Lake Louise. To say that I was in awe of the breathtaking scenery would be an understatement – it was an experience beyond belief. The sights I saw were nothing short of extraordinary, leaving an indelible mark on my soul. These awe-inspiring mountains and the pristine, crystal-clear waters that surrounded them ignited a newfound passion within me, which has since greatly influenced many of my recent designs.
It brings me such joy to see that my second daughter, too, has fallen deeply in love with the Rocky Mountains. In fact, she has recently moved to the Rockies, opening up infinite opportunities to embark on many more visits. I am eagerly anticipating the countless creative possibilities that lie ahead as we immerse ourselves in the beauty of the Canadian mountains.
Can a Beginner Make a Crochet Hat?
Crocheting can be a wonderful hobby that’s both rewarding and creative. Many beginners are often eager to try their hand at making different crochet items, such as hats. The good news is, even if you’re new to crochet, you can absolutely make a crochet hat with the right guidance and a bit of patience!
The Rocky Ridge Crochet Hat – a fabulous pattern perfect for beginners who want to dip their toes into hat-making. With its stylish ribbed design and cozy fit, this hat is a versatile accessory that’s sure to impress.
But what makes this hat so beginner-friendly? The pattern itself is designed with simplicity in mind; it’s worked flat, so there’s no tricky shaping involved; you only need to be able to make a rectangle. The step-by-step instructions, along with the accompanying video tutorial, will guide you through each stitch, ensuring you never feel lost or overwhelmed.
Do not fear any potential roadblocks along the way. As a beginner, it’s natural to encounter challenges, but with some practice and determination, you’ll conquer them. Remember to take your time, be patient with yourself, and embrace the learning process. Crochet is a skill that improves with practice, so don’t hesitate to give it a try!
Video Tutorial
Join me and follow along to this detailed tutorial to complete the Rocky Ridge Crochet Hat.

What Yarn is Best for a Crochet Hat?
When it comes to finding the perfect yarn for crocheting hats, it’s essential to consider factors like warmth, durability, and comfort. One exceptional yarn that ticks all the boxes is the WeCrochet Upcycle Alpaca Blend. This unique yarn combines the luxurious softness of alpaca wool with the practicality and durability of acrylic.
The blend of alpaca wool and acrylic yarn ensures that your crochet hat is not only incredibly soft to the touch but also long-lasting. The addition of acrylic adds strength and durability, making it suitable for projects that require frequent use, such as hats.
One of the standout features of the WeCrochet Upcycle Alpaca Blend is its exceptional warmth. Alpaca wool is known for its excellent insulation properties, providing natural heat retention without being overly bulky. This means your crochet hat will keep you cozy during chilly winters or outdoor adventures.
Another remarkable aspect of this yarn is its eco-friendly nature. WeCrochet is committed to sustainable practices by using upcycled alpaca fibres in the production of this yarn. By choosing the Upcycle Alpaca Blend, you’re not only acquiring high-quality yarn, but you’re also actively supporting ethical and sustainable yarn production.
Rocky Ridge Crochet Hat Yarn Requirements
Upcycle Alpaca Blend Worsted Weight #4
219yd/100g, 33% Alpaca, 34% Wool, 33% Acrylic, Shown in Garnet, Thyme and Graphite (Adult), Lapis (Toddler/Child), Topaz & Parchment (6-12mth) and Fawn (0-6mth)
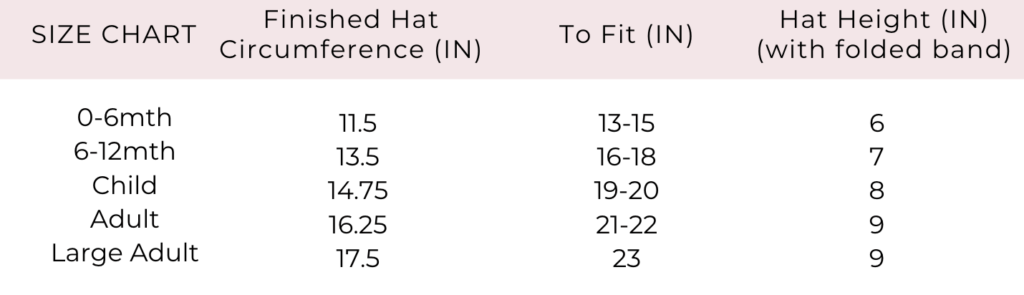
Sizes
0-6mth (6-12mth, Child, Adult, Large Adult)
115 (145, 180, 215, 250) yards
Substituting Yarn
Yarn substitution is an indispensable skill for crocheters, empowering you to achieve desired results in case the original yarn listed in a pattern is unavailable.
The Rocky Ridge, Crochet Hat pattern calls for WeCrochet Upcycle Alpaca Blend Worsted yarn. However, it’s important to note that although it is categorized as worsted weight, it leans closer to a DK-weight yarn and has a thinner consistency. Additionally, colours may vary slightly in thickness.
If you decide to substitute the yarn for this pattern, I have compiled a list of suitable alternatives. However, it’s crucial to conduct a gauge swatch using your chosen yarn and adjust your hook size accordingly to achieve the specified gauge of the pattern for correct sizing. This step is essential in ensuring that the final hat turns out as intended and fits perfectly.
Please refer to the substitution list and follow the recommended gauge swatching process to achieve the best results with your chosen yarn.
Yarn Substitutes
Swish Worsted 110yds/50g
Wool of the Andes Worsted or Tweed 110yds/50g
Heatherly Sport 328yds/100g Or Worsted
Lion Brand Color Theory 246yds/100g –
Crochet Hooks Needed
Use code MJS15 for 15% off Furls Hooks
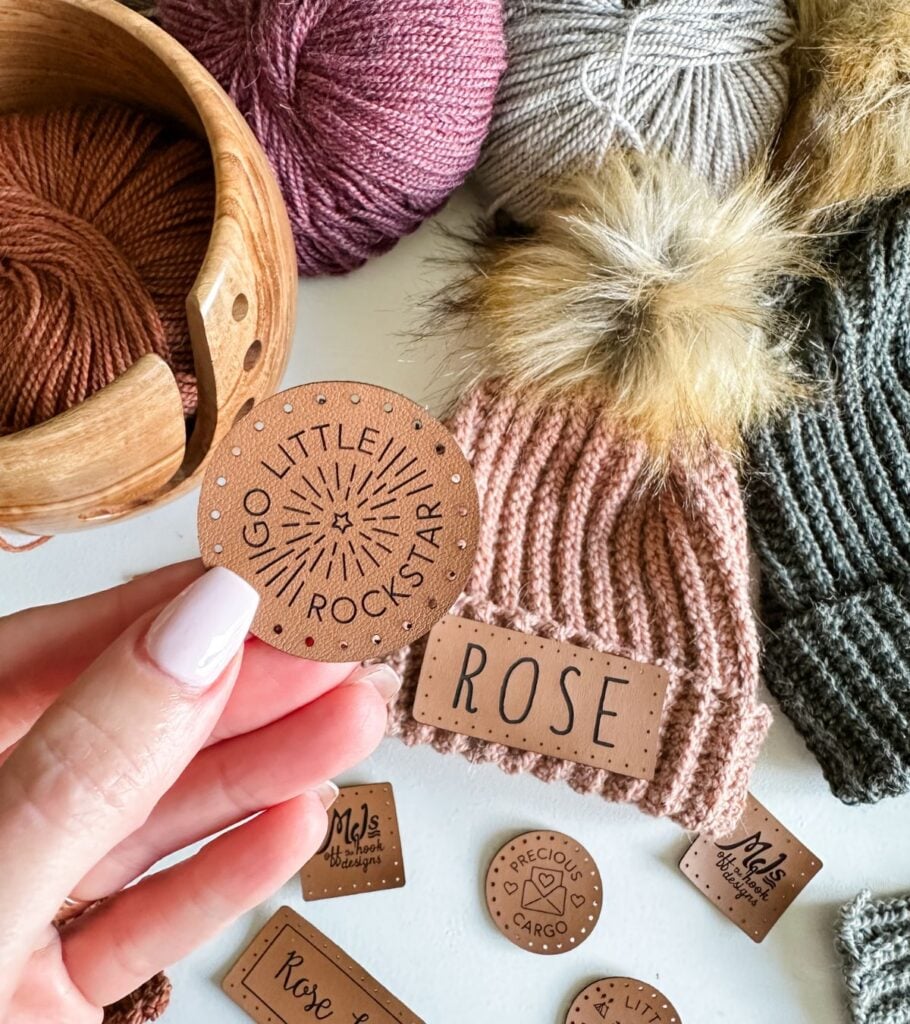
Additional Supplies for the Rocky Ridge Crochet Hat
Personalized Tags (optional)
Helpful Resources
- Join our Facebook Crochet Community for pattern support and inspiration
- Subscribe on YouTube for hundreds of free tutorials
- Sign up for our newsletter and receive 40% off your first Ravelry purchase!
- Sign up for our YouTube Membership
Gauge
Hat: 8.5 sts and 8.5 rows equal to 2″ with 5.5mm hook in hdc blo, sl st pattern
Band: 9 sts and 9 rows equal to 2″ with 4.5mm hook in sc blo
Rocky Ridge Crochet Hat Construction
To create the hat, begin by working from the side across in rows. As soon as the rectangle reaches a sufficient size to fit around the head, join the pieces together using slip stitches, ensuring that the wrong sides are facing each other. Next, work a ribbed band along the bottom edge of the hat using a join-as-you-go technique. Reattach the yarn to the top of the hat and gradually decrease stitches. Use a yarn needle to weave through the final stitches until the top is closed securely.
Upgrade to the Premium PDF Pattern!
Digital PDF Download
Digital pattern only. No physical item will be shipped.
To unlock Exclusive Content on my Blog, all you need to do is click the box below and the Grow.me app will pop up, allowing you to enter your email and create a password. Once you’ve created an account, every time you see Exclusive Content on my blog, simply login to your Grow account. Be sure to switch to the login screen to enter your login credentials.
If you forget your password, click the “forgot password” link and follow the prompts. Please note that I’m unable to assist with resetting Grow passwords or accessing your Grow account, so be sure to save your login information in a safe place.
To make things even easier, I’ve created a video for both desktop and mobile users that offer additional assistance. You can access this video by visiting my FAQs page HERE or by watching the video below.
Thank you for subscribing and for joining me on my crochet journey. I hope you enjoy the exclusive content available to our subscribers and create beautiful crochet projects using the resources you discover.

Rocky Ridge Crochet Hat Pattern
FAQ & Terms
This post may contain affiliate links. Purchases made through these links may earn MJ’s Off The Hook Designs Inc. a small commission at no extra cost to you. Content on this site is supported by ads—please do not block or remove them.
Copyright
All patterns, photos, and written content are the property of MJ’s Off The Hook Designs Inc. and protected by copyright law.
Usage
Free patterns are for viewing only on this blog. You may not copy, download, print, screenshot, or redistribute any part of the pattern. Access must remain through this page with ads visible. Use of ad blockers, reader view, or any similar tools that remove or hide ads and site content is strictly prohibited.
Legal Notice
Unauthorized reproduction or distribution may result in copyright infringement penalties.
By accessing this post, you agree to these terms and conditions.
Yes! You may sell finished items made from MJ’s patterns, but please credit:
“Pattern by MJ’s Off The Hook Designs Inc.”
Pattern Support is only available in our Facebook Community group and Video Tutorials.
No additional support is provided for modified patterns, alternate yarns, or changes to gauge.
Having trouble unlocking the pattern?
If you’re seeing the message “Email subscription failed, please try again”, don’t worry — it’s usually an easy fix! Here are a few quick things to try:
First, double-check your login details. Make sure you’re signing in with the same email you originally used to create your Grow account. If you’re not sure, click “Forgot Password” to reset your login. Once you’ve updated it, return to my site and try again.
Next, clear your browser’s cache and cookies. Sometimes the login just gets stuck. You can also try opening the page in a private or incognito window, or switching to another browser like Chrome, Safari, or Firefox to see if that does the trick.
It also helps to make sure you’re logged into Grow directly. Visit https://grow.me and sign in there first. Once you’re logged in, come back to my site and refresh the page — your pattern should unlock automatically.
If you’re still having trouble, check your browser’s privacy settings. Grow needs cookies to verify your account, so make sure cookies and cross-site tracking are allowed. On iPhone, go to Settings → Safari → Privacy & Security, then turn off “Prevent Cross-Site Tracking” and “Block All Cookies.” On Android or Chrome, go to Settings → Site Settings → Cookies and select “Allow all cookies.”
Lastly, ad blockers or browser extensions can sometimes block the login pop-up. Try turning them off temporarily while you sign in. If nothing seems to work, log out of Grow completely by going to https://grow.me, selecting your profile icon, and choosing Log Out. Then come back to my site and try logging in again.
If you’re still stuck after trying all of this, please reach out through my Contact Page and let me know what device and browser you’re using (and include a screenshot if you can).
Abbreviations
Blo – Back Loop Only
Ch – Chain
Hdc – Half Double Crochet
Rep – Repeat
RS – Right Side
Sc – Single Crochet
Sk – Skip
Sl St – Slip Stitch
Sp(s) – Space(s)
St(s) – Stitch(es)
WS – Wrong Side
( ) – Work step in parentheses in indicated stitch
Size Chart
Pattern
Notes:
It’s important to crochet the slip stitches loosely for best results. If you find this stitch a bit challenging, I recommend checking out the video tutorial for some helpful tips and tricks to ensure you’re working through the correct stitches. It can be really helpful to see the technique demonstrated visually. So don’t hesitate to refer to the tutorial for some extra guidance. The starting chain indicates the height of the hat. For a more fitted style, you may reduce the number of chains.
Row 1 (RS):
With larger hook, put a slip knot on hook, ch 23 (27, 31, 35, 35) work 1 hdc in the back bump of the 2nd ch from hook and in each ch across, turn—22 (26, 30, 34, 34) sts.
Row 2 (WS):
Ch 1, loosely crochet 1 sl st in each st across, turn—22 (26, 30, 34, 34) sts.
Row 3:
Ch 1, work 1 hdc in the blo of the sl st from the previous row in each st across, turn—22 (26, 30, 34, 34) sts.
Rows 4-49 (57, 63, 69, 75):
Rep rows 2 & 3. Compare the rectangle size to the schematic measurements. Make sure you have completed enough rows to fit the rectangle around the head. Add or remove rows for the correct fit. The rectangle will slightly curve. Wet and block to straighten if desired.
Seam:
Fold the rectangle in half with the WS facing. Ch 1, work a sl st through each st of the first and last row, joining the rectangle together.
Band:
Setup Round:
Ch 1, 1 sc in each row around the base of the hat, place last sc into the sl st seam, sl st in the first sc to join—50 (58, 64, 70, 76) sts.
The band is worked in rows and joined as you go to the setup round of the hat. Change to smaller hook.
Row 1:
With smaller hook, ch 15 (17, 17, 19, 19), sc in the 2nd ch from hook and in each ch across, sk first st at the hat edge, sl st in the next 2 sts (hat edge), turn—14 (16, 16, 18, 18) sts.
Row 2:
Sk sl sts, sc in the blo of each st across, turn—14 (16, 16, 18, 18) sts.
Row 3:
Ch 1, sc in the blo of each st across, sl st in next 2 sts (hat edge), turn—14 (16, 16, 18, 18) sts.
Rows 4-50 (58, 64, 70, 76):
Rep Rows 2-3, ending after completion of Row 2 repeat. To join the band, ch 1, sl st the last row to row 1, working through the blo of each st across. Fasten off and weave in ends.
Top Hat Closure:
Round 1:
With smaller hook, put a slip knot on hook, join yarn to the top of hat at the seam with a sc, *sk next row, sc in next row (raised st row); rep from * around, sk the last row, sl st in the first sc to join—24 (29, 32, 35, 38) sts.
*You may want to decrease the hat further. Baby sizes round 2 is optional.
Round 2:
Ch 1, *sc2tog across next 2 sts; rep from * around, for odd number of st hats end with 1 sc in the last st. Fasten off with a long tail for weaving.
Weave the starting yarn tail on a yarn needle. Weave through every other st around, pull to close the top of hat. Then weave yarn needle around sts, then back in the opposite direction to secure the end. Lastly, Weave in tail.
Pom Pom:
Make a yarn pom pom or attach a faux fur pom pom. Sew snap to the top of the hat. Blow-dry pom to fluff and snap to the top of the hat. Use a 5-6″ pom pom for child and adult hats and a 4.3″ pom pom for baby hats. Hats are shown with 1.5″ x 1.5″ square and 0.75″ x 2.25″ garment tag as well as personalized name tags. Use a sewing needle and embroidery thread or Leather rivets to attach.
You might also love these crochet patterns if you loved this pattern:
This pattern is designed by Michelle Moore of MJ’s Off The Hook Designs Inc, based in Lakefield, Ontario, Canada. Your go-to source for modern, easy crochet patterns. Published on October 29th, 2023.
Thank you for visiting MJ’s Off The Hook Designs. I hope you enjoyed this pattern and feel inspired to pick up your hook and start creating.
You can find even more crochet patterns in our Ravelry and Etsy shops.
For daily inspiration and behind-the-scenes peeks, join me over on Facebook or Instagram, or join our YouTube Membership for exclusive content!
You’ve got questions, we’ve got a community!
Crocheting is better with friends! Join our group to post pictures and ask all your pattern support questions.