*This post may contain affiliate links to support the cost of this blog. At no cost to you, I may make a small commission if you purchase through these links. Read our Privacy Policy HERE


What is the Winterberry Stitch?
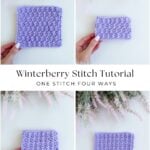
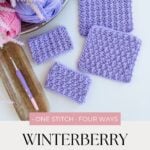
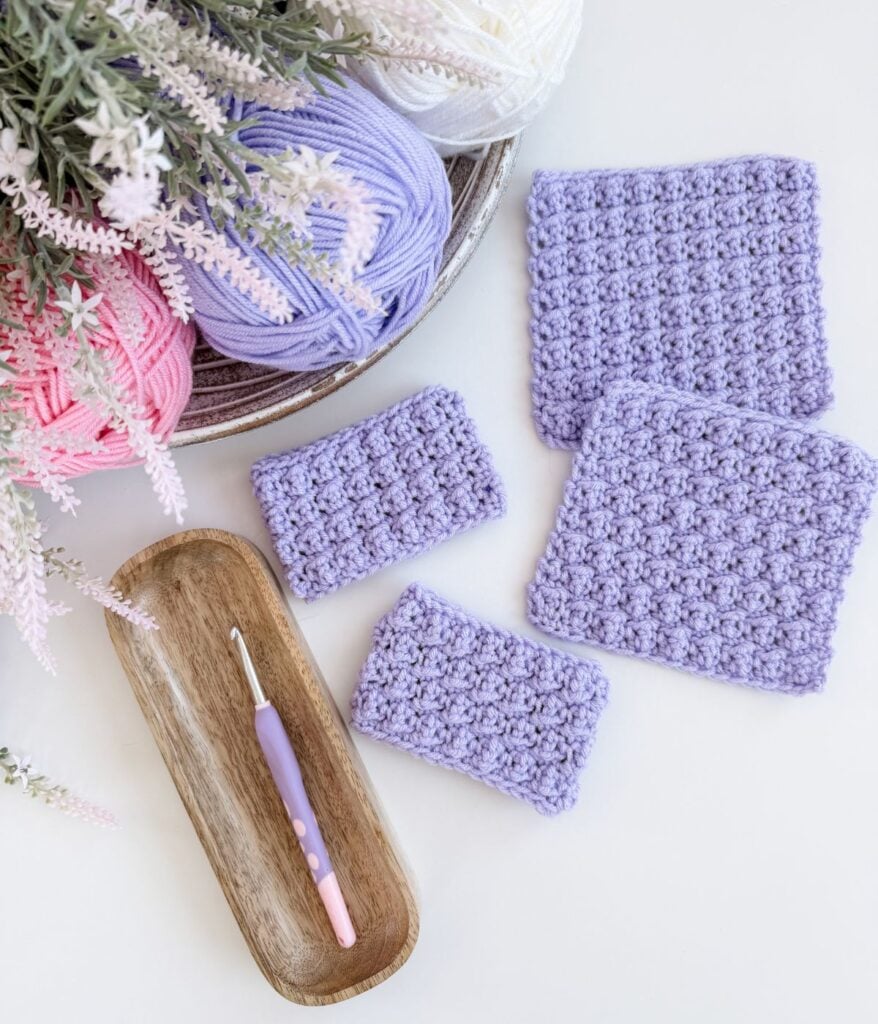
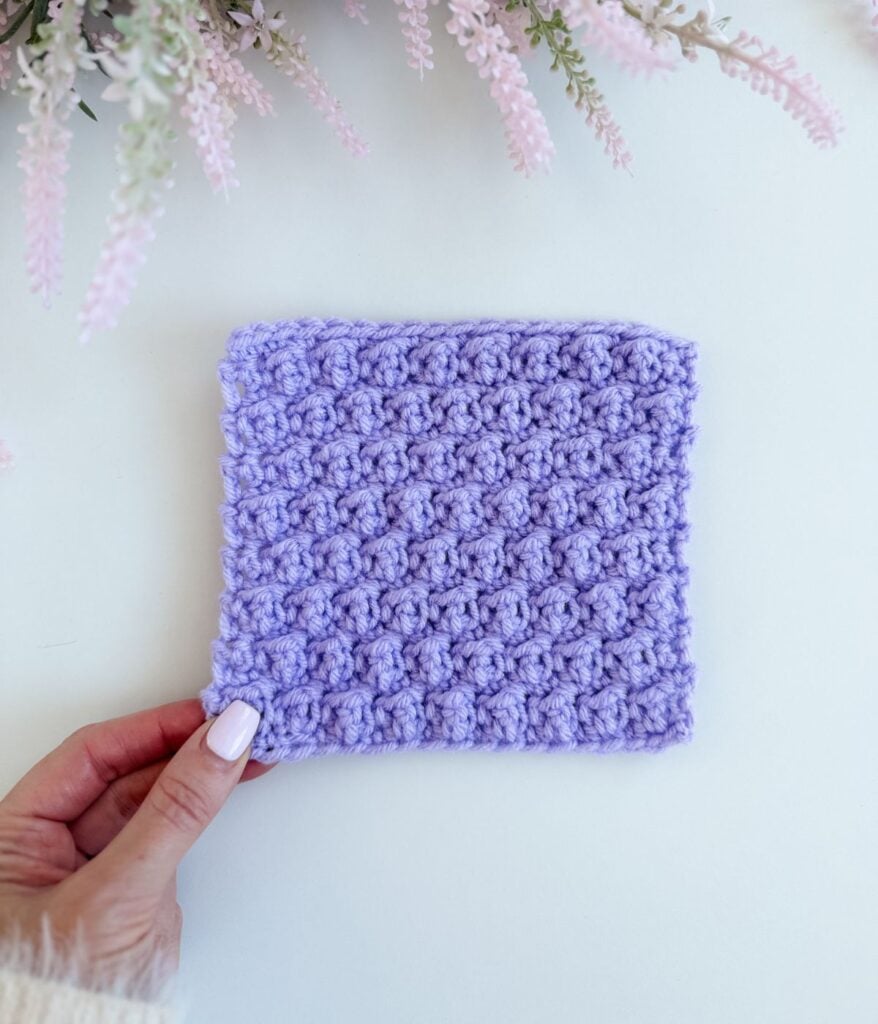
The Winterberry Stitch is a textured crochet stitch made with a simple combination of single and treble crochet. By alternating these stitches in a specific sequence, you create a raised, berry-like texture that looks intricate while remaining beginner-friendly to crochet.
You may recognize the Winterberry Stitch from several of our previous designs, where it adds cozy texture and visual interest. It is a versatile stitch that works beautifully for accessories, home decor, and giftable projects.
Stitch Construction and Pattern Logic
The Winterberry Stitch is built on a repeating sequence of single crochet and treble crochet stitches. The stitch count and repeat structure change slightly depending on whether you are working in rows or in the round.
Working the Winterberry Stitch in Rows
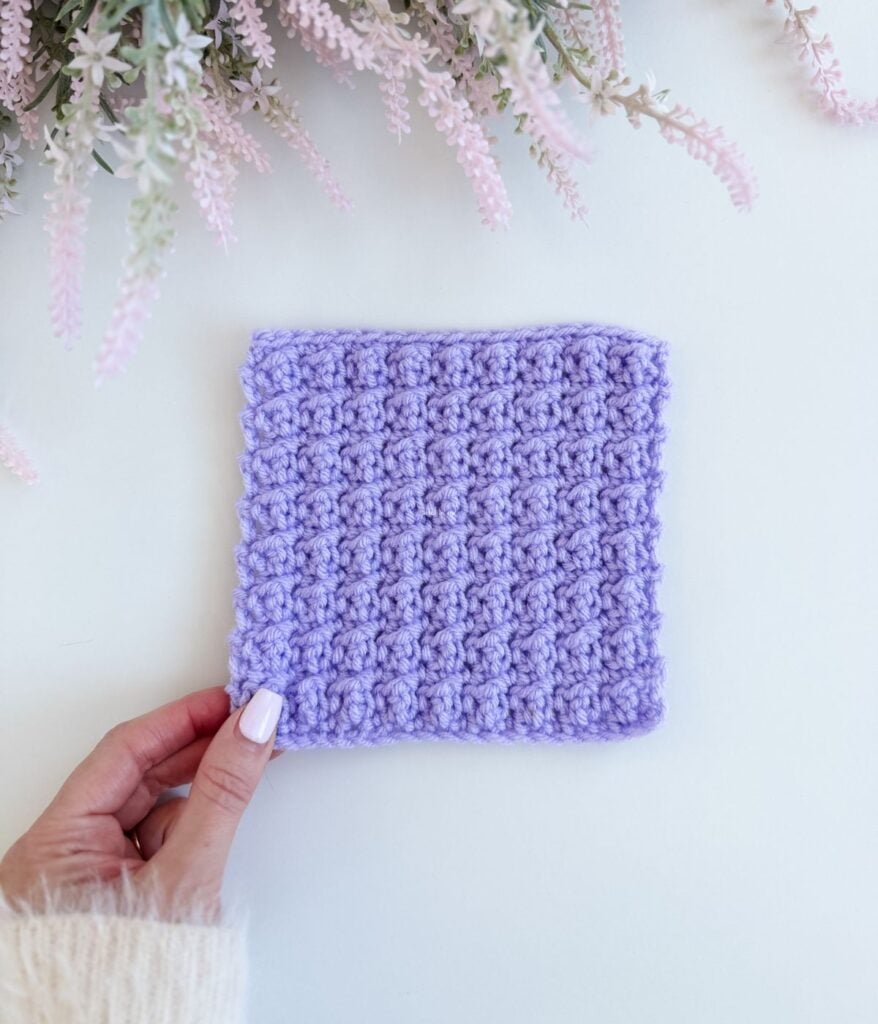
When worked in rows, the Winterberry Stitch is built over an odd number of stitches and alternates between a textured row and a stabilizing row of single crochet. The stacked version is created by repeating the same textured row placement, allowing the treble crochet stitches to align vertically from row to row.
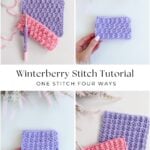
For the offset version, the placement of the treble stitches is shifted by adjusting the number of single crochet stitches at the beginning and end of the textured row. This causes the trebles to fall between those of the previous row, creating the classic staggered Winterberry texture.
Working the Winterberry Stitch in the Round
When worked in the round, the Winterberry Stitch is built over an even number of stitches and is worked in joined, turned rounds. The stacked version is created by repeating the same textured round, so the treble stitches align vertically as the rounds build.
To create the offset version, the starting stitch of the textured round is shifted so the treble stitches fall between those of the previous round.
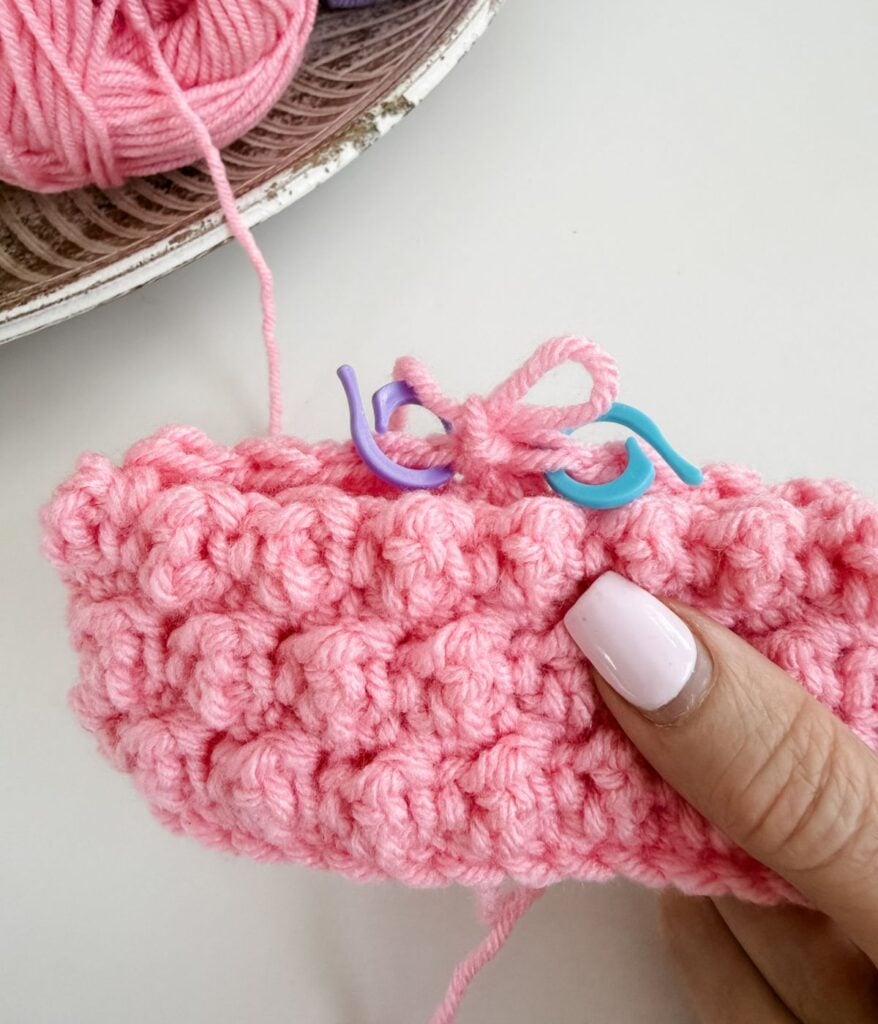
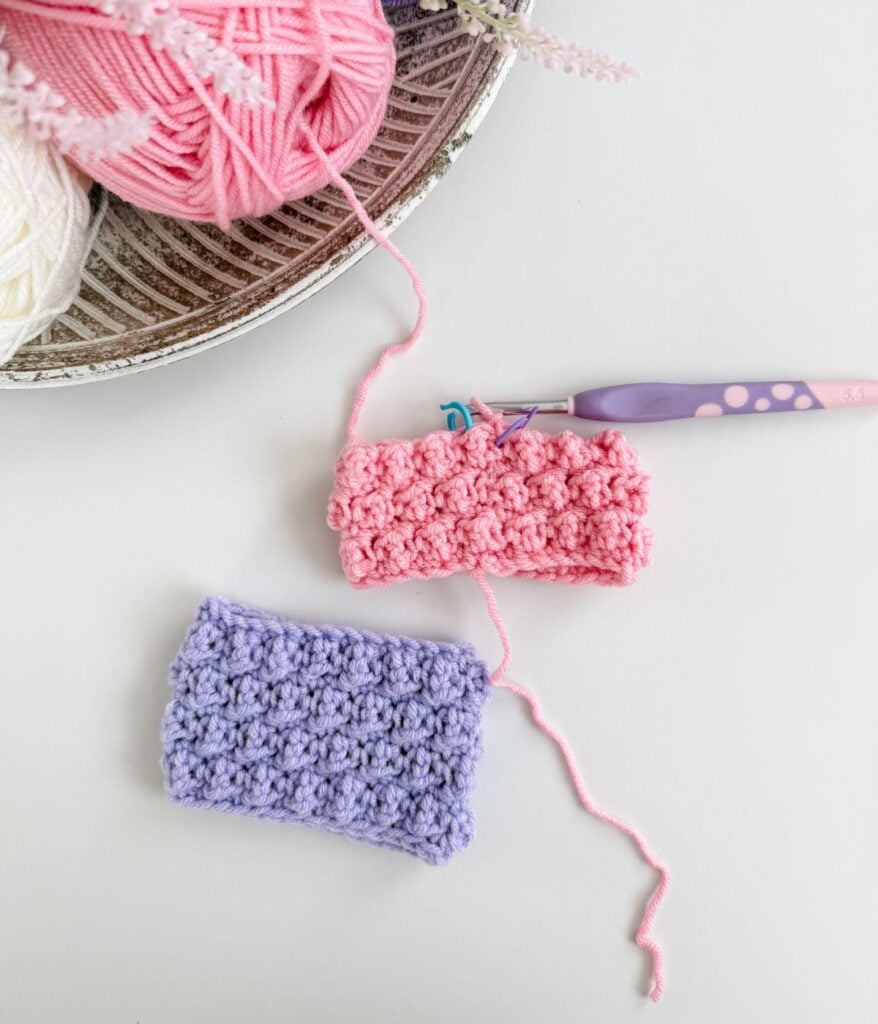
Because the rounds are turned, it can be difficult to visually determine the first and last stitch of each round. For this reason, using stitch markers to mark the beginning and end of the round is strongly recommended to maintain correct stitch placement and pattern alignment.
Skill Level and Stitch Applications
The Winterberry Stitch is suitable for confident beginners and beyond. If you are comfortable with basic crochet stitches and working a treble crochet, you will be able to follow this tutorial easily.
This stitch works well for dishcloths, mug cozies, soap savers, hats, blankets and other textured crochet projects where you want a visually interesting but relaxing stitch pattern.
Materials Used for the Winterberry Stitch Tutorial
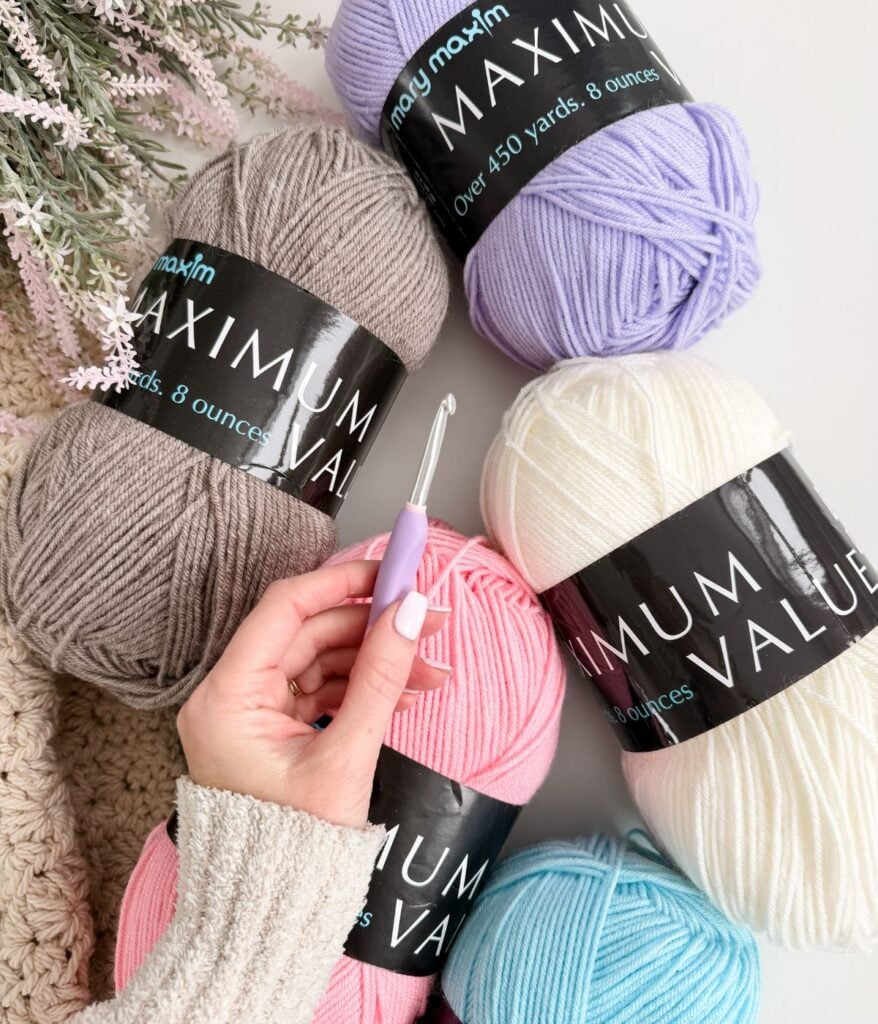
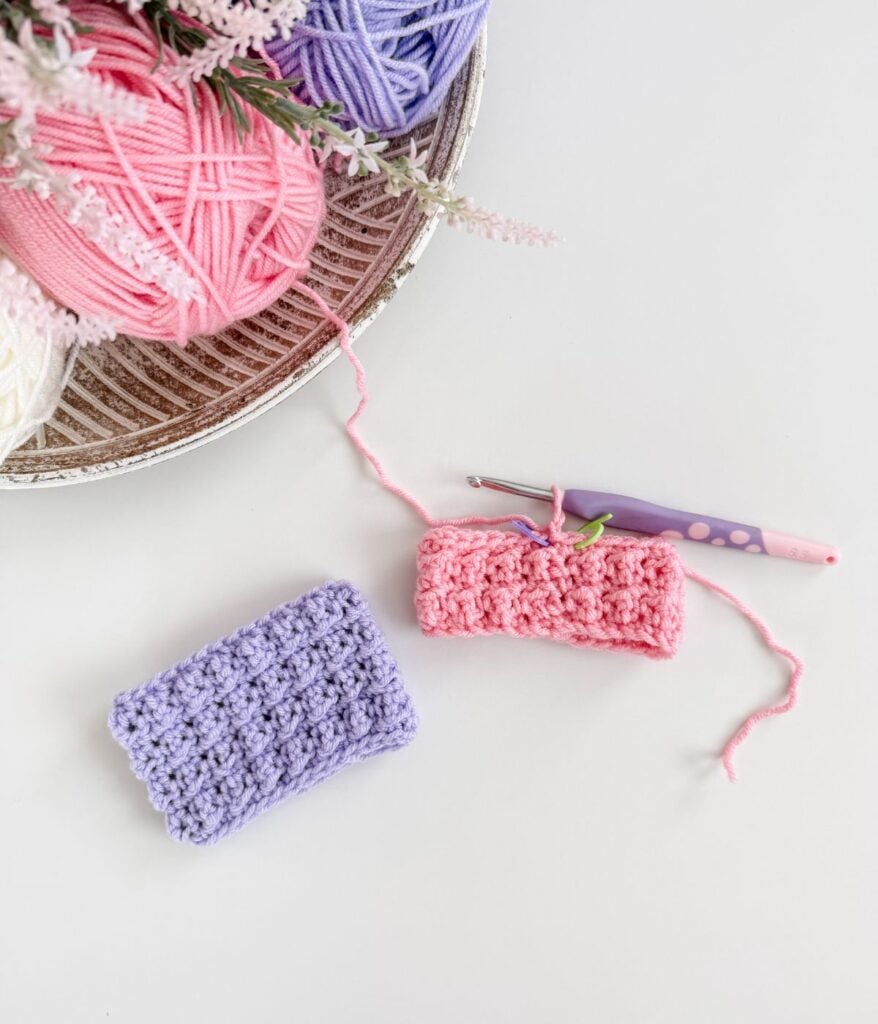
For this tutorial, I used a worsted-weight yarn and a crochet hook that allows the textured stitches to stand out clearly without creating a stiff fabric. You can easily substitute yarns as long as you meet the recommended gauge and achieve a fabric you love.
- Yarn: Worsted-weight yarn, shown in Mary Maxim Maximum Value Yarn (CDN link), Medium Pink and Light Violet
- Hook: 5.5 mm crochet hook shown in Dots Crochet Hooks
- Notions: Scissors, yarn needle, stitch markers
Key Takeaways
- The Winterberry Stitch is a textured crochet stitch, combining single and treble crochet for a raised, berry-like effect.
- You can work the Winterberry Stitch in both rows and rounds, with stacked and offset versions available for added versatility.
- This stitch suits confident beginners and is ideal for projects like dishcloths, mug cozies, and hats.
- Materials needed include worsted-weight yarn, a 5.5 mm crochet hook, and notions like stitch markers and scissors.
- Follow the tutorial to learn the stitch construction and explore projects featuring the Winterberry Stitch.
Abbreviations
ch = chain
rep = repeat
RS = right side
sc = single crochet
sl st = slip stitch
st = stitch
tr = treble crochet
WS = wrong side
Helpful Tips
- Stitch markers may be used to mark the first and last stitch of each row or round. This is especially helpful when working the textured treble crochet rows or when turning rounds.
- Always count your stitches at the end of each row or round to ensure the stitch count remains consistent and the pattern does not shift.
- Count your rows or rounds as you work to keep the stacked or offset stitch pattern aligned correctly.
- When working in the round, remember that each round is turned. Turning the rounds helps the right side of the work pop and enhances the bobbly texture of the stitch.
- Working the foundation chain into the back hump (leg) creates a clean, straight edge that is ideal for projects with exposed edges.
- Periodically check your work as you go. If working the stacked version, ensure the treble stitches remain aligned vertically. If working the offset version, ensure the treble stitches continue to fall between those of the previous textured row or round. A missed or added stitch can shift the pattern and affect the overall texture.
Rows Video Tutorial
Winterberry Stitch Tutorial in Rows
When worked in rows, the Winterberry Stitch is built over an odd number of stitches and alternates between textured rows and stabilizing rows of single crochet. The following instructions cover both the stacked and offset versions of the stitch.
Stacked Winterberry Stitch (Rows)
Row 1 (RS):
Loosely ch 20, 1 sc in the back hump (leg) of 2nd ch from the hook and in each ch across, turn—19 sts.
(Video timestamp)
Row 2 (WS):
Ch 1 (does not count as a st here and throughout), 1 sc in first st, *1 tr in next st, 1 sc in next st; rep from * across, turn—19 sts.
(Video timestamp)
Row 3:
Ch 1, 1 sc in each st across, turn—19 sts.
(Video timestamp)
Rep Row 2 and Row 3.
Offset Winterberry Stitch (Rows)
Row 1 (RS):
Loosely ch 20, 1 sc in the back hump (leg) of 2nd ch from the hook and in each ch across, turn—19 sts.
(Video timestamp)
Row 2 (WS):
Ch 1 (does not count as a st here and throughout), 1 sc in first st, *1 tr in next st, 1 sc in next st; rep from * across, turn—19 sts.
(Video timestamp)
Row 3:
Ch 1, 1 sc in each st across, turn—19 sts.
(Video timestamp)
Row 4:
Ch 1, 1 sc in first 2 sts, *1 tr in next st, 1 sc in next st; rep from * across to last st, 1 sc in last st, turn—19 sts.
(Video timestamp)
Row 5:
Ch 1, 1 sc in each st across, turn—19 sts.
(Video timestamp)
Rep Rows 2 through 5.
Rounds Video Tutorial
Winterberry Stitch Tutorial in the Round
Notes
Each round is turned, with the single crochet and treble stitch pattern worked on the wrong side. This allows the right side of the work to pop and enhances the bobbly texture. Stitch markers are recommended to mark the first and last stitch of each round.
Stacked Winterberry Stitch (Rounds)
Round 1 (RS):
Ch 30, sl st in first ch to form a ring, sc in the back (leg) ch of each ch around, sl st in first sc to join, turn—30 sts.
Round 2 (WS):
Ch 1, 1 sc in first st, 1 tr in next st, *1 sc in next st, 1 tr in next st; rep from * around, sl st in first sc to join, turn—30 sts.
Round 3:
Ch 1, 1 sc in each st around, sl st in first sc to join, turn—30 sts.
Rep Rounds 2 and 3.
Offset Winterberry Stitch (Rounds)
Round 1 (RS):
Ch 30, sl st in first ch to form a ring, sc in the back (leg) ch of each ch around, sl st in first sc to join, turn—30 sts.
Round 2 (WS):
Ch 1, 1 sc in first st, 1 tr in next st, *1 sc in next st, 1 tr in next st; rep from * around, sl st in first sc to join, turn—30 sts.
Round 3:
Ch 1, 1 sc in each st around, sl st in first sc to join, turn—30 sts.
Round 4:
Ch 1, 1 tr in first st, 1 sc in next st, *1 tr in next st, 1 sc in next st; rep from * around, sl st in first tr to join, turn—30 sts.
Round 5:
Ch 1, 1 sc in each st around, sl st in first sc to join, turn—30 sts.
Rep Rounds 2-5
Projects You Can Make With the Winterberry Stitch
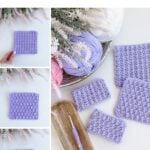
Once you’ve learned the Winterberry Stitch, you can use it to create a variety of practical and giftable crochet projects. This stitch works beautifully for accessories and home decor, whether you prefer a stacked or offset texture and whether you’re working in rows or in the round.
Here are some of my Winterberry patterns that use this stitch: h
Winterberry Stitch Projects
- Winterberry Dishcloth
A beginner-friendly project that highlights the Winterberry Stitch texture, worked in stacked rows, to create a soft, practical, everyday cloth. - Winterberry Mug Cozy
A quick and satisfying make that uses the Winterberry Stitch worked stacked in the round to add warmth, texture, and a polished handmade look to your favourite mug. - Winterberry Ear Warmer
This stitch works beautifully for ear warmers, creating a cozy fabric with visual interest when worked in the Winterberry offset stitch pattern in rows. - Winterberry Soap Saver
A functional project that showcases the Winterberry Stitch texture worked offset in the round while providing gentle exfoliation and durability for daily use. - Winterberry Beanie
The Winterberry Stitch adds depth and dimension to a simple beanie worked stacked in the round, making it a great choice for a stylish yet approachable accessory. - Winterberry Wine Bottle Cozy
A giftable project that turns a bottle of wine into a thoughtful, handmade present using rich texture and classic stitch detail worked stacked in the round.
Helpful Resources
- Join our Facebook Crochet Community for pattern support and inspiration
- Subscribe on YouTube for hundreds of free tutorials
- Sign up for our newsletter and receive 40% off your first Ravelry purchase!
- Sign up for our YouTube Membership
This post is written by Michelle Moore of MJ’s Off The Hook Designs Inc, based in Lakefield, Ontario, Canada. Your go-to source for modern, easy crochet patterns. Published on February 5, 2026.
Thank you for visiting MJ’s Off The Hook Designs. You can find more crochet patterns in our Ravelry and Etsy shops.
For daily inspiration and behind-the-scenes peeks, join me over on Facebook or Instagram, or join our YouTube Membership for exclusive content!
You’ve got questions, we’ve got a community!
Crocheting is better with friends! Join our group to post pictures and ask all your pattern support questions.