*This post may contain affiliate links to support the cost of this blog. At no cost to you, I may make a small commission if you purchase through these links. Read our Privacy Policy HERE

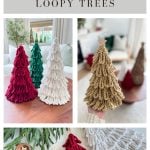
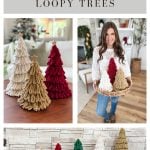


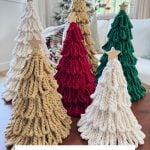
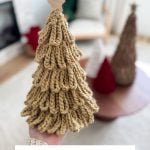
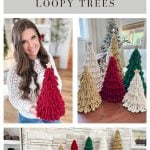
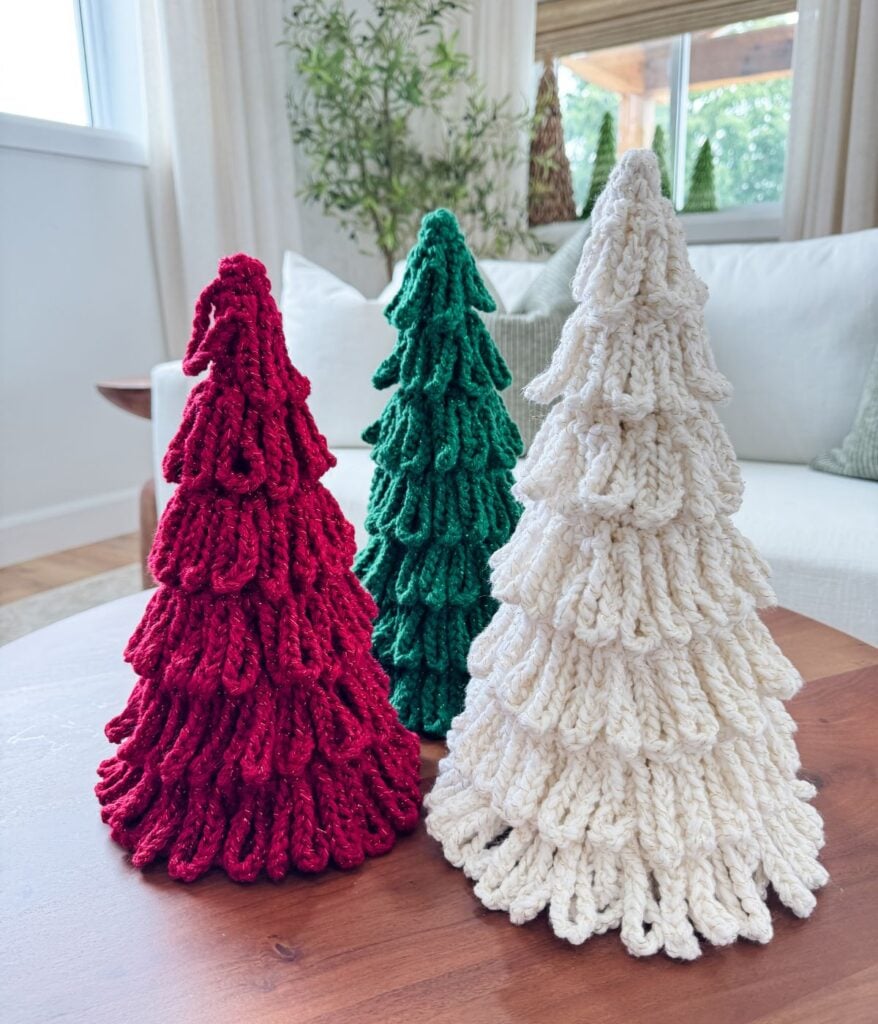
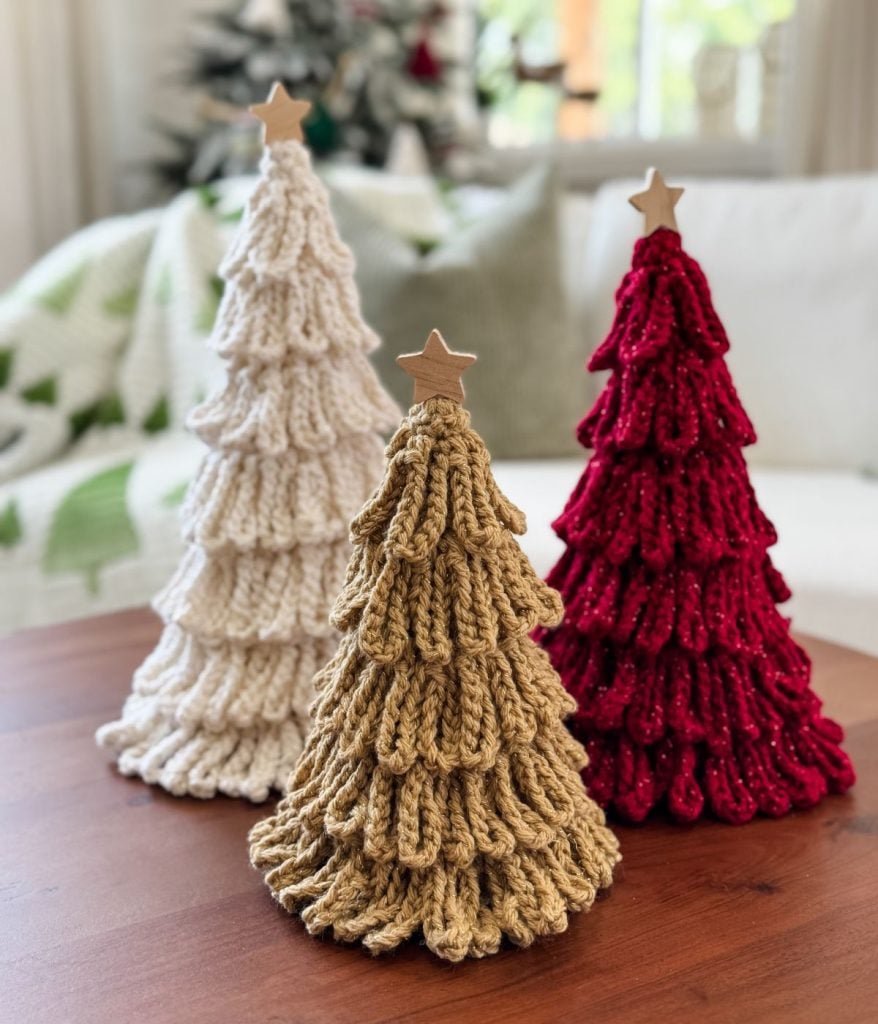
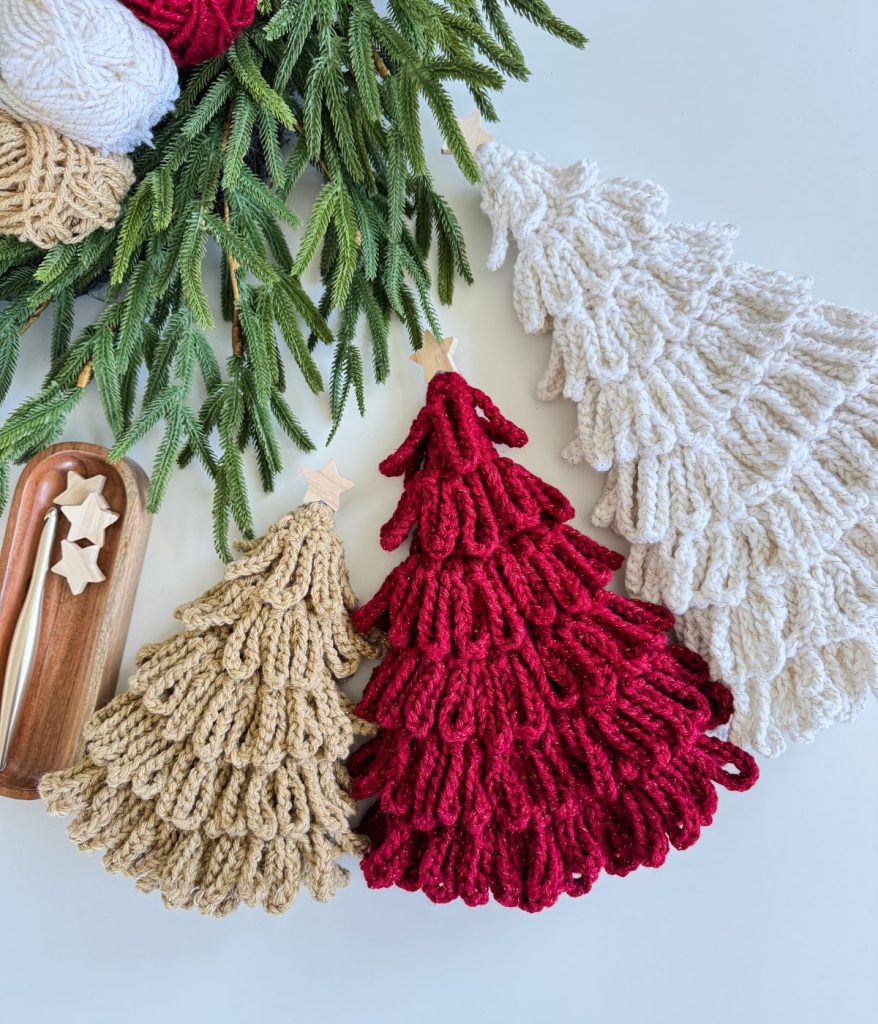
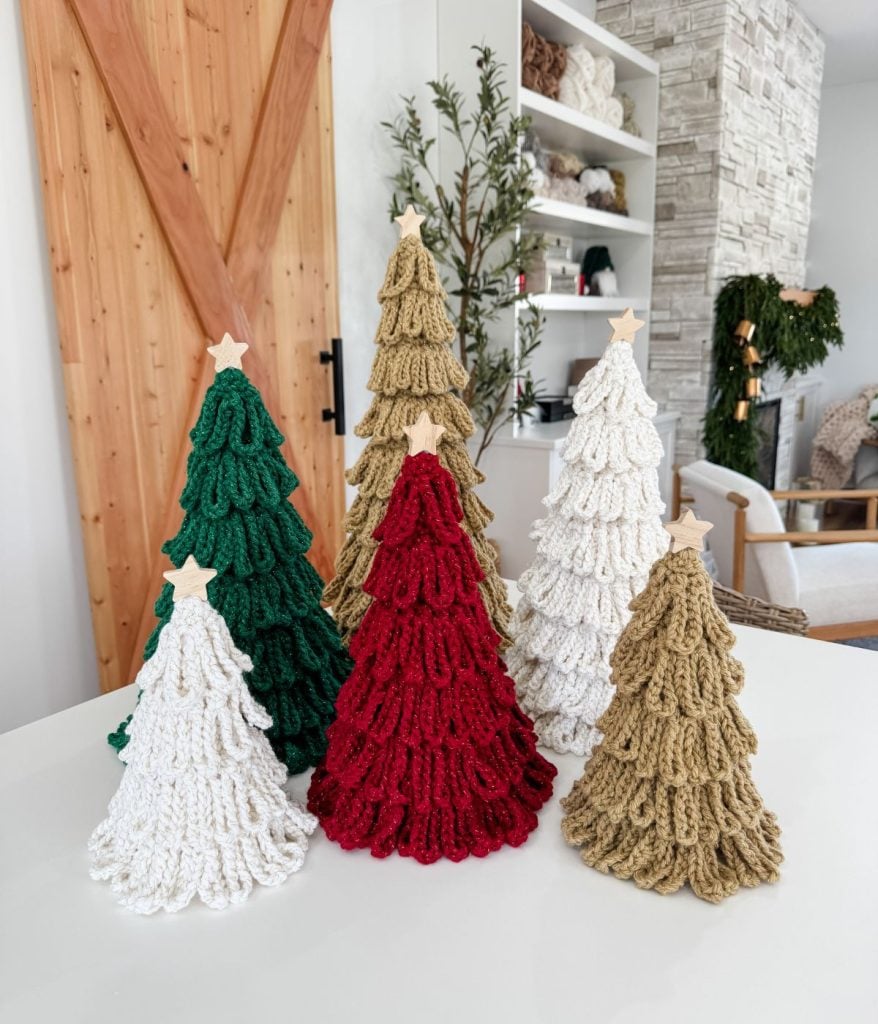
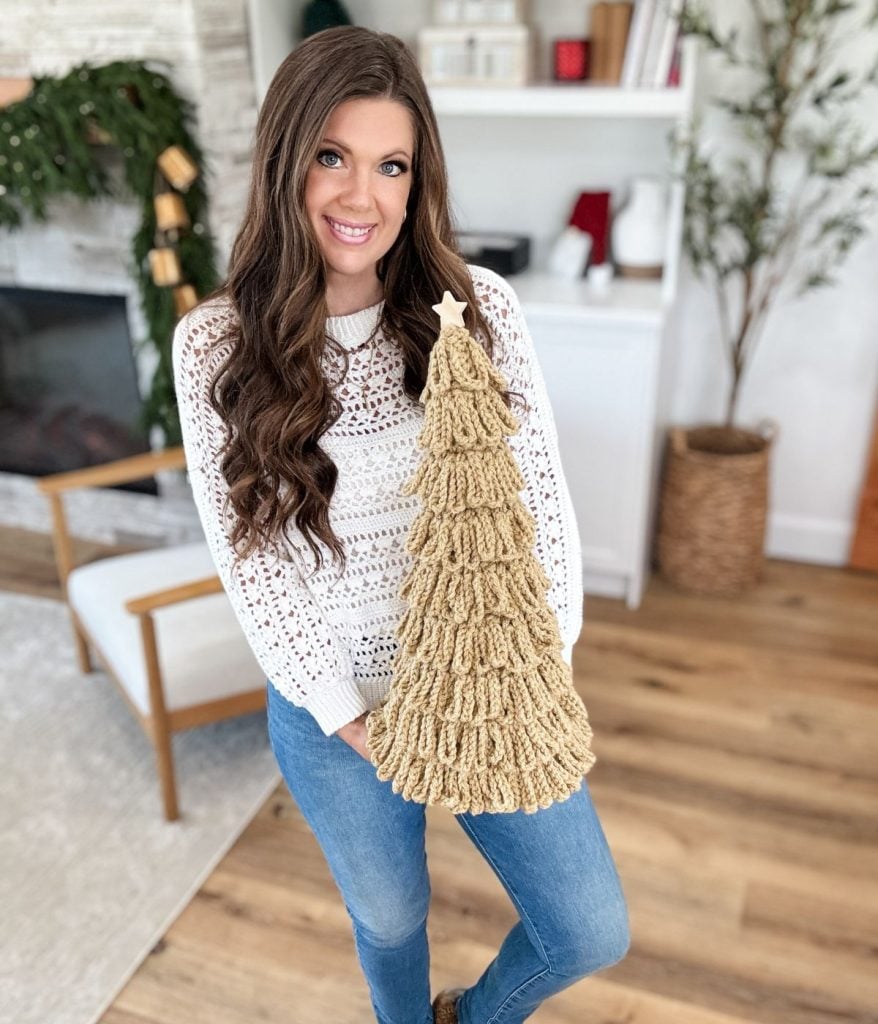
Bring a touch of handmade charm to your holiday décor with the Bulky & Quick Loopy Crochet Trees! This festive pattern includes instructions for six different tree sizes, making it easy to create a whimsical forest perfect for your mantel, tabletop, or holiday displays.

Project Overview
The Bulky & Quick Loopy Crochet Trees Pattern is a festive holiday décor project that teaches you how to crochet a whimsical set of loopy textured trees in six different sizes, worked top down with super bulky yarn or held-together strands for a plush, full look. Perfect for mantel, tabletop displays, gifting, or craft markets, this quick pattern includes a detailed step by step YouTube tutorial and plenty of tips for shaping, finishing, and personalizing your forest of trees.
Skill level: Intermediate
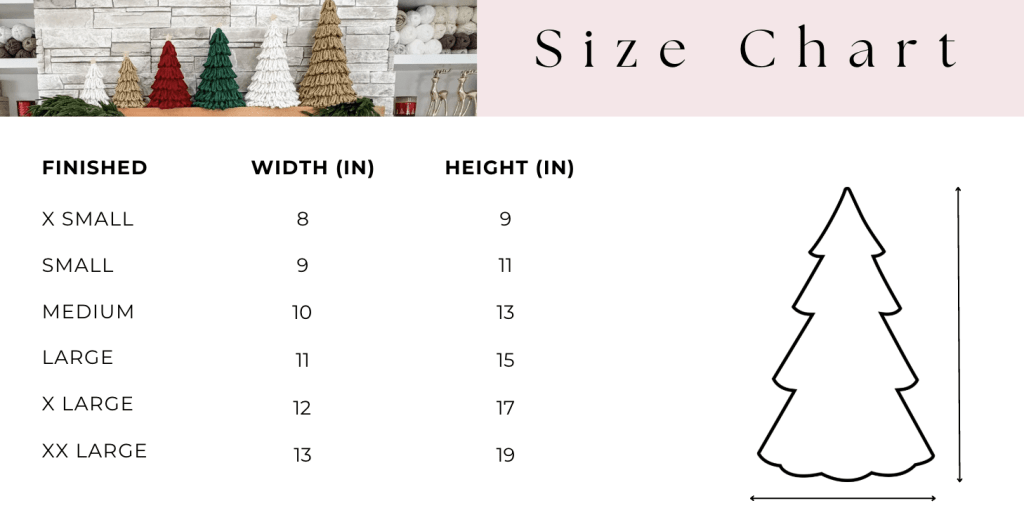
Sizes: XS (S, M, L, XL, XXL)
Yarn Weight: Worsted weight #4
Hook Sizes: US M/N-13 (9mm)
Construction: Worked seamlessly in the round from the top down
Video Tutorial: https://youtu.be/sw-bQEIhNJ4
The simple construction is worked from the top down, using two strands of worsted weight yarn held together to create a plush, super bulky texture that works up fast and gives each tree its signature full, loopy look.
Whether you’re a beginner or seasoned crocheter, you’ll love how quickly these trees come together. Follow along with the detailed step-by-step YouTube tutorial to master the loop stitch and pick up helpful tips for shaping and finishing.
Customize your trees with your favourite colours and embellishments—add wooden stars, ornaments, or ribbon for a personal touch. These trees are perfect for decorating your home, giving as thoughtful handmade gifts, or adding to your holiday market table.
Key Takeaways
- Create festive Loopy Crochet Trees in various sizes using a plush, super bulky yarn.
- Follow a detailed video tutorial perfect for beginners and experienced crocheters alike.
- Customize your trees with colours and embellishments for personal touches.
- Use a mix of worsted weight yarn held together or super bulky yarn for best results.
- Enjoy crafting quick, charming decorations for your home or as thoughtful gifts.

Video Tutorial
Follow along with this detailed step-by-step video tutorial to learn how to crochet the small size Loopy Tree. I’ll guide you through each part of the process, from starting the tree to creating the signature loopy rounds and finishing with blocking and assembly tips.
Perfect for beginners and experienced crocheters alike—get ready to create a quick and charming holiday decoration!
In this tutorial, you’ll also pick up helpful tips for working with bulky yarn, shaping your loops evenly, and achieving a professional finish. Whether you’re making trees for your own home, as thoughtful gifts, or for craft markets, this project is fun, fast, and festive!

Yarn Requirements
Mary Maxim Starlette Sparkle (CDN link)
Worsted Weight #4, 196yds/100g
98% Acrylic, 2% Polyester – Shown in Ruby, Topaz, Emerald, Topaz and White/Gold
*Hold together two strands to make a super bulky weight yarn
XS (S, M, L, XL, XXL)
150 (210, 340, 450, 520, 670) yds or 1 (2, 2, 3, 3, 4) Balls
Dimensions
Skill Level
Gauge:
Gauge is not critical for this pattern unless you want your trees to match the exact finished sizes provided. For best results, adjust your hook size to achieve a firm, tight stitch—this will help your tree hold its shape and give the loops a neat, full look. If your stitches are too loose, the tree may not stand up well or keep its form.
To check the finished dimensions, lay your tree flat and measure from the very top to the bottom of the longest loops for height, and across the widest part at the base for width.
Yarn Substitution:
You can easily use a single strand of super bulky yarn for this project. If you don’t have super bulky yarn on hand, simply hold two strands of worsted weight yarn together, as shown in the pattern. We’ve included a list of recommended yarns that will give you the same festive, cozy effect as the original sample. Feel free to get creative with your colour and texture choices to make each tree uniquely your own!
Suitable Yarn Substitutes for Starlette Sparkle
Crochet Hooks Required
Materials
Foam Cones – Approximate sizes needed 2.75″x6″ (2.9″x6.9″, 3.7″x8.9″, 3.8″x11.9″, 4″x15″, 4.75″x17.9″)
Helpful Resources
Sign up for our YouTube Membership
Join our Facebook Crochet Community for pattern support and inspiration
Subscribe on YouTube for hundreds of free tutorials
Sign up for our newsletter and receive 40% off your first Ravelry purchase!
Abbreviations
Ch- Chain
Flo – Front Loop Only
Rep – Repeat
Sc – Single Crochet
Sl St – Slip Stitch
Sp(s) – Space(s)
St(s) – Stitch(es)
( ) – Work step in parentheses in indicated stitch
[ ] – Work step in brackets the number of times indicated
Construction
The Bulky & Quick Loopy Stitch Trees are worked seamlessly in the round from the top down, using single crochet stitches for the tree structure. The signature loopy effect is created by working designated rounds of chain loops. All tree sizes begin with the same instructions; simply continue working additional rounds to achieve the desired height for your tree.
While cones are helpful for stabilizing your finished trees, they are optional and not required.
Purchase the Beautifully Designed AD-FREE PDF Download
Upgrade to the premium PDF Pattern!
Digital PDF Download
Digital pattern only. No physical item will be shipped.
Bulky & Quick Loopy Crochet Trees
FAQ & Terms
This pattern requires an intermediate skill level.
This pattern is professionally written in technical writing and tech edited for accuracy.
1. Affiliate Links & Ad Support
This post may contain affiliate links. At no extra cost to you, purchases made through these links may earn MJ’s Off The Hook Designs a small commission. The content on this site is supported by advertisements. By using this site, you agree not to circumvent, block, or tamper with these ads.
2. Copyright & Intellectual Property
All content on this blog, including free crochet patterns, instructions, charts, photos, videos, and written materials, is the property of MJ’s Off The Hook Designs Inc. and is protected under copyright and other intellectual property laws.
3. Personal Viewing & Use Only
Free patterns published on this site are provided for viewing only on this blog. You may not:
• Copy, download, print, take screenshots, or redistribute the pattern in any form (digital or physical) outside this blog.
• Post the pattern or instructions elsewhere online or share it publicly without written consent.
Even for “personal use,” the pattern must only be used while viewing this blog post with the ads intact. Tampering with, hiding, or removing ads while accessing the pattern is strictly prohibited.
4. Screenshots & Unauthorized Sharing
Screenshots or any other method of copying the pattern for offline use or redistribution is prohibited. Sharing patterns in forums, social media groups, or private messages without permission is also prohibited.
5. Legal Enforcement
Violation of these terms may constitute copyright infringement and could result in civil or criminal penalties under intellectual property laws. By using this pattern, you agree to comply fully with these terms.
6. Questions & Permissions
For questions about these terms or for permission to use or share patterns outside of these rules, please contact MJ’s Off The Hook Designs Inc. in writing.
Thank you for respecting our work and supporting MJ’s Off The Hook Designs.
Yes! You may sell finished items made from MJ’s patterns, but please credit:
“Pattern by MJ’s Off The Hook Designs Inc.”
Pattern Support is only available in our Facebook Community group and Video Tutorials.
No additional support is provided for modified patterns, alternate yarns, or changes to gauge.
Pattern
Notes: The tree is worked from the top down. All sizes begin the same; simply continue adding more rounds for larger trees. Hold two strands of yarn together throughout to create a super bulky weight.
Round 1:
Magic Ring, ch 1, work 6 sc in the ring, pull ring tight, sl st in first sc to join—6 sts.
Round 2:
Ch 1, 1 sc in each st around, sl st in first sc to join—6 sts.
Round 3 (lp rnd):
Ch 14, sc flo first st, *ch 14, sc flo next st; rep from * around, sl st in the blo of first st 2 rows below to join—6 ch-14 loops made.
Round 4:
Ch 1, work 1 sc in remaining back loop 2 rows below, in each st around, sl st in first sc to join—6 sts.
Round 5 (Incr):
Ch 1, 1 sc in first 2 sts, 2 sc in next st, 1 sc next 2 sts, 2 sc last st, sl st in first sc to join—8 sts.
Round 6:
Ch 1, 1 sc in each st around, sl st in first sc to join—8 sts.
Round 7 (Incr):
Ch 1, 1 sc in first 3 sts, 2 sc in next st, 1 sc next 3 sts, 2 sc last st, sl st in first sc to join—10 sts.
Round 8 (Incr):
Ch 1, 1 sc in first 4 sts, 2 sc in next st, 1 sc next 4 sts, 2 sc last st, sl st in first sc to join—12 sts.
Round 9 (lp rnd):
Ch 14, sc flo first st, *ch 14, sc flo next st; rep from * around, sl st in the blo of first st 2 rows below to join—12 ch-14 loops made.
Round 10:
Ch 1, work 1 sc in remaining back loop 2 rows below, in each st around, sl st in first sc to join—12 sts.
Round 11 (Incr):
Ch 1, 1 sc in first 5 sts, 2 sc in next st, 1 sc next 5 sts, 2 sc last st, sl st in first sc to join—14 sts.
Round 12:
Ch 1, 1 sc in each st around, sl st in first sc to join—14 sts.
Round 13 (Incr):
Ch 1, 1 sc in first 6 sts, 2 sc in next st, 1 sc next 6 sts, 2 sc last st, sl st in first sc to join—16 sts.
Round 14 (Incr):
Ch 1, 1 sc in first 7 sts, 2 sc in next st, 1 sc next 7 sts, 2 sc last st, sl st in first sc to join—18 sts.
Round 15 (lp rnd):
Ch 14, sc flo first st, *ch 14, sc flo next st; rep from * around, sl st in the blo of first st 2 rows below to join—18 ch-14 loops made.
Rounds 16 – 21 (27, 33, 39, 45, 51):
Rep [Rounds 10-15] 1 (2, 3, 4, 5, 6) times, increasing 1 sc before the increase of 2 sc for each subsequent increase round ending with—24 (30, 36, 42, 48, 54) ch-14 loops made.
Rounds 22 (28, 34, 40, 46, 52) – 25 (31, 37, 43, 49, 55):
Rep [Rounds 10-12] 1 time, then Rep [Round 12] 1 more time—26 (32, 38, 44, 50, 56) sts. Fasten off and weave in tails.
Finishing & Blocking Instructions:
Proper finishing and blocking will help your Loopy Trees look their best and stand out as a beautiful holiday decoration. Follow these steps for a clean, polished result.
Finger Block the Loops
Once your tree is complete, gently shape each loop by hand so they hang evenly and uniformly around the tree. This step helps create a tidy, professional look.
Place the Tree on a Blocking Cone
For best results, use a blocking cone (or any cone-shaped object) that is slightly taller than your finished tree. Place the tree over the cone, which will support it during blocking and help maintain its shape.
1. Dampen the Loops
Lightly mist the loops with water using a spray bottle. Dampening the fibres helps them relax, making it easier to shape and block the loops.
2. Steam Block the Tree
Prepare your steamer according to the manufacturer’s instructions. Position the steamer so that the steam rises up onto the tree—placing the steamer in your sink and the tree on the cone beside it works well.
Caution: Avoid direct contact between the steamer and yarn to prevent damage.
Working round by round, gently pull each loop downward and shape it as desired while exposing it to steam.
Continue until all loops have been blocked and are hanging as you like.
3. Apply Fabric Stiffener
Once all loops are blocked and shaped, lightly spray the entire tree with fabric stiffening spray to help the loops maintain their form. After spraying, make any final adjustments to the loops to ensure they are perfectly shaped before the stiffener sets. Leave the tree on the cone and allow it to dry completely.
4. Stabilize and Embellish
The tree should stand well on its own once dry, but leaving it on the cone while drying provides extra stability and ensures a straight shape.
Finish your tree by embellishing as desired. For a classic look, use a hot glue gun to attach a wooden star to the top. You may also add mini ornaments, ribbons, lights or other decorative accents.
Tips for Success
Take your time finger-blocking for the most uniform appearance.
If making multiple trees, block them together as an efficient assembly line.
Always let your tree dry fully before removing it from the cone or adding embellishments.
Make multiple trees in different colours and sizes. These quick and easy projects are perfect for decorating your home, giving as gifts, or selling at markets.
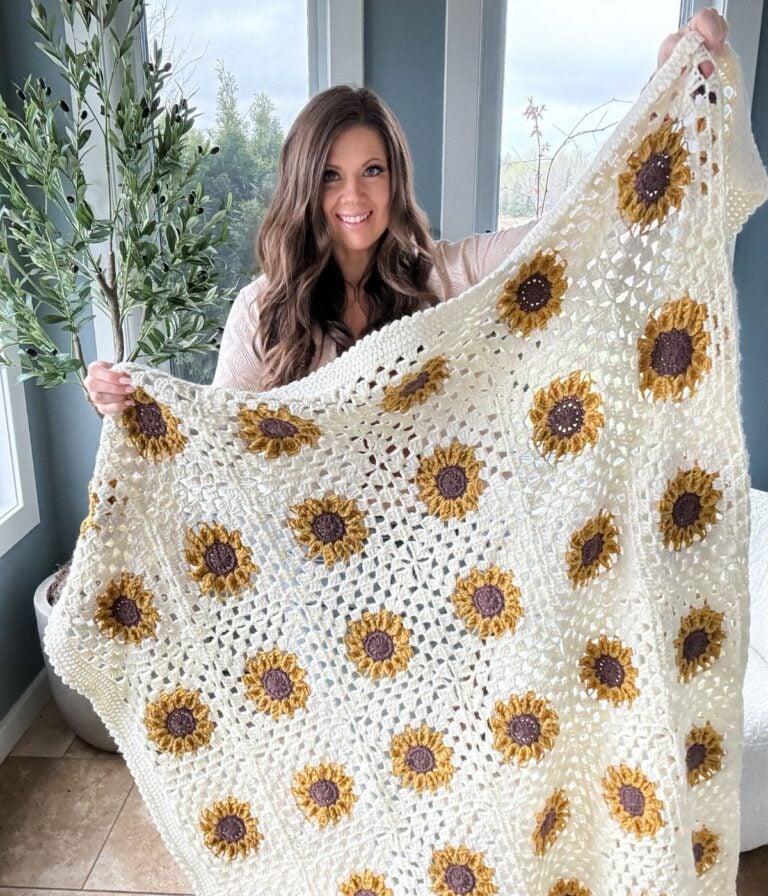
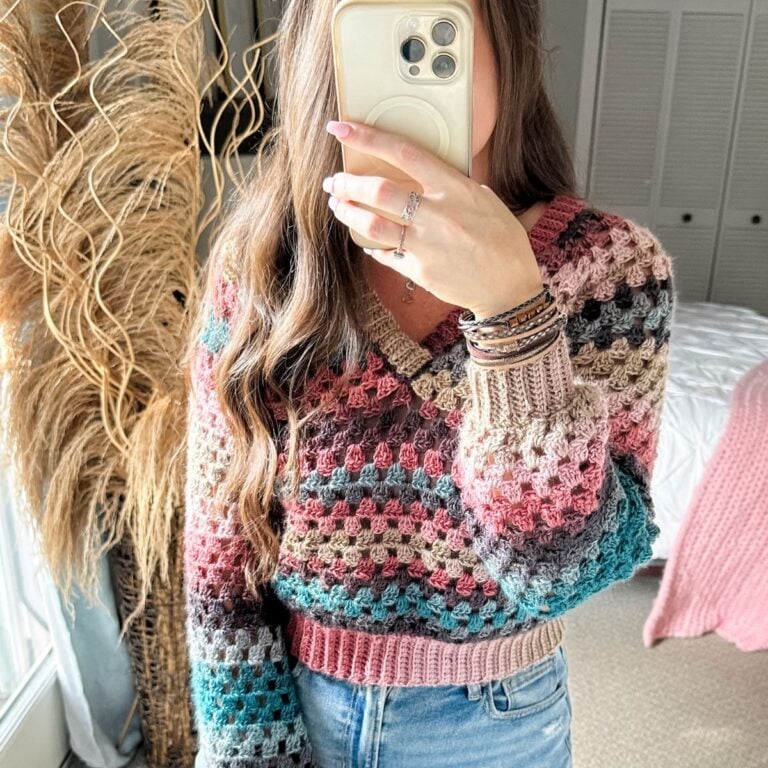
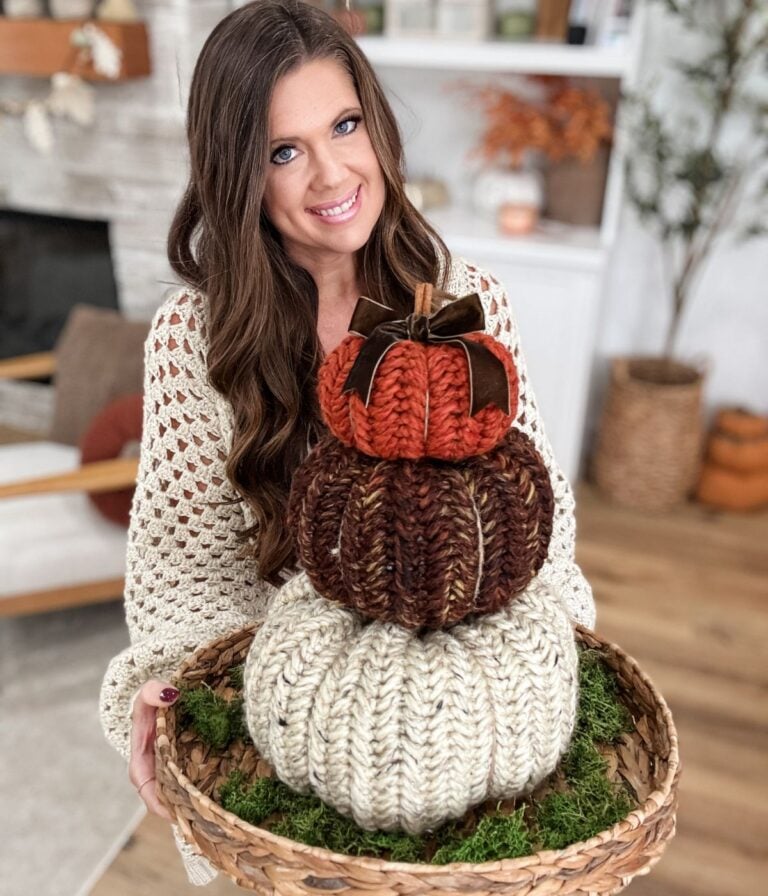
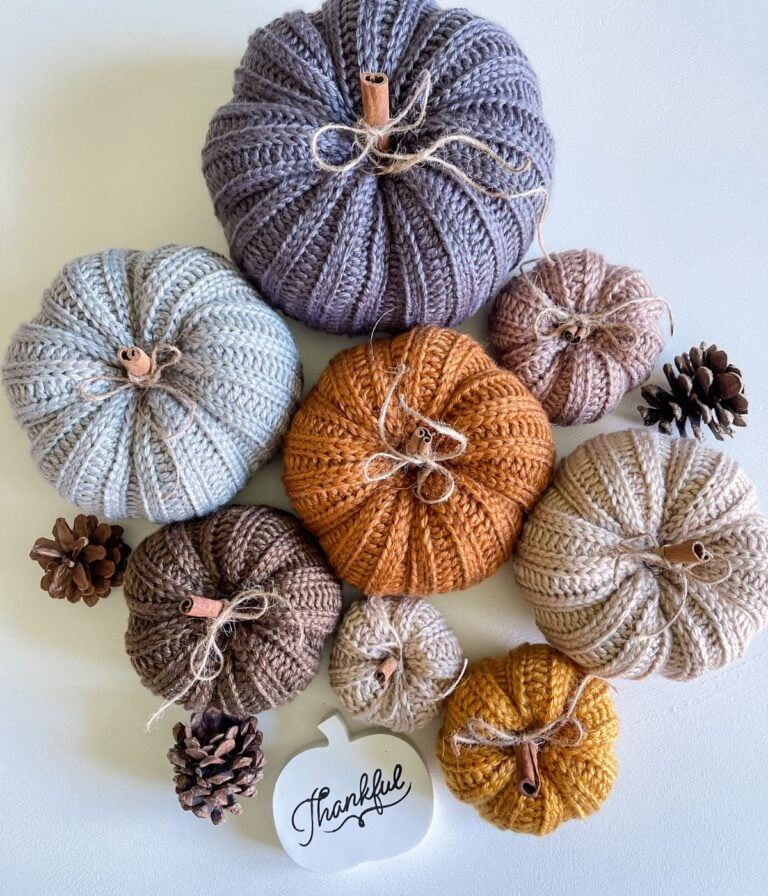
You May Also Love These Patterns
This pattern is designed by Michelle Moore of MJ’s Off The Hook Designs Inc based in Lakefield Ontario Canada. Your go to source for modern easy crochet patterns. Published on October 27th, 2025.
Thank you for visiting MJ’s Off The Hook Designs I hope you enjoyed this pattern and feel inspired to pick up your hook and start creating.
You can find even more crochet patterns in our Ravelry and Etsy shops.
For daily inspiration and behind the scenes peeks join me over on Facebook or Instagram or join our YouTube Membership for exclusive content!
You’ve got questions, we’ve got a community!
Crocheting is better with friends! Join our group to post pictures and ask all your pattern support questions.