*This post may contain affiliate links to support the cost of this blog. At no cost to you, I may make a small commission if you purchase through these links. Read our Privacy Policy HERE


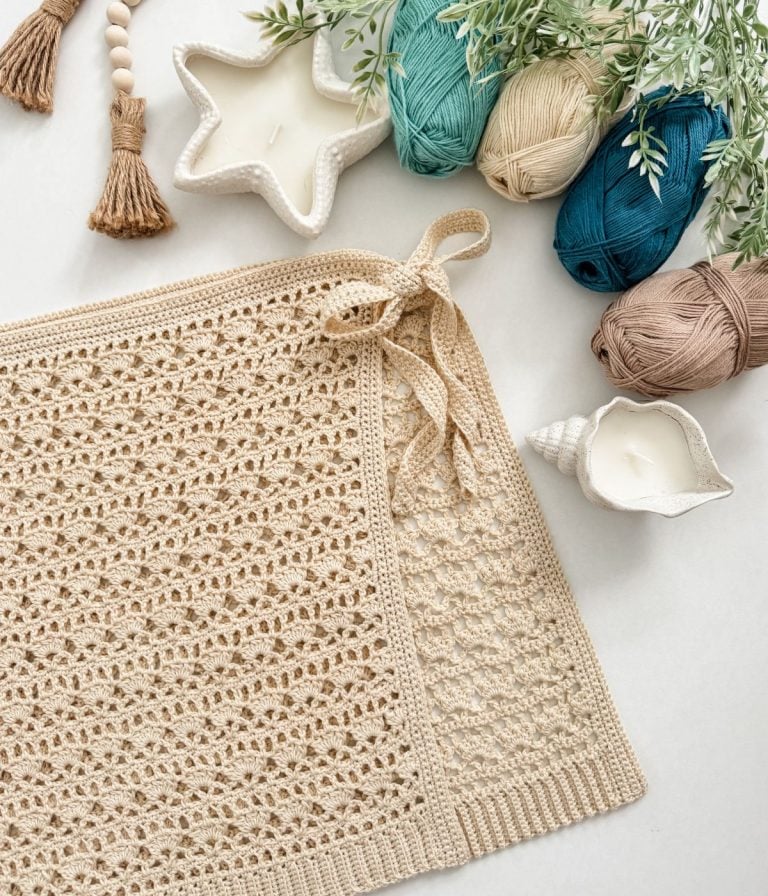
You are sure to love this Free Halter Top Crochet Pattern!
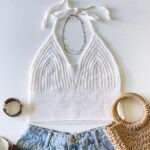
The Stroll In The Park Halter Top crochet pattern makes the perfect addition to your summer wardrobe. The halter top has an open back with straps to tie around your neck. The halter top is crop length but can easily be altered to any length. The crochet pattern comes in bra sizes 30-46 and includes a YouTube tutorial for size 34. A style guide included featuring different outfits for every season.
Below you will find everything you need to crochet the Stroll in the Park Crochet Halter Top, including the yarn, hook, materials, free written pattern for blog subscribers, pictures and a video tutorial. If you like this free crochet top pattern, please share!

Project Overview
The Stroll In The Park Halter Top is a breezy summer design with an open back and halter straps that tie at the neck. Cropped in length but easy to customize, the pattern is written for bra sizes 30 to 46. A step by step YouTube tutorial for size 34 is included, along with a style guide for year round outfit ideas.
Hook Sizes: US D/3 (3.25mm)
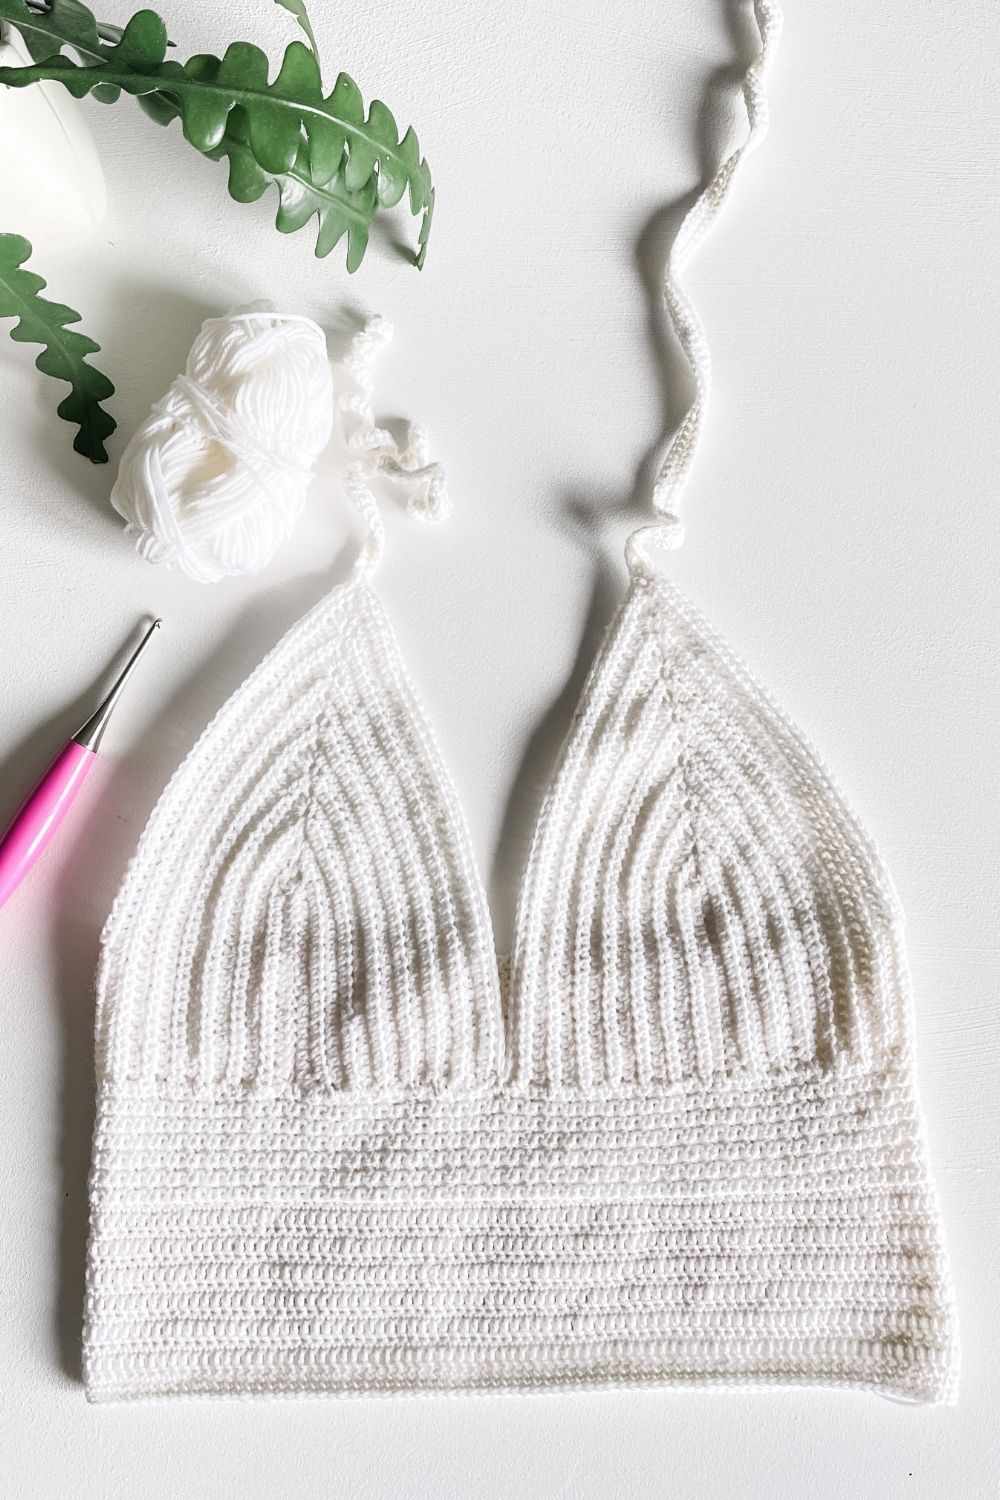
Construction: Cups with bands, body worked in round.
Video Tutorial: https://youtu.be/UrtmPFNcsHA
The Yarn
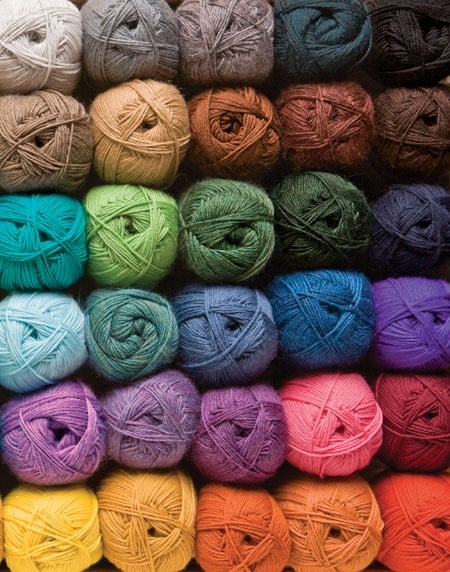
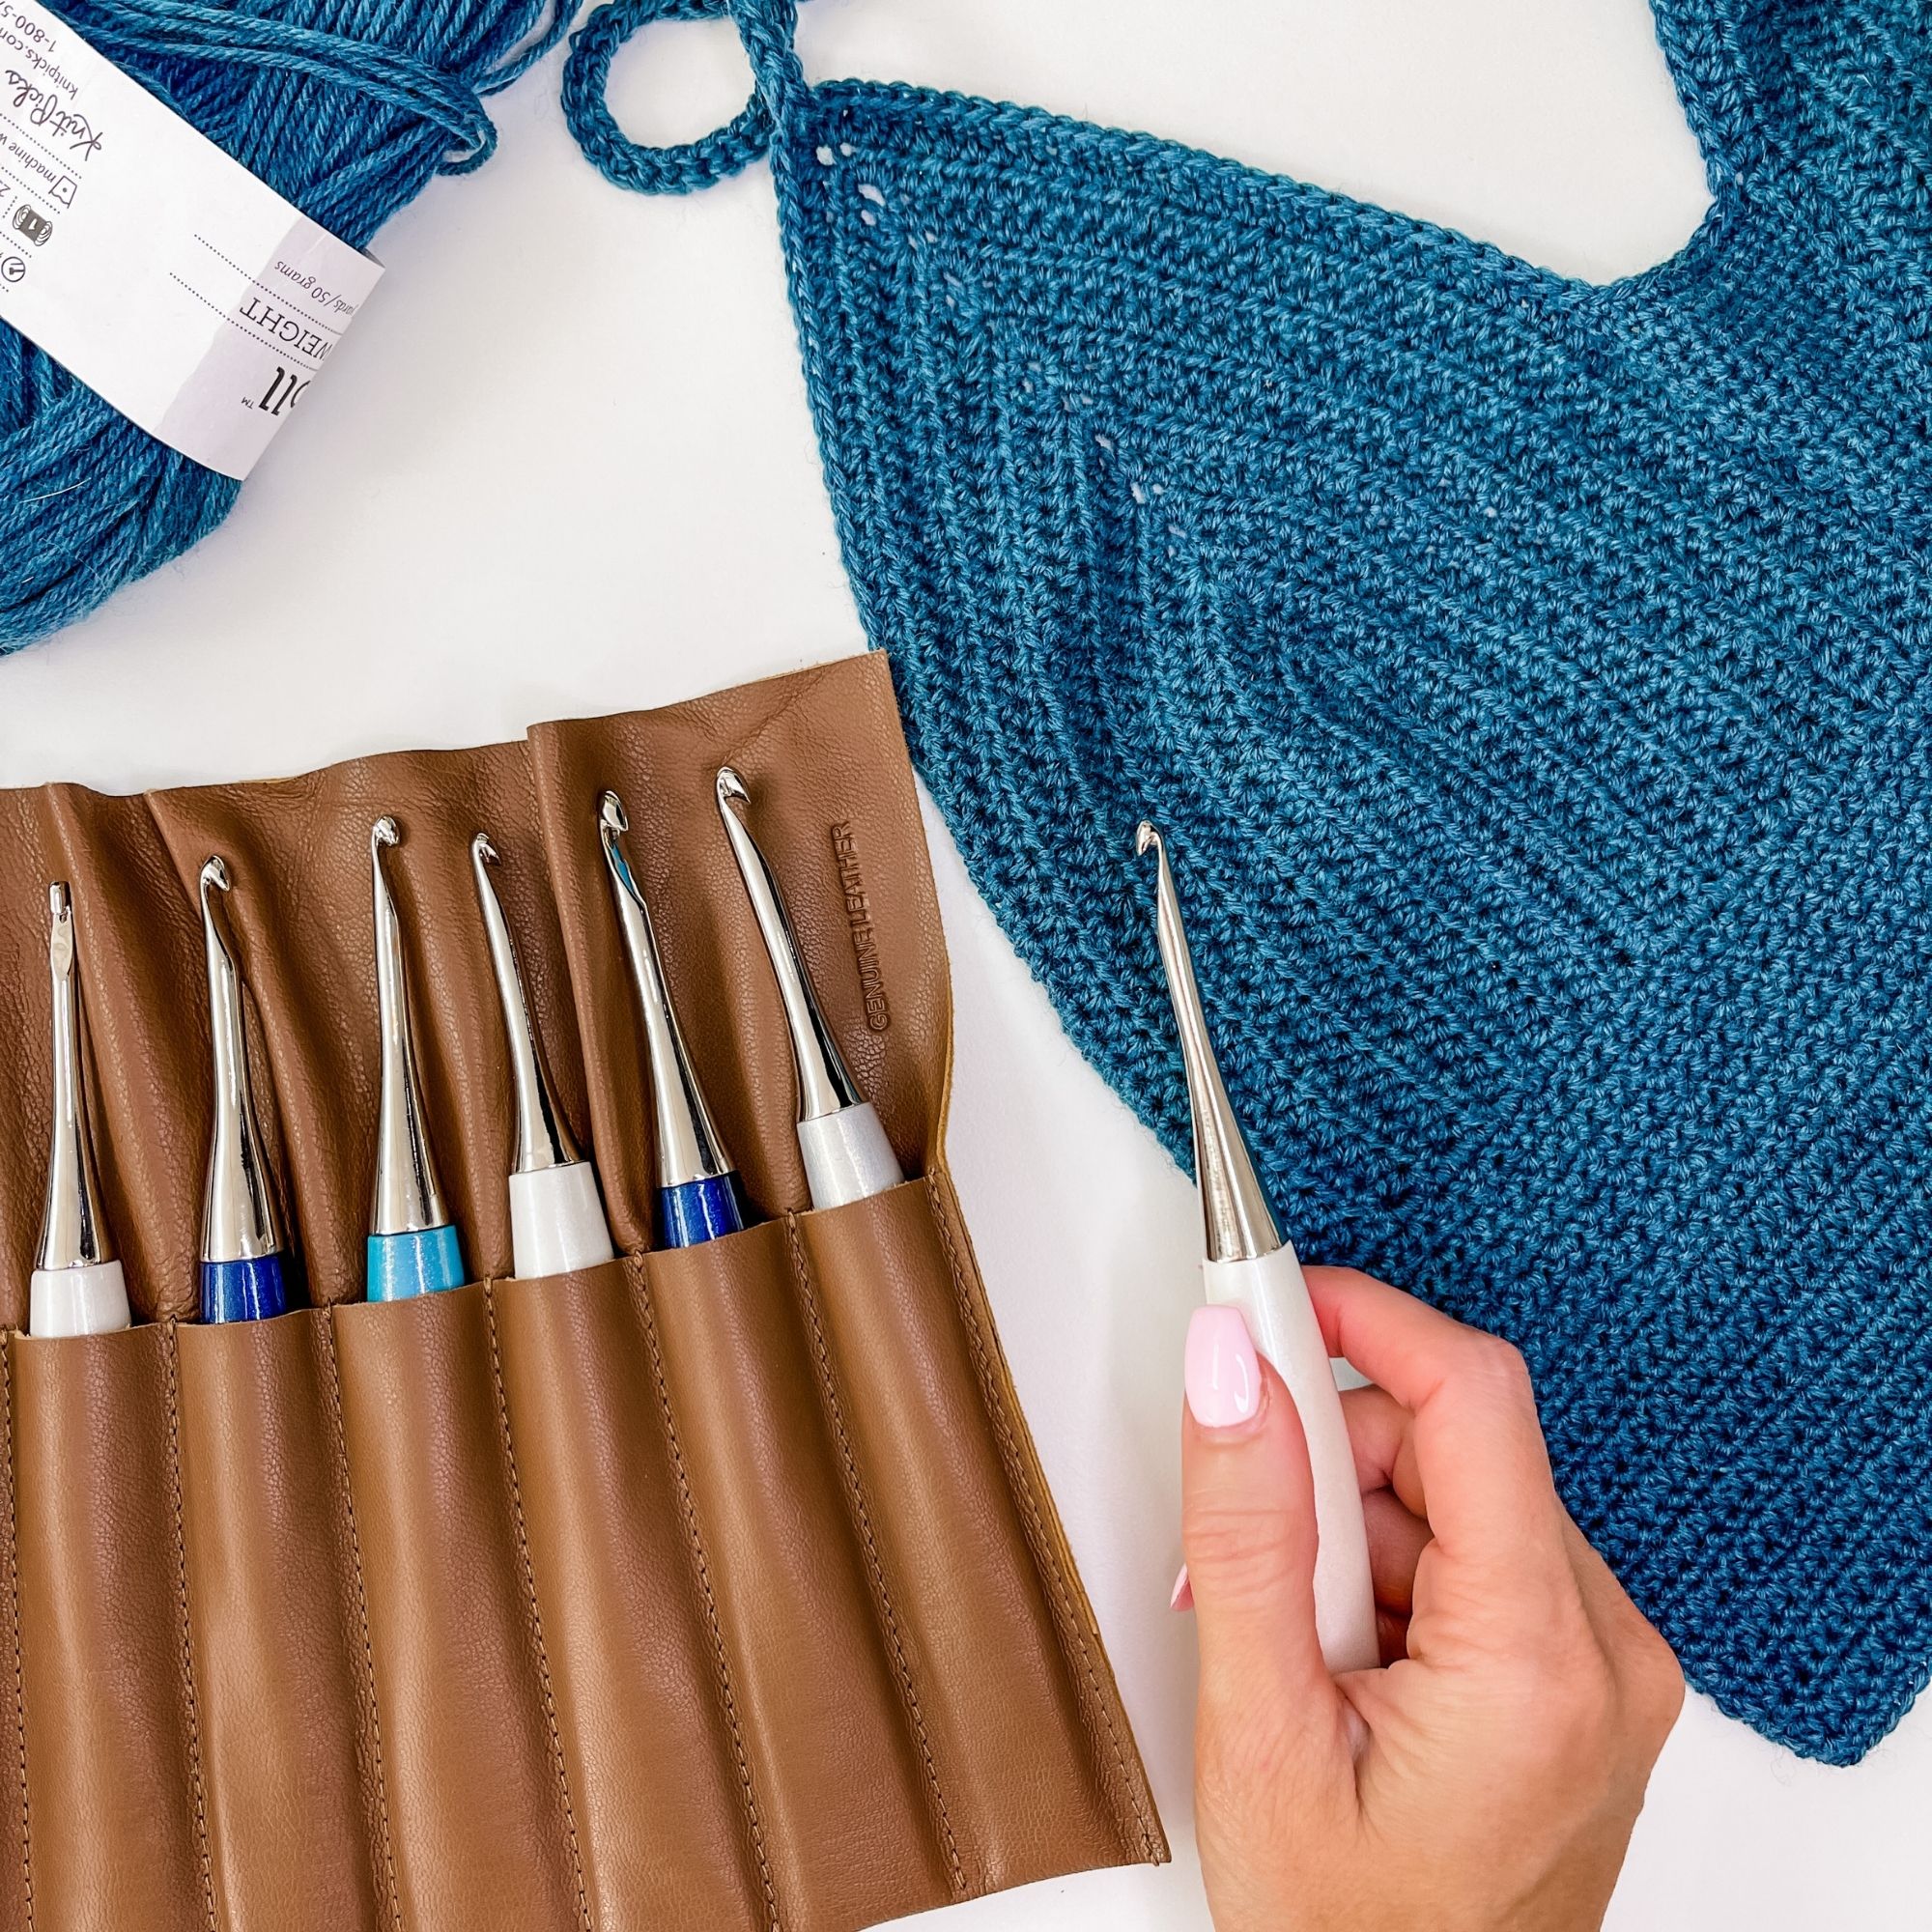
The Stroll in the Park Halter top crochet pattern is designed in Knit Picks/WeCrochet Stroll fingering weight yarn. It’s a beautiful blend of Fine Superwash Merino Wool and nylon, making it lightweight and breathable. Better yet, this yarn has easy care instructions so you can wash on a gentle cycle and tumble dry on low. Stroll has an extensive colour selection, so you’re sure to find a favourite.
Working with fingering weight yarn can be hard on the hands, so I suggest a 3.25mm D Furls odyssey for this crochet pattern. The hook glides effortlessly, and the ergonomic handle helps prevent hand cramping.
The Style
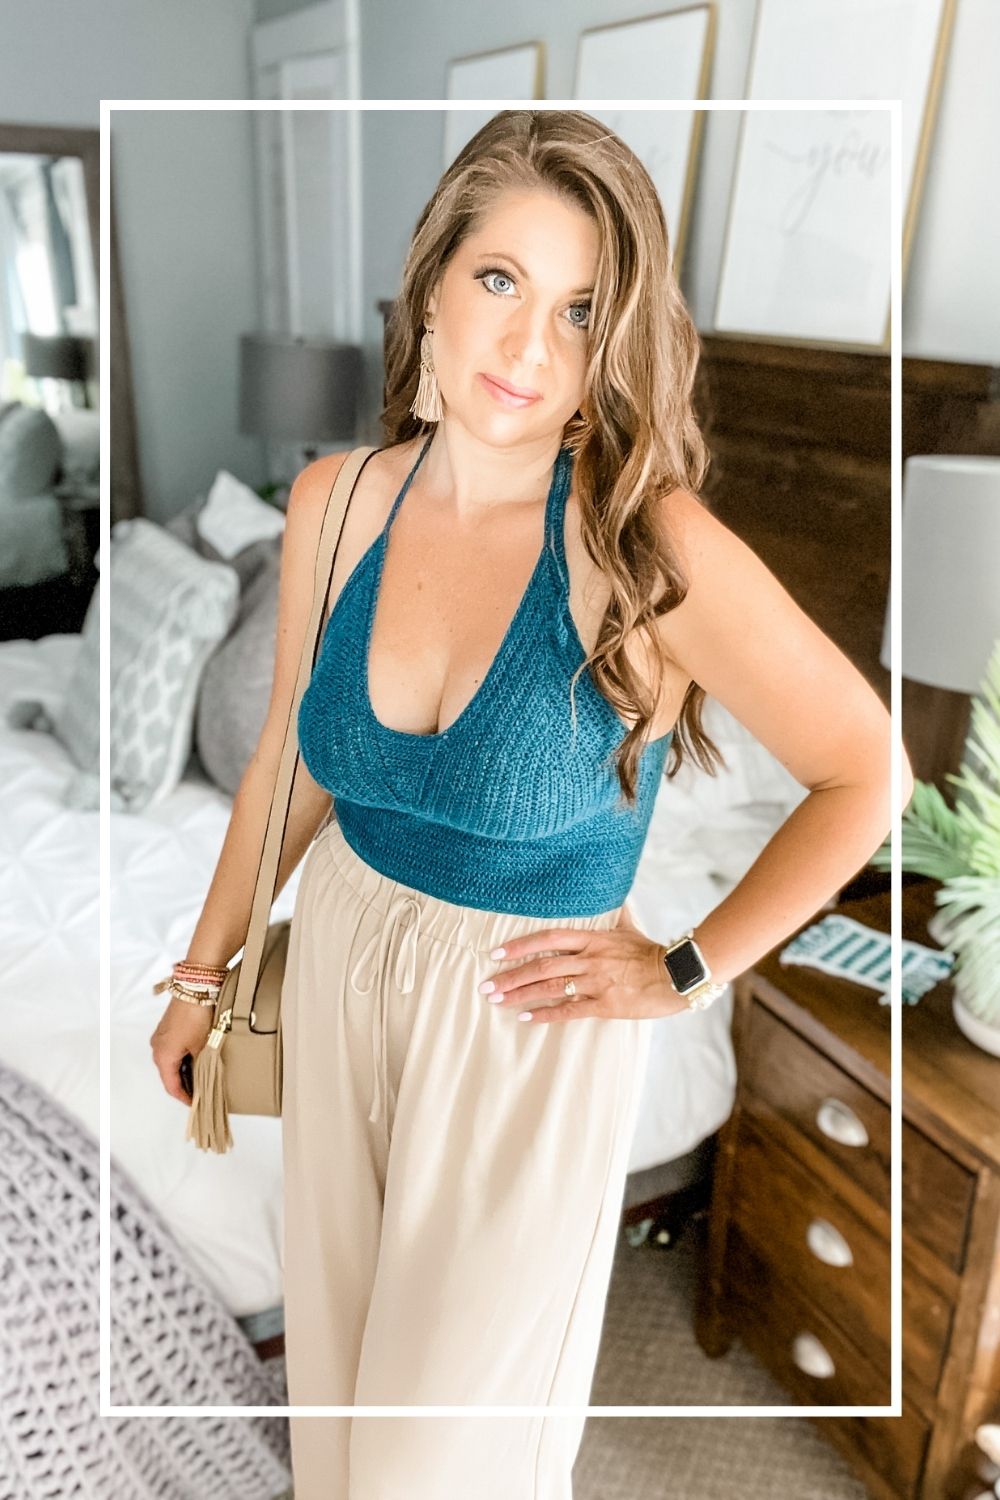
I see so many cute bralette crochet top patterns, but most are too short and revealing for my taste. I’ve designed this top so that it can be short, but also so that you can lengthen it. I wanted it to sit just above my high-waisted jeans so I could wear it under cardigans or jackets and not show too much skin.
Find the Free Halter Top Crochet Pattern down below!
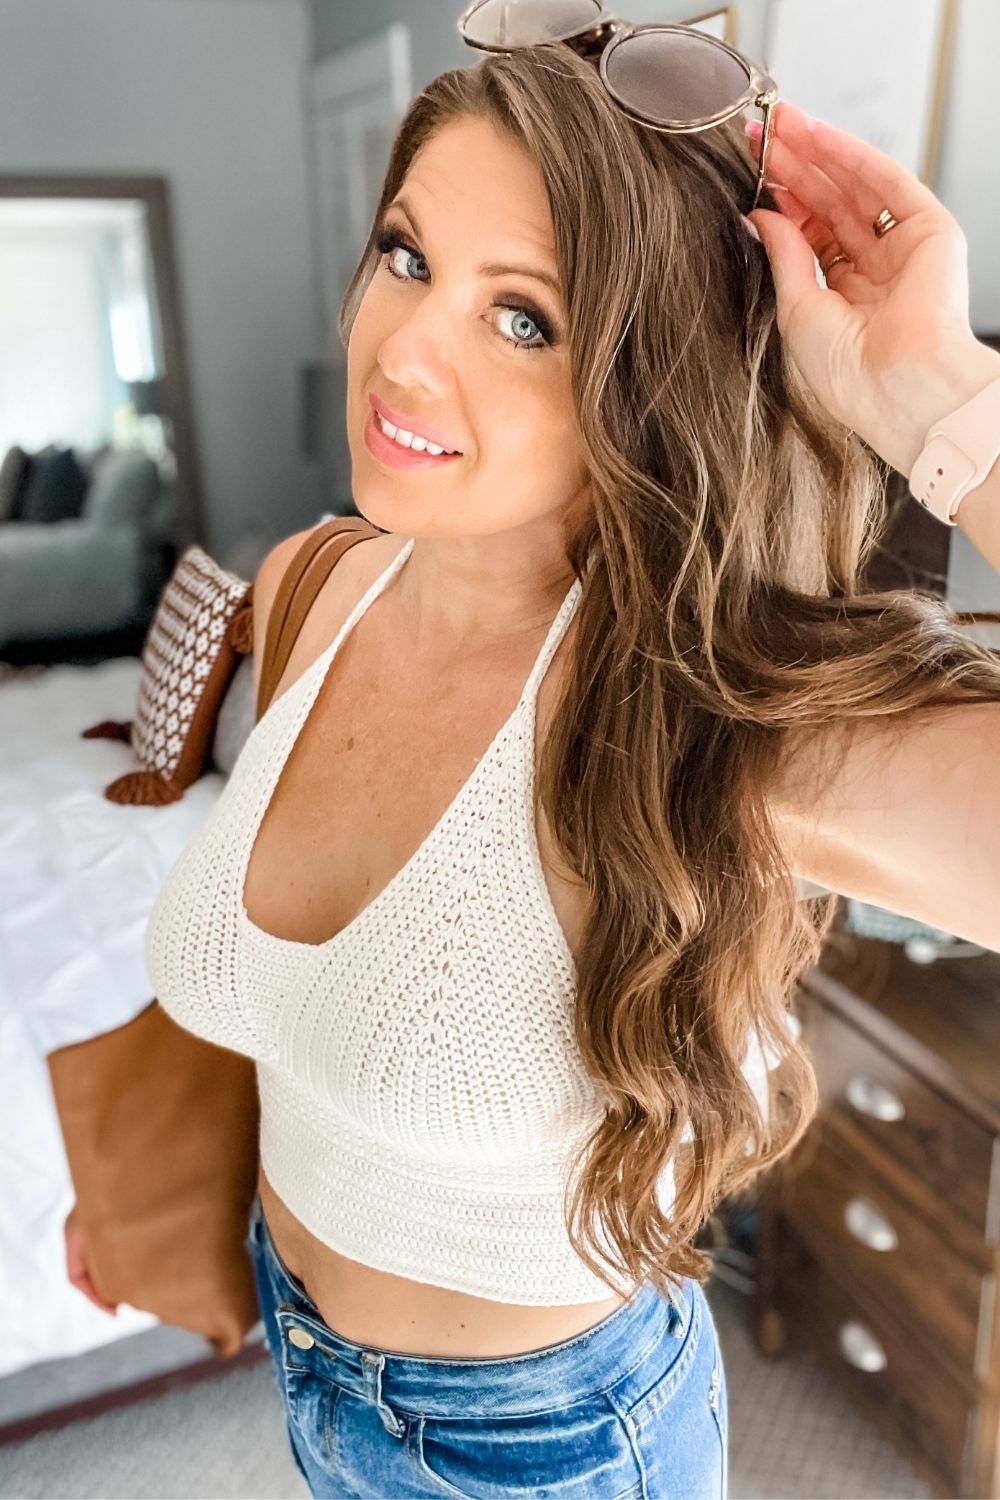
I’ve stepped out of my comfort zone and modelled this top for you! It is still revealing but worn with the right pieces; you can feel not too exposed. My teenage daughters loved the top and wanted me to crochet more items like this.
Yarn Requirements
WeCrochet Stroll– 75% Fine Superwash Merino Wool, 25% Nylon (231 yds/50g)
Shown in White & Rainstorm Heather
Yards 340 370 400 450 480 520 570 620 700
# Balls 2 2 2 2 3 3 3 3 4
Yarn Substitutes
Crochet Hook
US D/3 (3.25mm) or size needed to obtain gauge
Additional Supplies
Removable Stitch Markers (CDN)
Removable Bra Pad Inserts (CDN)
Gauge
Cup – 11 sts and 9 rows equal to 2″ in hdc
Body – 13 sts and 16 rows equal to 2″ in sc clusters / 13 sts and 10 rows equal to 2″ in sc/hdc repeat
Construction
Measure under the bust to determine the correct size. Begin by crocheting the cups, the front band joins the cups together. The back band is worked separately then joined. The body is then worked in the round adding additional length to the top. Straps are worked with the edging. Steam block to finish. Pattern is written for the smallest size with larger sizes in parentheses ( ). Step by step video tutorial is provided on our YouTube channel for size 34 (M)
Sizing
XS (S, M, L, XL, 2X, 3X, 4X, 5X)
Size Chart included when you purchase the AD-FREE PDF
Video Tutorial


Upgrade to the Premium PDF Pattern!
Digital PDF Download
Digital pattern only. No physical item will be shipped.
The free version of the crochet Halter Top is down below!
Styling Tips/Suggestions
Follow me on the LiketoKNOW.it app
Have fun styling your Halter Top crochet pattern. This basic tank is a wardrobe staple and can be styled with several outfits. Easily transition to Fall and Winter. Find links to coordinating wardrobe pieces underlined in blue!
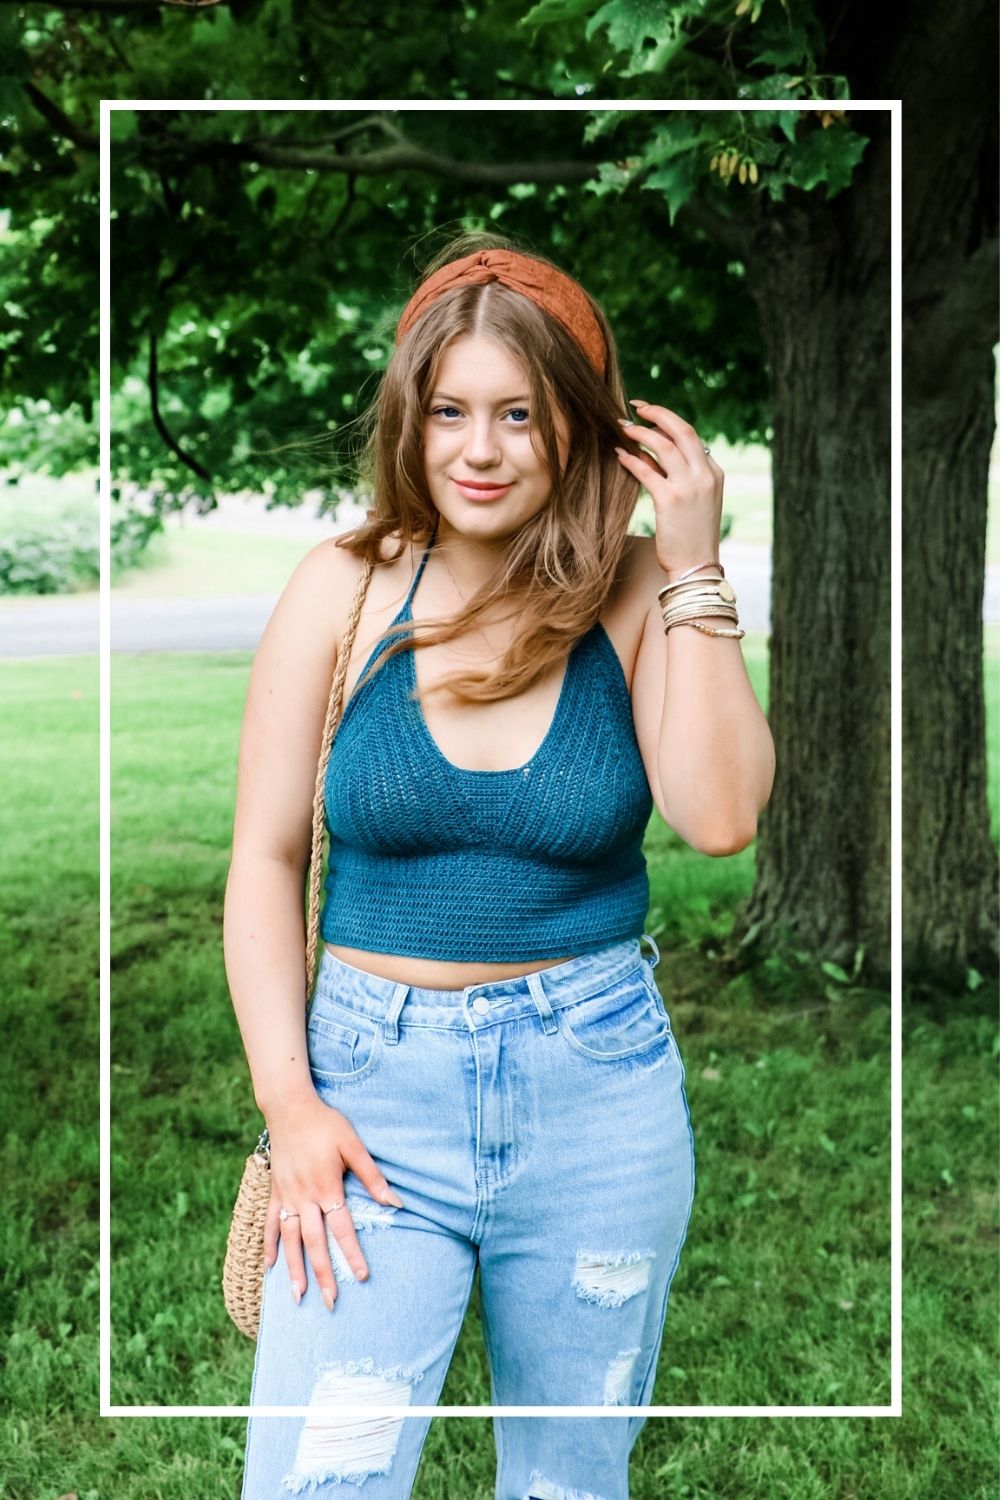
Summer Fun
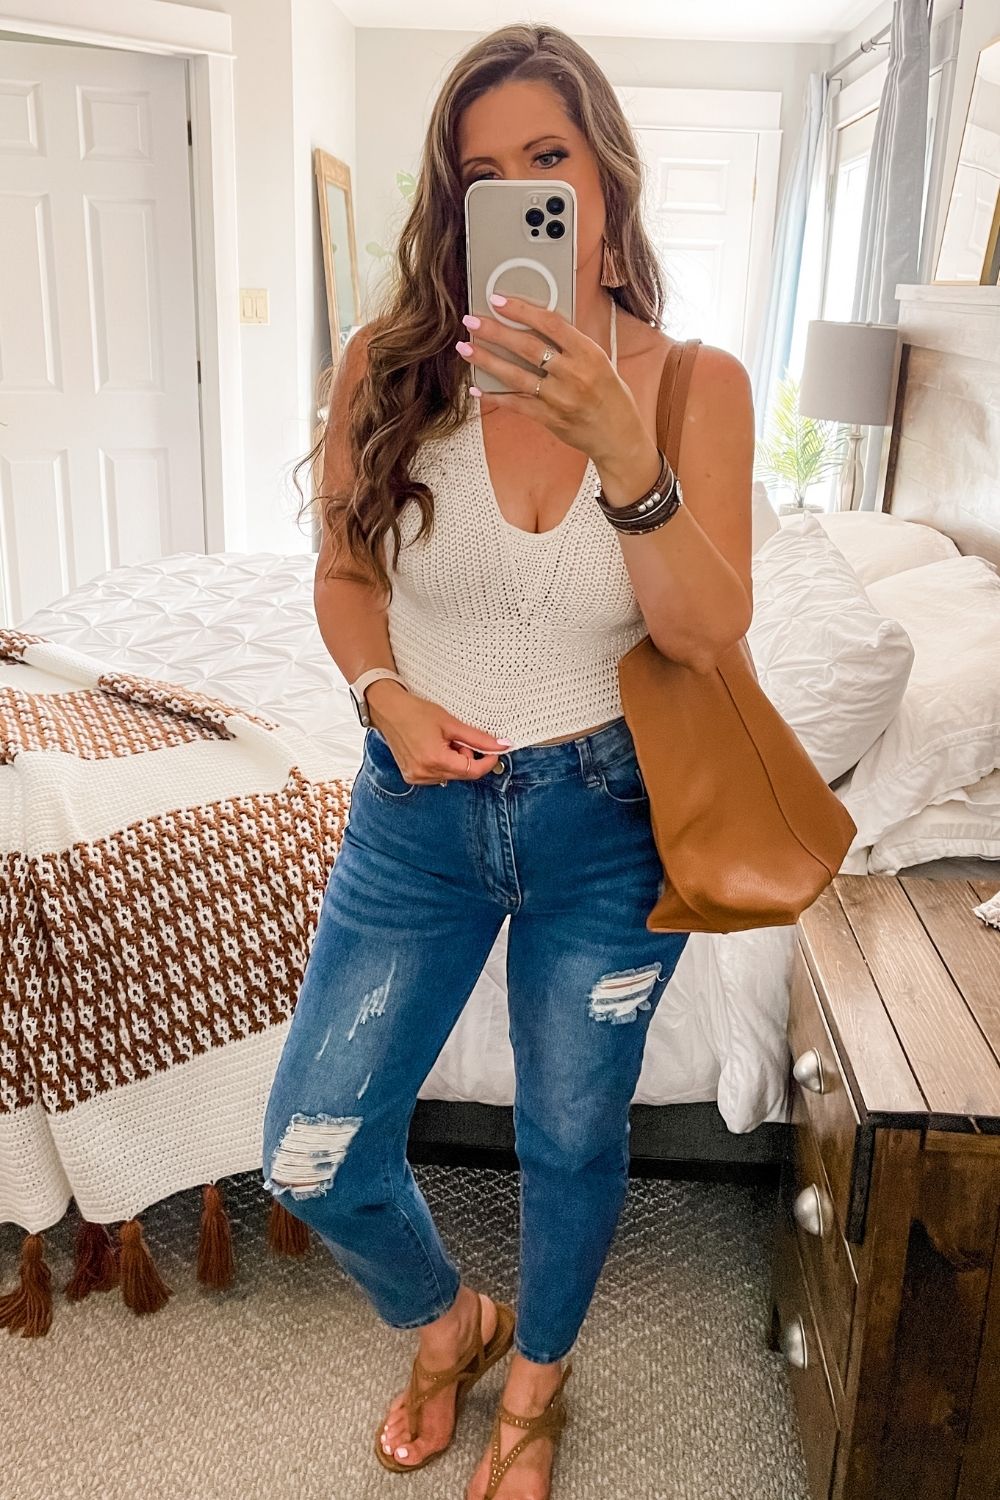
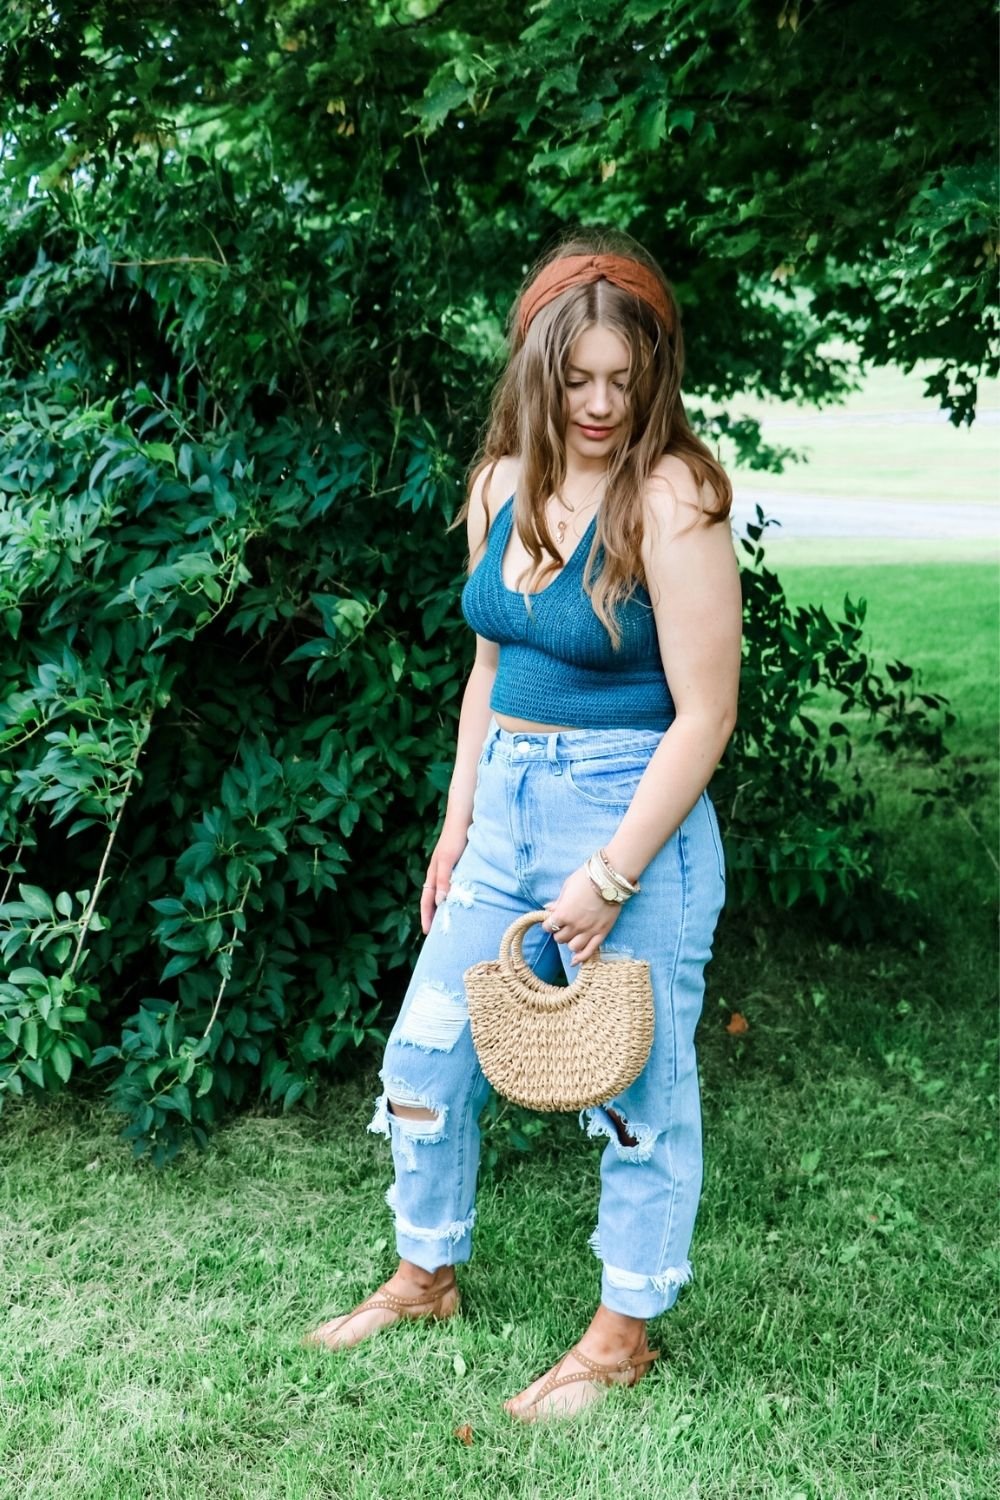
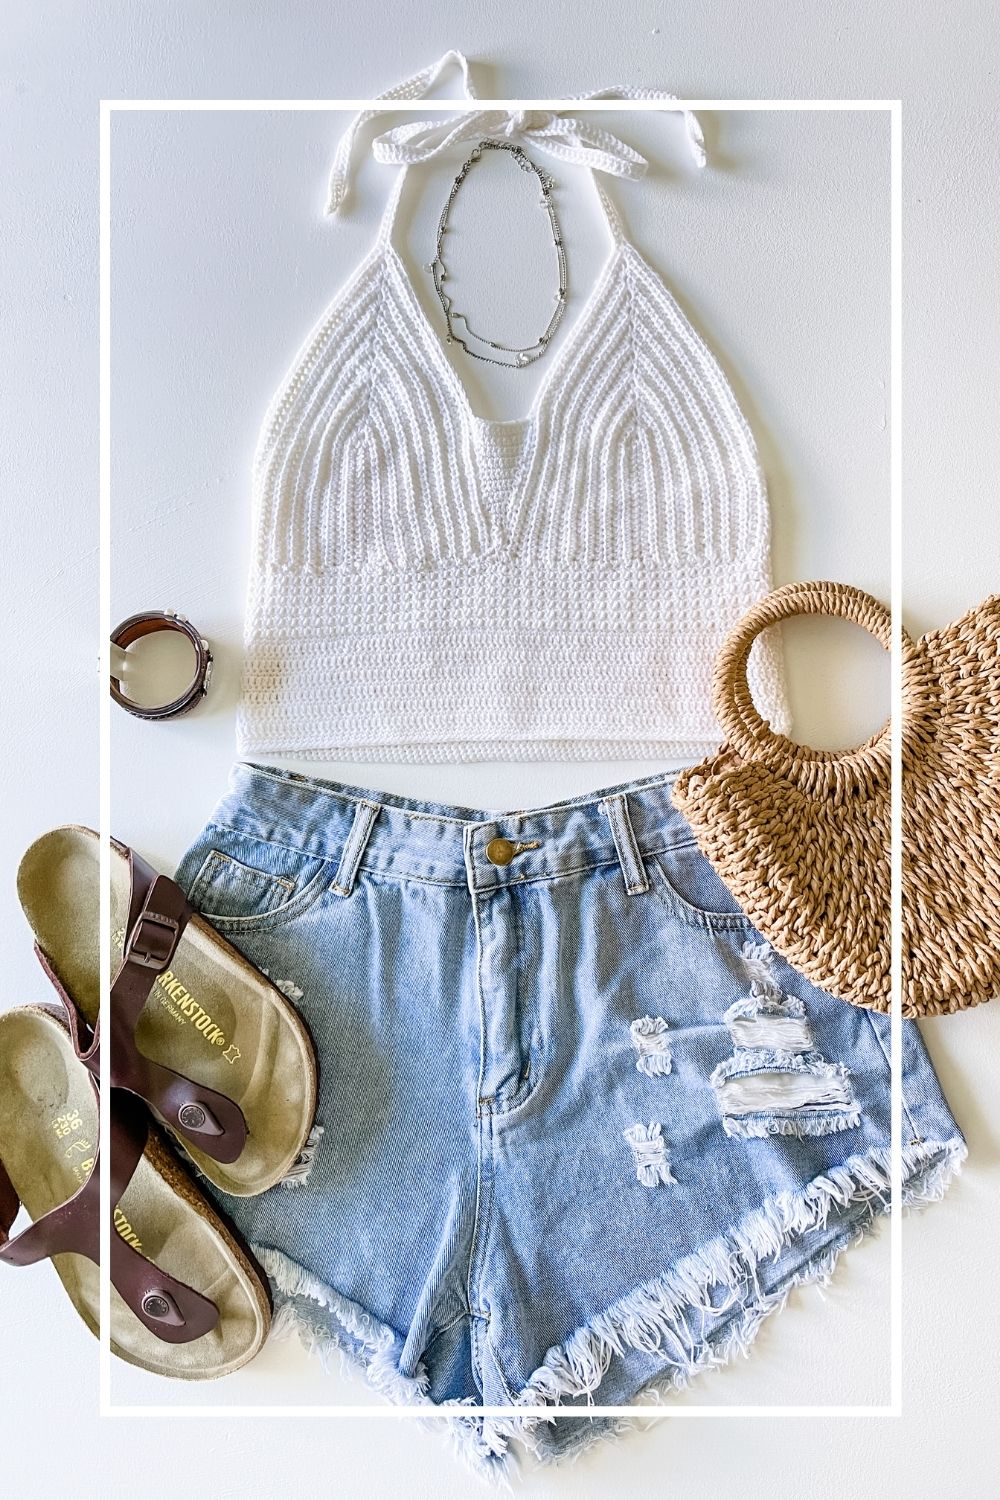
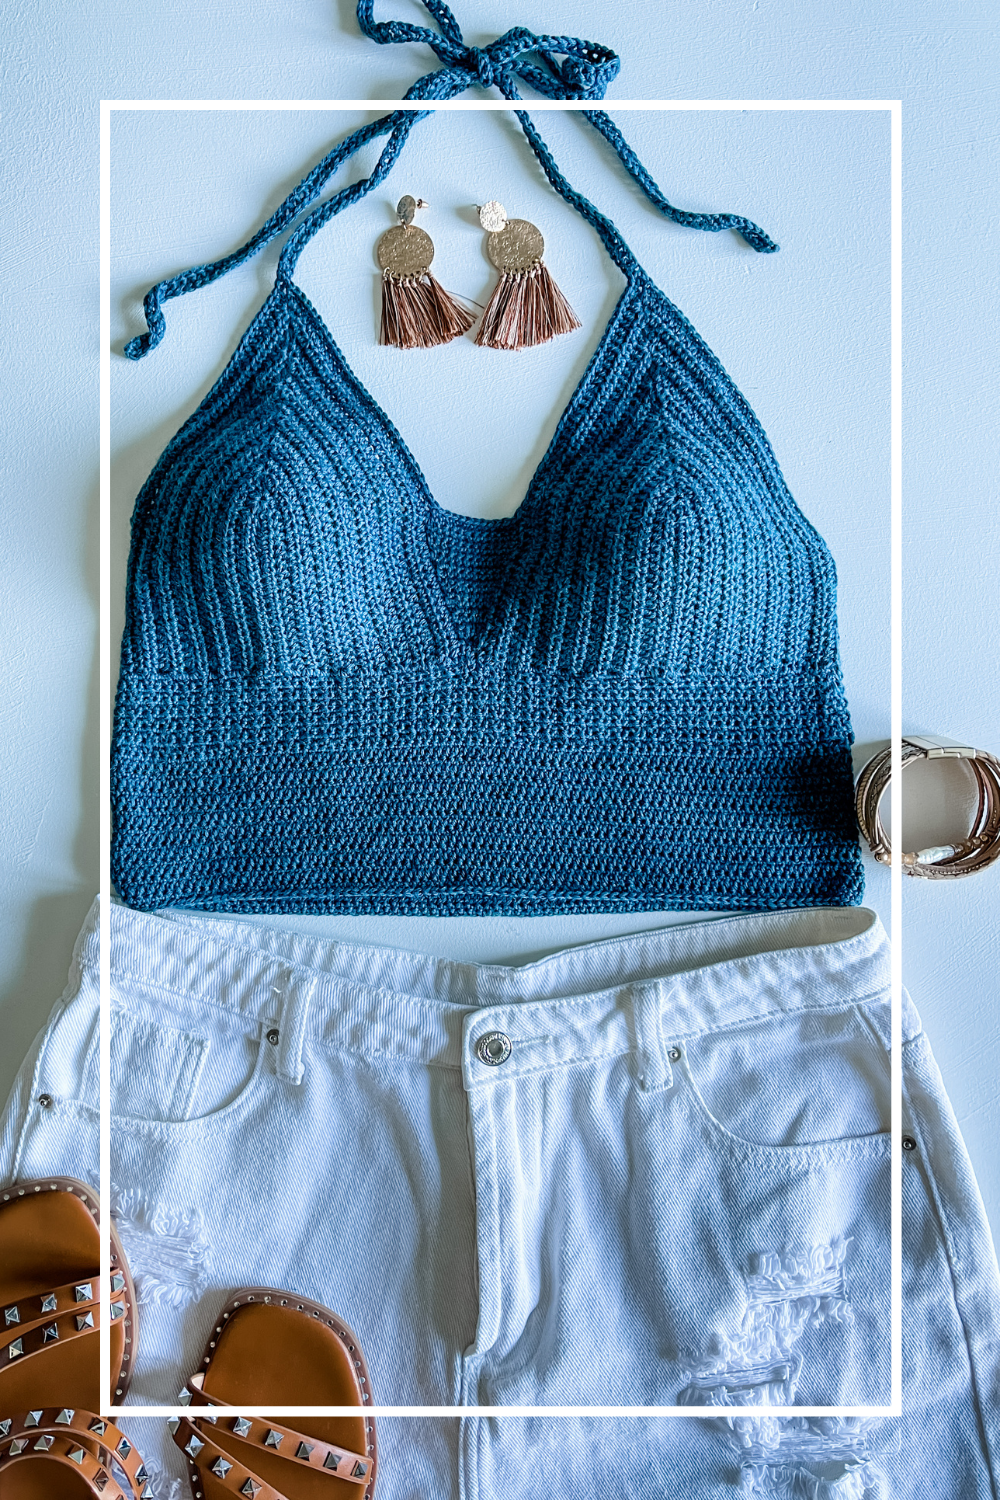
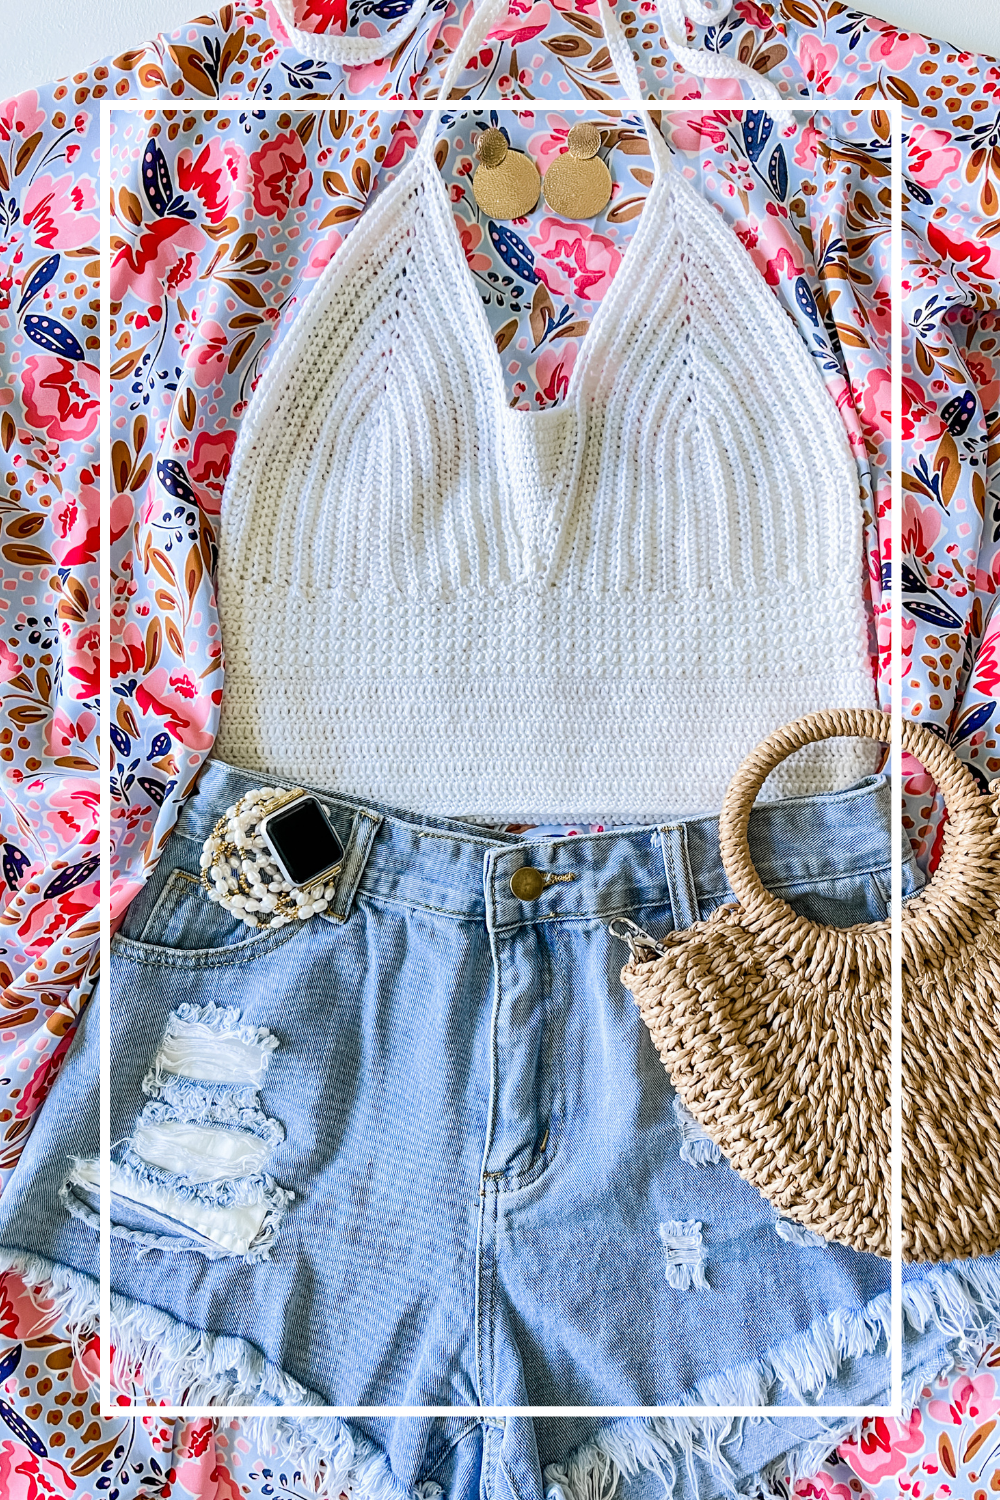
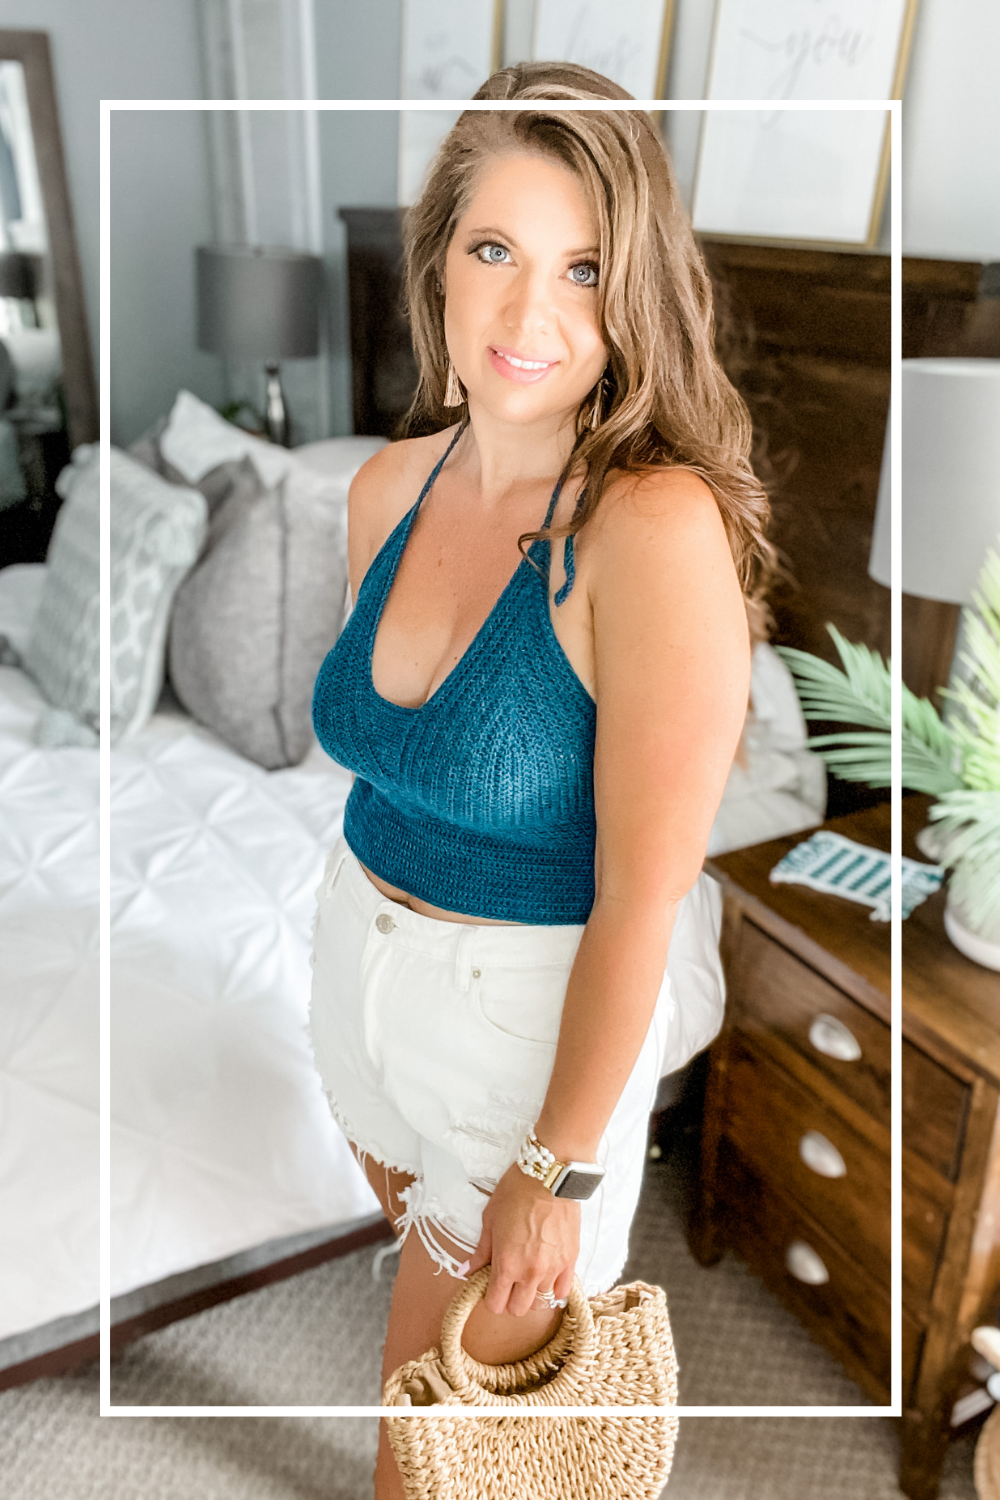
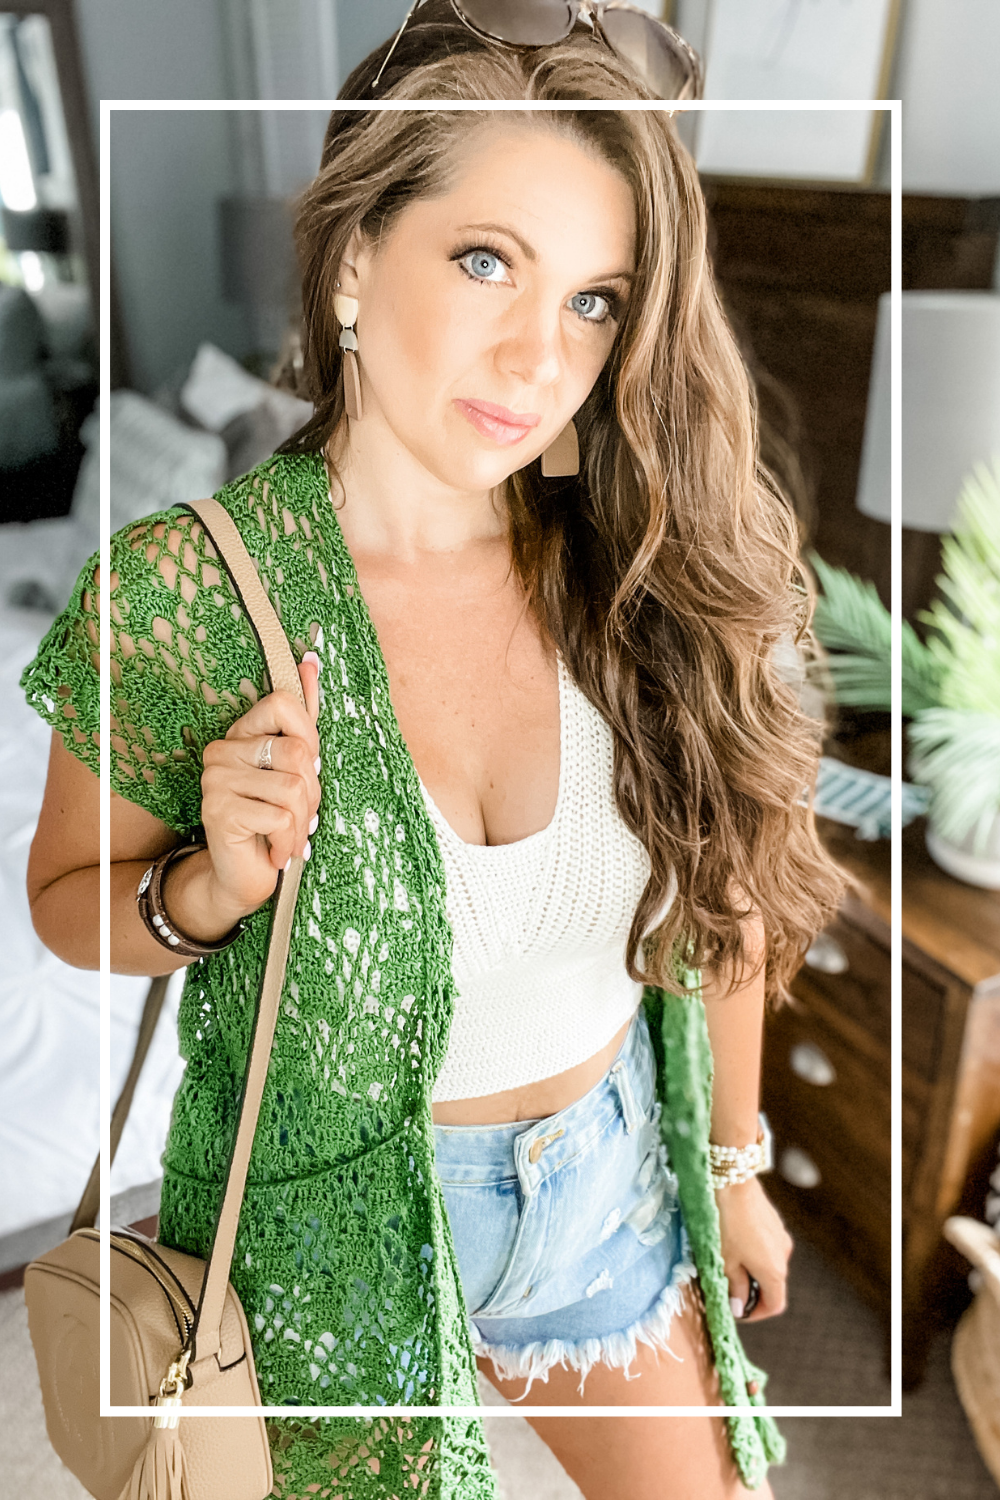
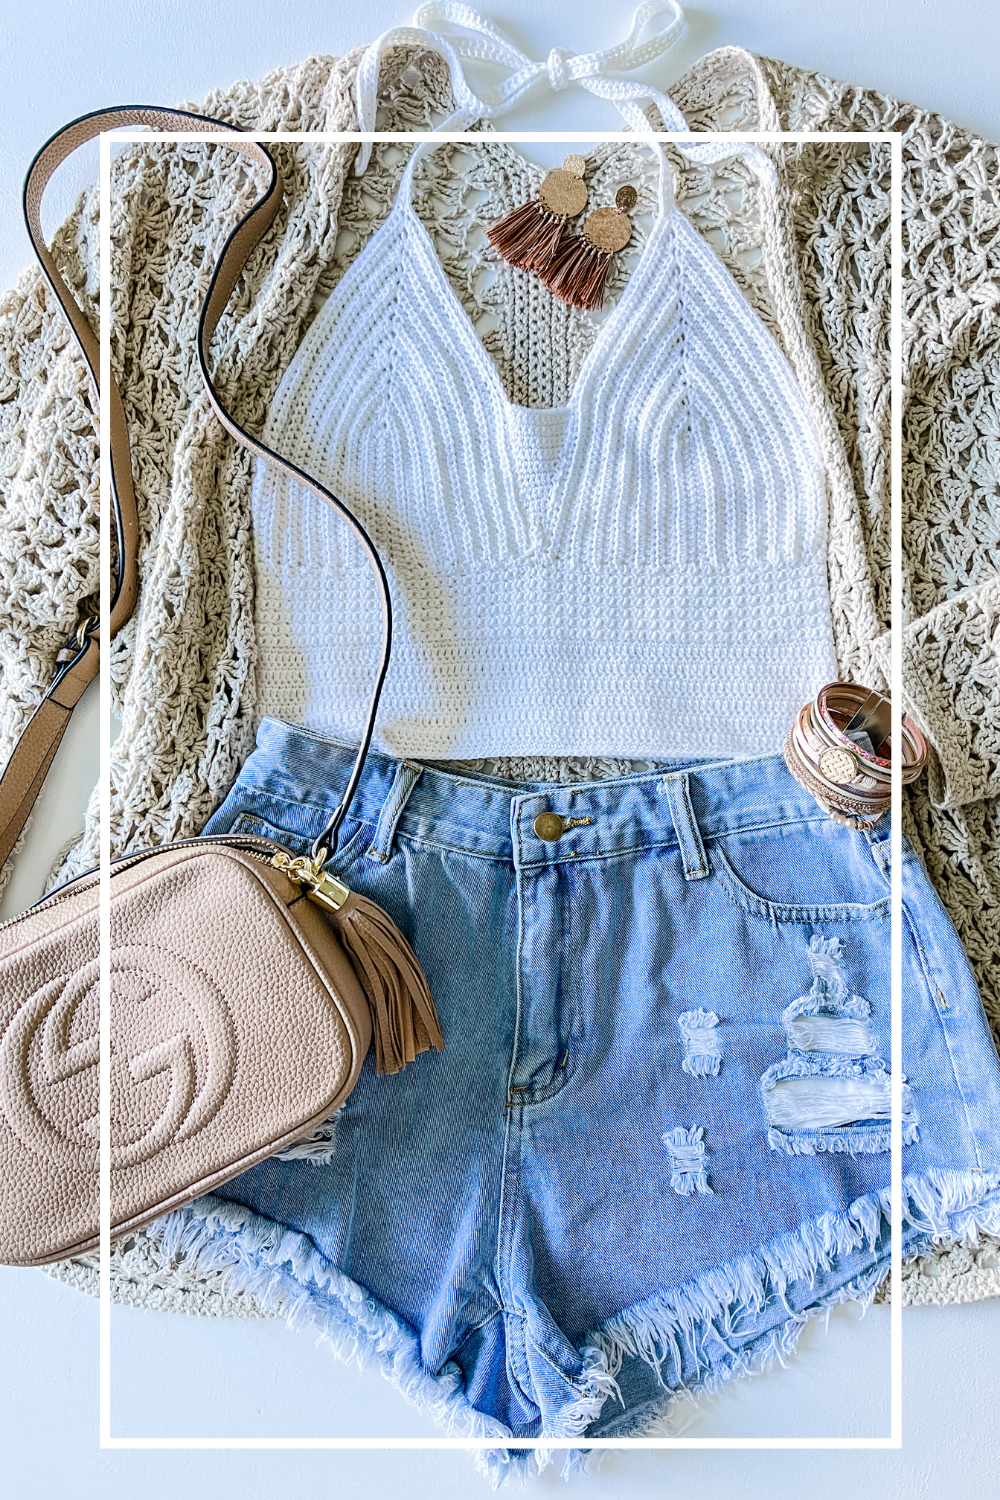
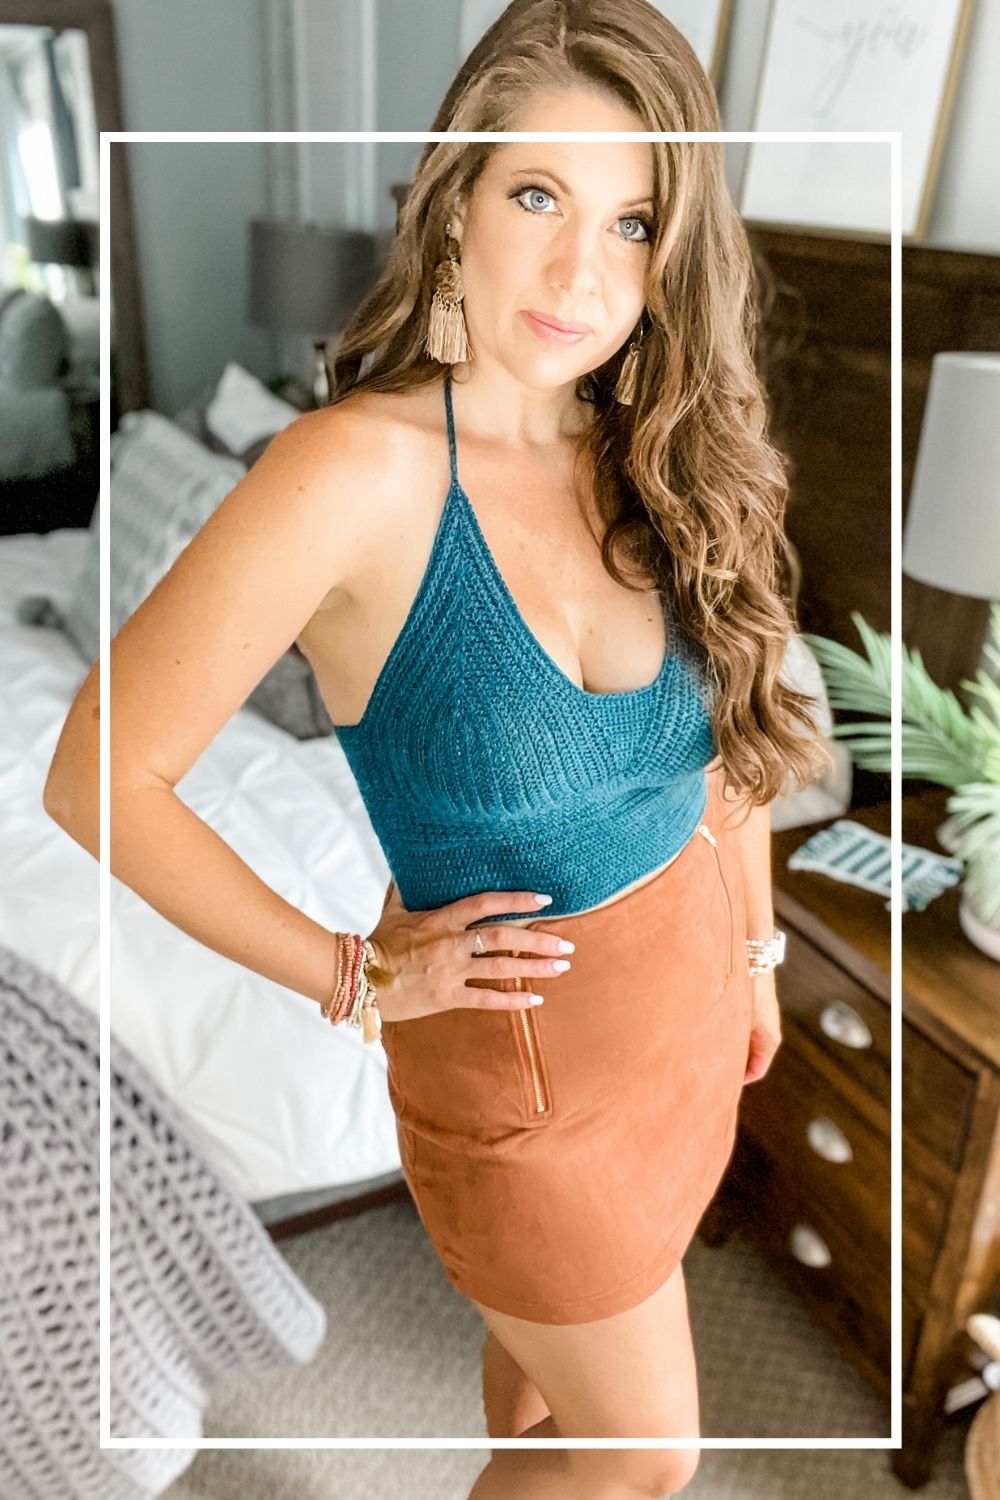
On hot summer days, all you need is a pair of cut-off shorts or a soft frill trim skirt to stay cool and look great. Accessorize with a wrap bracelet, necklace, round handle straw bag and comfy sandals. Picture #2 is shown with white jean shorts, Fringe earrings and studded sandals. Picture #3 is shown with floral kimono, gold earrings and an apple watch bracelet.
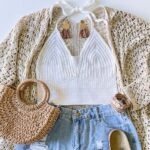
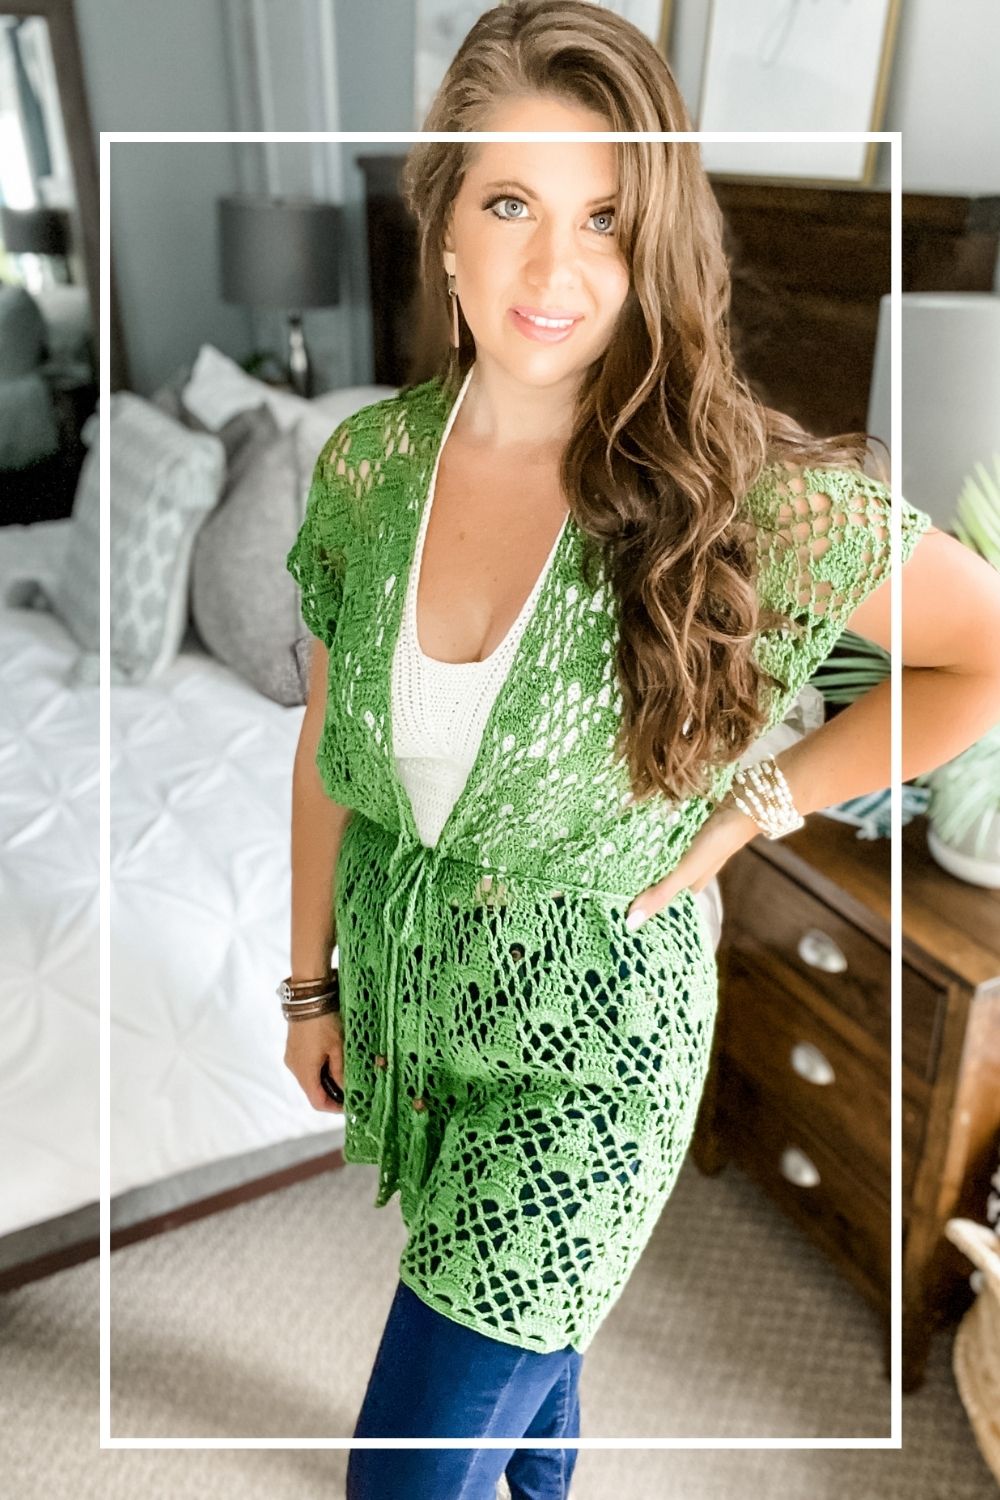
If you’re heading out on the town for coffee, errands or a lunch date, pair with a crochet cardigan. Adding a lace cardigan provides a bit more coverage and style. The cardigan will also keep you warm while you’re in air-conditioned buildings.
Green cardigan, Pink cardigan and Linen Cardigan with Gucci handbag, gold hoop earrings, and wrap bracelet.

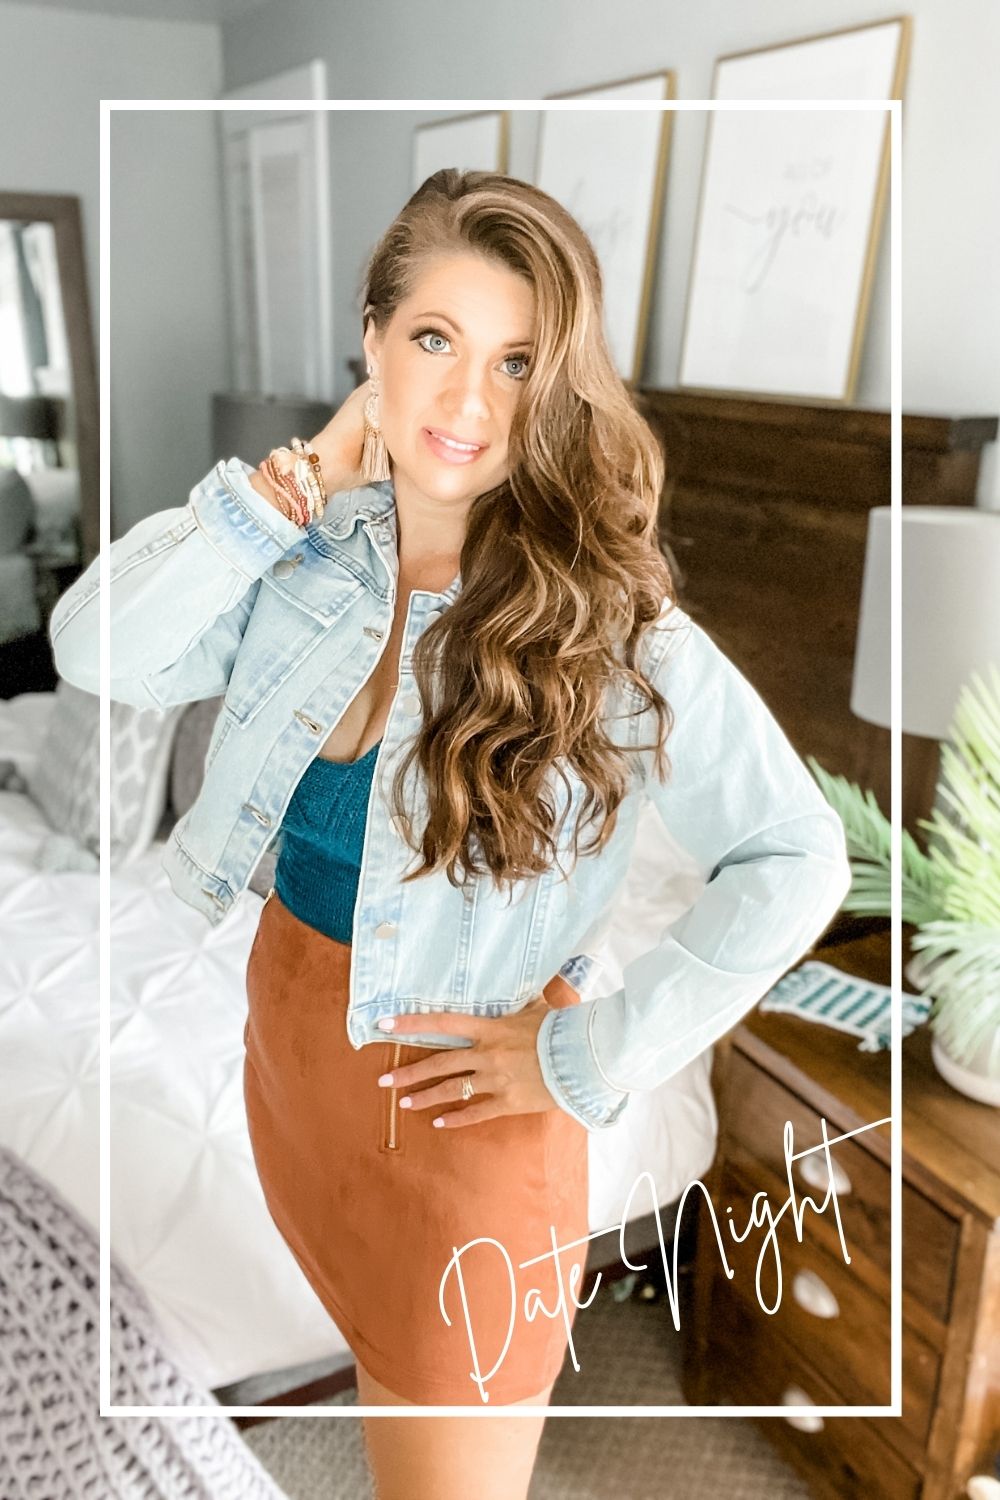
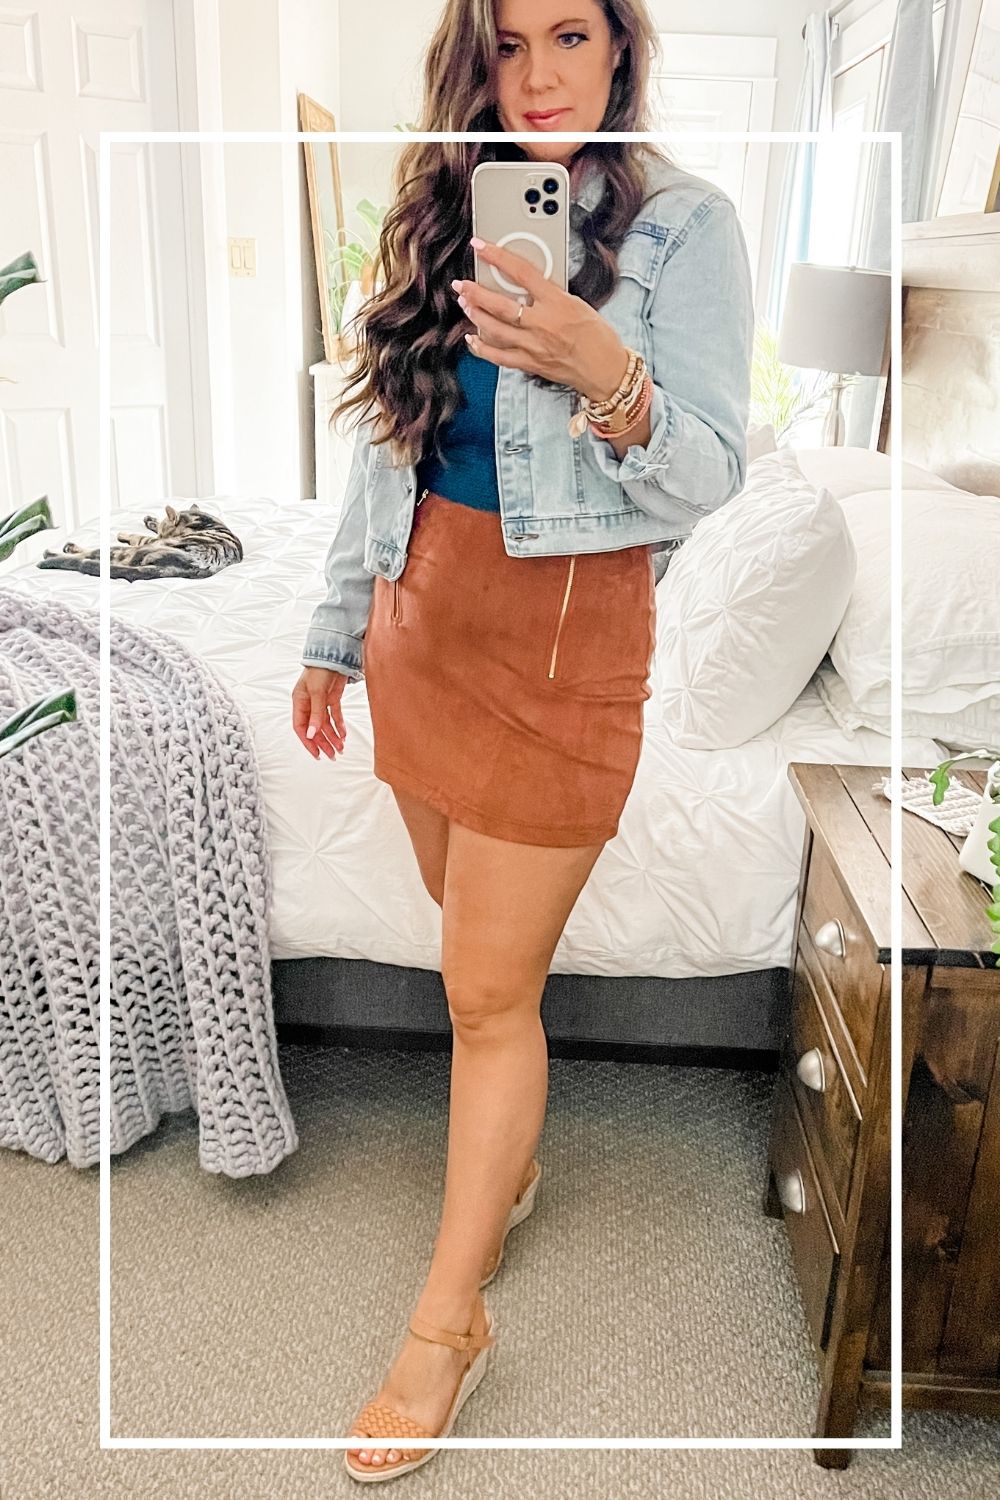
Date Night
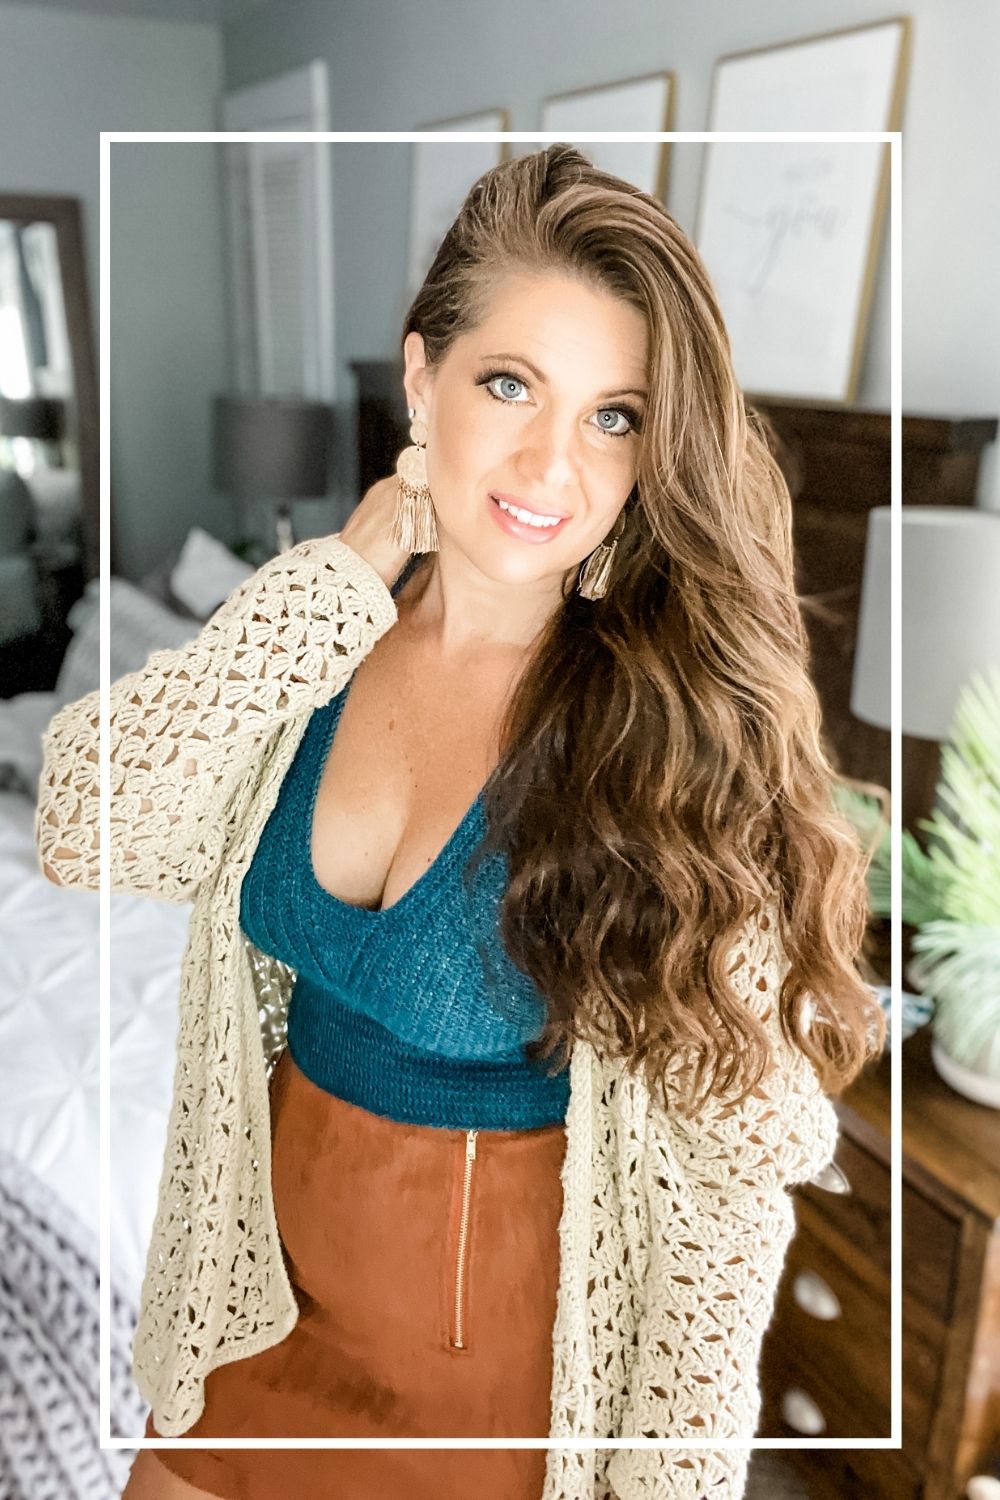
Going out on a date or out with your girlfriends, pair with a skirt and wedge heels. Add a jean jacket or crochet cardigan. Accessorize the look with tassel earrings, an apple watch bracelet and a clutch bag.
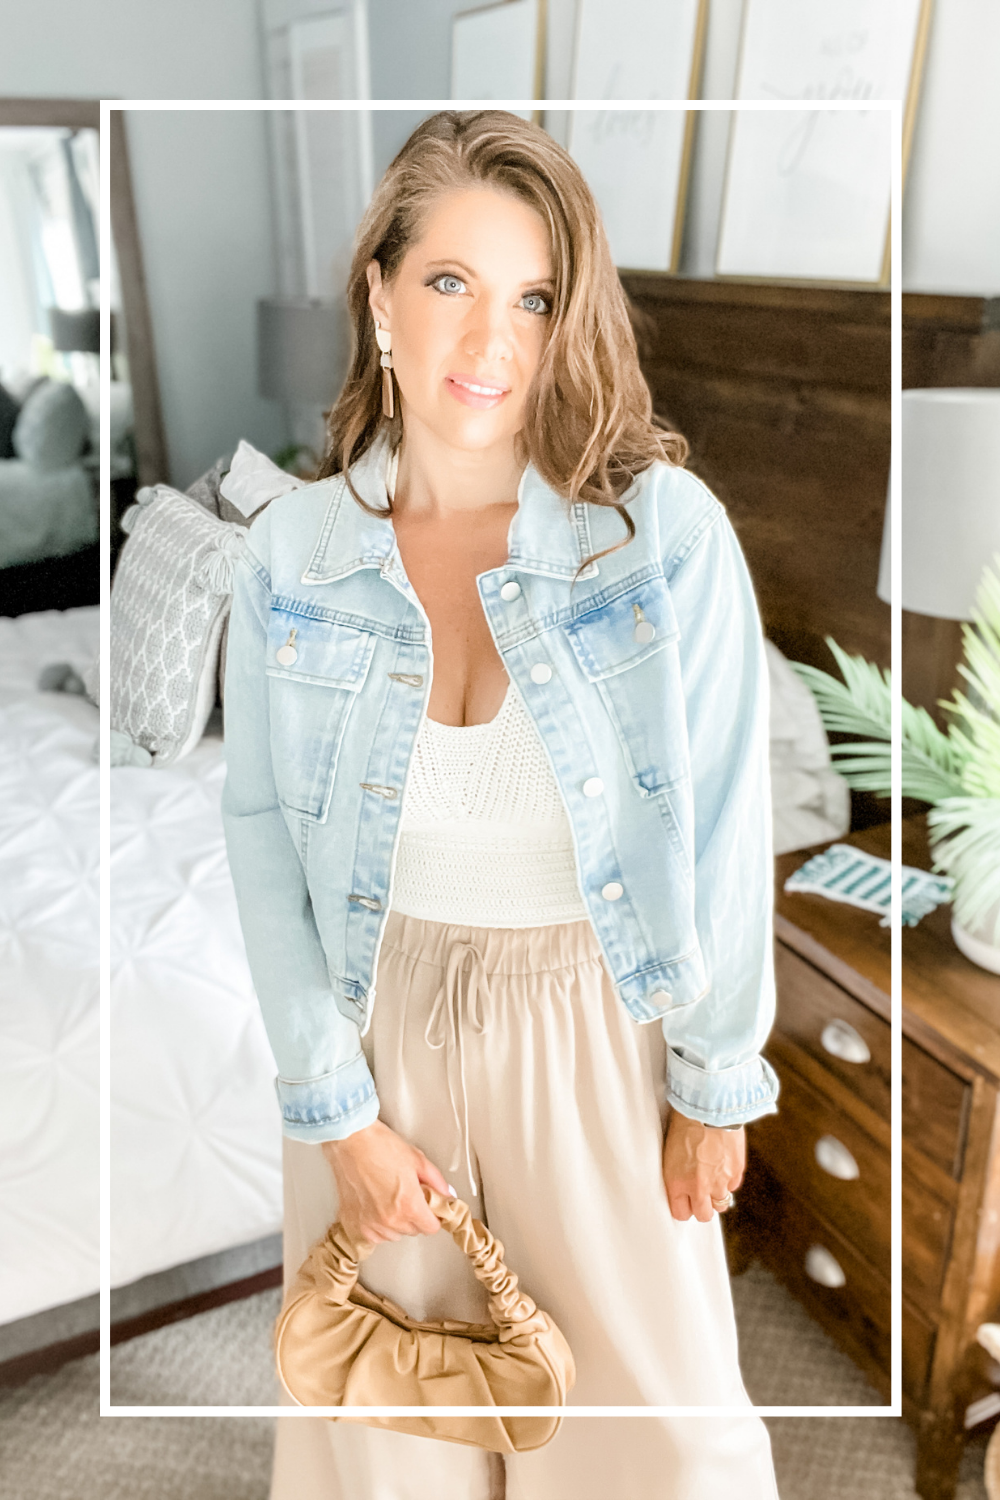
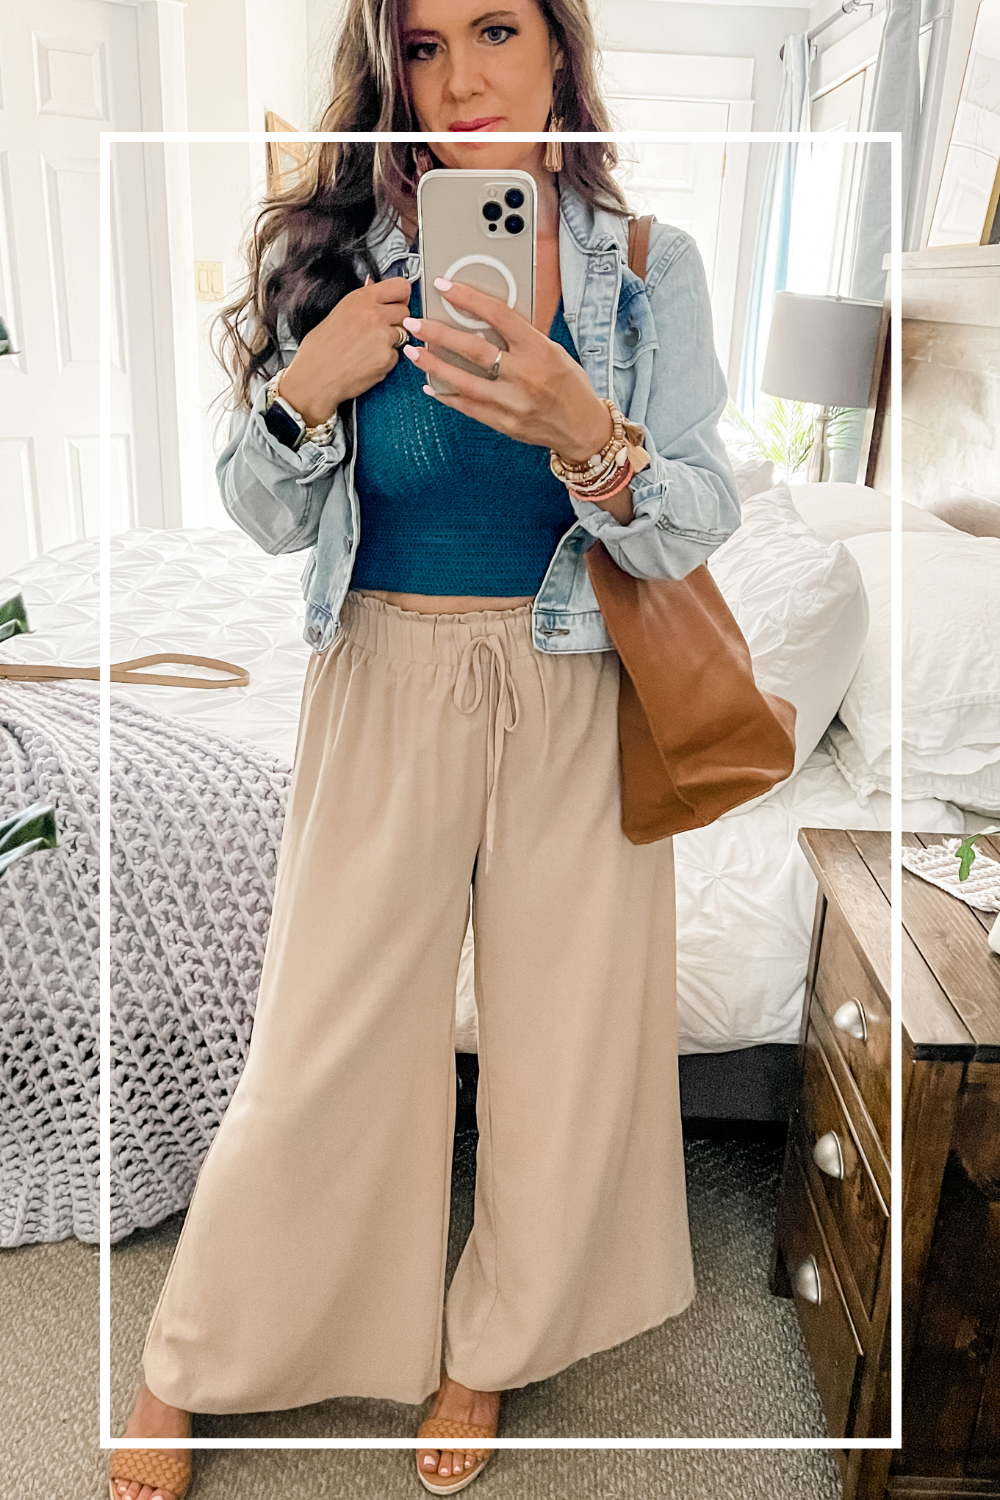
Spring Fling
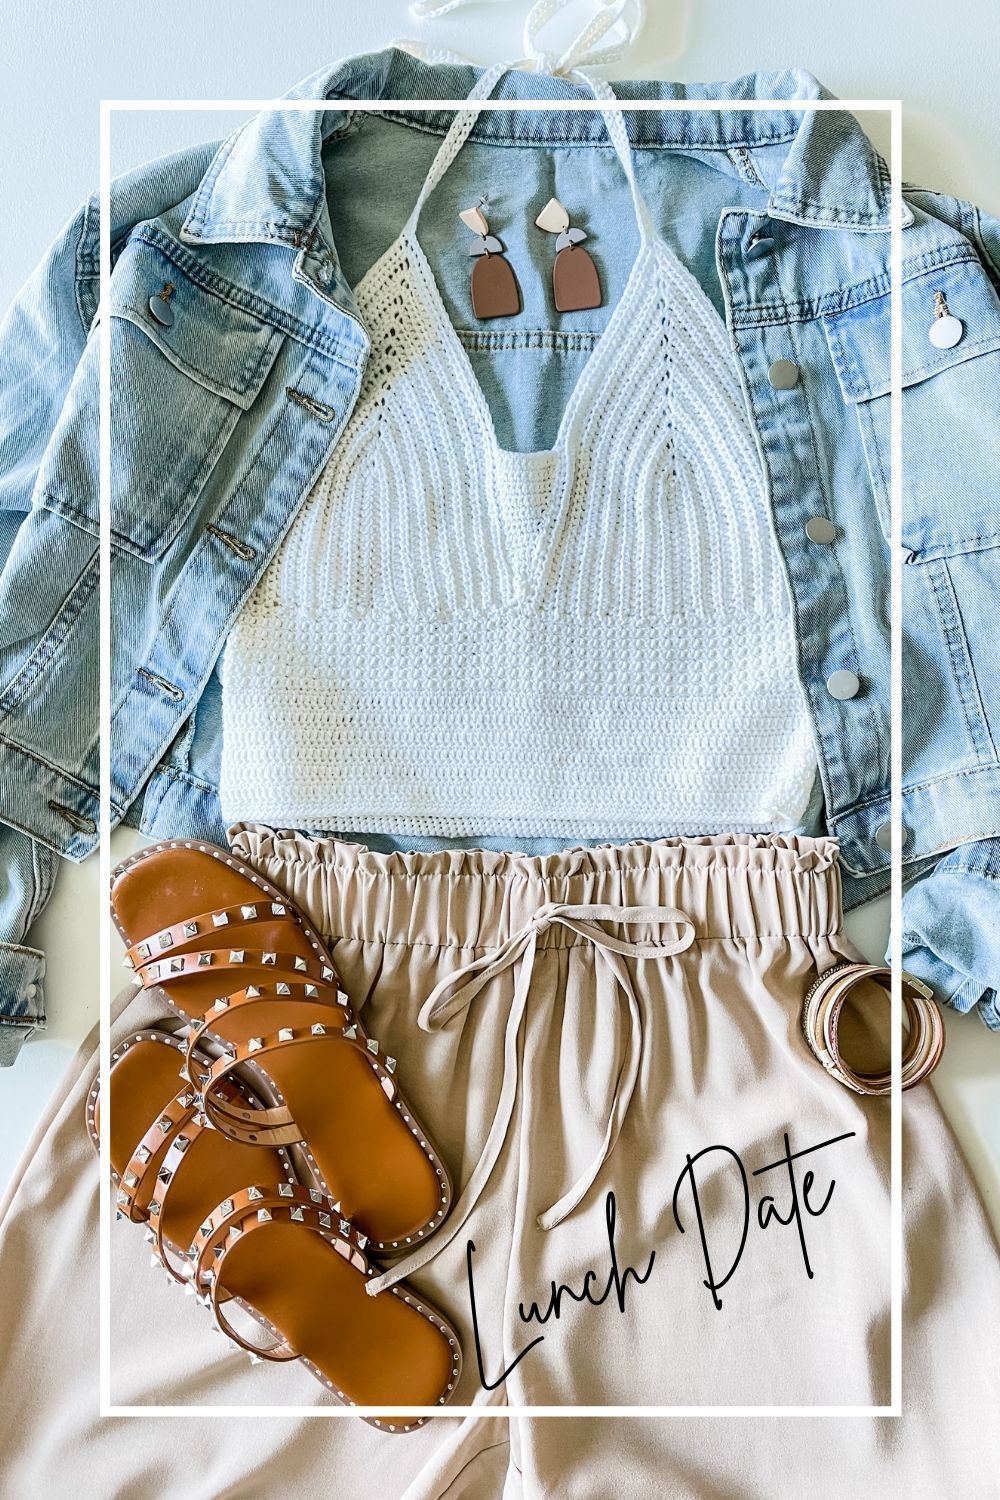
A wide-leg pant, sandals, and jean jacket is the perfect look for Spring or cool summer evenings. It looks great paired with wedge heels or studded sandals, a tote bag, a ruched baguette handbag, geo drop earrings and a beaded bracelet. I wore this on a road trip with my husband, but it would be perfect for a lunch date.
Falling for You
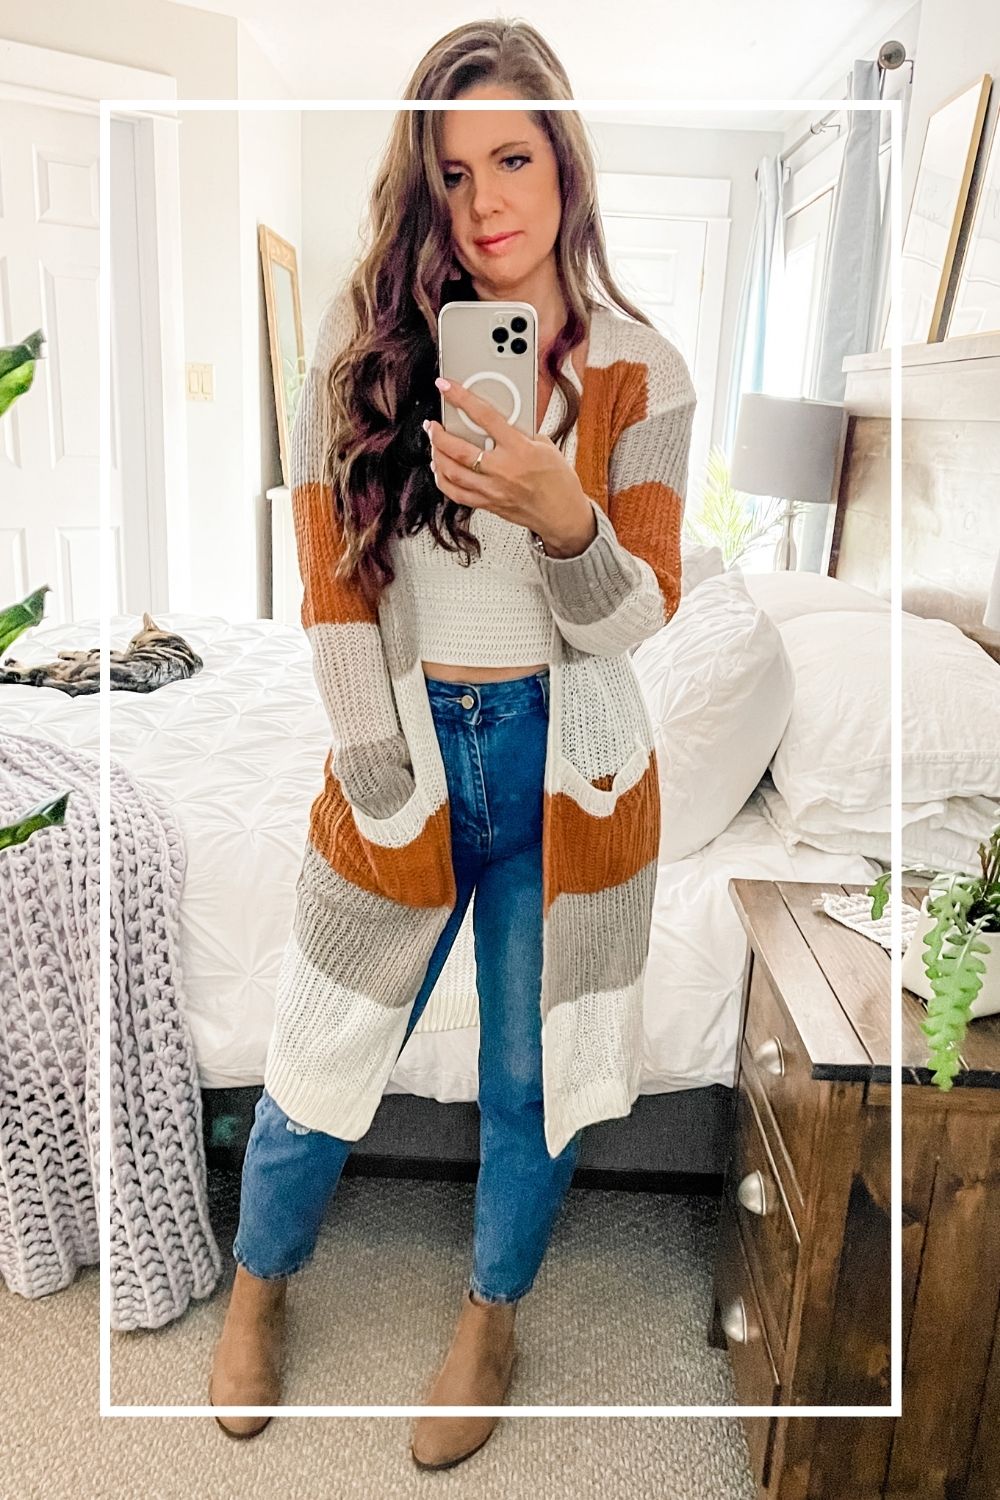
As temperatures start to cool and we head into Fall, pull out some cozy crochet cardigans, jeans and boots. Mom jeans with Brown Cardigan and low heel ankle boots. Skinny Jeans with a Cabled Sweater and ankle boots. Mom Jeans with Striped Cardigan and leather tote bag.

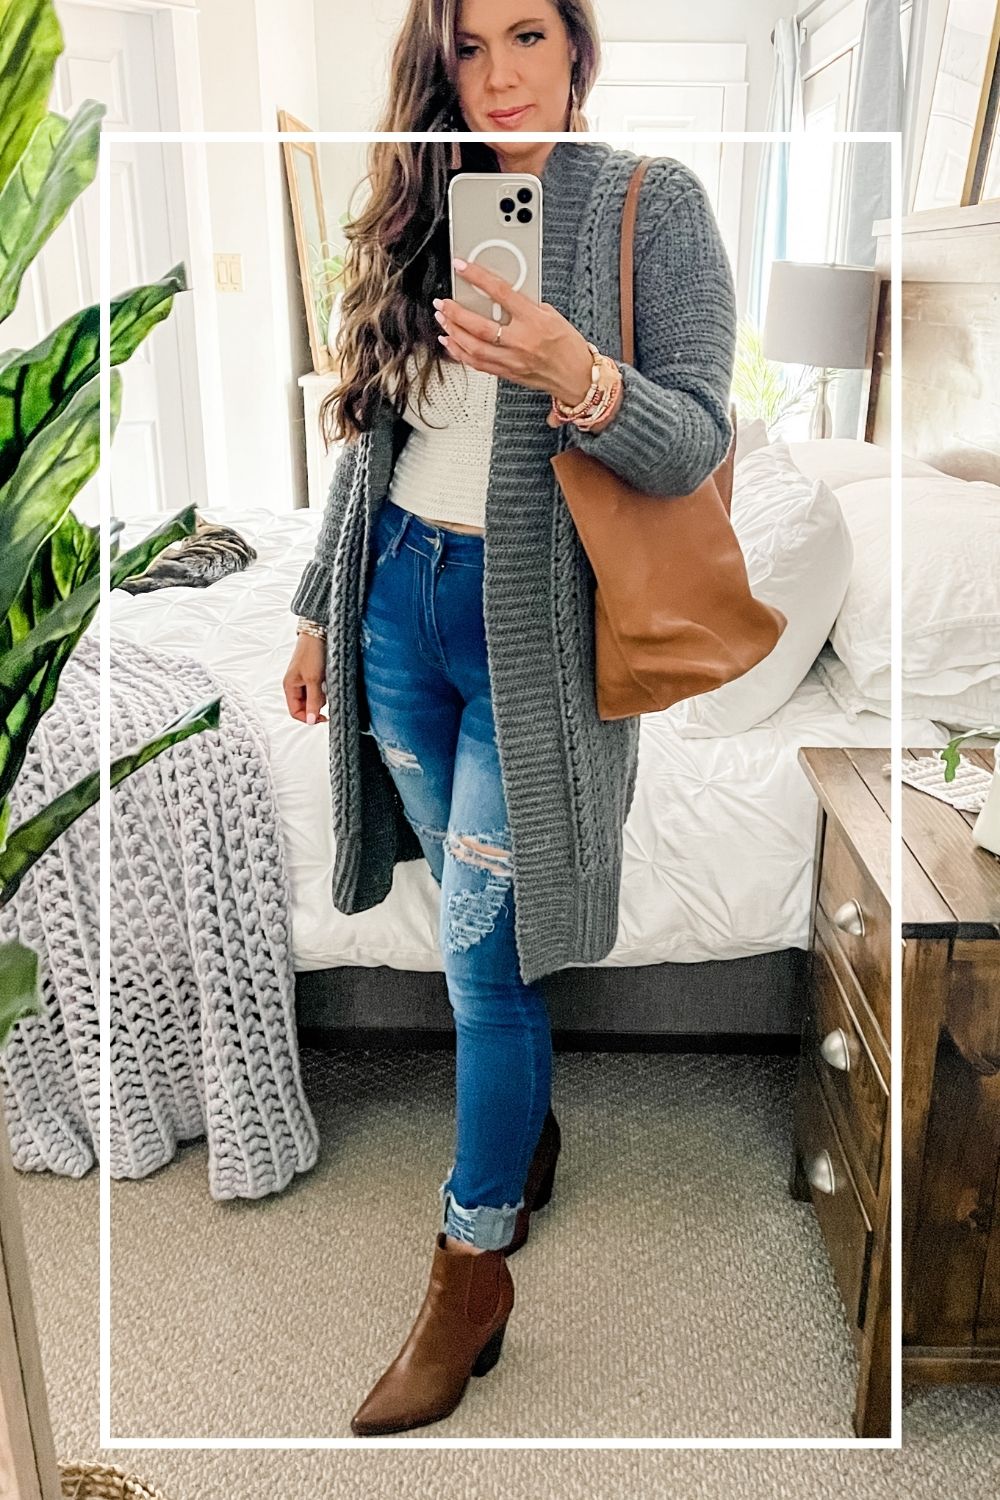
For those warm yet cool days, pair your halter top with jeans and add a light cardigan.
Ripped Raw hem light wash mom jeans with headband and wrap bracelet. Medium wash high-waisted mom jeans.

To unlock Exclusive Content on my Blog, all you need to do is click the box below and the Grow.me app will pop up, allowing you to enter your email and create a password. Once you’ve created an account, every time you see Exclusive Content on my blog, simply login to your Grow account. Be sure to switch to the login screen to enter your login credentials.
If you forget your password, click the “forgot password” link and follow the prompts. Please note that I’m unable to assist with resetting Grow passwords or accessing your Grow account, so be sure to save your login information in a safe place.
To make things even easier, I’ve created a video for both desktop and mobile users that offer additional assistance. You can access this video by visiting my FAQs page HERE or by watching the video below.
Thank you for subscribing and for joining me on my crochet journey. I hope you enjoy the exclusive content available to our subscribers and create beautiful crochet projects using the resources you discover.
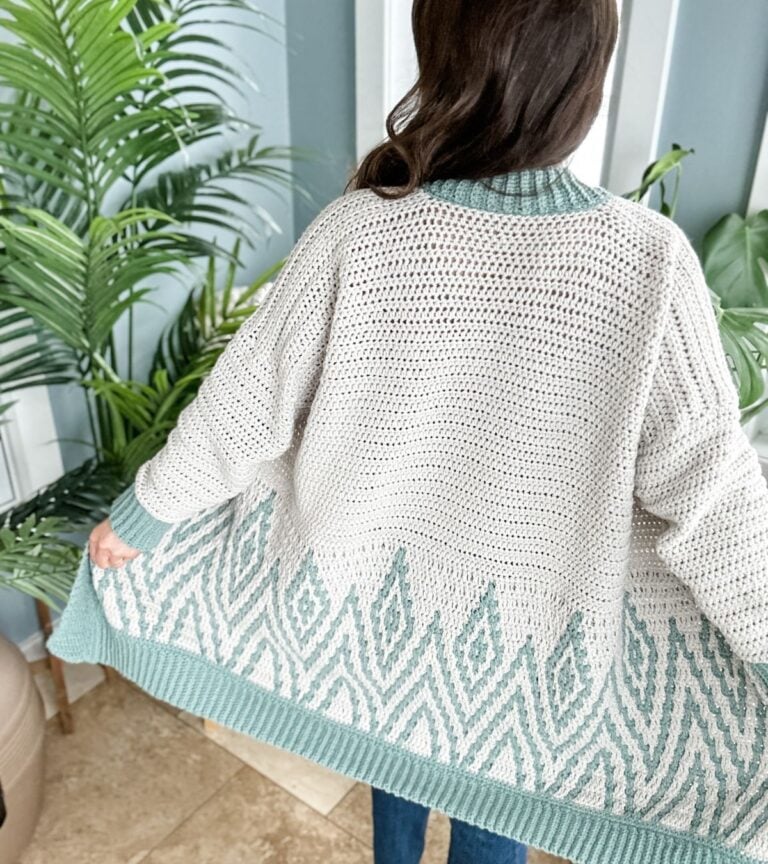
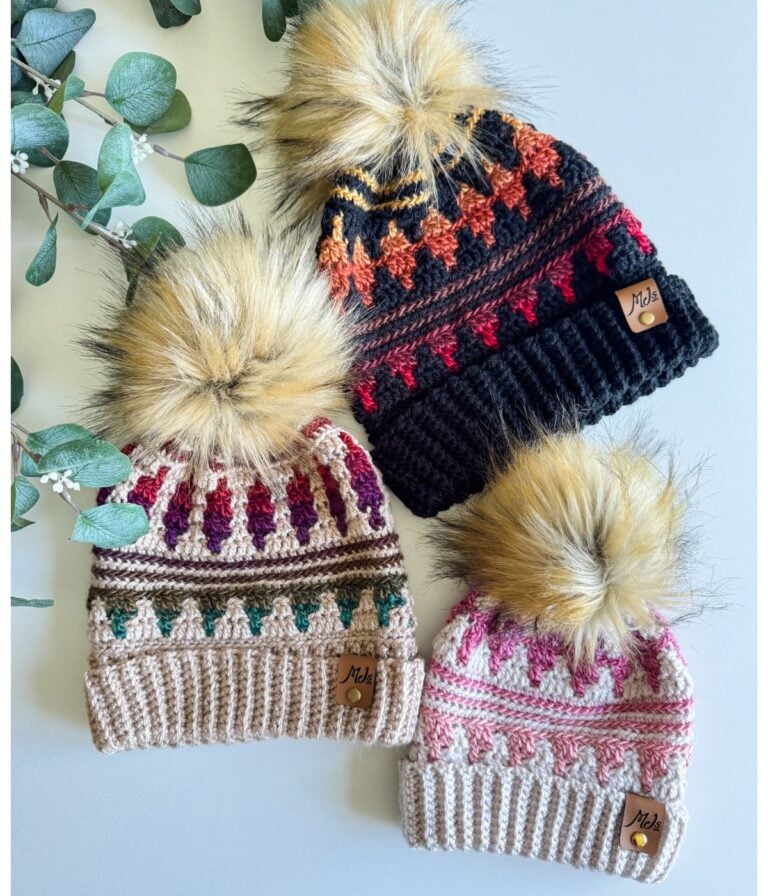
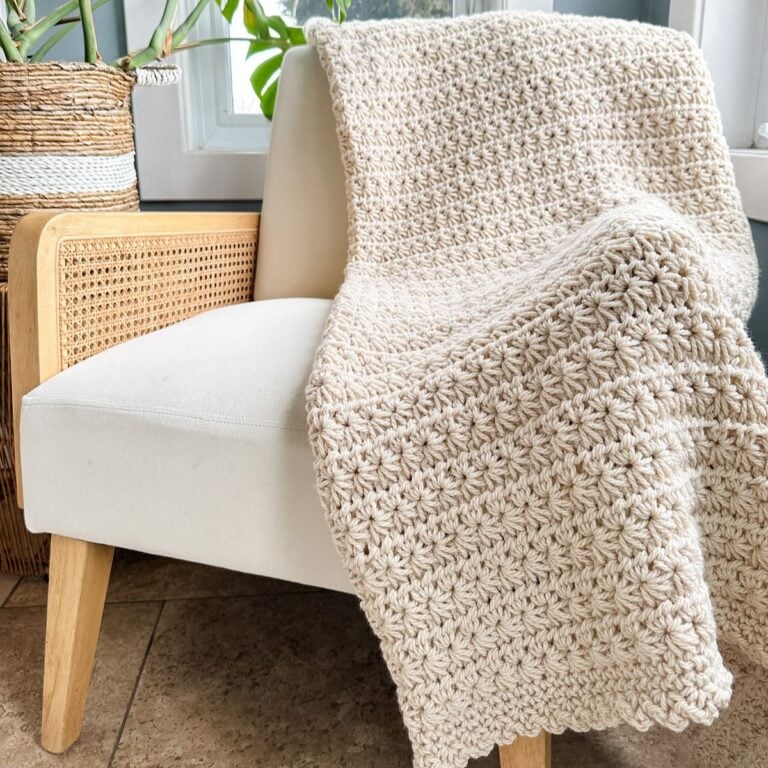
If you enjoyed this pattern, you may also like these patterns:
This pattern is designed by Michelle Moore of MJ’s Off The Hook Designs Inc, based in Lakefield, Ontario, Canada. Your go-to source for modern, easy crochet patterns. Published on August 11th, 2021.
Thank you for visiting MJ’s Off The Hook Designs. I hope you enjoyed this pattern and feel inspired to pick up your hook and start creating.
You can find even more crochet patterns in our Ravelry and Etsy shops.
For daily inspiration and behind-the-scenes peeks, join me over on Facebook or Instagram, or join our YouTube Membership for exclusive content!
You’ve got questions, we’ve got a community!
Crocheting is better with friends! Join our group to post pictures and ask all your pattern support questions.