*This post may contain affiliate links to support the cost of this blog. At no cost to you, I may make a small commission if you purchase through these links. Read our Privacy Policy HERE
How to Read a Crochet Pattern Step-by-Step
Once you understand what a crochet pattern is, the next step is learning how to actually read one. This is where many beginners start to feel unsure, but the good news is that crochet patterns are very consistent once you know what to look for.
In this lesson, we’ll break a crochet pattern down into simple sections and explain what each part means. You don’t need to memorize everything. The goal is simply to feel comfortable knowing where to find information and how to follow step-by-step instructions.
The Basic Structure of a Crochet Pattern
Most crochet patterns follow a similar structure. Before the instructions begin, you will usually see sections that help you prepare for the project.
These sections often include:
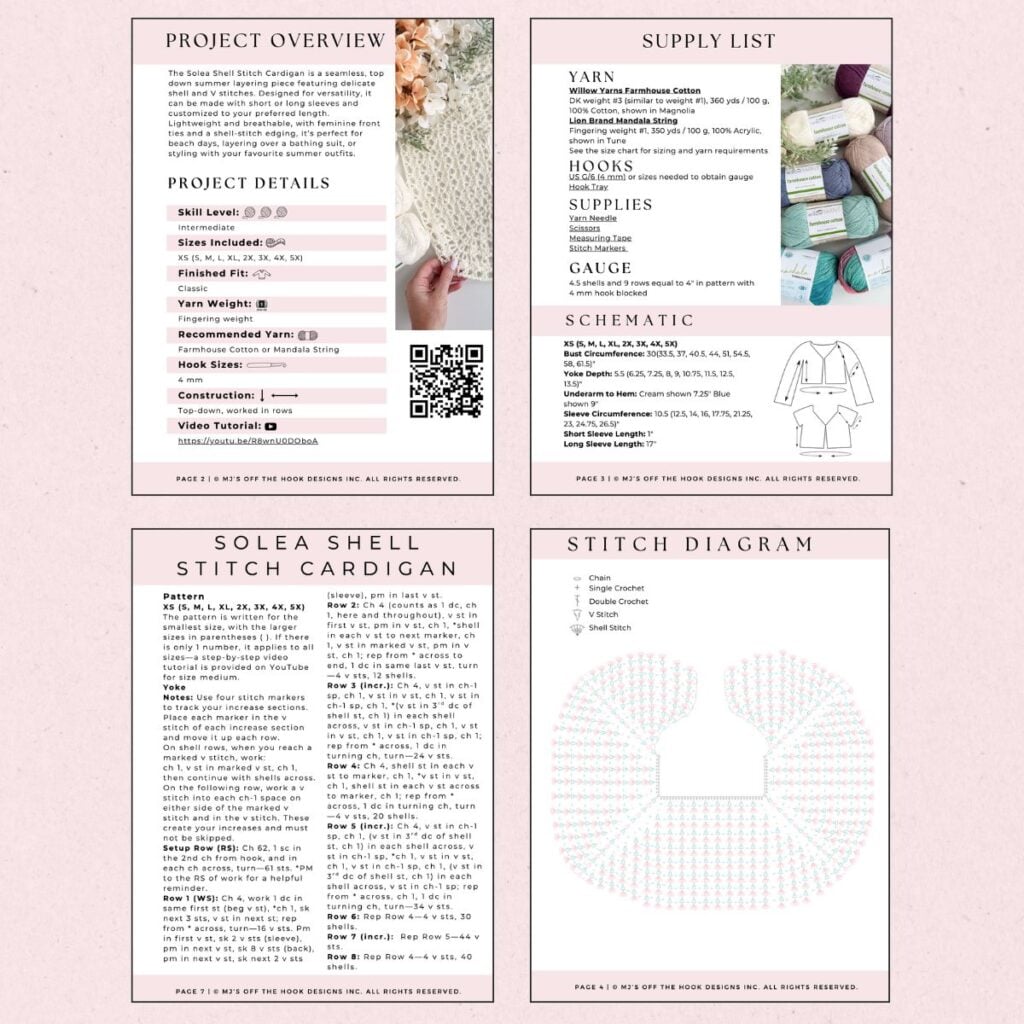
Materials
Yarn
Hook size
Supplies
Gauge
Abbreviations
Pattern notes
Pattern instructions
For example, the Winterberry Dishcloth pattern lists the yarn, hook size, supplies, and gauge information before the pattern begins so you know exactly what you need before getting started.
Taking a few minutes to read through this information will help you understand the project and avoid surprises later.
Always Read the Pattern Notes
Before starting any crochet pattern, take a moment to read through the pattern notes.
Notes often include helpful information about construction, special techniques, or how the pattern is worked.
For example, the Winterberry Dishcloth pattern notes that the starting chain should be worked in multiples of 2 to adjust the dishcloth’s size.
Understanding this before you begin helps you customize the pattern and prevents confusion later.
Many notes are often missed and later become questions that could have been avoided simply by reading the information provided.
Think of the notes section as the roadmap for the project.
How to Read Crochet Pattern Instructions
Crochet pattern instructions may look confusing at first, but once you understand how they are written, they are actually very logical and easy to follow.
Most crochet patterns are written row by row or round by round, depending on how the project is constructed. Each line tells you exactly what stitches to make and where to place them.
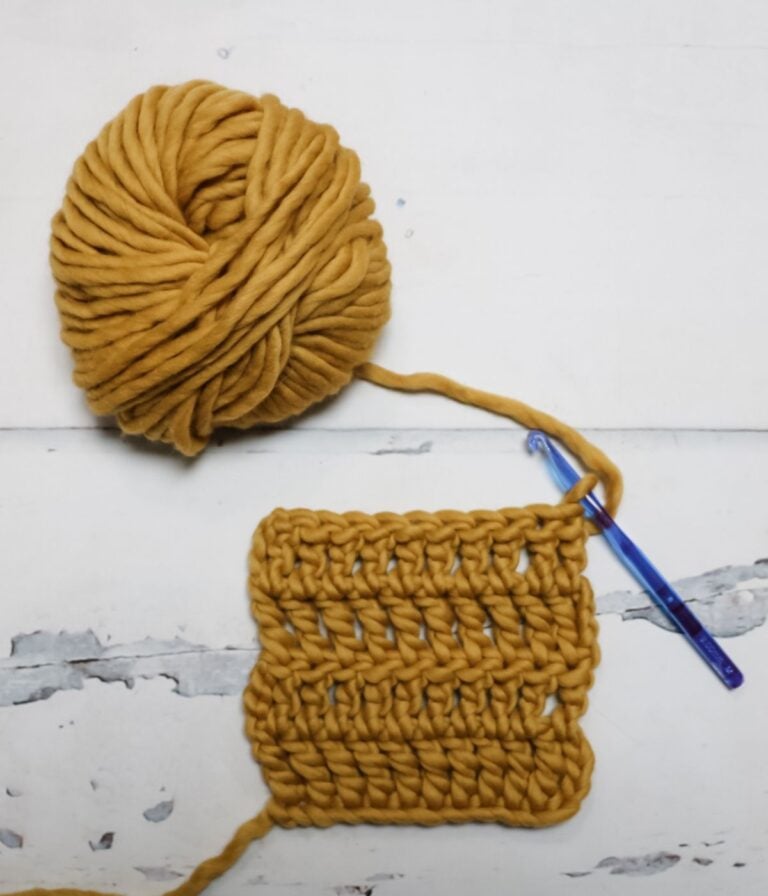
The Winterberry Dishcloth is worked flat in rows, meaning you crochet back and forth across the piece.
Here is an example from the pattern:
Row 1 (RS): Loosely ch 42, 1 sc in the back hump of the 2nd ch from hook and in each ch across, turn — 41 sts.
At first glance, this might look confusing, but let’s break it down.
Row 1 (RS)
This tells you the row number and that you are working on the right side of the project.
Ch 42
Begin by chaining 42 stitches.
1 sc in the back hump of the 2nd ch from hook
Work a single crochet into the back bump of the second chain from your hook.
In each ch across
Continue placing one single crochet into each chain across the row.
Turn
Turn your work so you can begin the next row.
— 41 sts
This number tells you how many stitches you should have at the end of the row.
Once you learn to read each part of the instruction, crochet patterns become much easier to follow.
Understanding Repeats
Many crochet patterns repeat the same rows or stitch sequences multiple times.
Instead of rewriting the instructions over and over, patterns use repeat instructions.
For example, the Winterberry Dishcloth pattern says:
Rows 4–37: Rep Row 2 & 3.
This means you will continue repeating Row 2 and Row 3 until you reach Row 37.
Repeats help keep patterns shorter and easier to read.
Reading Stitch Patterns
The texture in the Winterberry Dishcloth is created by alternating single crochet and treble crochet stitches.
For example, Row 2 reads:
Ch 1, 1 sc in first st, *1 tr in next st, 1 sc in next st; rep from * across.
This means you will continue repeating the stitch sequence of a treble crochet followed by a single crochet across the row.
Would you like to save this?
You can unsubscribe at any time.
Understanding how stitch patterns repeat makes it much easier to follow the pattern instructions.
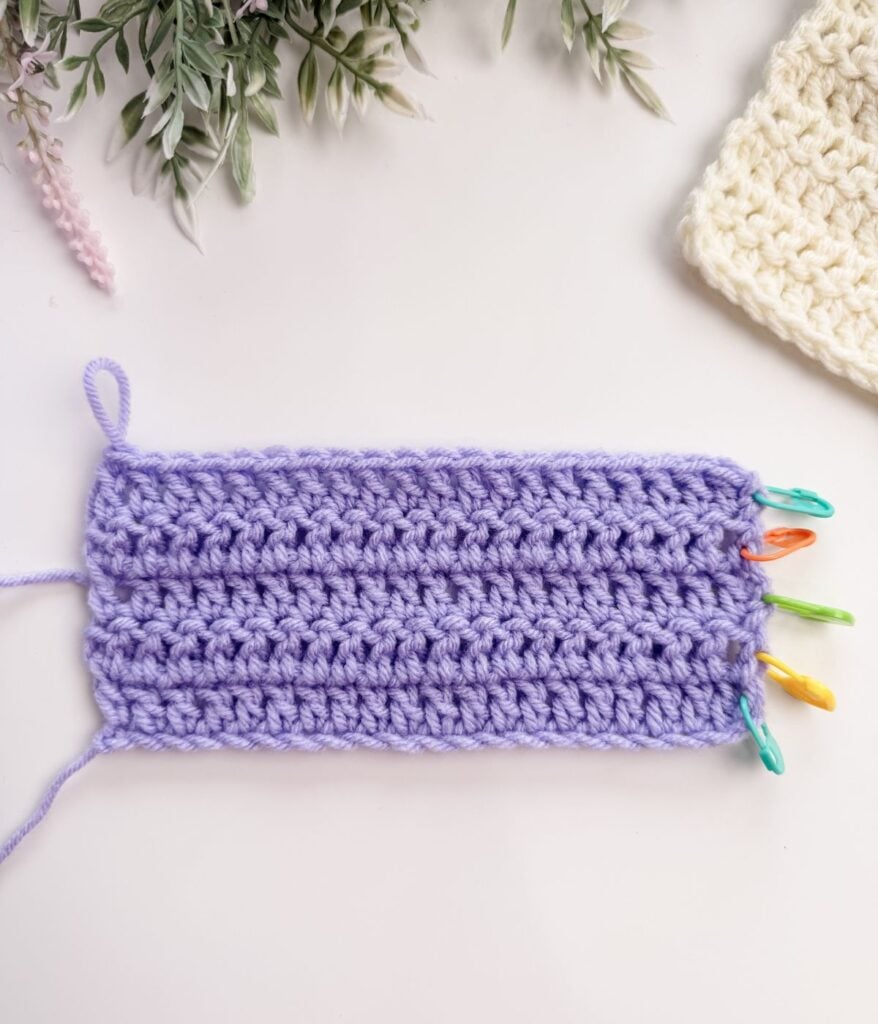
Stitch Counts Help You Stay on Track
Many crochet patterns include stitch counts at the end of rows.
For example:
— 41 sts
This tells you exactly how many stitches you should have after completing the row.
Checking your stitch count helps you catch mistakes early and ensures your project stays the correct size.
Tip: When following a pattern, it can be helpful to count your stitches at the end of each row until you feel confident with the stitch pattern. Catching a mistake early is much easier than fixing several rows later.
Helpful Tips When Reading Patterns
Place a stitch marker on the right side of your work when you begin. This makes it easy to quickly identify the right side and wrong side as you continue crocheting without guessing later.
You may also find it helpful to:
Mark the row you are working on
Highlight your size if multiple sizes are listed
Underline repeat sections
Taking a moment to analyze the pattern before starting will make the instructions much easier to follow.
Beginner Checklist Before Starting a Pattern
Before you begin crocheting, take a few minutes to:
✔ Read the materials and supplies list
✔ Check the yarn weight and hook size
✔ Review the abbreviations
✔ Read the pattern notes carefully
✔ Look at the stitch pattern and repeats
✔ Check the gauge if size matters
This quick review can prevent many common mistakes.
5 Common Crochet Pattern Mistakes Beginners Make
When you are first learning how to read crochet patterns, it is easy to overlook small details that cause confusion later.
- Skipping the Notes Section
Many crocheters jump straight into the pattern instructions and skip the notes. However, notes often explain important details about construction or stitch placement. - Not Checking Whether the Turning Chain Counts as a Stitch
Patterns often specify whether the turning chain counts as a stitch.
Example:
Ch 1 (does not count as a stitch here and throughout)
Missing this detail can affect your stitch count.
- Ignoring Stitch Counts
Always check stitch counts at the end of rows.
Example:
— 41 sts
This helps you catch mistakes early.
- Missing Repeat Sections
Many patterns include repeating stitch sequences marked with repeat instructions.
Always check where the repeat begins and ends.
- Not Reading Special Stitch Instructions
If a pattern includes a Special Stitches section, read it carefully before starting.
Practise Before Moving On
Before continuing, practise by:
Choosing a simple beginner pattern
Reading through each section
Identifying materials, notes, and instructions
Even without crocheting, this practise helps build confidence.
What’s Next
Now that you understand how to read a crochet pattern and follow written instructions, the next step is learning how stitch multiples and pattern repeats work.
In the next lesson, Understanding Stitch Multiples you’ll learn how to:
• identify stitch multiples in a pattern
Understanding stitch multiples and repeats will help you follow stitch patterns confidently and prevent common pattern mistakes.
Abbreviations make patterns shorter and easier to read once you understand the stitch names.
It means you repeat the stitch sequence that follows the asterisk.
Stitch counts help you check your work and make sure your project stays the correct size.
Helpful Resources
Sign up for our YouTube Membership
Join our Facebook Crochet Community for pattern support and inspiration
Subscribe on YouTube for hundreds of free tutorials
Sign up for our newsletter and receive 40% off your first Ravelry purchase!
This lesson is part of the Learn to Crochet course by Michelle Moore of MJ’s Off The Hook Designs Inc., based in Lakefield, Ontario, Canada.
Thank you for learning with me at MJ’s Off The Hook Designs. I hope this lesson encourages you to keep practising and enjoying the process of crochet.ook Designs. I hope this lesson encourages you to keep practising and enjoying the process of crochet.
You’ve got questions, we’ve got a community!
Crocheting is better with friends! Join our group to post pictures and ask all your pattern support questions.