*This post may contain affiliate links to support the cost of this blog. At no cost to you, I may make a small commission if you purchase through these links. Read our Privacy Policy HERE
Single crochet is often the very first stitch crocheters learn, and for good reason. It creates a dense, sturdy fabric and is used in everything from dishcloths and blankets to garments and amigurumi.
In this lesson, we’ll build directly on your foundation chain and learn how to make single crochet stitches, where to place your hook, and how to count stitches so your work stays neat and even.
Take this lesson slowly. Single crochet is simple, but it teaches you many skills you’ll use again and again.

What Is Single Crochet?
Single crochet is a short, compact stitch. It creates a firm fabric with very little stretch, which makes it great for projects that need structure.
You’ll often see single crochet abbreviated as sc in crochet patterns.
Because this stitch is short, it’s also one of the easiest stitches to control as a beginner.
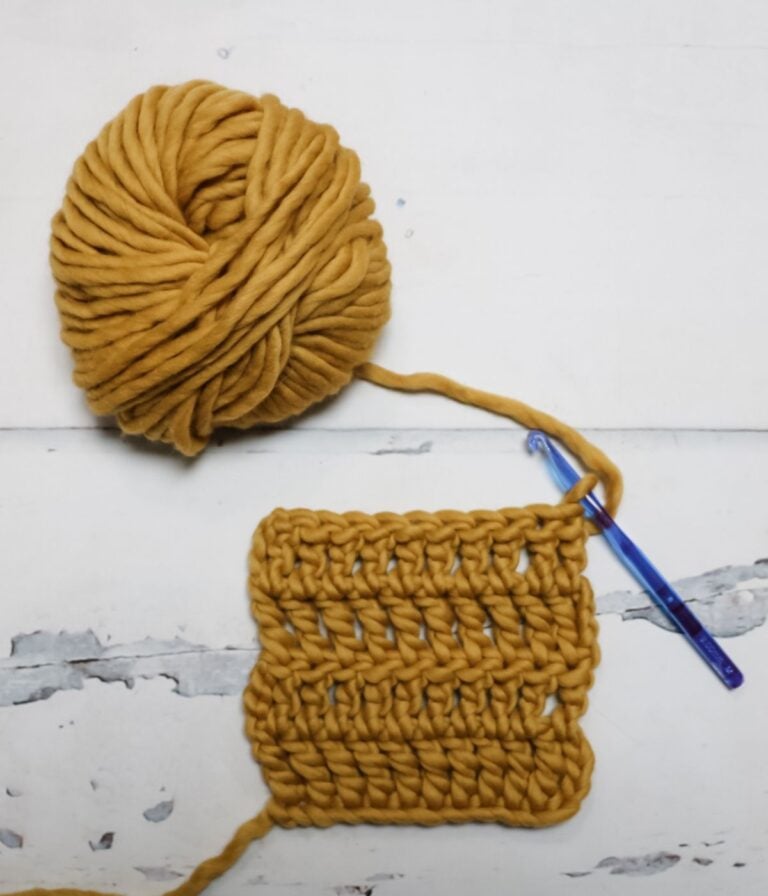
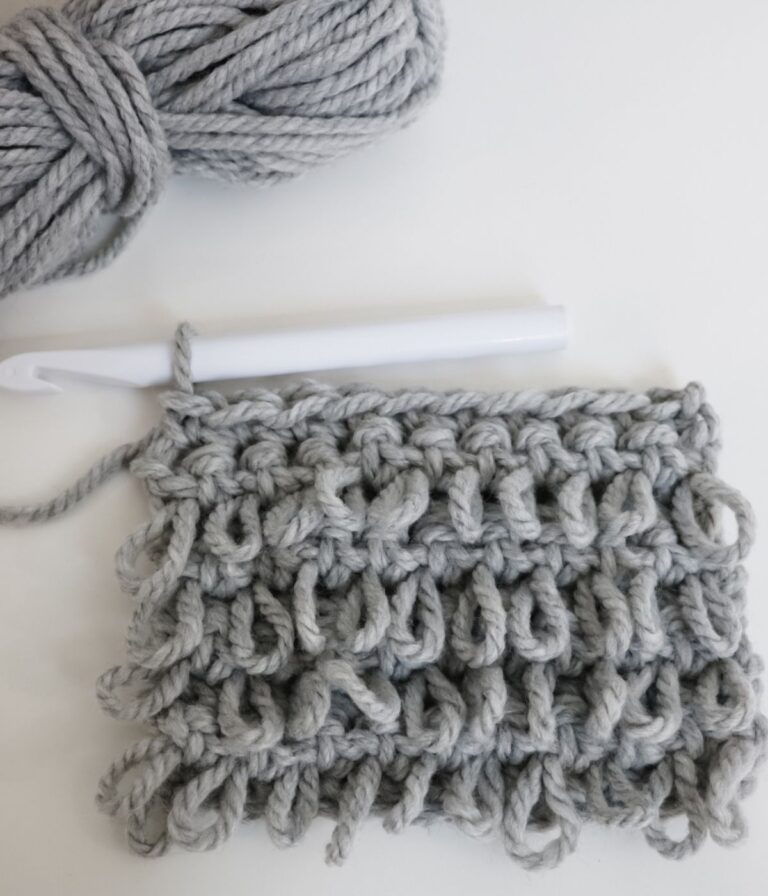
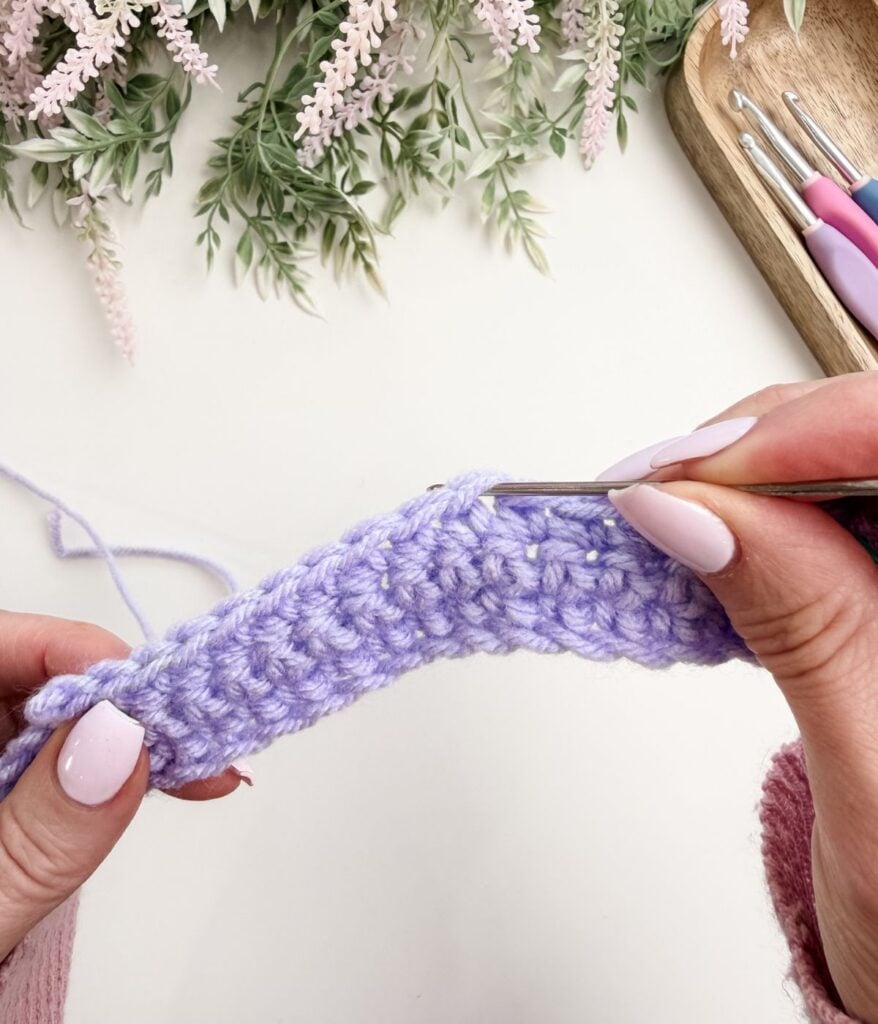
Anatomy of a Single Crochet Stitch
Understanding the anatomy of a single crochet stitch will help you recognize where to insert your hook and how to count your stitches accurately.
Each completed single crochet has:
- Two loops at the top of the stitch that form a V
- A front loop, which is the strand closest to you
- A back loop, which is the strand farthest from you
- A post or body of the stitch underneath
The two loops at the top are where you will insert your hook when a pattern instructs you to work into the stitch.
The V at the top is what you will work into when making your next row. When a pattern says to insert your hook into the stitch, it usually means under both strands of that V.
The body of the stitch forms the fabric you see stacked in rows. As you work more rows, these stitches sit neatly on top of one another, creating the textured look of single crochet fabric.
Learning to identify the V shape and the body of the stitch will make it much easier to:
- Insert your hook in the correct place
- Count your stitches accurately
- Keep your edges straight
Take a moment to look closely at your work before moving on. Recognizing the structure of the stitch is just as important as knowing the steps to make it.
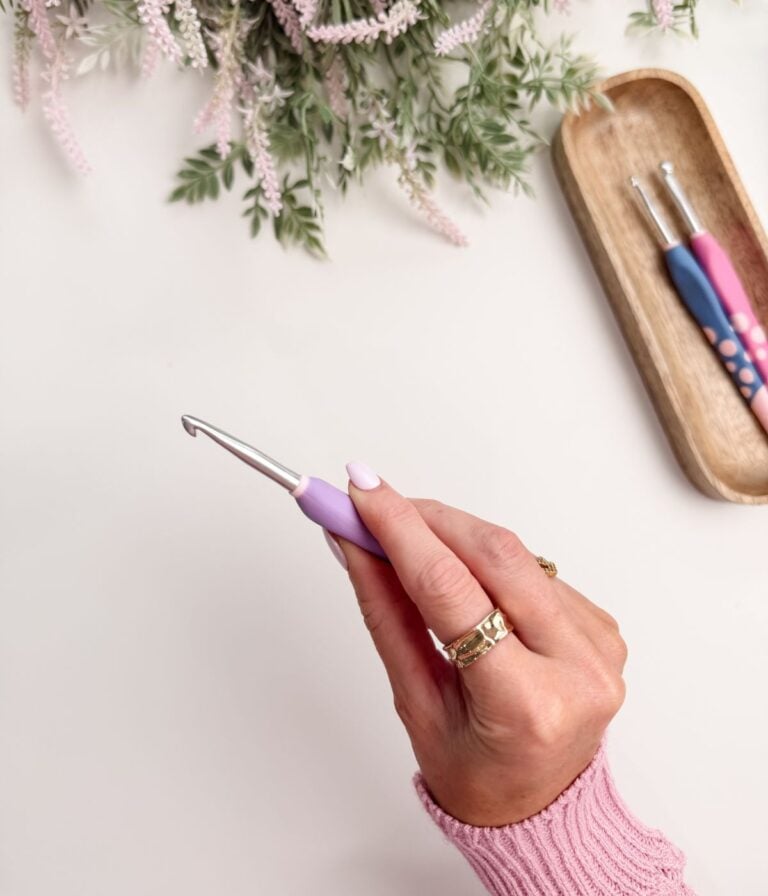
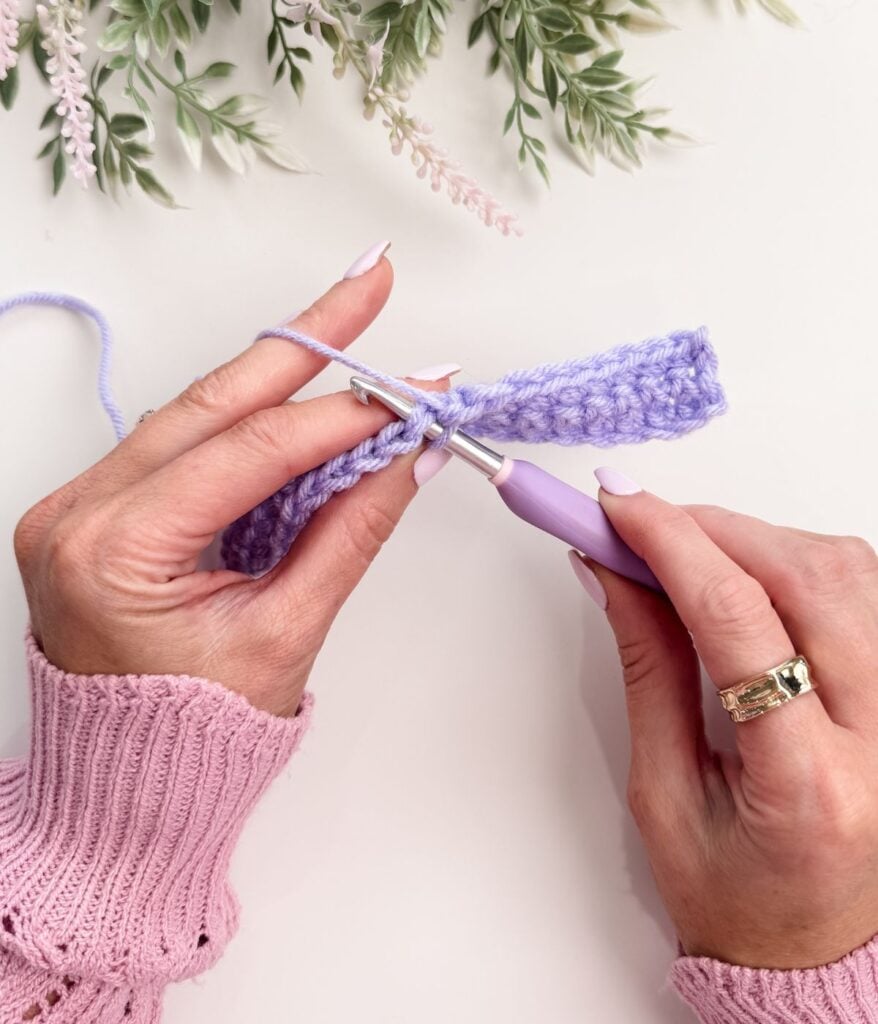
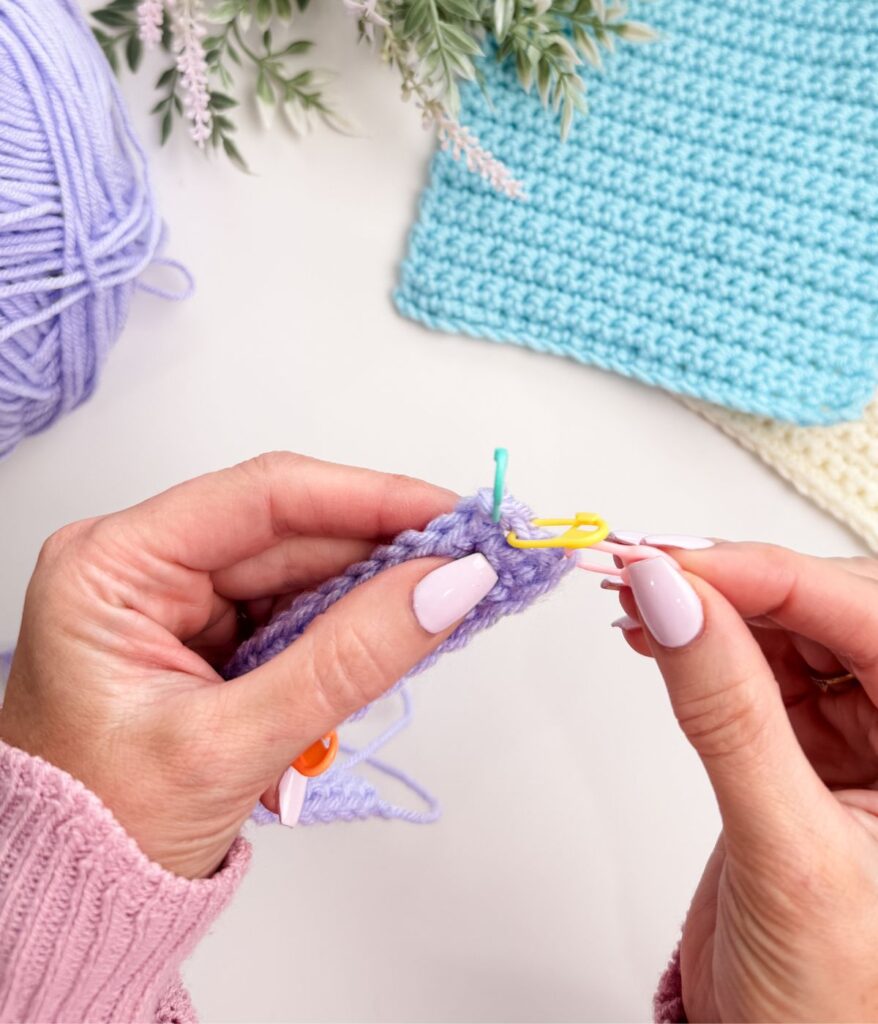
Where to Insert Your Hook
Before making your first single crochet stitch, it is important to understand where to insert your hook.
When working into a stitch:
- Look for the two loops at the top of the stitch that form a V
- Insert your hook under both loops of that V
- Avoid pulling your stitches too tight so your hook can move easily
Becoming comfortable with proper stitch placement now will help prevent missed stitches and uneven edges later.
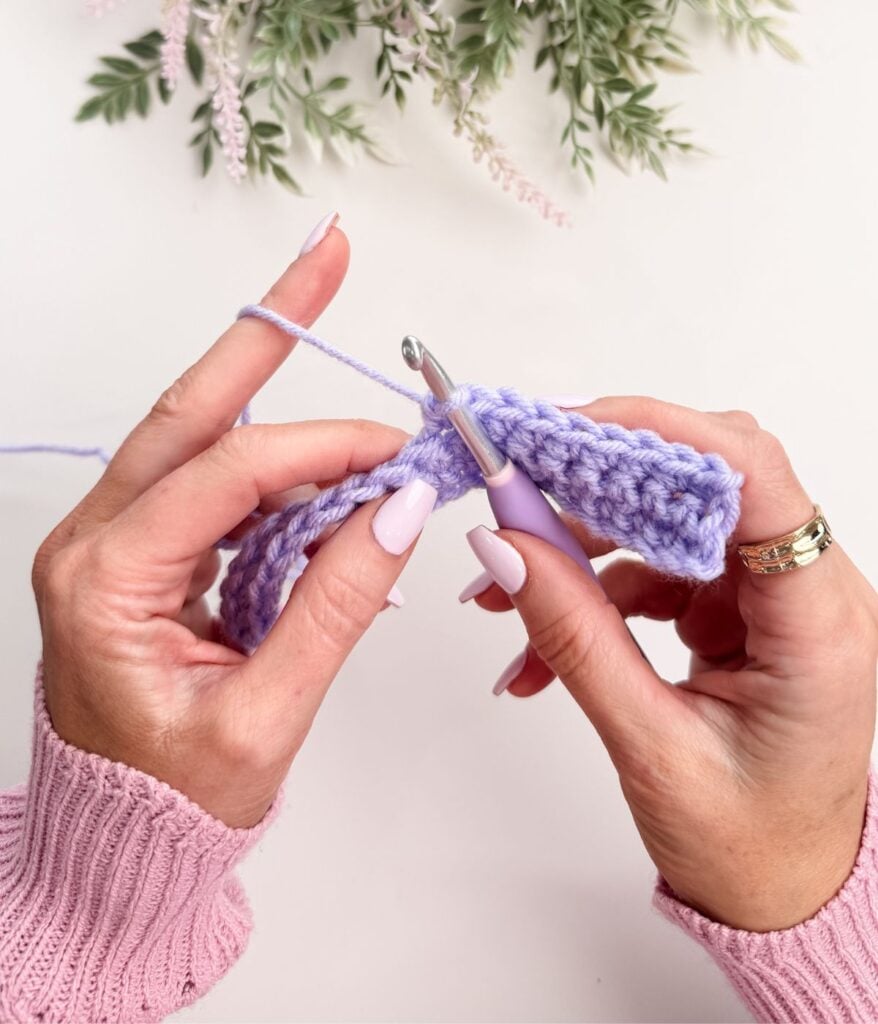
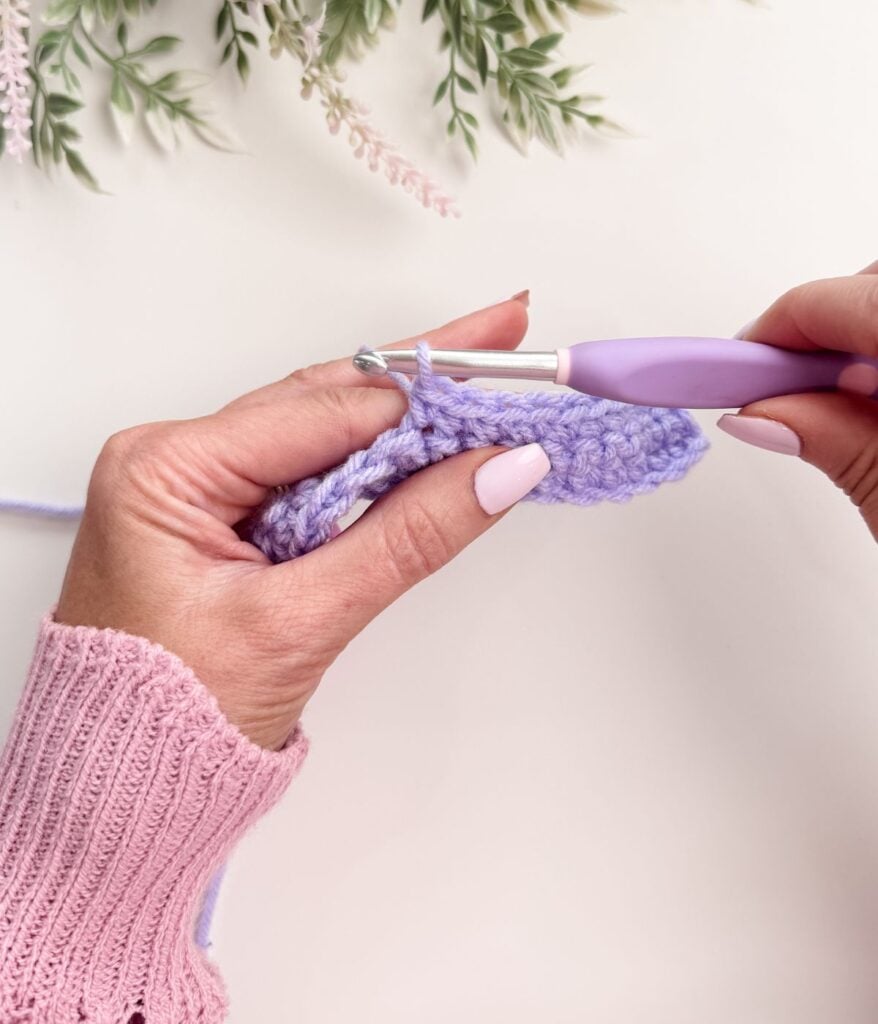
How to Make a Single Crochet Stitch
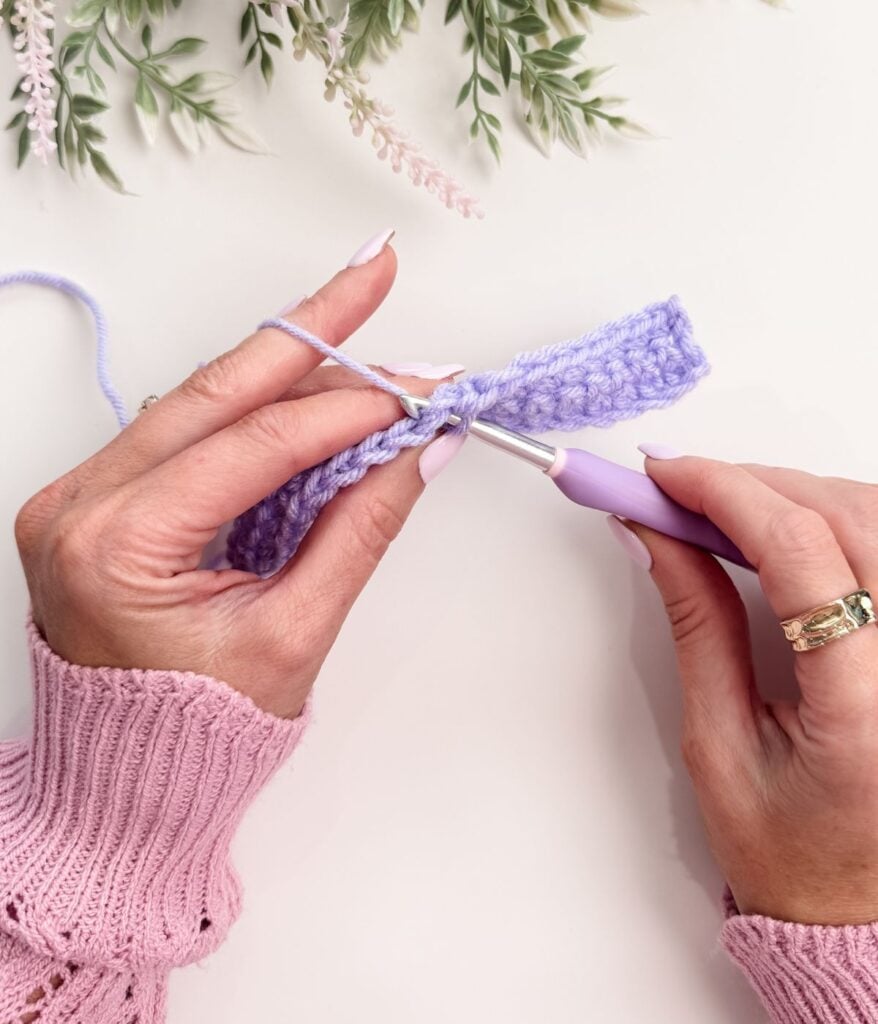
To make a single crochet stitch:
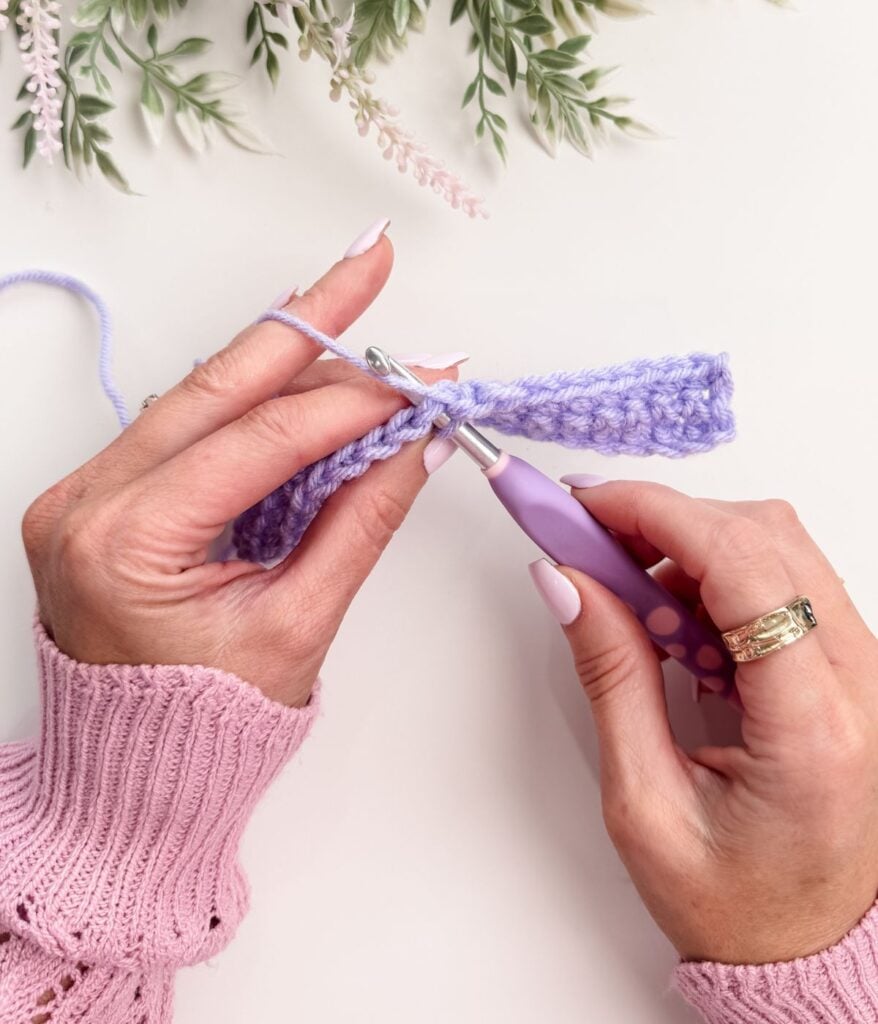
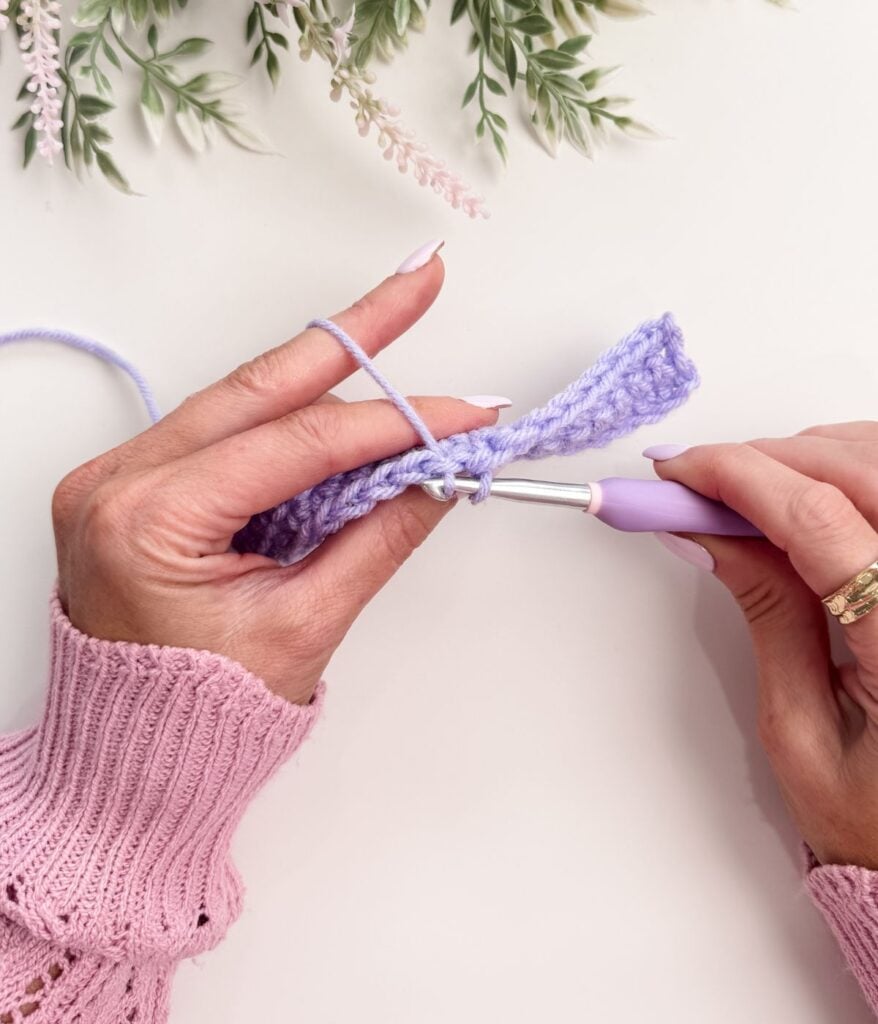
- Insert your hook into the next chain/stitch
- Yarn over
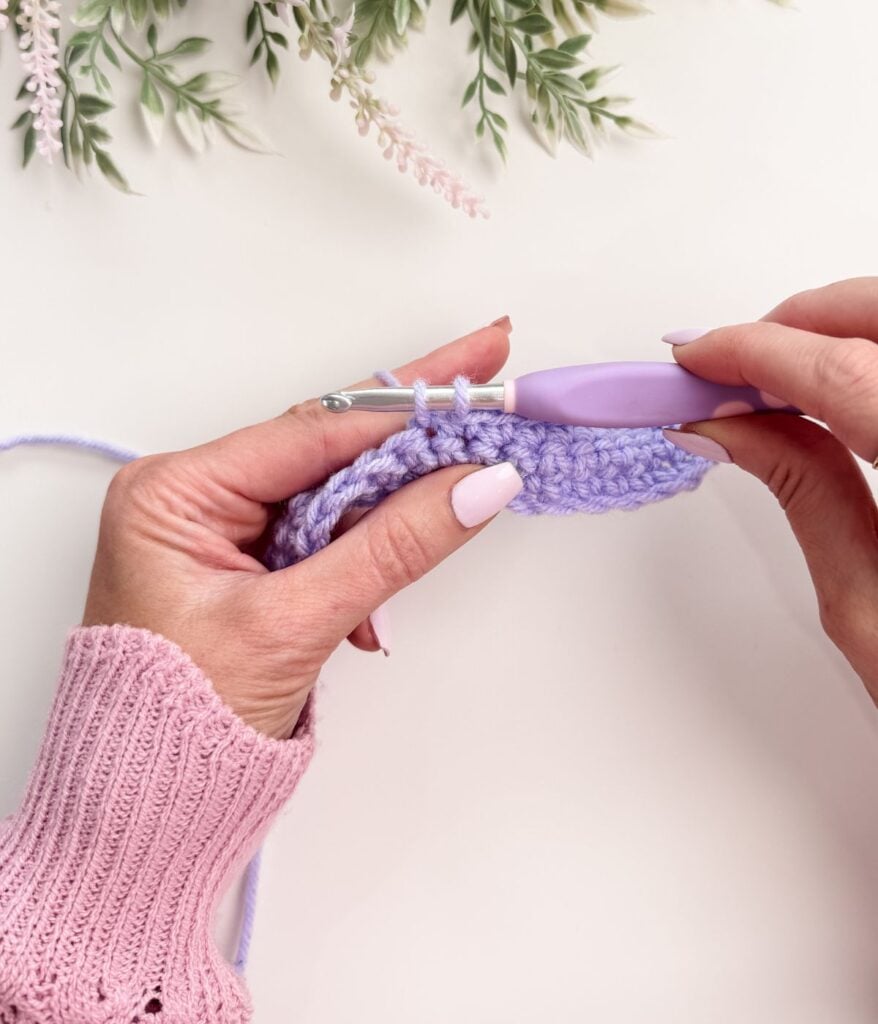
- Pull up a loop (you will have two loops on your hook)
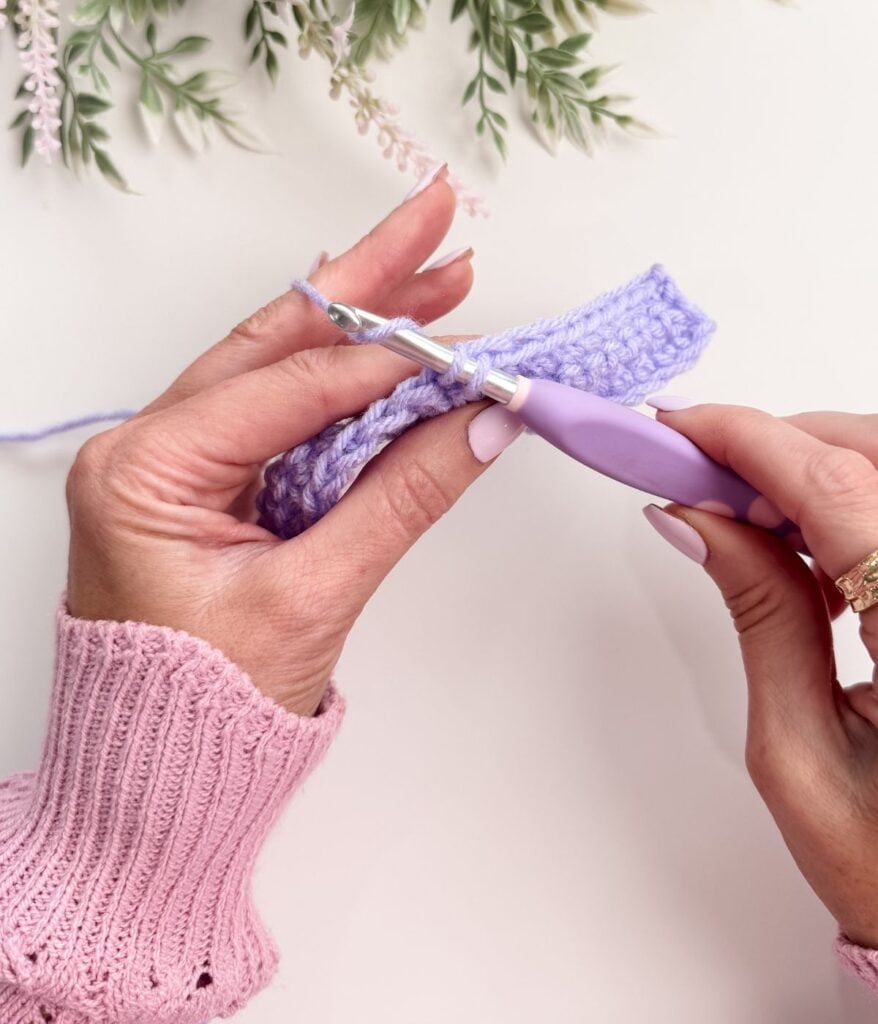
- Yarn over again
- Pull through both loops on your hook
Repeat this process across the row.
Focus on keeping your movements relaxed and consistent.
Video Tutorial
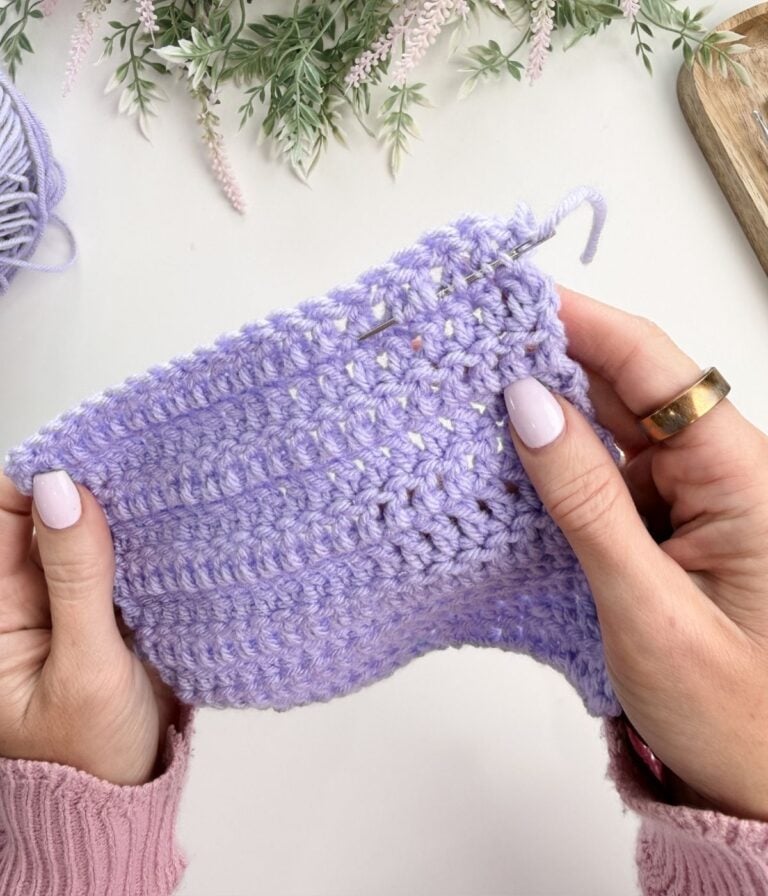
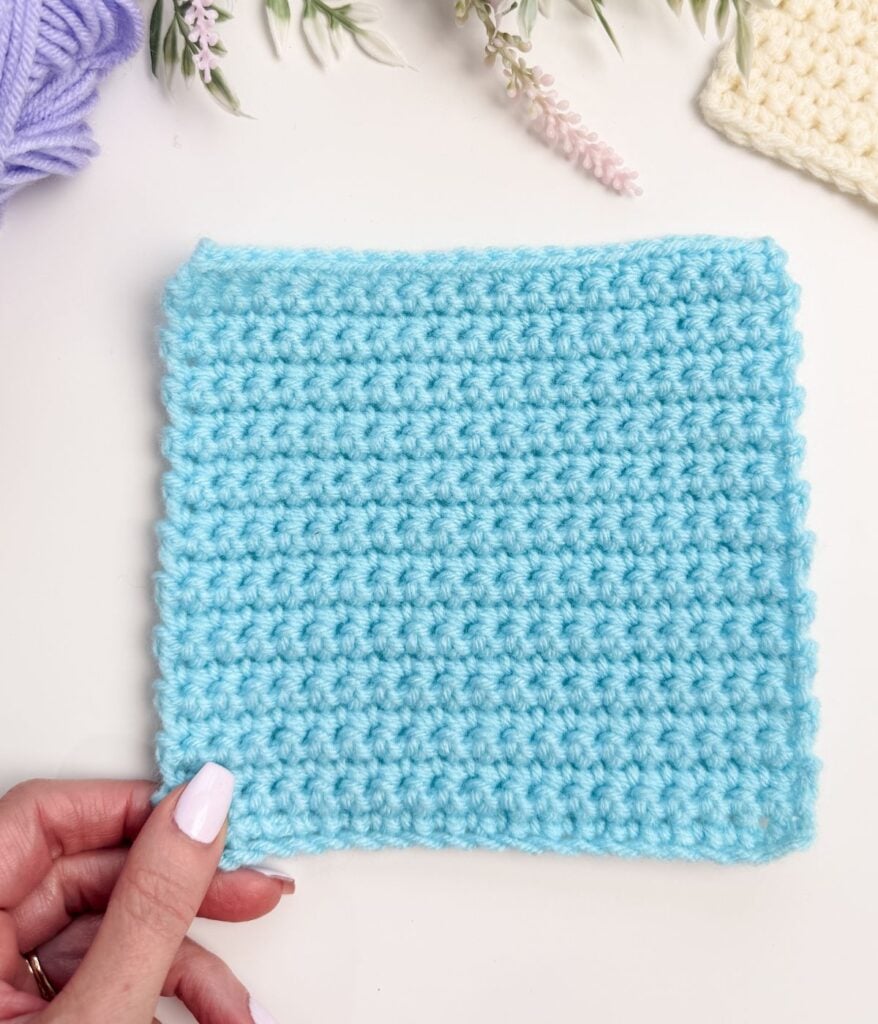
How Single Crochet Should Look
As you work, your single crochet stitches should:
- Sit evenly next to each other
- Be similar in size
- Form a straight row along the top edge
It’s completely normal if your first rows look uneven. Consistency comes with practice, not perfection.
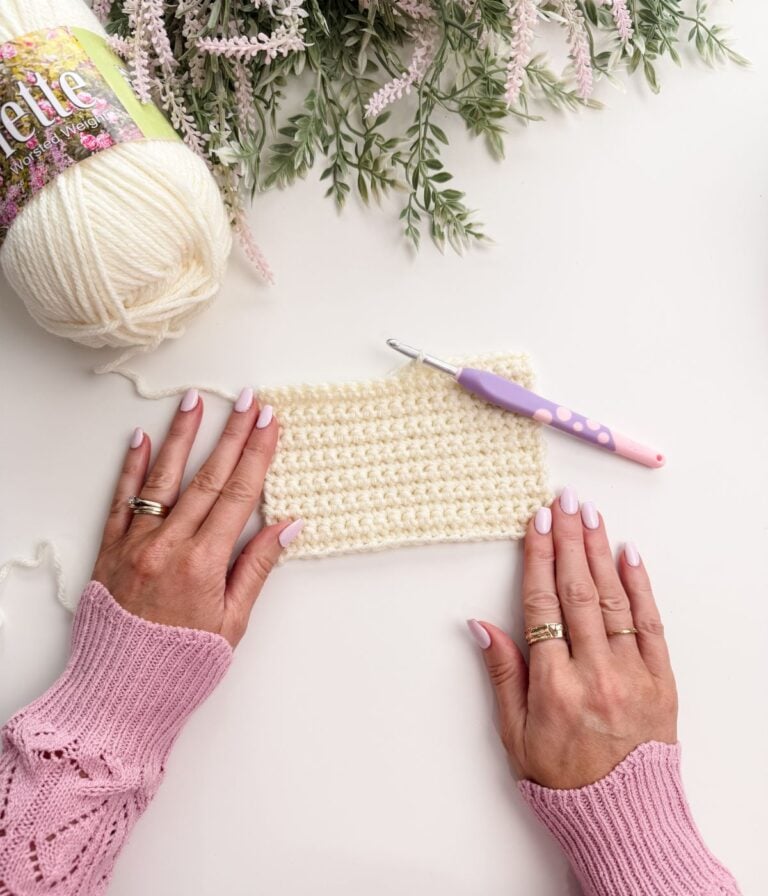
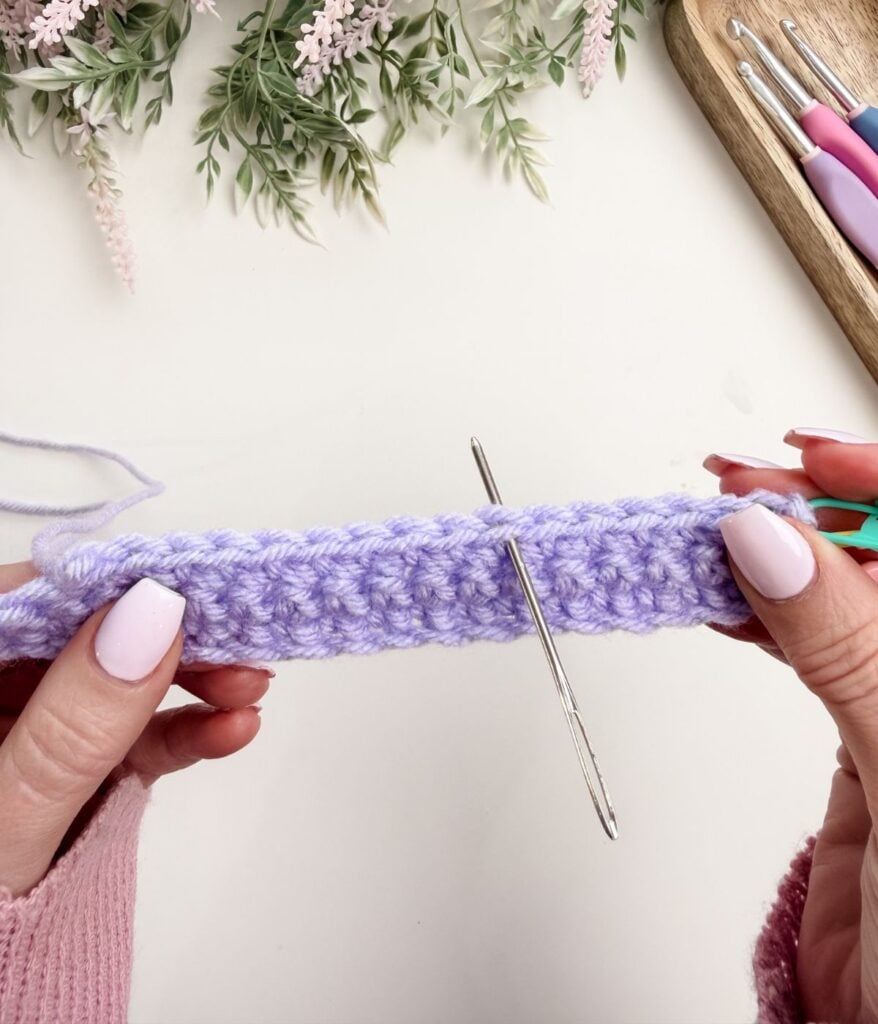
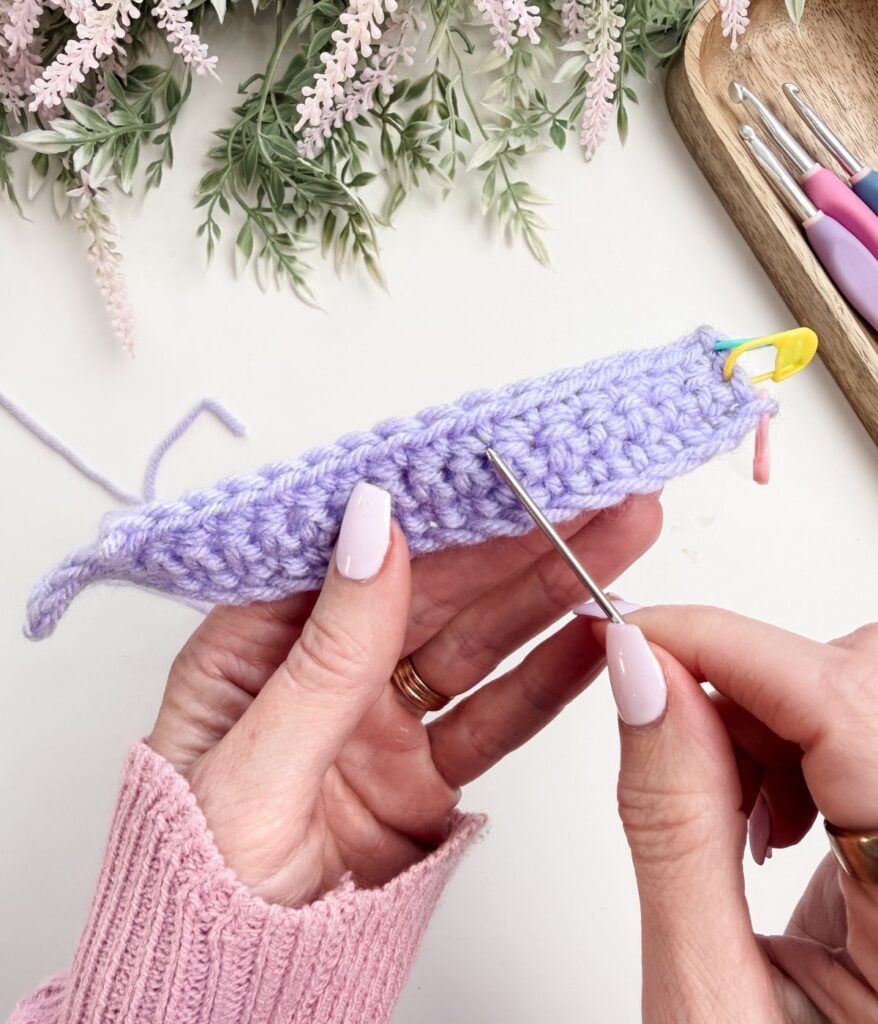
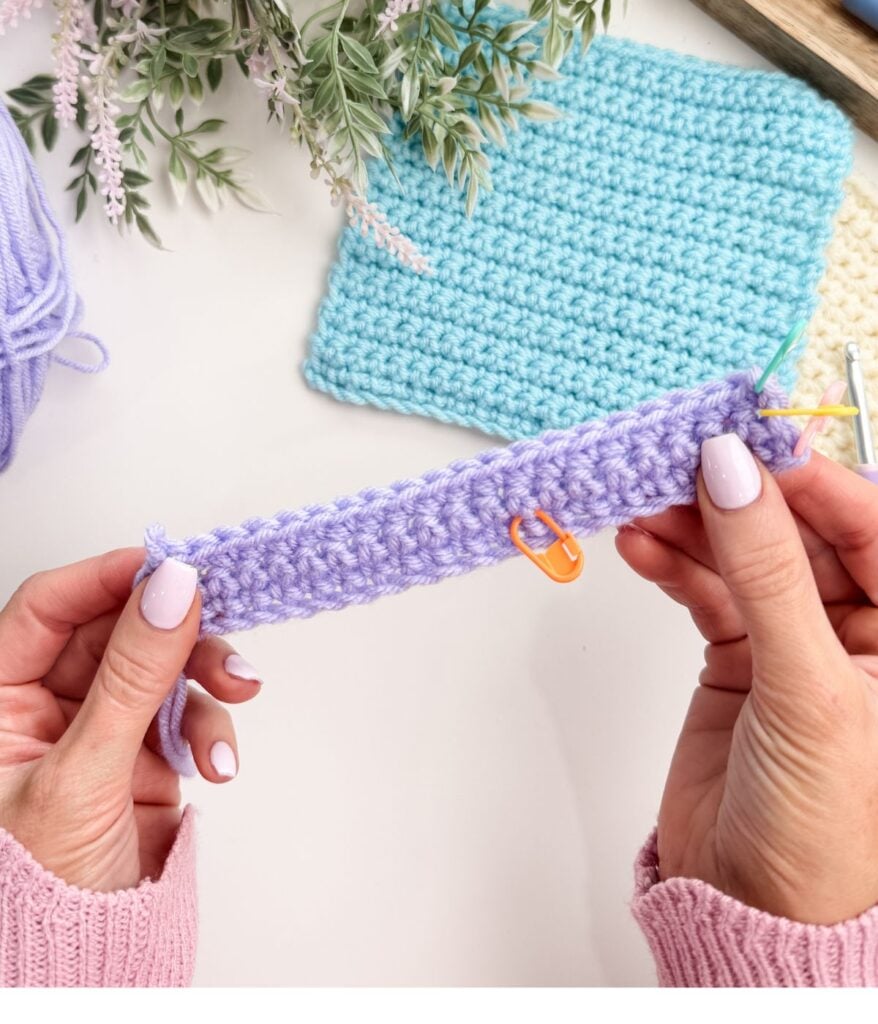
Counting Single Crochet Stitches
Counting stitches is one of the most important skills to learn early.
When counting:
- Count each completed stitch across the row
- Do not count the loop on your hook
- Use a stitch marker in the first or last stitch if needed
Counting helps prevent your work from widening or narrowing over time.
Turning Your Work
At the end of the row:
- Turn your work
- Chain one
- Begin your next row in the first stitch
The chain one does not count as a stitch unless the pattern specifically says otherwise.
Turning correctly helps keep your edges straight and even.
Common Beginner Mistakes
Some common issues beginners experience with single crochet include:
Missing the last stitch of the row
Working too tightly
Missing the first stitch of the row
Adding extra stitches by mistake
These are all part of the learning process. If something looks off, it’s okay to pull back a few stitches and try again.
Practise Before Moving On
Before continuing, practise:
- Working several rows of single crochet
- Counting stitches at the end of each row
- Turning your work and starting a new row
This repetition builds confidence and muscle memory.
What’s Next
In the next lesson, we’ll learn half double crochet and explore how changing stitch height affects the look and feel of your fabric.
Helpful Resources
Sign up for our YouTube Membership
Join our Facebook Crochet Community for pattern support and inspiration
Subscribe on YouTube for hundreds of free tutorials
Sign up for our newsletter and receive 40% off your first Ravelry purchase!
This lesson is part of the Learn to Crochet course by Michelle Moore of MJ’s Off The Hook Designs Inc, based in Lakefield, Ontario, Canada.
Thank you for learning with me at MJ’s Off The Hook Designs. I hope this lesson encourages you to keep practising and enjoying the process of crochet.
You’ve got questions, we’ve got a community!
Crocheting is better with friends! Join our group to post pictures and ask all your pattern support questions.