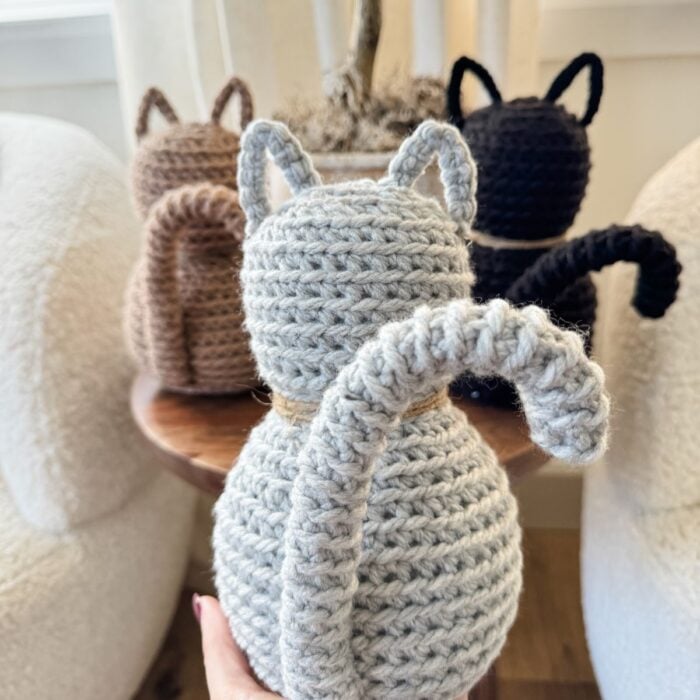
Welcome to our adorable and modern easy crochet cat pattern! As a cat lover myself, I can’t believe it took me this long to design one. While sitting by the pool one day, I thought, Why haven’t I made a cat pattern yet?
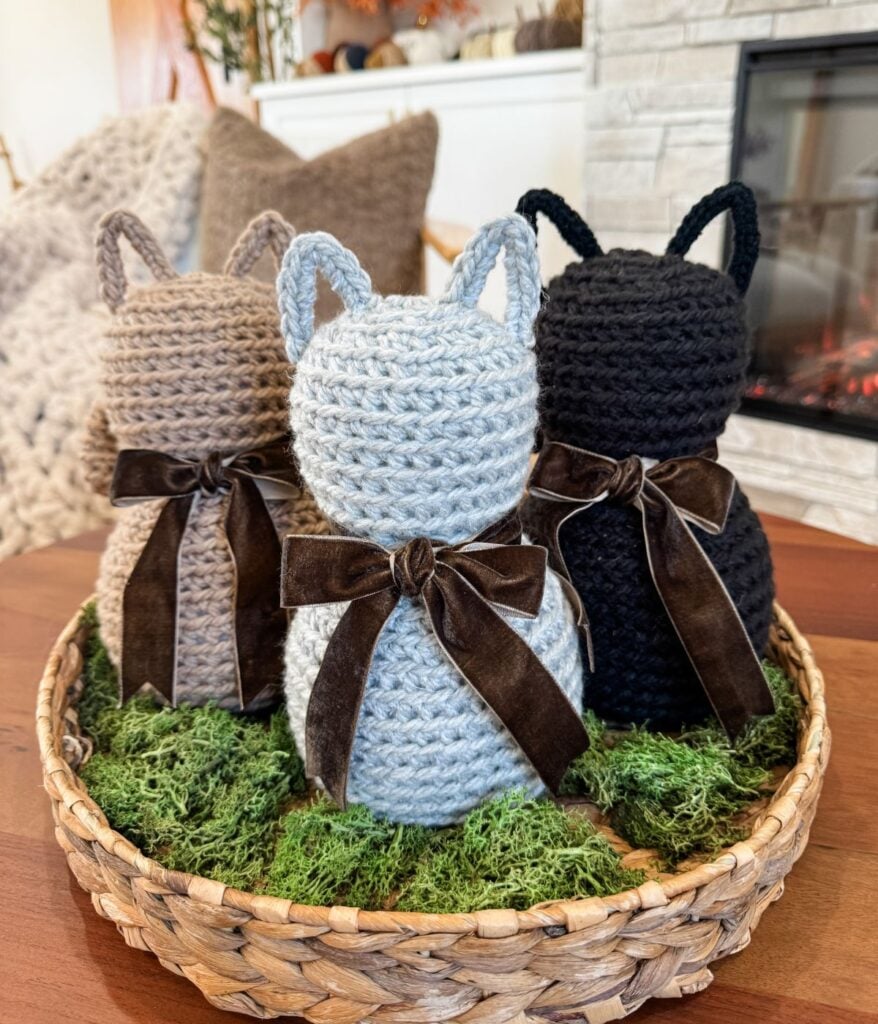
My first idea was to create a black cat for Halloween, inspired by my own black cat, Luna. But of course, once I started, I couldn’t resist making more in different colours!
This little cutie came together quickly, using a similar body style to my Rustic Farmhouse Bunny. I knew right away it had to be part of the Fall For Ami Collection. It fits beautifully with the autumn designs, but it’s also perfect for year-round home décor.
Table of Contents
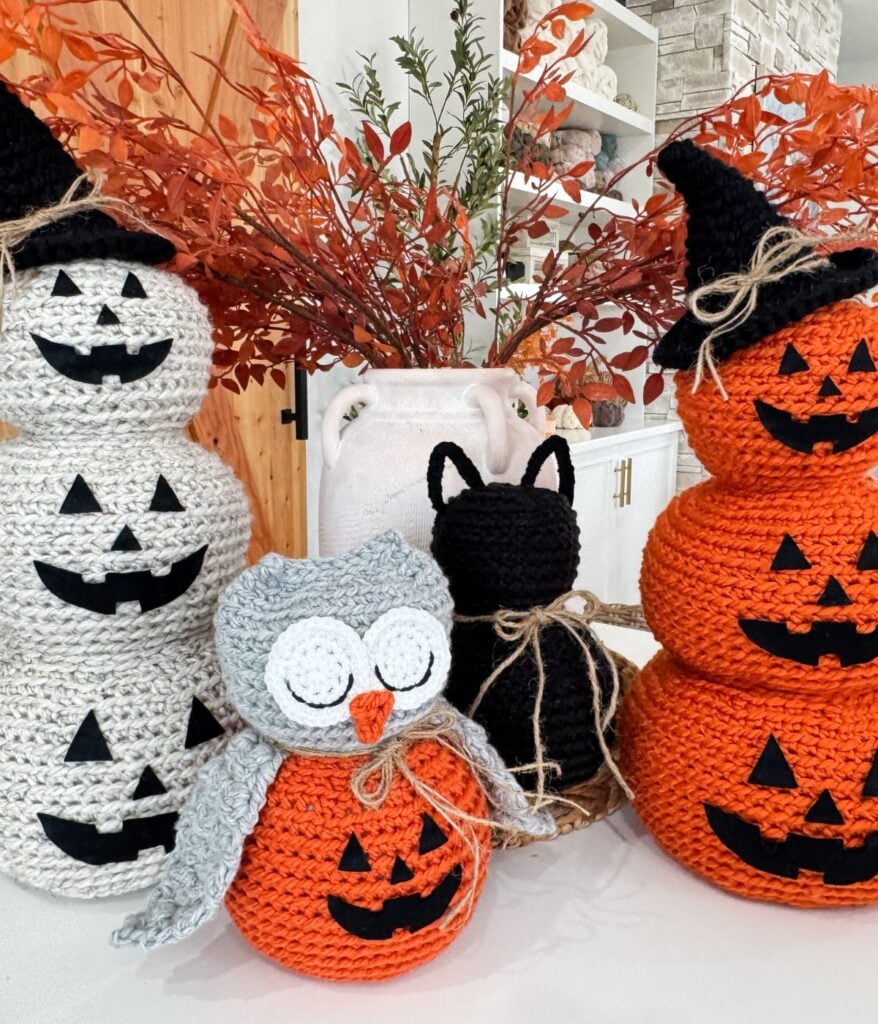
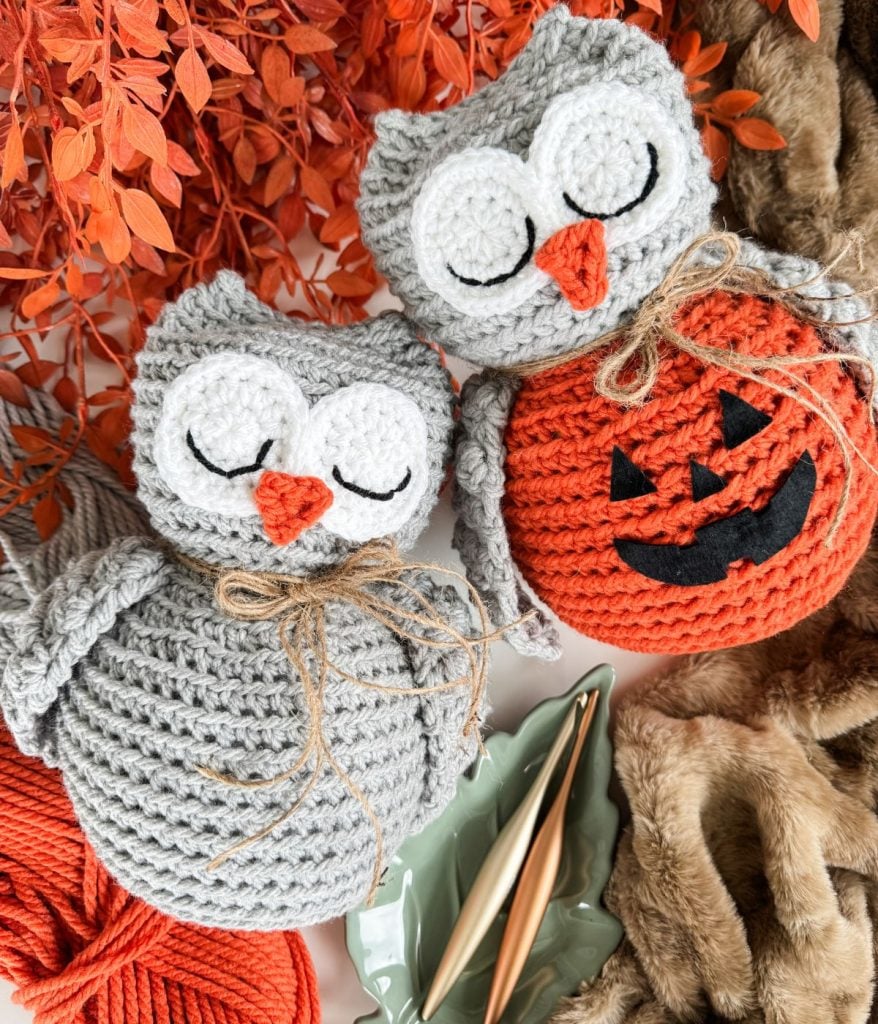
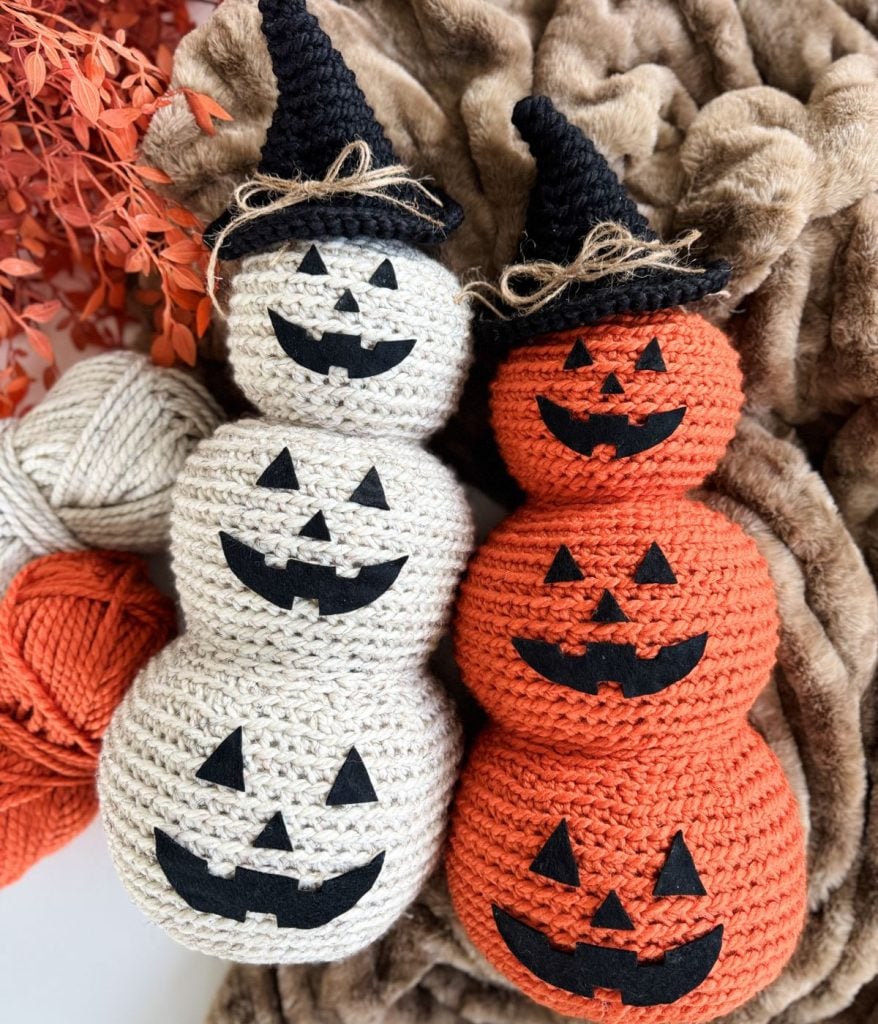
You may also like our Woodland Ami Owl and our Jack-O’-Lantern Pumpkin Stack patterns!
The crochet cat makes a thoughtful, handmade gift for any cat lover in your life. You can easily personalize it, and each one turns out with its own unique charm.
View the free crochet pattern down below or check out the step-by-step video tutorial!
Sizes

Skill Level
Gauge
5 sts and 5 rows equal to 2″ in sc blo with 6.5mm hook
Substituting Yarn
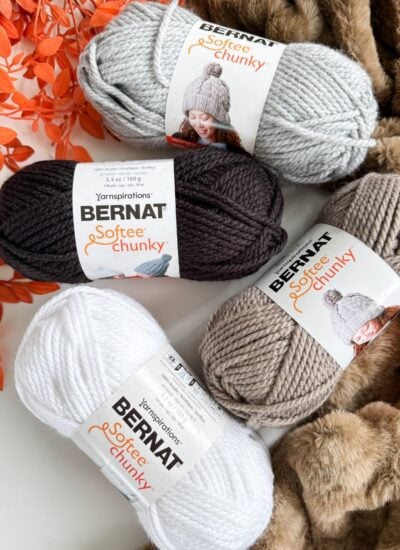
Before beginning your cat, it is highly recommended to create a gauge swatch. Taking the time to swatch will help ensure your stitch tension works well with this pattern, which is especially important if you are substituting yarn or the recommended yarn is unavailable. A swatch also gives you the chance to test how your chosen yarn feels—whether it’s too loose, too stiff, or just right for a soft but sturdy cat.
For this type of amigurumi project, the exact finished size is not critical. What matters most is creating a firm, dense fabric so the stuffing does not show through and your cat keeps its shape. If your stitches appear too loose or gaps are visible, try using a smaller hook. If the fabric feels overly tight or difficult to work with, move up a hook size. Adjusting your hook will help you find the right balance between ease of stitching and durability.
This is also a great opportunity to experiment with different yarn weights and colours to create cats in a variety of sizes and personalities. Use soft neutrals for a rustic woodland look, bright tones for a playful style, or even seasonal colours for a festive touch.
We’ve provided a list of suitable yarn substitutes on the following page. You can also create a bulky-weight yarn by holding two strands of worsted-weight yarn together. This not only gives you flexibility with colour combinations but also makes it easy to use up leftover yarn in your stash.
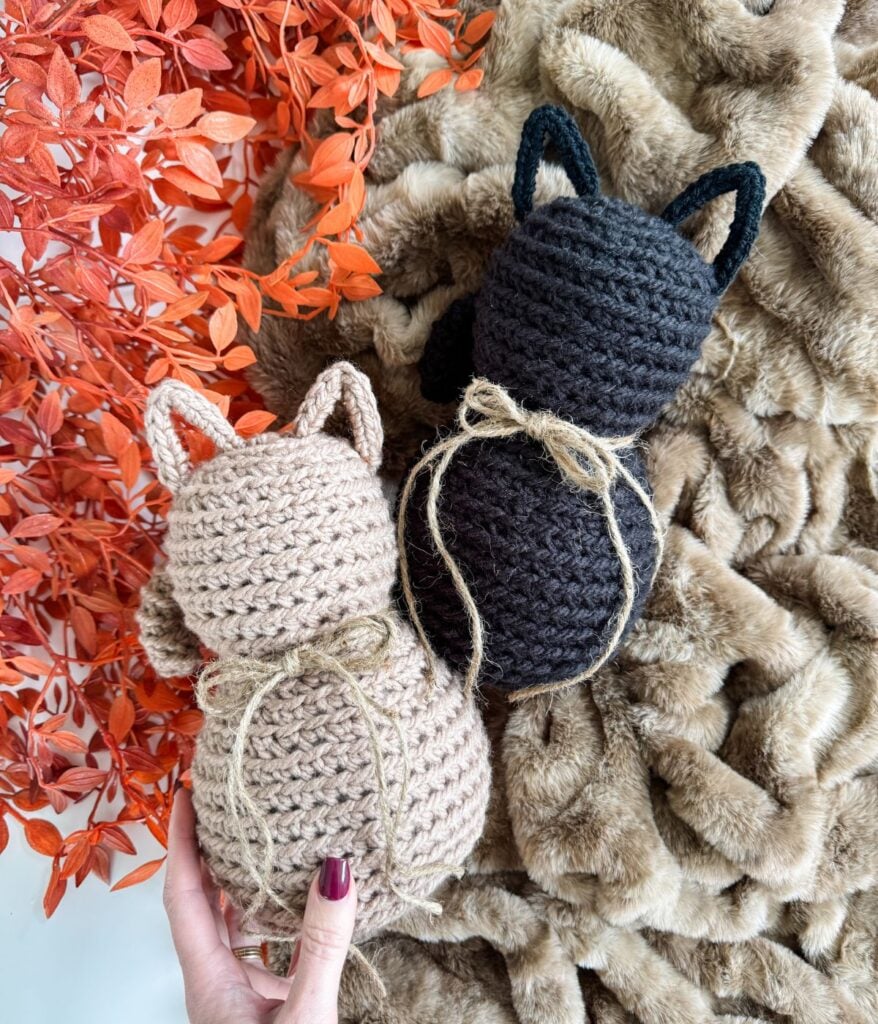
Suitable Yarn Substitutes for Bernat Softee Chunky
Premier Basix Super Bulky 98yds/100g
PREMIER BASIX CHUNKY YARN CDN) – 117yds/100g
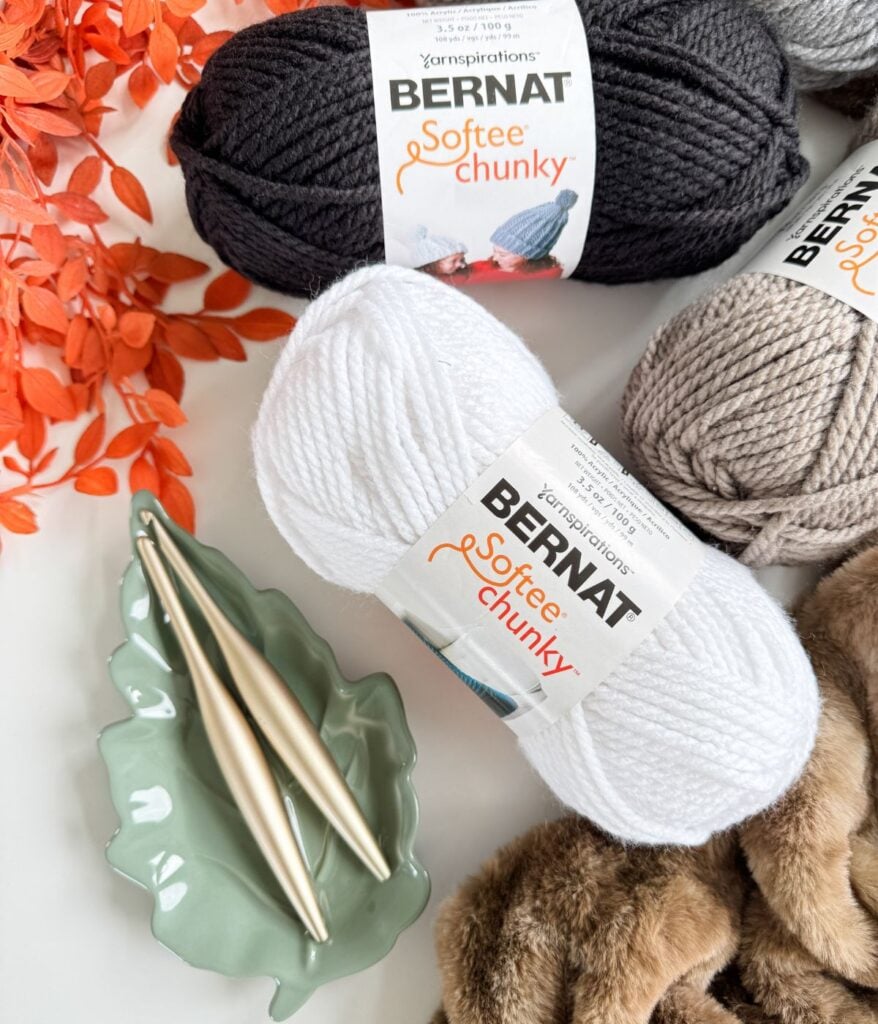
Crochet Hooks Required
Abbreviations
Blo – Back Loop Only
Ch – Chain
Hdc – Half Double Crochet
Inv Sc2tog – Single Crochet Decrease
Rep – Repeat
Sc – Single Crochet
Sp(s) – Space(s)
St(s) – Stitch(es)
Special Stitches
Inv Sc2tog – Invisible Single Crochet 2 together – Insert hook through the blo of next 2 sts, YO (Yarn Over), pull through 2 loops on the hook twice.
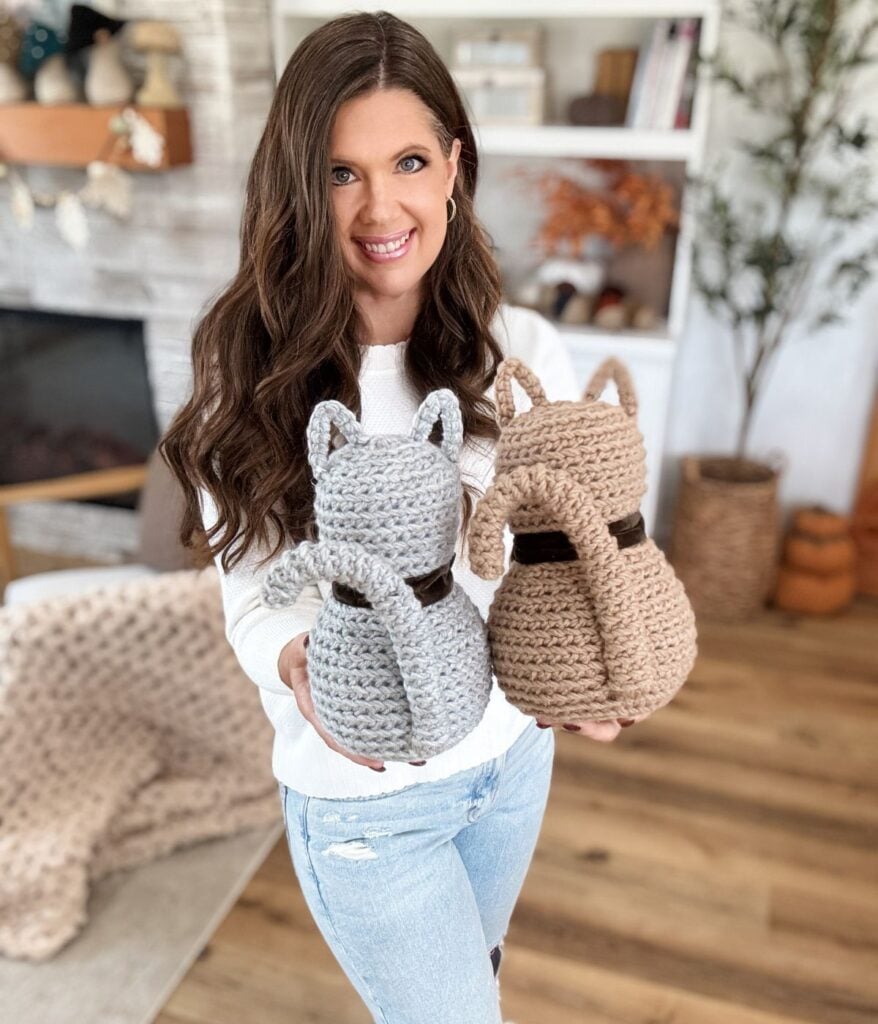
Video Tutorial For The Crochet Cat
Crochet our Rustic Farmhouse Cat with me in this step-by-step tutorial! We’ll work from the bottom up in simple stitches, shaping the body with increases and decreases, and finishing with a rustic twine bow. You’ll learn how to make a magic ring, crochet and attach the tail and ears, and how to crochet over pipe cleaners to make them bendable. I’ll also show you how to add stuffing and a weighted base for extra stability, so your cat sits perfectly in place.
FAQ & Terms
This pattern requires a beginner skill level.
This pattern is professionally written in technical writing and tech edited for accuracy.
1. Affiliate Links & Ad Support
This post may contain affiliate links. At no extra cost to you, purchases made through these links may earn MJ’s Off The Hook Designs a small commission. The content on this site is supported by advertisements. By using this site, you agree not to circumvent, block, or tamper with these ads.
2. Copyright & Intellectual Property
All content on this blog, including free crochet patterns, instructions, charts, photos, videos, and written materials, is the property of MJ’s Off The Hook Designs Inc. and is protected under copyright and other intellectual property laws.
3. Personal Viewing & Use Only
Free patterns published on this site are provided for viewing only on this blog. You may not:
• Copy, download, print, take screenshots, or redistribute the pattern in any form (digital or physical) outside this blog.
• Post the pattern or instructions elsewhere online or share it publicly without written consent.
Even for “personal use,” the pattern must only be used while viewing this blog post with the ads intact. Tampering with, hiding, or removing ads while accessing the pattern is strictly prohibited.
4. Screenshots & Unauthorized Sharing
Screenshots or any other method of copying the pattern for offline use or redistribution is prohibited. Sharing patterns in forums, social media groups, or private messages without permission is also prohibited.
5. Legal Enforcement
Violation of these terms may constitute copyright infringement and could result in civil or criminal penalties under intellectual property laws. By using this pattern, you agree to comply fully with these terms.
6. Questions & Permissions
For questions about these terms or for permission to use or share patterns outside of these rules, please contact MJ’s Off The Hook Designs Inc. in writing.
Thank you for respecting our work and supporting MJ’s Off The Hook Designs.
Yes! You may sell finished items made from MJ’s patterns, but please credit:
“Pattern by MJ’s Off The Hook Designs Inc.”
Pattern Support is only available in our Facebook Community group and Video Tutorials.
No additional support is provided for modified patterns, alternate yarns, or changes to gauge.
Having trouble unlocking the pattern?
If you’re seeing the message “Email subscription failed, please try again”, don’t worry — it’s usually an easy fix! Here are a few quick things to try:
First, double-check your login details. Make sure you’re signing in with the same email you originally used to create your Grow account. If you’re not sure, click “Forgot Password” to reset your login. Once you’ve updated it, return to my site and try again.
Next, clear your browser’s cache and cookies. Sometimes the login just gets stuck. You can also try opening the page in a private or incognito window, or switching to another browser like Chrome, Safari, or Firefox to see if that does the trick.
It also helps to make sure you’re logged into Grow directly. Visit https://grow.me and sign in there first. Once you’re logged in, come back to my site and refresh the page — your pattern should unlock automatically.
If you’re still having trouble, check your browser’s privacy settings. Grow needs cookies to verify your account, so make sure cookies and cross-site tracking are allowed. On iPhone, go to Settings → Safari → Privacy & Security, then turn off “Prevent Cross-Site Tracking” and “Block All Cookies.” On Android or Chrome, go to Settings → Site Settings → Cookies and select “Allow all cookies.”
Lastly, ad blockers or browser extensions can sometimes block the login pop-up. Try turning them off temporarily while you sign in. If nothing seems to work, log out of Grow completely by going to https://grow.me, selecting your profile icon, and choosing Log Out. Then come back to my site and try logging in again.
If you’re still stuck after trying all of this, please reach out through my Contact Page and let me know what device and browser you’re using (and include a screenshot if you can).
Pattern
Notes: The Cat is worked in continuous rounds. The Cat is crocheted from the bottom up. Use a stitch marker to indicate the first stitch of each round.
Body
Round 1:
With larger hook, Magic Ring, ch 1, work 10 hdc in the ring, pull ring tight (don’t join)—10 sts.
Round 2:
2 sc in the blo of each st around—20 sts.
Round 3:
1 sc in the blo of first st, 2 sc in the blo of next st, *1 sc in the blo next st, 2 sc in the blo next st; rep from * around—30 sts.
Round 4:
1 sc in the blo of first 2 sts, 2 sc in the blo of next st, *1 sc in the blo next 2 sts, 2 sc in the blo of next st; rep from * around—40 sts. The base should measure approximately 4″ in diameter.
Rounds 5-12:
1 sc in the blo of each st around—40 sts.
Round 13 (Decr.):
1 sc in the blo first 2 sts, inv sc2tog in the blo across next 2 sts, *1 sc in the blo next 2 sts, inv sc2tog in the blo across next 2 sts; rep from * around—30 sts.
Rounds 14-15:
1 sc in the blo of each st around—30 sts.
Round 16 (Decr.):
1 sc in the blo first st, inv sc2tog in the blo across next 2 sts, *1 sc in the blo next st, inv sc2tog in the blo across next 2 sts; rep from * around—20 sts.
Round 17:
1 sc in the blo of each st around—20 sts.
Head
Add a weighted bag to the body and stuff with polyester fill as you go here and throughout the rest of the cat.
Round 18 (Incr.):
1 sc in the blo of first st, 2 sc in the blo of next st, *1 sc in the blo next st, 2 sc in the blo of next st; rep from * around—30 sts.
Rounds 19-24:
1 sc in the blo of each st around—30 sts.
Round 25 (Decr.):
1 sc in the blo first st, inv sc2tog in the blo across next 2 sts, *1 sc in the blo next st, inv sc2tog in the blo across next 2 sts; rep from * around—20 sts.
Round 26 (Decr.):
1 sc in the blo first 2 sts, inv sc2tog in the blo across next 2 sts, *1 sc in the blo next 2 sts, inv sc2tog in the blo across next 2 sts; rep from * around—15 sts.
Round 27 (Decr.):
1 sc in the blo first st, inv sc2tog in the blo across next 2 sts, *1 sc in the blo next st, inv sc2tog in the blo across next 2 sts; rep from * around—10 sts. Fasten off, leaving a tail. With a yarn needle, weave the tail through the front loops only of each stitch around the opening, pull tight to secure and weave in the ends.
Tail
Round 1:
With larger hook, Magic Ring, ch 1, work 6 sc in the ring, pull ring tight (don’t join)—6 sts.
Note: Twist two pipe cleaners together, then fold over the tip for safety. Insert them into the tail after a few rounds and crochet around the pipe cleaners as you work.
Rounds 2-24:
1 sc in the blo of each st around—6 sts. The tail should measure approximately 9″. Fasten off, leaving a long yarn tail. Bend the end of the pipe cleaner and tuck it inside the crocheted tail. Using a yarn needle, weave the yarn through the front loops only of each stitch around the opening, pull tight to close, and weave to secure. Use the remaining yarn tail to sew the tail to the back centre of the cat. Stitch about 2″ along each side of the tail to firmly attach it to the body. Weave in ends, then bend the top of the tail to create a gentle curve.
Ears
Cut a pipe cleaner in half, using one piece for each ear. With a smaller hook, leave a yarn tail for sewing and place a slip knot on your hook. Bend the pipe cleaner slightly, then crochet 10 single crochet stitches tightly around the pipe cleaner. Fasten off, leaving a yarn tail. Trim away any excess pipe cleaner from the ends.
Bend the crocheted piece into a triangle, making one side slightly shorter than the other. Use the yarn tail and a needle to sew each ear securely to the head. Position the shorter side of the triangle toward the inside of the head and the longer side toward the outside for a natural look. Once the ears are in place, weave in the tails on the head to finish.
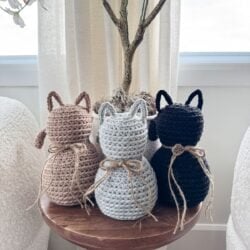
Finishing: Tie a ribbon or twine around the cat’s neck and secure it in a neat bow.
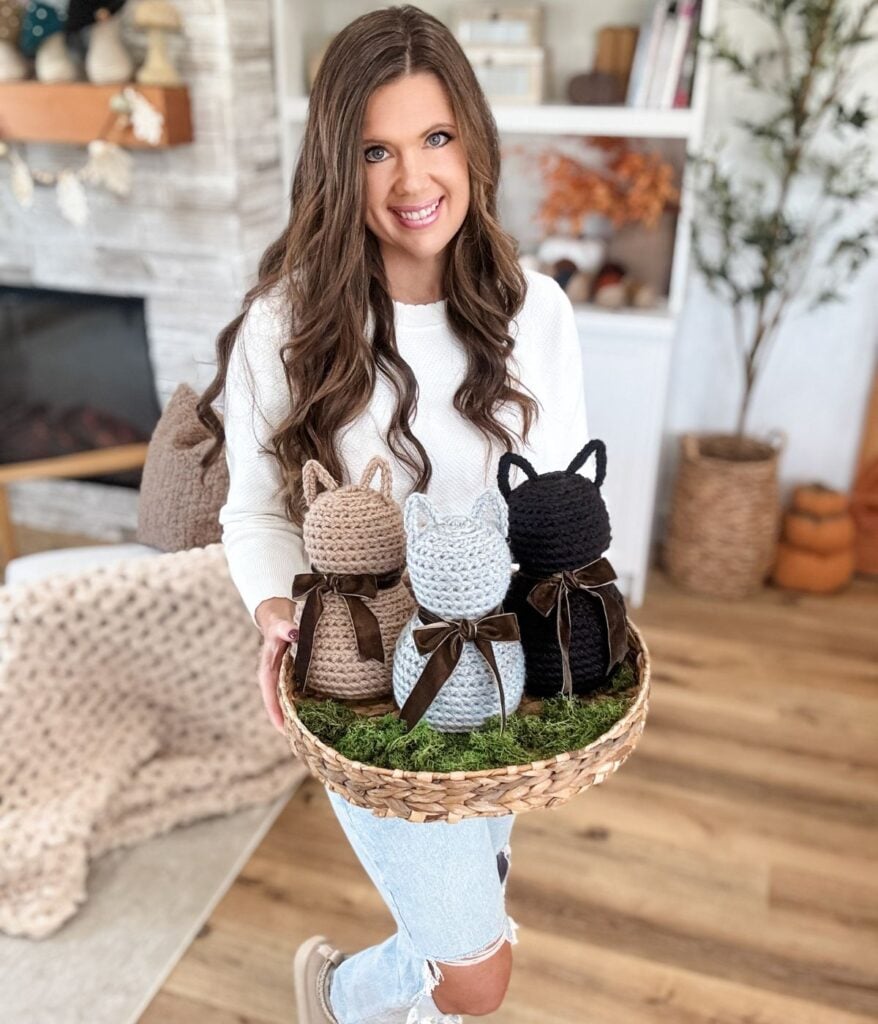
Looking for Pattern Support?
Head over to my Facebook Community Group to ask any questions about this pattern. Share photos of your MJ’s Designs, and cheer on fellow crocheters!
Our group has a vibrant and supportive community of experienced crocheters who have made various MJ patterns. They are always eager to offer guidance and share their experiences. Don’t hesitate to reach out and connect with them.
Thank you for joining our community, and happy crocheting!
I hope you love our Rustic Farmhouse Cat pattern! You might also love these crochet patterns!
For more crochet patterns by MJ’s Off The Hook Designs see our Ravelry and Etsy Shop. Check out our Facebook and Instagram for daily inspiration!


