*This post may contain affiliate links to support the cost of this blog. At no cost to you, I may make a small commission if you purchase through these links. Read our Privacy Policy HERE
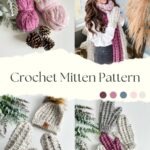


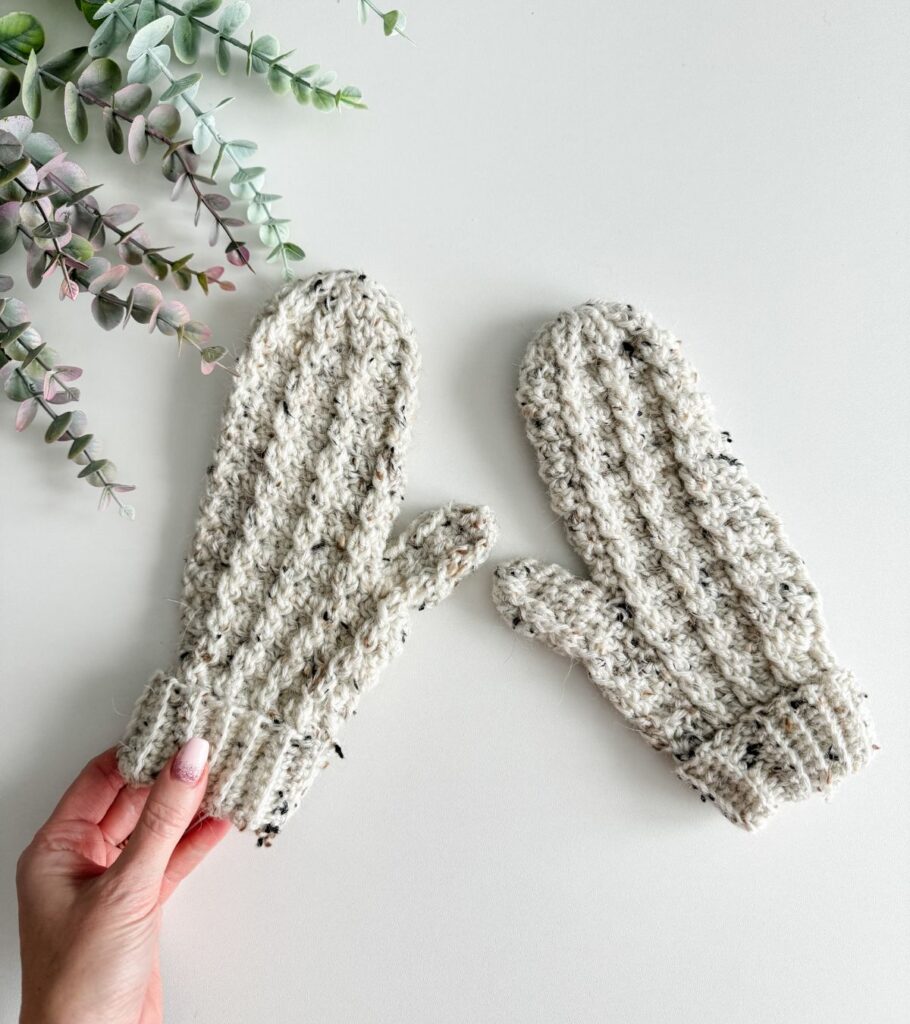
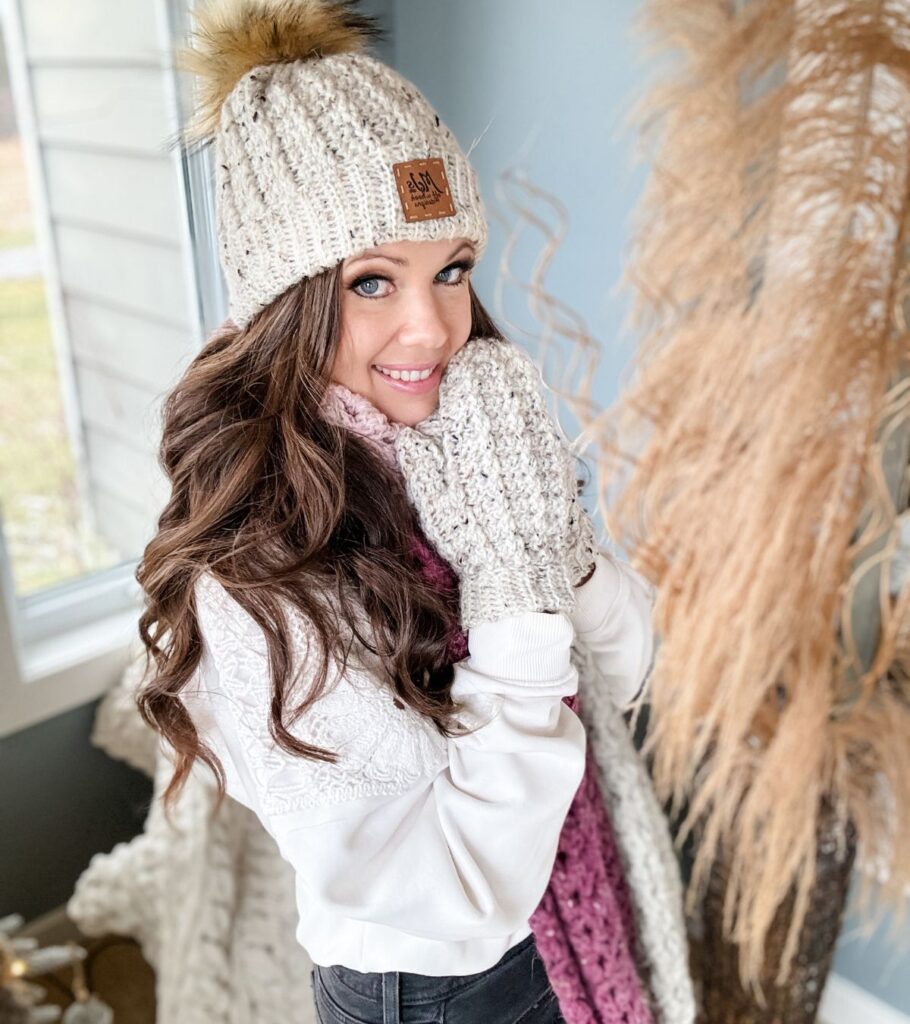
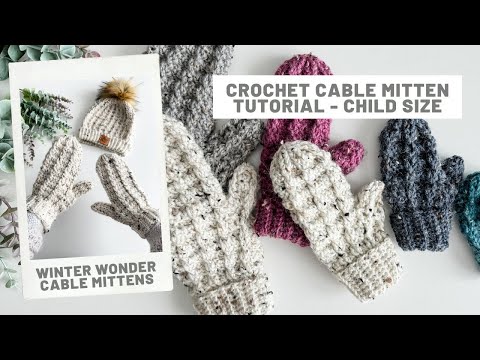
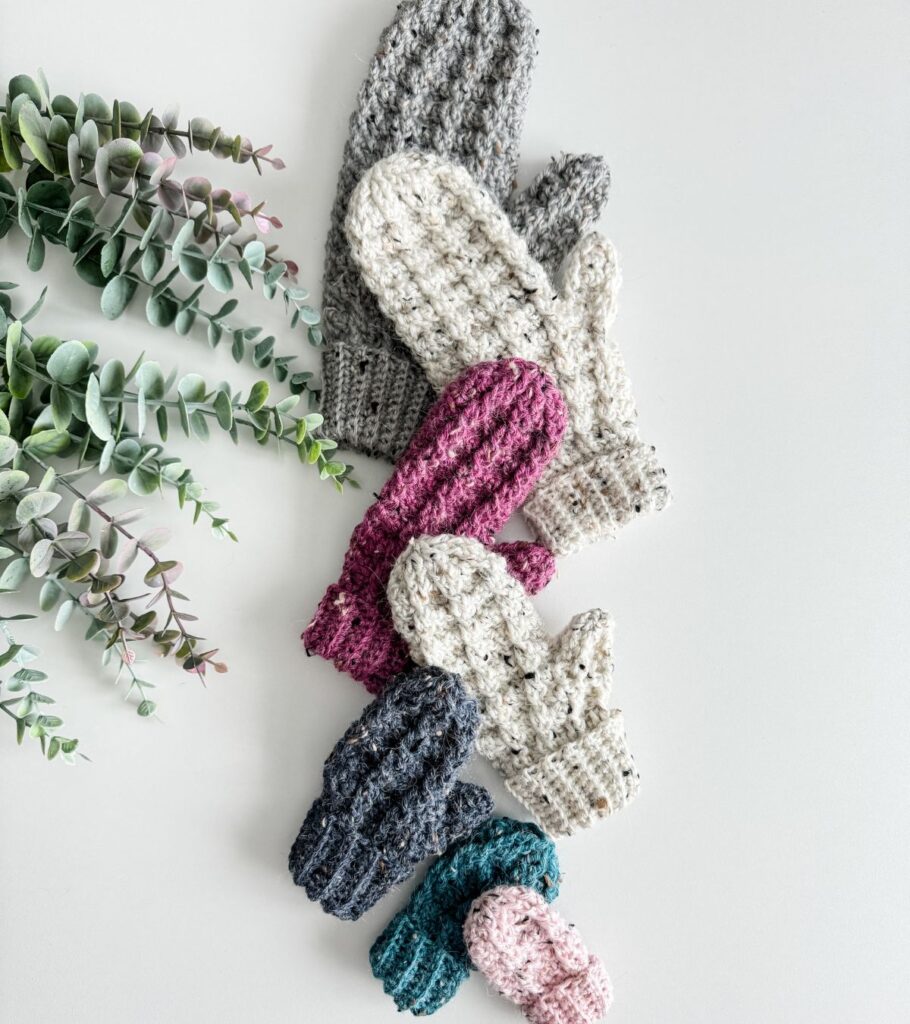
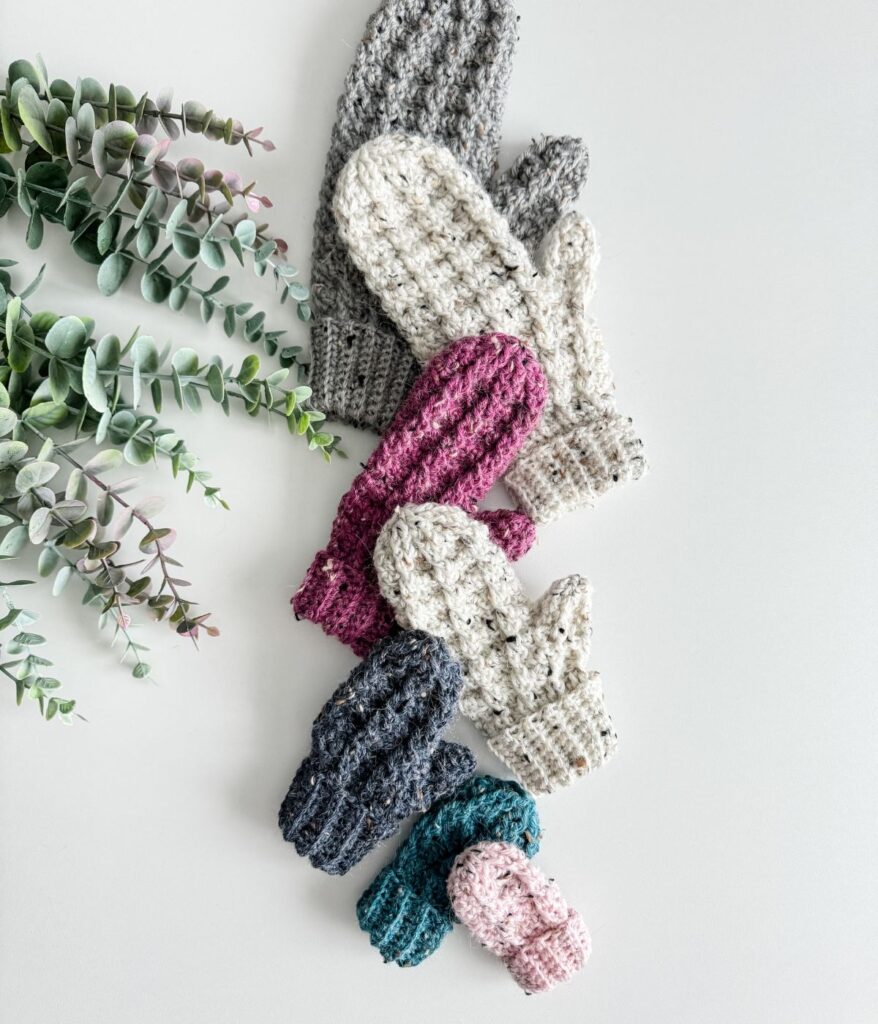
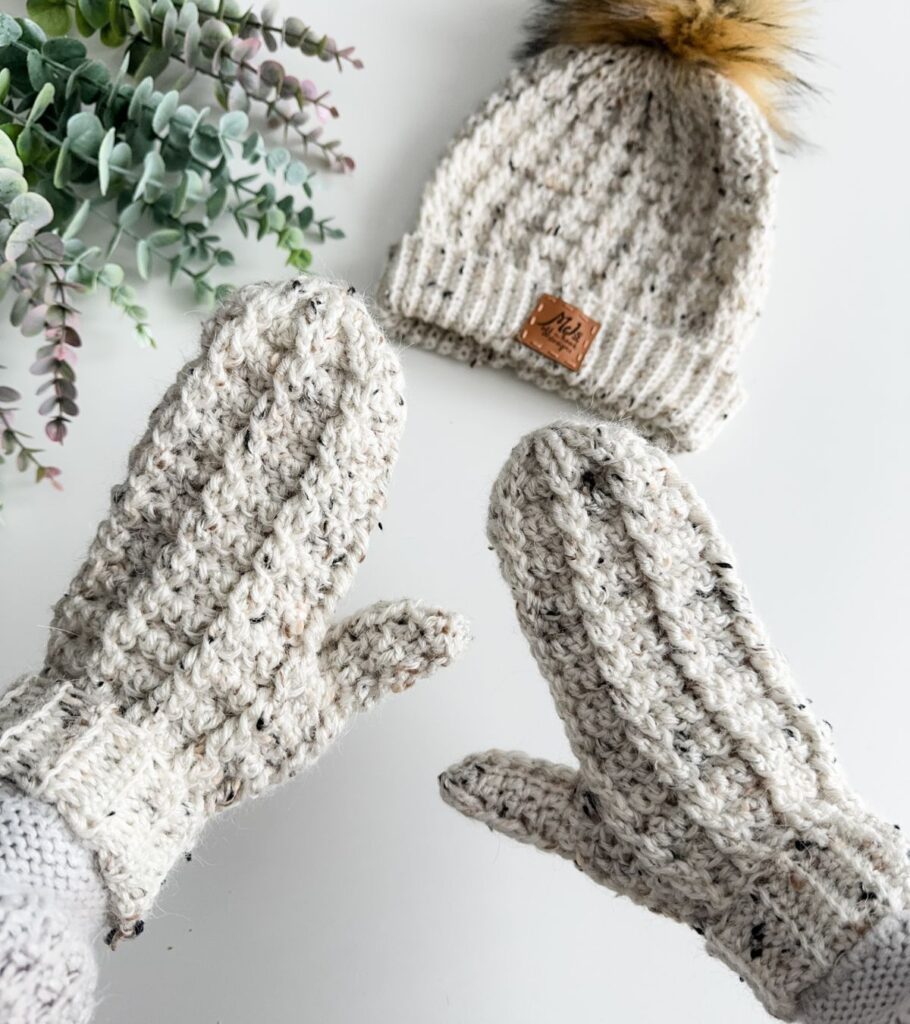
Introducing the Winter Wonder Cable crochet Mittens – a perfect complement to our Winter Wonder Cable Hat, featuring the same charming 2-stitch cable pattern.
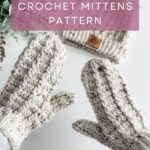
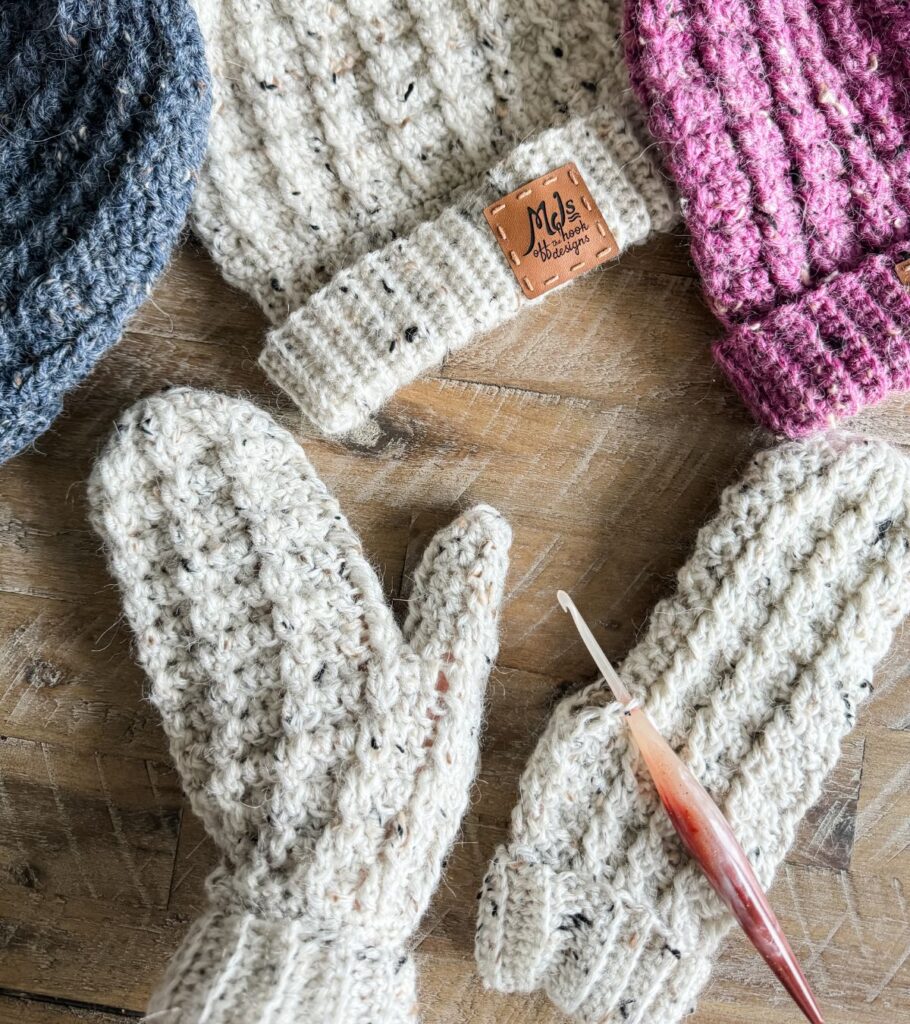
These mittens incorporate front post and double crochet stitches to create a unique textured design that’s surprisingly simple to crochet. Worked from the top down and finished with a join-as-you-go ribbed cuff, these mittens are as practical as they are stylish.
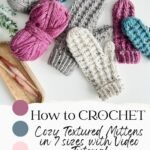
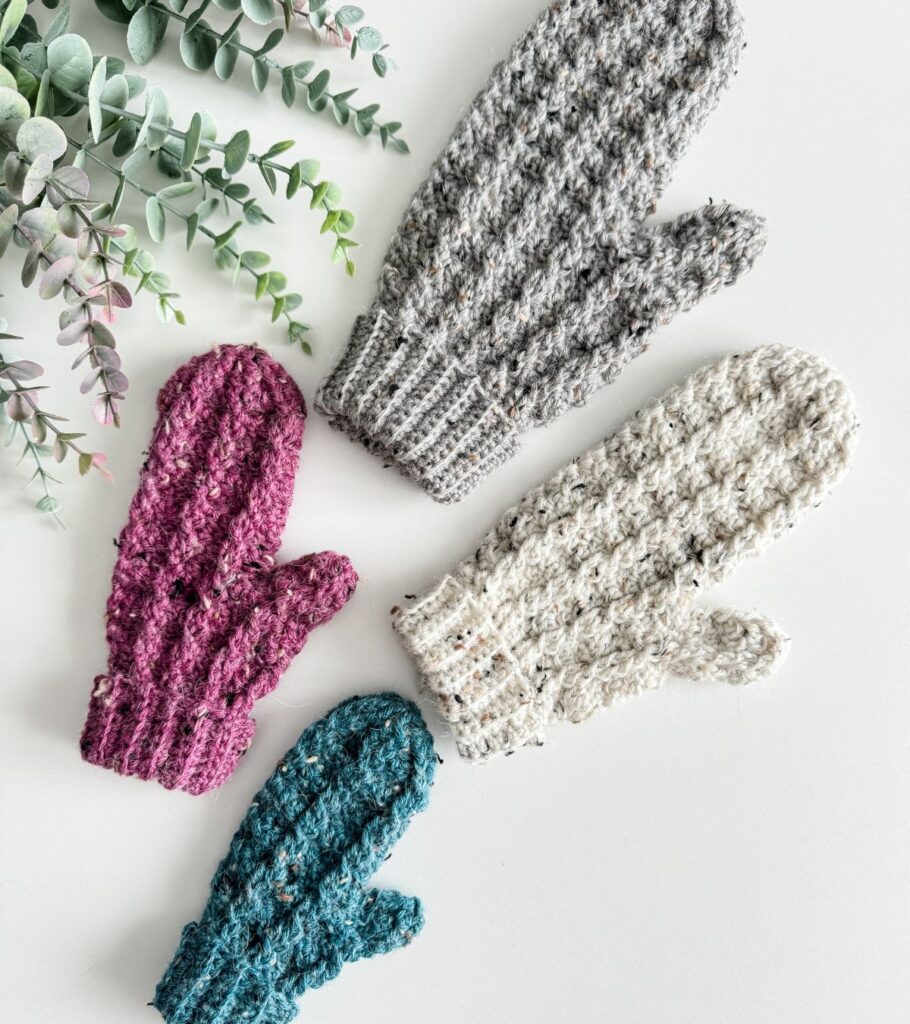
The pattern caters to 7 sizes, from baby to adult men, ensuring a perfect fit for everyone.
For added convenience, a step-by-step tutorial on the large child-size pattern is available on YouTube.
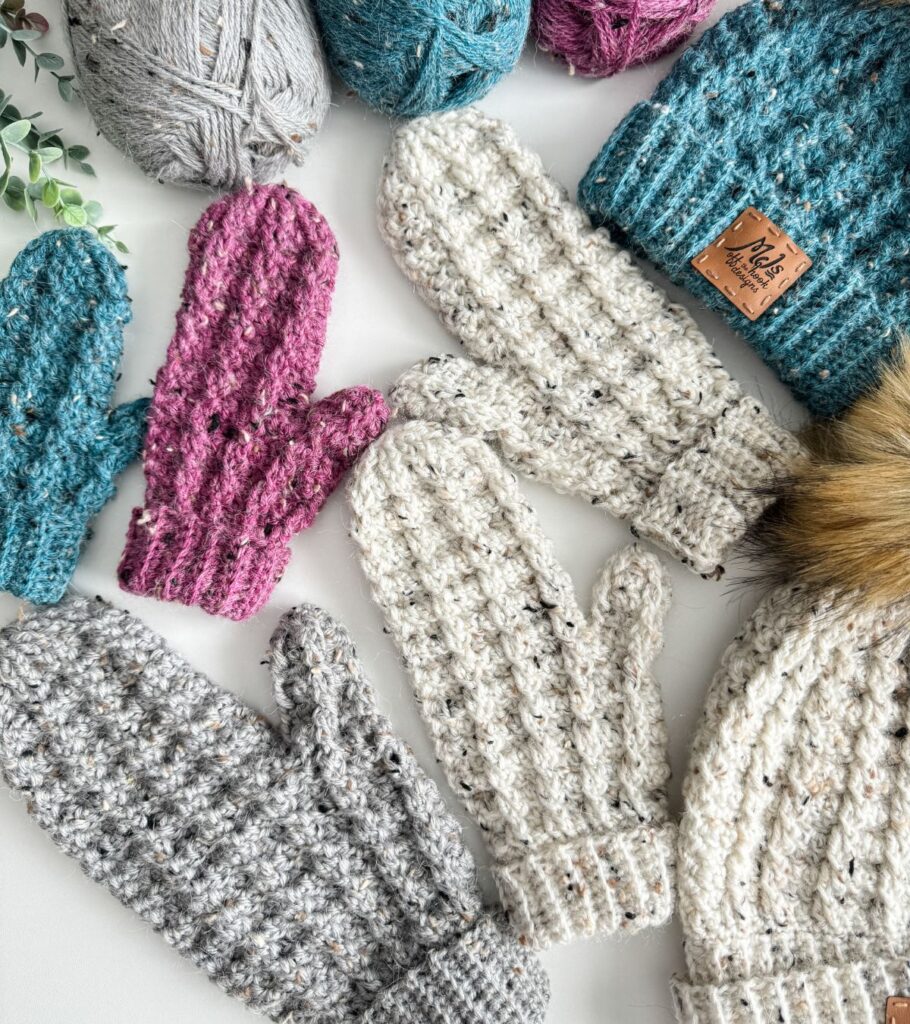
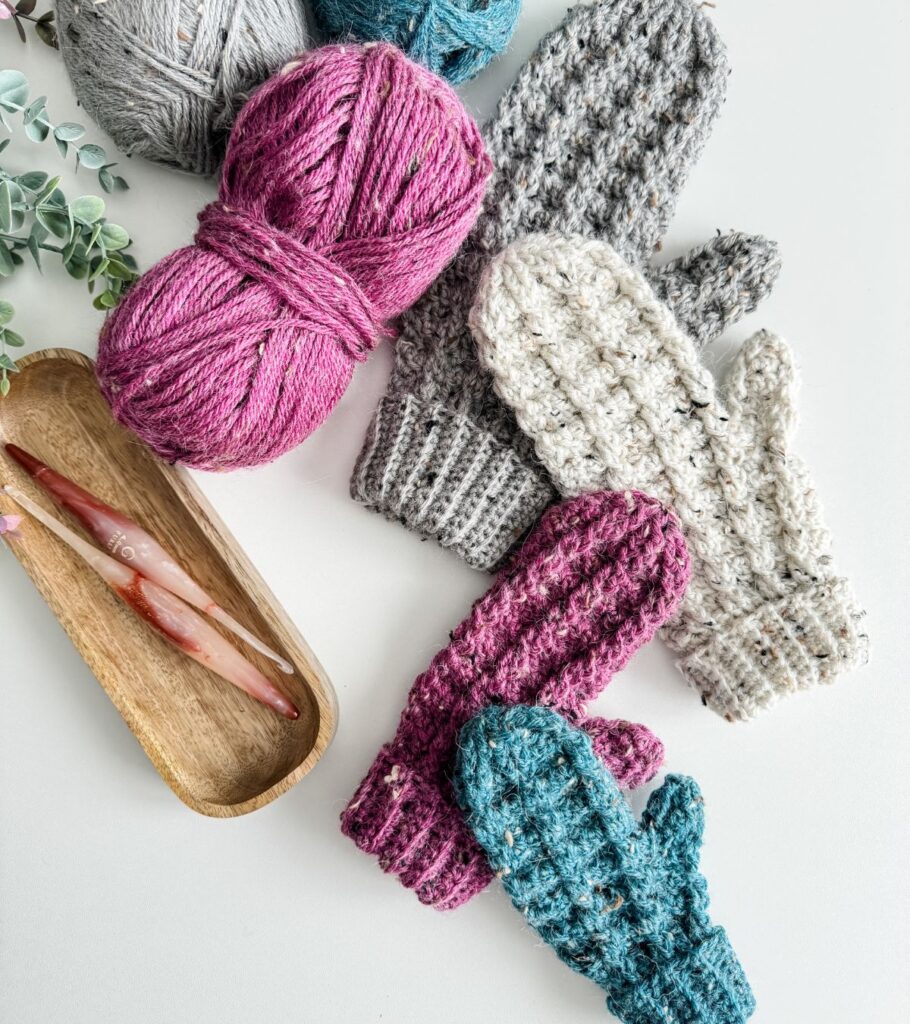
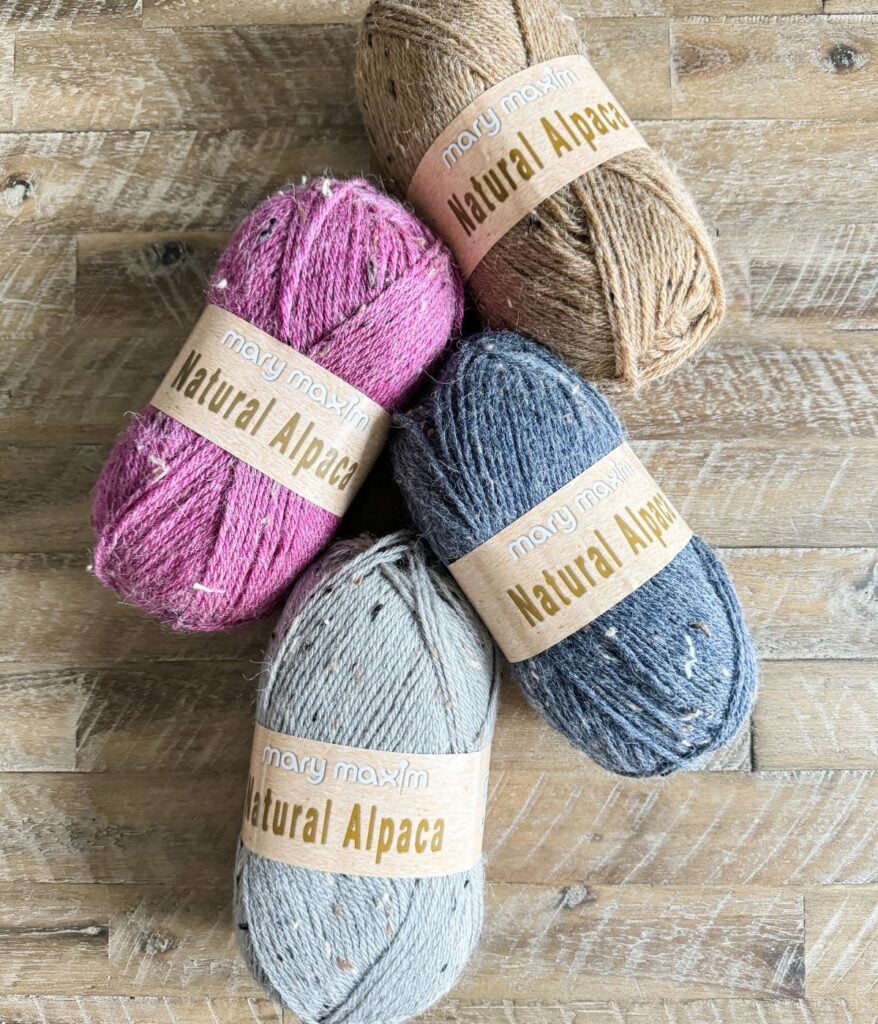
Designed with the luxurious Natural Alpaca Tweed yarn from Mary Maxim, these mittens offer both warmth and elegance.
Below, you will find everything you need to make these crochet mittens, including the yarn, hook, materials, free written pattern for blog subscribers, pictures and a video tutorial. If you love this free crochet mitten pattern, please share!

Key Takeaways
- The Winter Wonder Cable Crochet Mitten features a 2-stitch cable pattern, suitable for all sizes from baby to adult men.
- This pattern uses front post and double crochet stitches for a unique texture and is practical, being simple to crochet.
- A video tutorial is available to guide crocheters through the pattern, making it beginner-friendly for those new to crochet cables.
- The mittens are crafted with Mary Maxim’s Natural Alpaca Tweed yarn, offering warmth and elegance while ensuring easy care.
- Crochet mittens make a versatile addition to your wardrobe, providing both style and functionality for all ages.
You can Never Have Enough Crochet Mittens!
With four kids running around, it seems like mittens are always disappearing in my house! I can never have enough of them. That’s why I’m designing a good mitten pattern. This crochet one is not only super pretty, but it’s also really practical. When those mittens go missing, I can just whip up a new pair in no time. It’s such a handy pattern to have around. Plus, there’s something really satisfying about making something both pretty and useful. This mitten pattern has definitely become one of my favourites to work on!
Can a Beginner Crochet Cables?
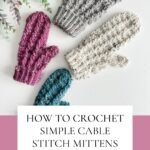
Crochet cables can be a bit challenging, typically for more experienced crocheters. This crochet mitten pattern is a great way to dip your toes into the world of crochet cables. It’s a perfect starting point for getting the hang of working with them. And the best part is, you’ll only need to use front post double crochets to make this beautiful pattern. So, it’s a nice way to add flair to your crochet projects without feeling overwhelmed by intricate techniques.
Video for the Crochet Mittens
The Winter Wonder Mitten Video Tutorial provides comprehensive guidance on creating these enchanting mittens. The tutorial not only covers details on the yarn and hooks used in the pattern but also demonstrates the magic ring technique for a seamless beginning.
Step-by-step instructions are provided for working the mittens from the top down in the round, initiating with the magic ring, implementing the increase pattern, executing the simple cable stitch, incorporating the thumb hole, and seamlessly proceeding with the mitten.
Additionally, the tutorial demonstrates the decrease round to taper the mitten toward the wrist and concludes with a detailed explanation of the join-as-you-go ribbed cuff.
The tutorial concludes by providing guidance on rejoining at the thumb opening to complete the thumb section.
Video Tutorial
Join me and follow along to this detailed tutorial to complete the Winter Wonder Mittens for large child size.
What is the Best Yarn for Crochet Mittens?
When it comes to choosing the best yarn for making crochet mittens, the best yarn to use would be yarns with a blend of wool and acrylic, which tend to be a popular choice for mittens as they offer both insulation and easy care. The Mary Maxim Natural Alpaca Tweed yarn stands out as an excellent option. With a composition of 77% acrylic, 20% alpaca, and 3% viscose, this worsted-weight yarn offers a perfect blend of warmth, softness, and durability. Whether you’re creating hats, mittens, sweaters or cozy socks, this yarn proves to be versatile and reliable.
Yarn Requirements
Worsted Weight #4 77% acrylic, 20% alpaca, 3% viscose 262 yds/100g
Shown in Raw Cotton, Rose Quartz, Thistle, Grey, Cool Stream and Blue Stone
0-6mth (6-12mth, Toddler, Sm Child, Lrg Child, Ladies, Mens)
45 (70, 100, 140, 160, 220, 315) yards
Size
0-6mth (6-12mth, Toddler, Sm Child, Lrg Child, Ladies, Mens)
Substituting Yarn
Yarn substitution is a valuable skill for crocheters, especially when the original yarn listed in a pattern is unavailable. The same goes for the Winter Wonder Cable Mitten pattern.
To achieve the perfect fit for the recommended mitten sizes, it’s crucial to maintain the same size. If necessary, adjusting your crochet hook size can help you achieve the correct measurements. It’s worth noting that Natural Alpaca worsted yarn is slightly thinner than most worsted-weight yarns, so keep that in mind if you’re having difficulty matching gauge with a different brand.
Selecting a yarn with a similar weight to the one specified in the pattern is recommended when substituting yarn. Starting with a yarn of similar weight will give you a solid foundation.
Also, creating a gauge swatch before starting your project is highly recommended. This will help ensure that your tension and stitch count align with the pattern’s specifications.
Yarn Substitutes
Brava Worsted or Brava Tweed 218yds/100g
Swish Worsted – 110 yds/50g
Wool of the Andes Worsted or Tweed 110yds/50g
Lion Brand Color Theory 246yds/100g
Crochet Hooks Needed
Use code MJS15 for 15% off Furls Crochet
Additional Supplies for the Crochet Mittens
Helpful Resources
- Join our Facebook Crochet Community for pattern support and inspiration
- Subscribe on YouTube for hundreds of free tutorials
- Sign up for our newsletter and receive 40% off your first Ravelry purchase!
- Sign up for our YouTube Membership
Helpful Resources
- Join our Facebook Crochet Community for pattern support and inspiration
- Subscribe on YouTube for hundreds of free tutorials
- Sign up for our newsletter and receive 40% off your first Ravelry purchase!
- Sign up for our YouTube Membership
Construction
The Winter Wonder Cable Mittens Crochet pattern is worked from the top down in the round. Utilizing double crochet and front post double crochet stitches, you’ll increase to the required number of stitches for the desired size. The mittens feature a straightforward 2-stitch cable pattern. The mitten is worked up to the thumb opening. A chain is crafted to create the thumb opening, the pattern is continued and is followed by a decrease round to taper the mitten at the wrist. Complete the mittens with a join-as-you-go ribbed cuff. Rejoin at the thumb opening to finish off by creating the thumb.
Gauge
Body: 9 sts and 6.5 rows equal to 2″ in dc/fpdc pattern with 5mm hook
Ribbing: 10 sts and 10 rows equal to 2″ in sc blo pattern with 4.5mm hook
Abbreviations
Blo – Back Loop Only
Ch – Chain
Dc – Double Crochet
Dc2tog – Double Crochet Decrease
Fpdc – Front Post Double Crochet
Rep – Repeat
Sc – Single Crochet
Sc2tog – Single Crochet Decrease
Sk(d) – Skip(ped)
Sl St – Slip Stitch
Sp(s) – Space(s)
St(s) – Stitch(es)
( ) – Work step in parentheses in indicated stitch
Special Stitches
Dc2tog – Double Crochet Decrease: Yarn Over (yo), insert hook through indicated st and pull up a loop, yo, pull through 2 loops, yo, insert hook in next st, pull up a loop, yo, pull through 2 loops, yo, pull through 3 loops on the hook.
Fpdc – Front Post Double Crochet: Yo, insert your hook from front to back to front around the post of the next stitch; yo, pull up a loop; yo, pull through 2 loops on your hook; yo, pull through the remaining 2 loops on your hook.
Sc2tog – Single Crochet Decrease: Insert hook through indicated st and pull up a loop, insert hook in next st, pull up a loop, yo, pull through 3 loops on the hook.
Upgrade to the Premium PDF Pattern!
Digital PDF Download
Digital pattern only. No physical item will be shipped.
To unlock Exclusive Content on my Blog, all you need to do is click the box below and the Grow.me app will pop up, allowing you to enter your email and create a password. Once you’ve created an account, every time you see Exclusive Content on my blog, simply login to your Grow account. Be sure to switch to the login screen to enter your login credentials.
If you forget your password, click the “forgot password” link and follow the prompts. Please note that I’m unable to assist with resetting Grow passwords or accessing your Grow account, so be sure to save your login information in a safe place.
To make things even easier, I’ve created a video for both desktop and mobile users that offer additional assistance. You can access this video by visiting my FAQs page HERE or by watching the video below.
Thank you for subscribing and for joining me on my crochet journey. I hope you enjoy the exclusive content available to our subscribers and create beautiful crochet projects using the resources you discover.

Winter Wonder Cable Mittens
FAQ & Terms
This post may contain affiliate links. Purchases made through these links may earn MJ’s Off The Hook Designs Inc. a small commission at no extra cost to you. Content on this site is supported by ads—please do not block or remove them.
Copyright
All patterns, photos, and written content are the property of MJ’s Off The Hook Designs Inc. and protected by copyright law.
Usage
Free patterns are for viewing only on this blog. You may not copy, download, print, screenshot, or redistribute any part of the pattern. Access must remain through this page with ads visible. Use of ad blockers, reader view, or any similar tools that remove or hide ads and site content is strictly prohibited.
Legal Notice
Unauthorized reproduction or distribution may result in copyright infringement penalties.
By accessing this post, you agree to these terms and conditions.
Yes! You may sell finished items made from MJ’s patterns, but please credit:
“Pattern by MJ’s Off The Hook Designs Inc.”
Pattern Support is only available in our Facebook Community group and Video Tutorials.
No additional support is provided for modified patterns, alternate yarns, or changes to gauge.
Having trouble unlocking the pattern?
If you’re seeing the message “Email subscription failed, please try again”, don’t worry — it’s usually an easy fix! Here are a few quick things to try:
First, double-check your login details. Make sure you’re signing in with the same email you originally used to create your Grow account. If you’re not sure, click “Forgot Password” to reset your login. Once you’ve updated it, return to my site and try again.
Next, clear your browser’s cache and cookies. Sometimes the login just gets stuck. You can also try opening the page in a private or incognito window, or switching to another browser like Chrome, Safari, or Firefox to see if that does the trick.
It also helps to make sure you’re logged into Grow directly. Visit https://grow.me and sign in there first. Once you’re logged in, come back to my site and refresh the page — your pattern should unlock automatically.
If you’re still having trouble, check your browser’s privacy settings. Grow needs cookies to verify your account, so make sure cookies and cross-site tracking are allowed. On iPhone, go to Settings → Safari → Privacy & Security, then turn off “Prevent Cross-Site Tracking” and “Block All Cookies.” On Android or Chrome, go to Settings → Site Settings → Cookies and select “Allow all cookies.”
Lastly, ad blockers or browser extensions can sometimes block the login pop-up. Try turning them off temporarily while you sign in. If nothing seems to work, log out of Grow completely by going to https://grow.me, selecting your profile icon, and choosing Log Out. Then come back to my site and try logging in again.
If you’re still stuck after trying all of this, please reach out through my Contact Page and let me know what device and browser you’re using (and include a screenshot if you can).
Toddler Only
Round 1:
Working across the thumb chs, ch 1, work 1 dc in next 2 sts, sk next st, 1 fpdc on next st, 1 fpdc on skd st, working across the remaining opening, evenly sp 2 dc, sk st, 1 fpdc on next st, 1 fpdc on skd st, sl st in first dc to join—8 sts.
Sm Child (Lrg Child, Ladies, Mens)
Round 1:
Working across the thumb chs, ch 1, *work 1 dc in next 2 sts, sk next st, 1 fpdc on next st, 1 fpdc on skd st; rep from * 1 (1, 1, 2) more times, working across the remaining opening, evenly sp 2 dc, sk st, 1 fpdc on next st, 1 fpdc on skd st, sl st in first dc to join—12 (12, 12, 16) sts.
Toddler (Sm Child, Lrg Child, Ladies, Mens)
Round 2:
Ch 1, *1 dc in next 2 sts, 1 fpdc on next 2 sts; rep from * around, sl st in first dc to join—8 (12, 12, 12, 16) sts.
Decrease Mens Only (optional for other sizes requiring a more narrow thumb)
Round 3:
Ch 1, *1 dc2tog across next 2 sts, sk next st, 1 fpdc on next st, 1 fpdc on skd st; rep from * around, sl st in first dc to join—12 sts.
Toddler (Sm Child, Lrg Child, Ladies)
Round 3:
Ch 1, *1 dc in next 2 sts, sk next st, 1 fpdc on next st, 1 fpdc on skd st; rep from * around, sl st in first dc to join—8 (12, 12, 12) sts. Toddler proceed to finishing.
Sm Child (Lrg Child, Ladies, Mens)
Round 4:
Ch 1, *1 dc in next 2 sts, 1 fpdc on next 2 sts; rep from * around, sl st in first dc to join—12 (12, 12, 12) sts. Sm & Lrg Child proceed to finishing.
Round 5:
Rep Round 3.
Round 6:
Rep Round 4. Ladies proceed to finishing.
Round 7:
Rep Round 3.
Finishing
Fasten off with a tail for sewing. With a yarn needle, weave through every other stitch and pull tight to close the thumb. Weave in tails. Use the starting tail to sew any gaps at the thumb join.
You might also love these crochet patterns if you love this pattern:
This pattern is designed by Michelle Moore of MJ’s Off The Hook Designs Inc, based in Lakefield, Ontario, Canada. Your go-to source for modern, easy crochet patterns. Published on January 18th, 2024.
Thank you for visiting MJ’s Off The Hook Designs. I hope you enjoyed this pattern and feel inspired to pick up your hook and start creating.
You can find even more crochet patterns in our Ravelry and Etsy shops.
For daily inspiration and behind-the-scenes peeks, join me over on Facebook or Instagram, or join our YouTube Membership for exclusive content!
You’ve got questions, we’ve got a community!
Crocheting is better with friends! Join our group to post pictures and ask all your pattern support questions.