*This post may contain affiliate links to support the cost of this blog. At no cost to you, I may make a small commission if you purchase through these links. Read our Privacy Policy HERE
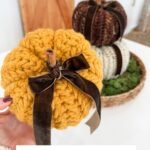


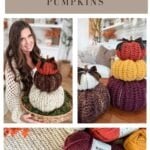
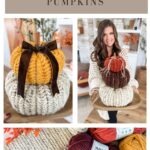

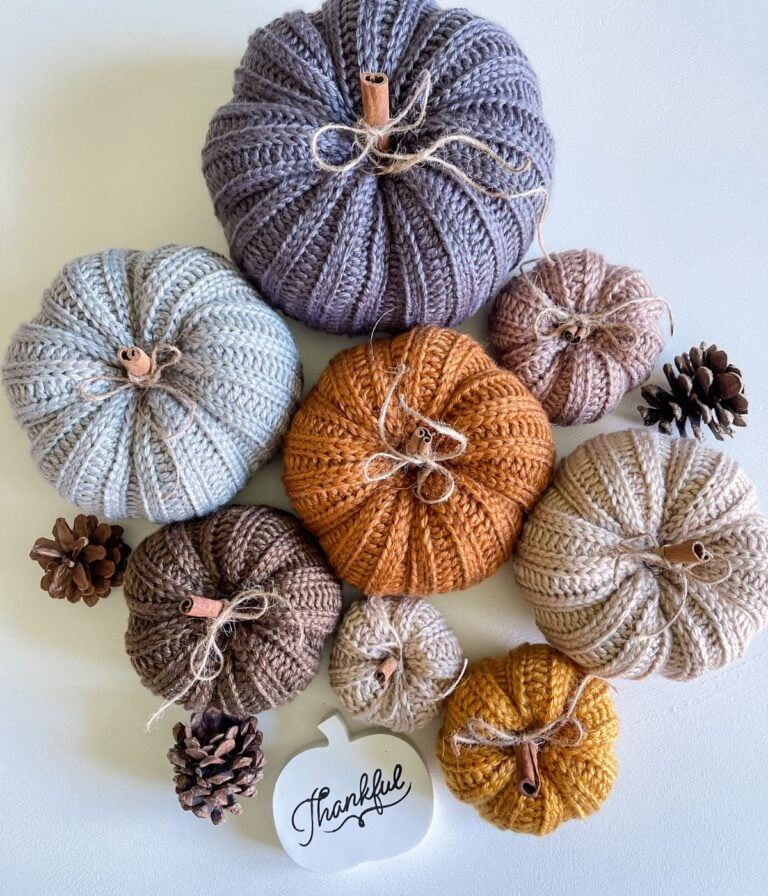
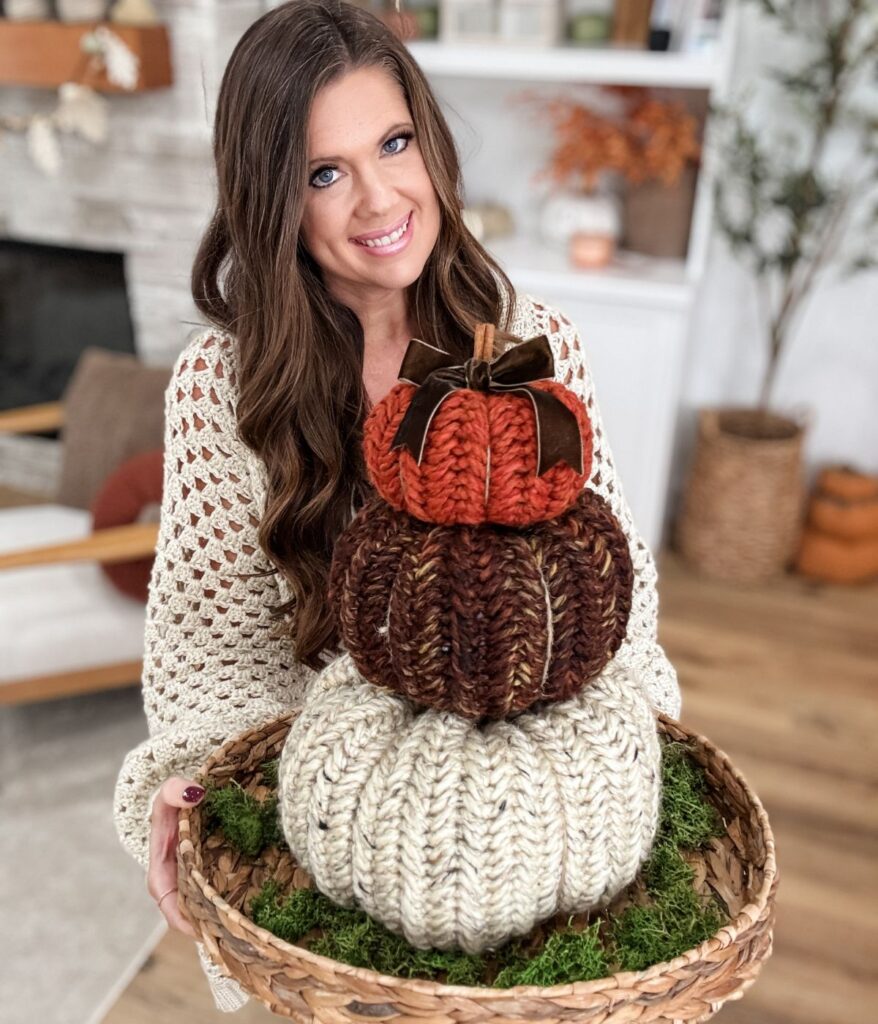
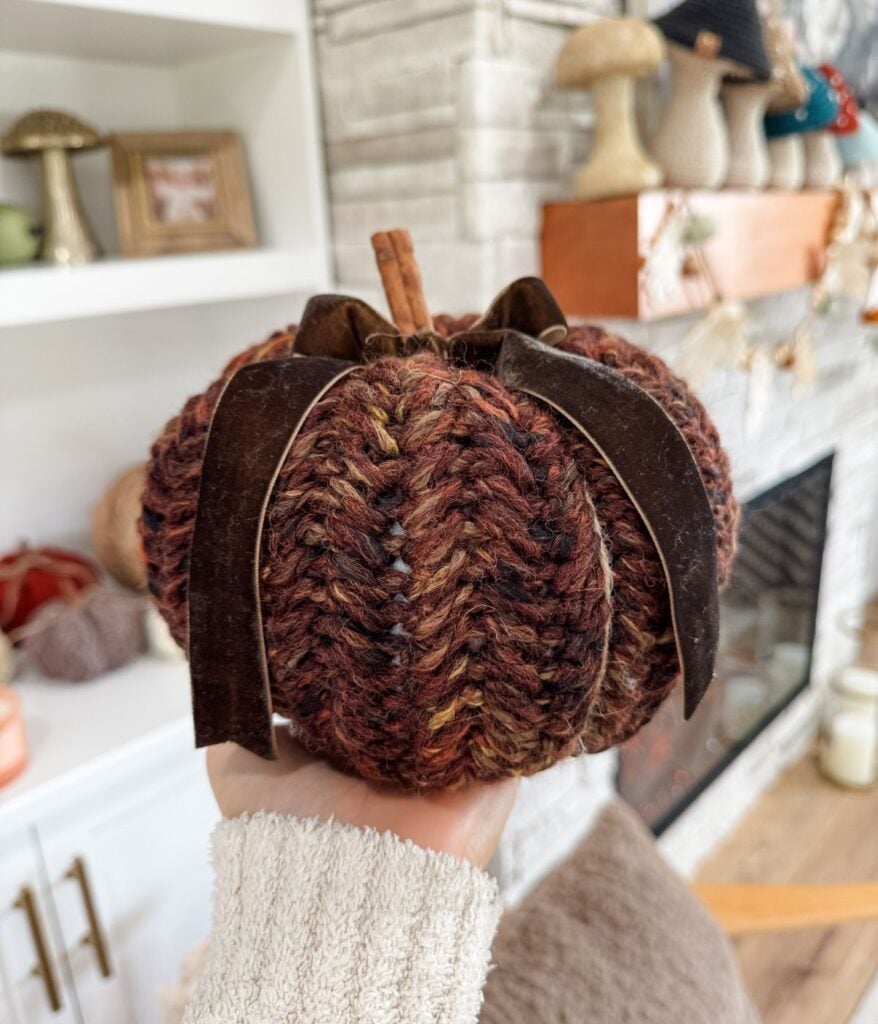
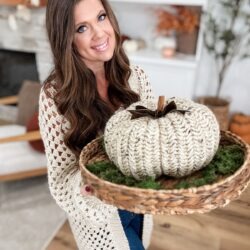
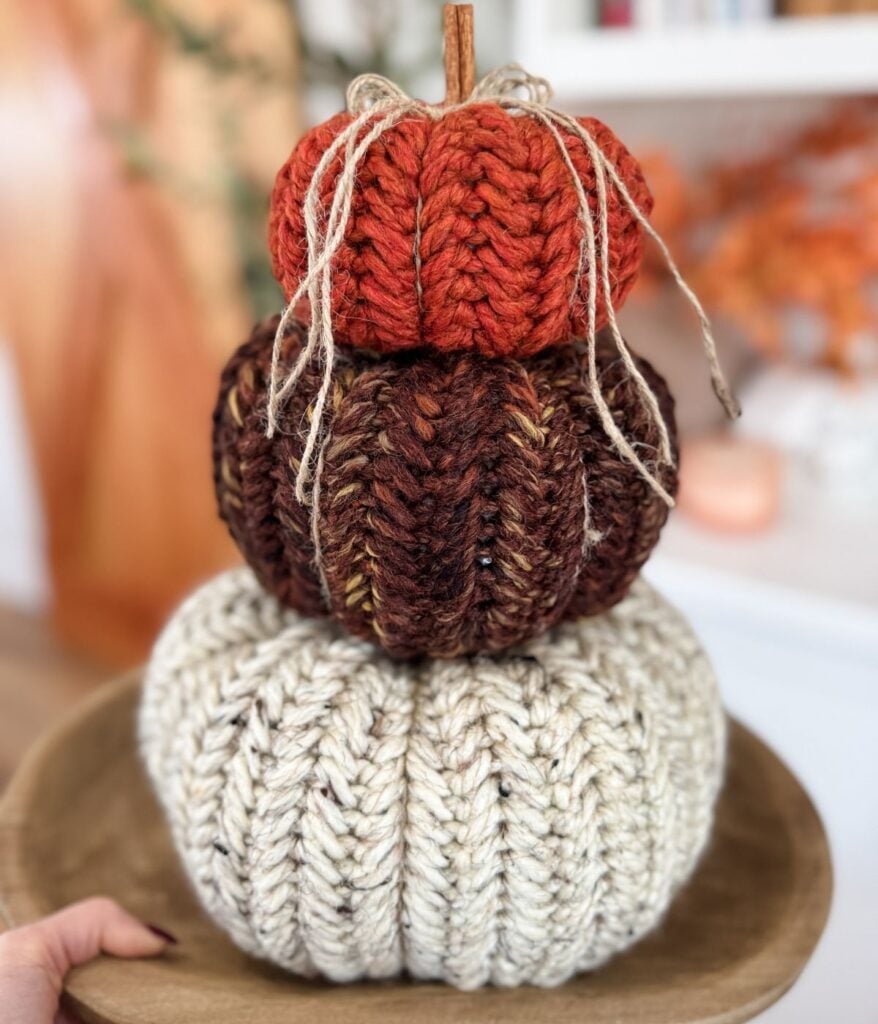
Welcome to the Chunky Herringbone Pumpkin Pattern! When the fall décor started appearing in stores over the summer, I couldn’t resist picking up a few new pieces. One of my favourite finds was a wooden chevron pumpkin, and it instantly sparked inspiration.
Key Takeaways
- The Herringbone Pumpkin pattern uses the Herringbone Single Crochet stitch for a unique chevron effect.
- This design freshens up your workspace with cozy fall décor, allowing for customization in colours and yarn types.
- The pattern requires Lion Brand Wool Ease Thick & Quick and is categorized as easy, using standard American terms.
- A video tutorial guides you through the crochet process, making it beginner-friendly and fun.
- You can sell finished products but must credit MJ’s Off The Hook Designs for the pattern.
After looking at it for a while, I knew I wanted to create a whole collection of pumpkins in this style. The Herringbone Single Crochet stitch was the perfect choice to capture that beautiful chevron effect. These pumpkins turned out to be pretty different from my wooden one, but I love them even more.
The main reason I wanted to design this pattern was for my own workspace. I needed to freshen it up with some more pumpkins, especially since I now have to split my pumpkin stash between home and the office!
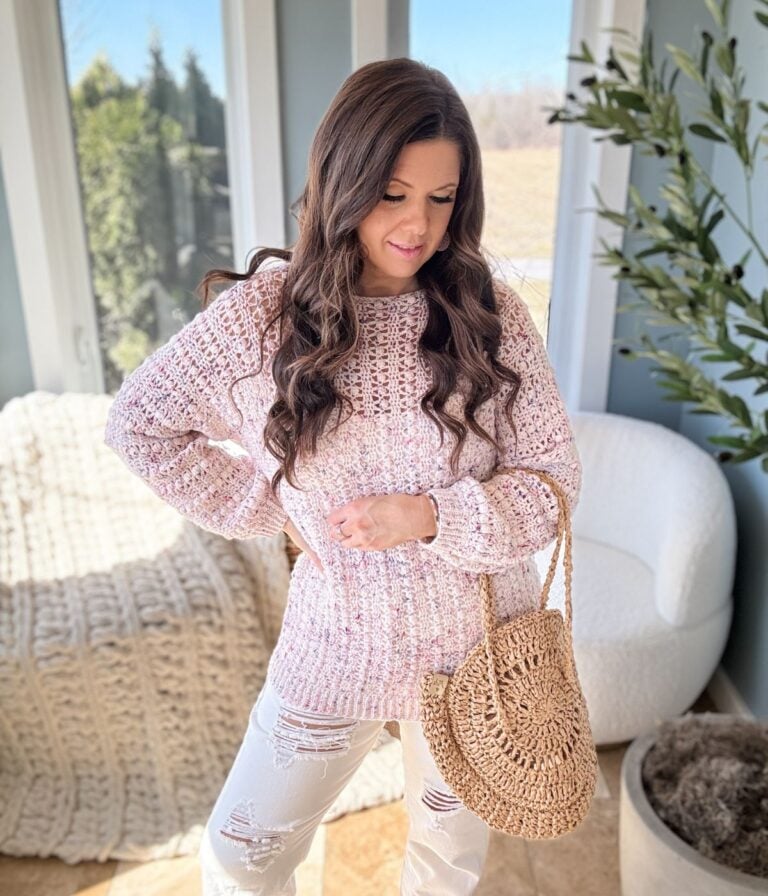
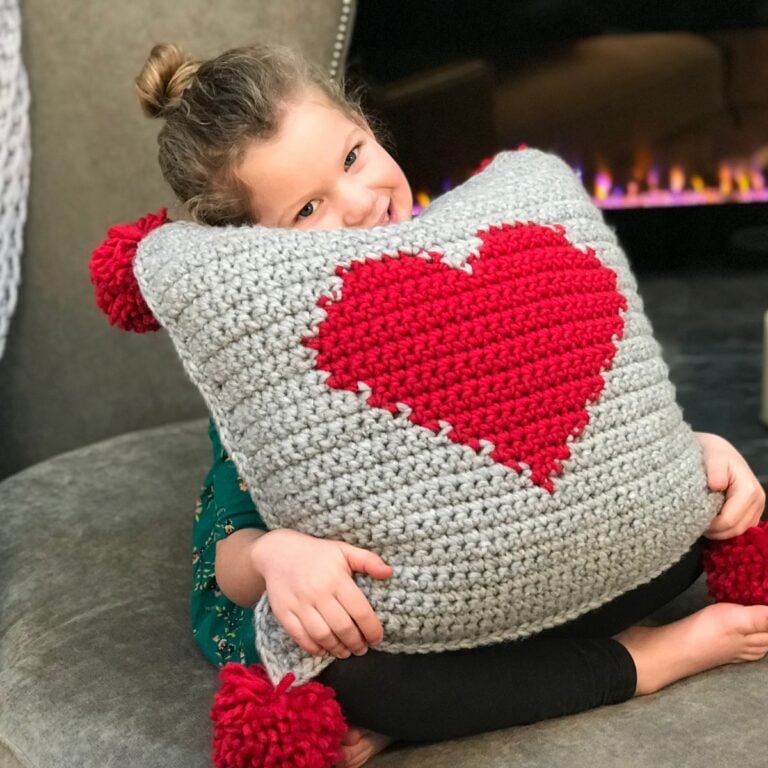
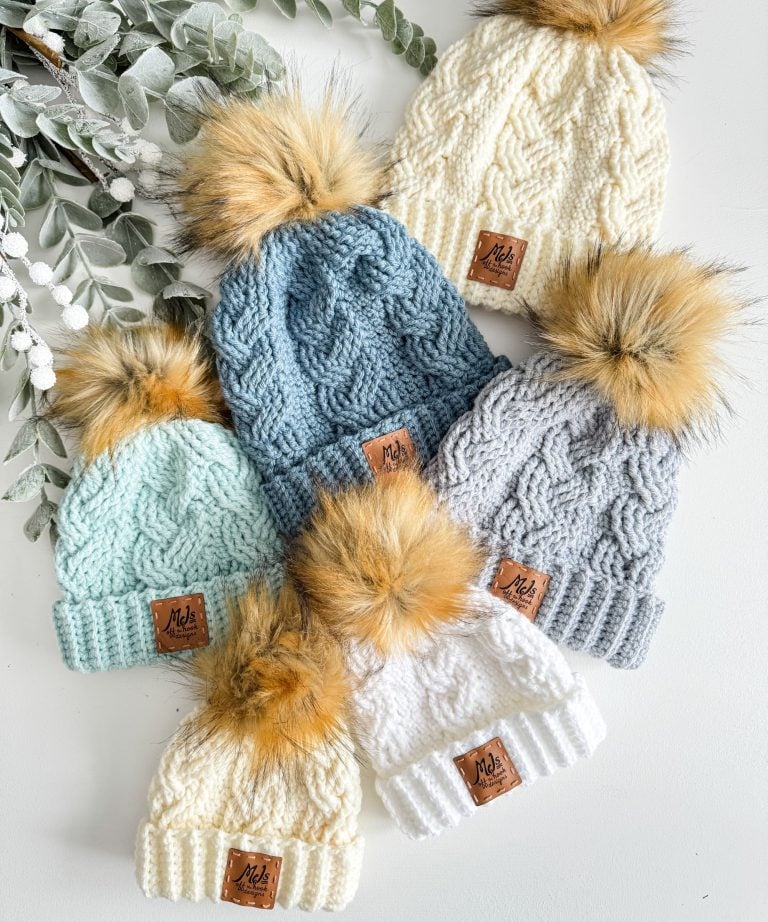
If you enjoy the Herringbone stitch, you’ll also love my Heavenly Herringbone Hat & Mittens. For cozy home décor projects, check out the Plush and Posh Pillow and Blanket Set. And if you’re looking for garments, don’t miss the stunning Plush & Blush Sweater.
Video Tutorial For The Herringbone Pumpkins
Learn how to crochet the Chunky Herringbone Pumpkins. The tutorial features size small. This quick and cozy fall project uses the herringbone single crochet stitch and Lion Brand Wool Ease Thick & Quick for a beautiful rustic texture. In this tutorial, we work through the stitch pattern slowly with lots of tips to help you be successful, especially when working the reverse side. Follow along step by step to make individual pumpkins or stack them into festive seasonal décor.

Watch the Tutorial Now
In this video, we’ll guide you through each step of the pattern, allowing you to create these adorable Herringbone Pumpkins!
Yarn Requirements
Lion Brand Wool Ease Thick & Quick
Super Bulky Weight #6
80% acrylic, 20% Wool, Solids: 106 yds / 170g
Prints & Stripes: 87 yds / 140g
Mary Maxim Canada or WeCrochet
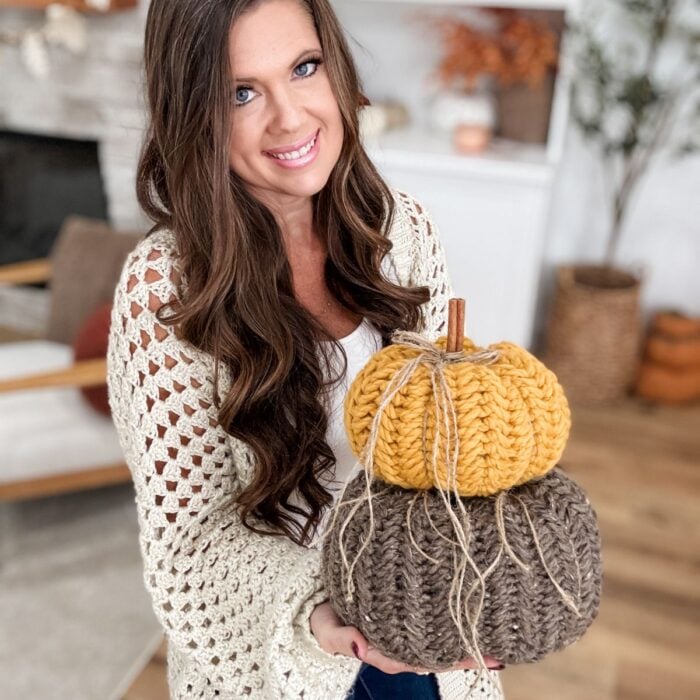
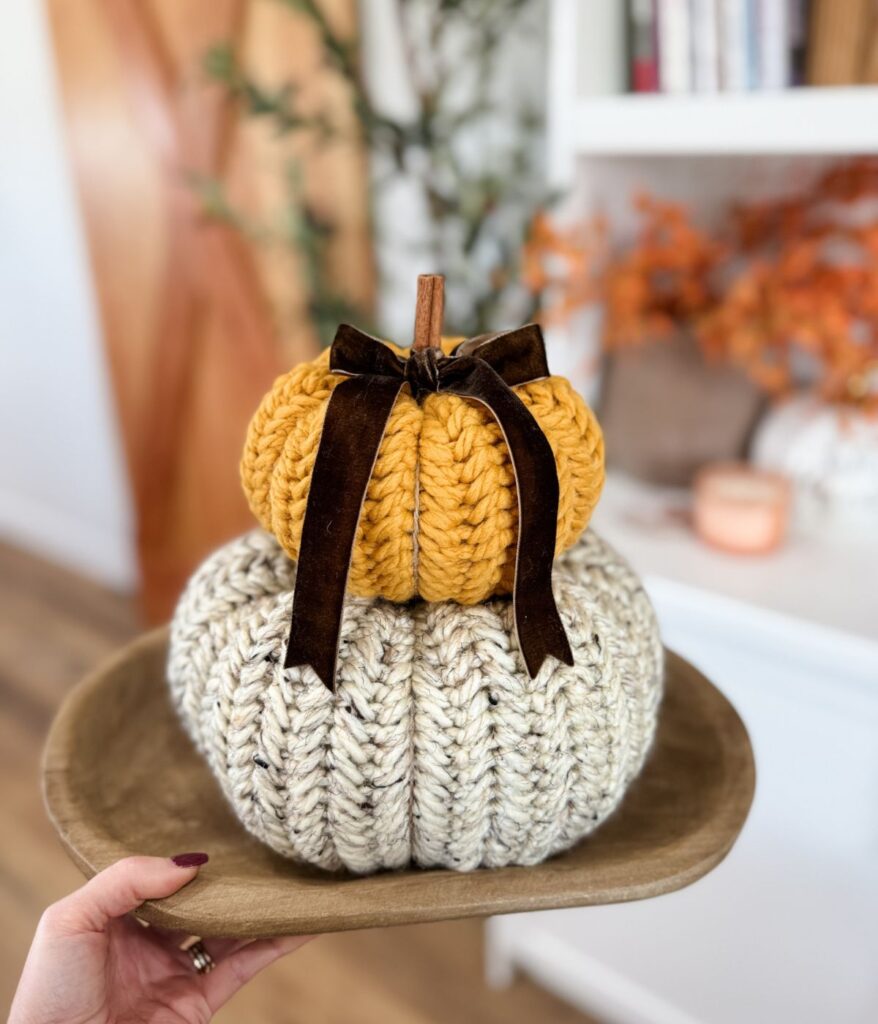
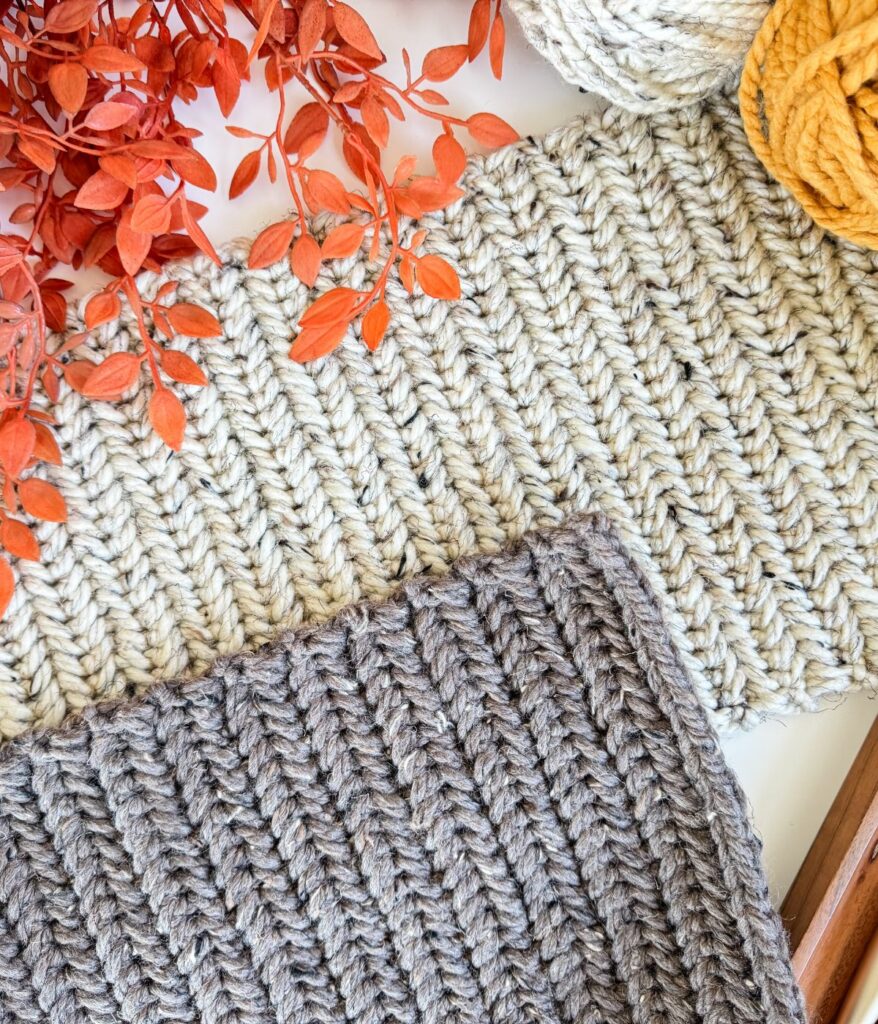
Shown in Oatmeal, Claret, Barley, Sequoia, Mustard, Spice and Fisherman
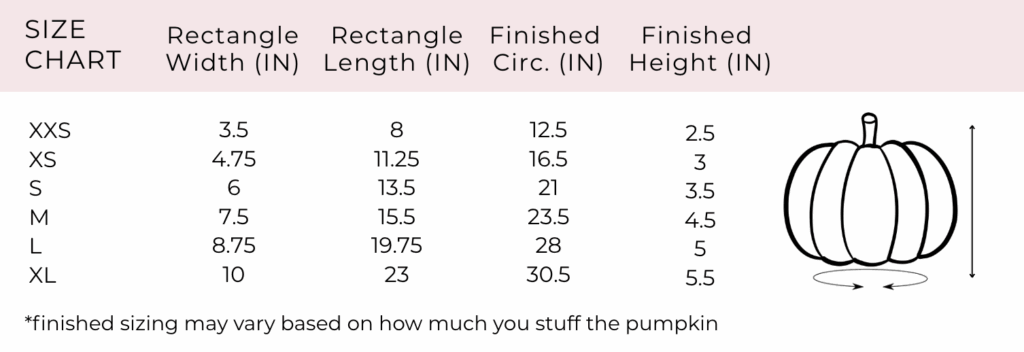
XXS (XS, S, M, L, XL)
25 (40, 70, 85, 120, 140) Yards
Sizes
Skill Level
Gauge
6 sts and 3.75 rows equal to 2″ in pattern with 8mm hook
Substituting Yarn
The Chunky Herringbone Pumpkin is made with Lion Brand Wool-Ease Thick & Quick, which is slightly thicker than many other super bulky weight yarns. If substituting with a lighter yarn, such as Bernat Softee Chunky, you may want to use a smaller hook to achieve a dense fabric.
Before beginning, it is highly recommended to create a gauge swatch. Taking the time to swatch will help ensure your stitch tension works well with this pattern, which is especially important if you are substituting yarn or if the recommended yarn is unavailable. A swatch also allows you to test how your chosen yarn feels—whether it’s too loose, too stiff, or just right for shaping sturdy pumpkins.
For this type of amigurumi project, the exact finished size is not critical. What matters most is creating a firm, dense fabric so the stuffing does not show through and the pumpkin stack holds its shape. If your stitches appear too loose or gaps are visible, try using a smaller hook. If the fabric feels overly tight or difficult to work with, move up a hook size. Adjusting your hook will help you find the right balance between ease of stitching and durability.
This is also a great opportunity to experiment with different yarn weights and colours to create unique pumpkins. Try traditional orange pumpkins, rustic neutral tones, or even bold, playful colours for a whimsical touch.
You can also create a bulky-weight yarn by holding 2-3 strands of worsted-weight yarn together. This not only gives you flexibility with colour combinations but also makes it easy to use up leftover yarn in your stash.
Suitable Yarn Substitutes for Wool Ease Thick & Quick
Premier Basix Super Bulky 98yds/100g
PREMIER BASIX CHUNKY YARN CDN) – 117yds/100g
Crochet Hooks Required
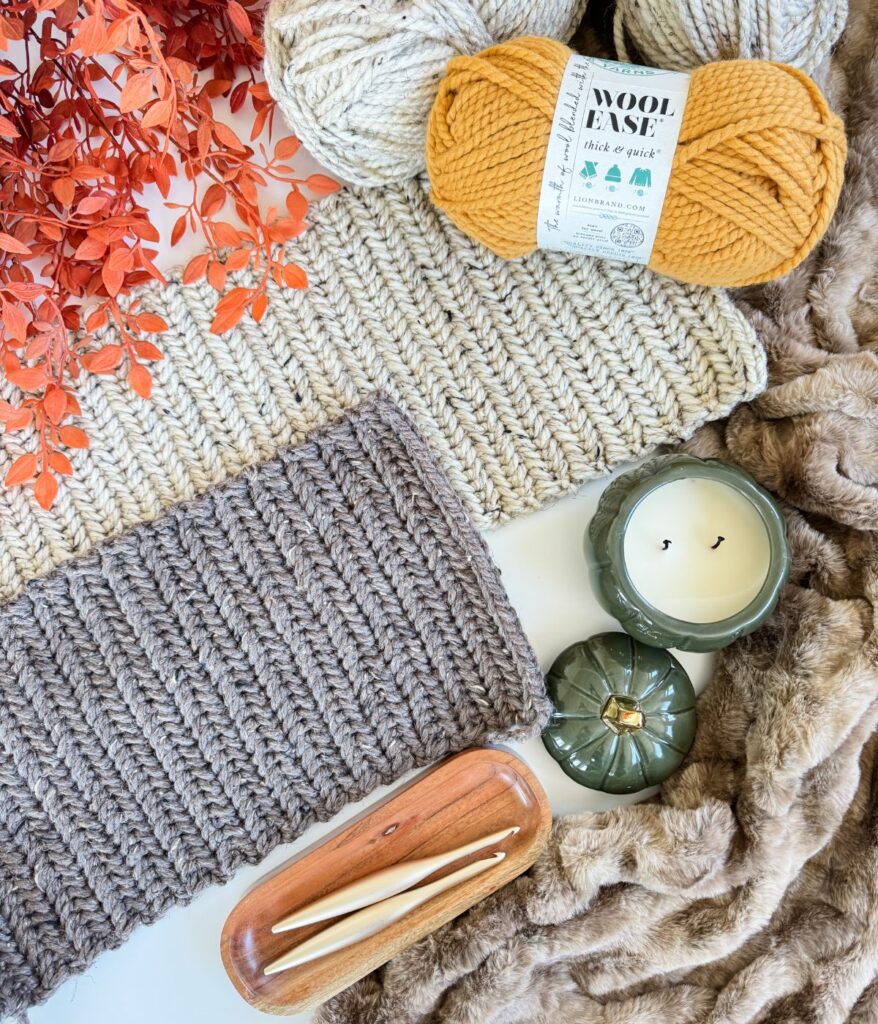
Materials Needed
Velvet Ribbon Brown 1″
Helpful Resources
- Join our Facebook Crochet Community for pattern support and inspiration
- Subscribe on YouTube for hundreds of free tutorials
- Sign up for our newsletter and receive 40% off your first Ravelry purchase!
- Sign up for our YouTube Membership
Abbreviations
Ch – Chain
Hbsc – Herringbone Single Crochet
Rep – Repeat
RS – Right Side
Rev – Reverse
Sc – Single Crochet
Sl St – Slip Stitch
Sp(s) – Space(s)
St(s) – Stitch(es)
WS – Wrong Side
Hbsc – Herringbone Single Crochet: Insert hook through the last vertical bar of the previous single crochet stitch, insert hook into the next stitch and pull up a loop, YO (yarn over) and pull through all three loops on the hook.
Reverse sc: Bring the working yarn towards the front of your work, insert the crochet hook into the first stitch from the back to the front (working in reverse), YO, pull up a loop, YO and pull through both loops on the hook.
Reverse Hbsc: Bring the working yarn towards the front of your work, insert hook through the last vertical bar on the WS of work from right to left, insert the hook into the next stitch from back to front (working in reverse), YO, pull up a loop, YO and pull through all three loops on the hook.
Purchase the Beautifully Designed AD-FREE PDF Download
Herringbone Pumpkin Crochet Pattern
FAQ & Terms
This pattern requires a beginner skill level.
This pattern is professionally written in technical writing and tech edited for accuracy.
1. Affiliate Links & Ad Support
This post may contain affiliate links. At no extra cost to you, purchases made through these links may earn MJ’s Off The Hook Designs a small commission. The content on this site is supported by advertisements. By using this site, you agree not to circumvent, block, or tamper with these ads.
2. Copyright & Intellectual Property
All content on this blog, including free crochet patterns, instructions, charts, photos, videos, and written materials, is the property of MJ’s Off The Hook Designs Inc. and is protected under copyright and other intellectual property laws.
3. Personal Viewing & Use Only
Free patterns published on this site are provided for viewing only on this blog. You may not:
• Copy, download, print, take screenshots, or redistribute the pattern in any form (digital or physical) outside this blog.
• Post the pattern or instructions elsewhere online or share it publicly without written consent.
Even for “personal use,” the pattern must only be used while viewing this blog post with the ads intact. Tampering with, hiding, or removing ads while accessing the pattern is strictly prohibited.
4. Screenshots & Unauthorized Sharing
Screenshots or any other method of copying the pattern for offline use or redistribution is prohibited. Sharing patterns in forums, social media groups, or private messages without permission is also prohibited.
5. Legal Enforcement
Violation of these terms may constitute copyright infringement and could result in civil or criminal penalties under intellectual property laws. By using this pattern, you agree to comply fully with these terms.
6. Questions & Permissions
For questions about these terms or for permission to use or share patterns outside of these rules, please contact MJ’s Off The Hook Designs Inc. in writing.
Thank you for respecting our work and supporting MJ’s Off The Hook Designs.
Yes! You may sell finished items made from MJ’s patterns, but please credit:
“Pattern by MJ’s Off The Hook Designs Inc.”
Pattern Support is only available in our Facebook Community group and Video Tutorials.
No additional support is provided for modified patterns, alternate yarns, or changes to gauge.
Pattern
XXS (XS, S, M, L, XL)
Notes: The pattern is worked from the side across in rows.
Row 1(RS):
Start with a long tail for finishing, ch 11 (15, 19, 23, 27, 31), 1 sc in the back leg of the 2nd ch from hook, 1 hbsc in each ch across, turn—10 (14, 18, 22, 26, 30) sts.
Row 2 (WS):
Ch 1 (not included as a st here and throughout), 1 reverse sc in first st, 1 reverse hbsc in each st across, turn—10 (14, 18, 22, 26, 30) sts.
Row 3:
Ch 1, 1 sc in the first st, 1 hbsc in each st across, turn—10 (14, 18, 22, 26, 30) sts.
Rows 4 – 15 (21, 25, 29, 37, 43):
Rep rows 2 & 3. Refer to the chart for finished measurements.
Assembly & Finishing
Fold the rectangle in half RS facing and slip stitch the short ends together to form a tube. Ch 1, work 1 sc in every other row around, sl st to join and fasten off leaving a long tail. Using a yarn needle, weave through every other stitch and pull tight to close the bottom. Weave the tail around again to secure and tighten, then weave in the opposite direction and trim. With a yarn needle and twine, insert the twine up through the centre of the pumpkin and loop it back around.
This helps start the indent sections and squish the pumpkin down, which makes it easier to push the needle through the centre for taller sizes.
Stuff the pumpkin. Join to the starting tail, ch 1, and sc in every other row around the top. Using a yarn needle, weave through every other stitch and pull tight to close. Weave the tails around to secure, then trim.
Pull the twine tightly around the pumpkin to form indents. The pumpkins will have 5 (5, 6, 5, 6, 6) sections, spaced every 3 (4, 4, 6, 6, 7) rows, note that some sizes will have one extra row or one less in a section. Knot the twine ends together and trim.
Finish by gluing a cinnamon stick into the centre for the stem, then tie on a twine bow or ribbon to embellish.
For stacked décor, arrange pumpkins in sets of XXS/S/L or XS/M/XL to create two different height variations.
I hope you love our Herringbone Pumpkin pattern! You might also love these crochet patterns:
This pattern is designed by Michelle Moore of MJ’s Off The Hook Designs Inc, based in Lakefield, Ontario, Canada. Your go-to source for modern, easy crochet patterns. Published on September 23rd, 2025.
Thank you for visiting MJ’s Off The Hook Designs. I hope you enjoyed this pattern and feel inspired to pick up your hook and start creating.
You can find even more crochet patterns in our Ravelry and Etsy shops.
For daily inspiration and behind-the-scenes peeks, join me over on Facebook or Instagram, or join our YouTube Membership for exclusive content!
You’ve got questions, we’ve got a community!
Crocheting is better with friends! Join our group to post pictures and ask all your pattern support questions.