*This post may contain affiliate links to support the cost of this blog. At no cost to you, I may make a small commission if you purchase through these links. Read our Privacy Policy HERE


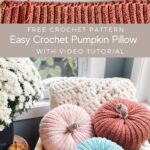

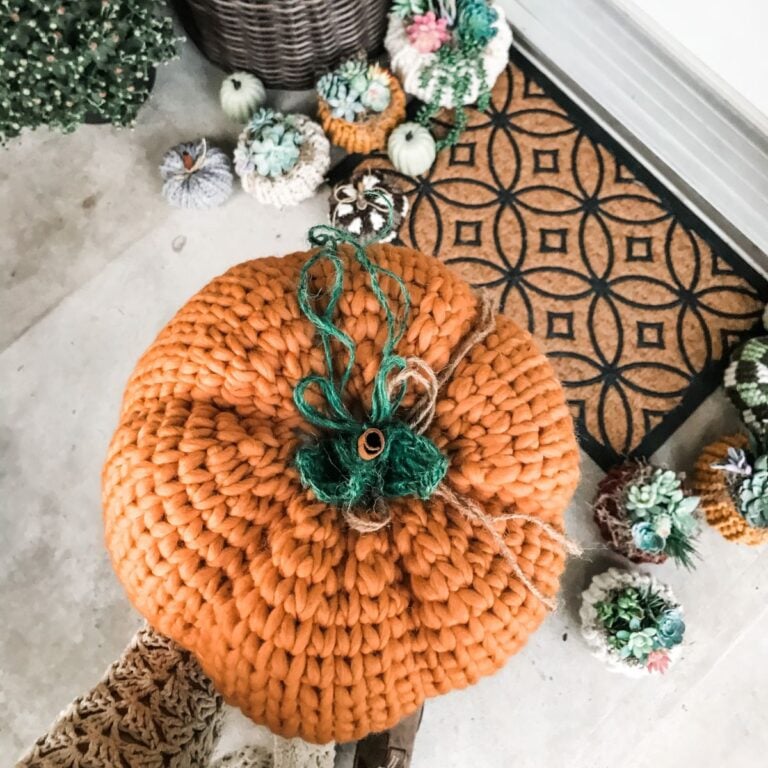
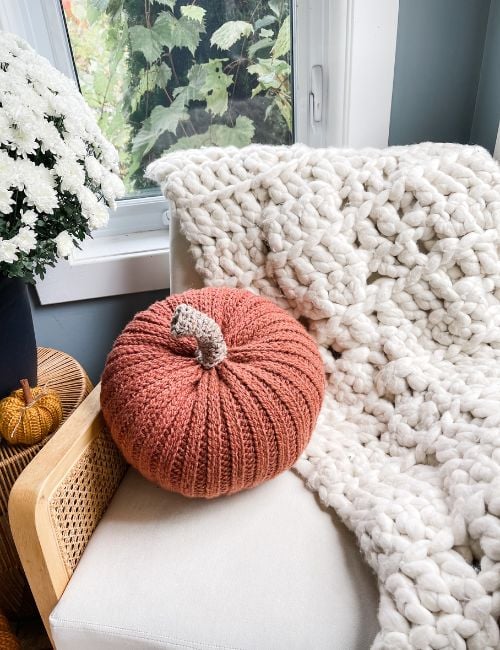
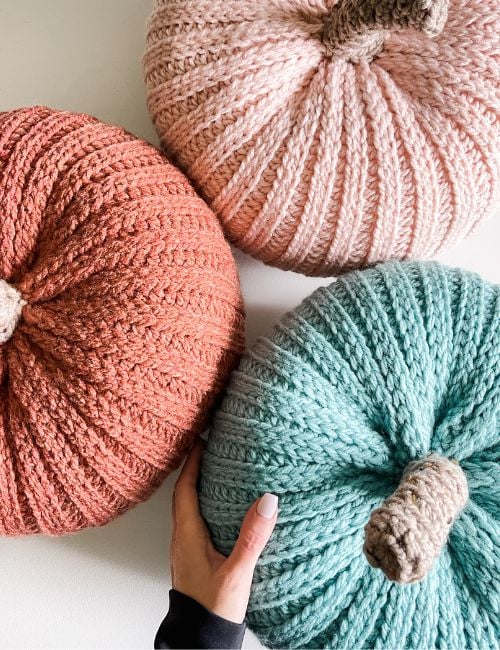
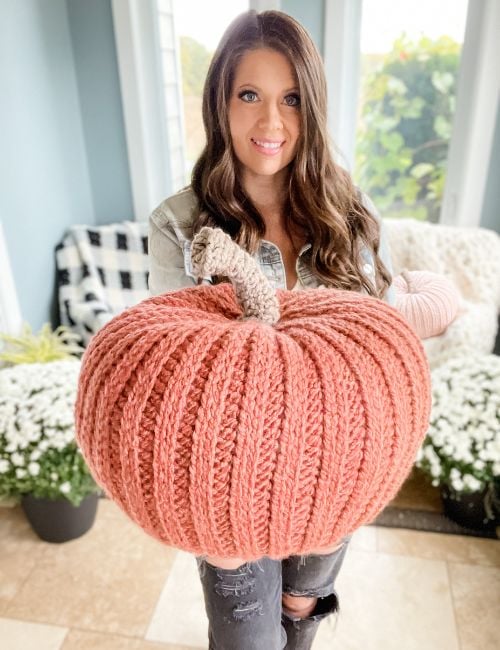
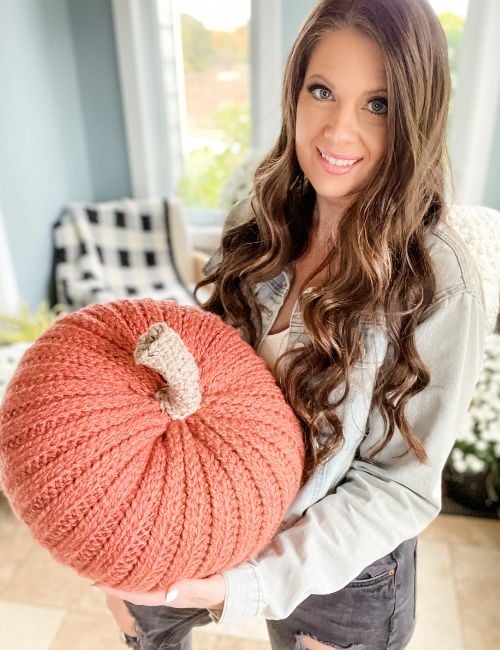
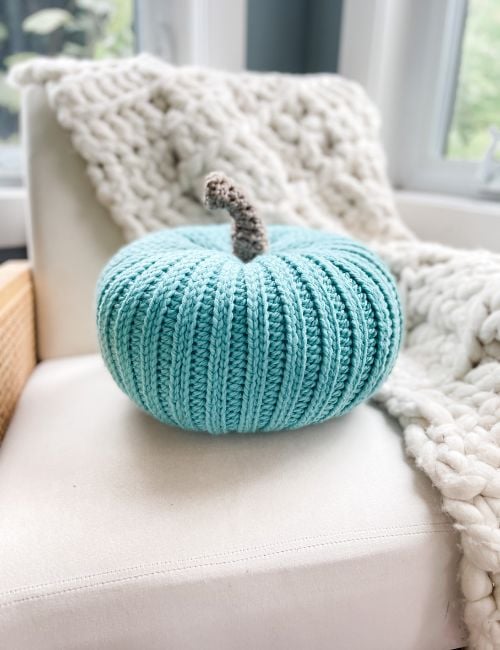
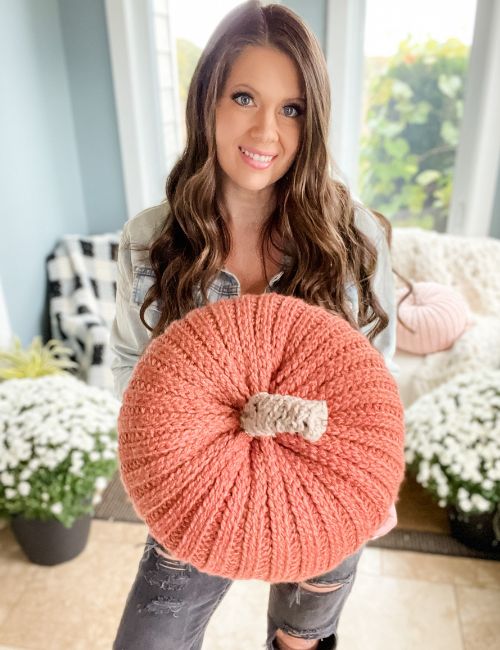
The Hello Harvest Pumpkin Pillow is an easy ‘knit look’ ribbed crochet pumpkin pillow pattern. The unique ribbing is crocheted by working a row of half double crochet in combination with a row of linked slip stitches. Crochet a simple rectangle and seam to form a pumpkin shape. The crochet pattern includes 3 sizes. Included in this pattern is a free step-by-step video tutorial on YouTube.
Below you will find everything you need to crochet the trendy and modern pumpkin pillow, including the yarn, hook, materials, written pattern, pictures and a video tutorial. If you like this crochet pumpkin pillow pattern, please share!
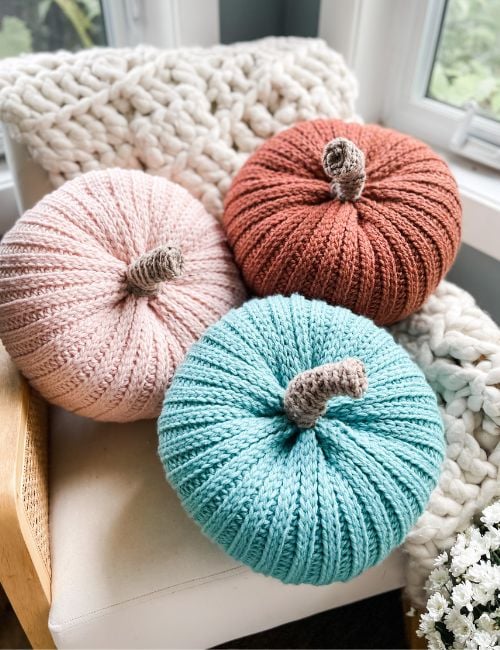
Crochet a Pumpkin Pillow the easy way
The pumpkin is worked flat in rows from the side across. The ribbing is crocheted by working a row of half double crochet in combination with a row of linked slip stitches. Finish with a half double crochet row and slip stitch the ends together. The bottom is seamed closed and stuffed with polyester fiberfill. Close the top and add a crocheted stem. Step-by-step video tutorial included for M size on YouTube.
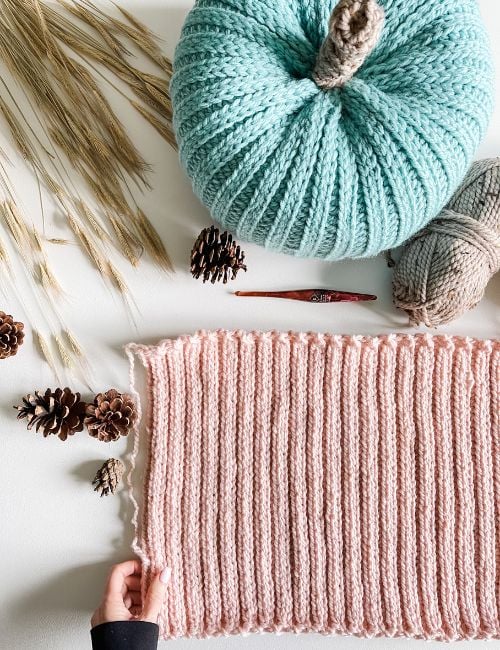
Modern and Trendy Home Decor
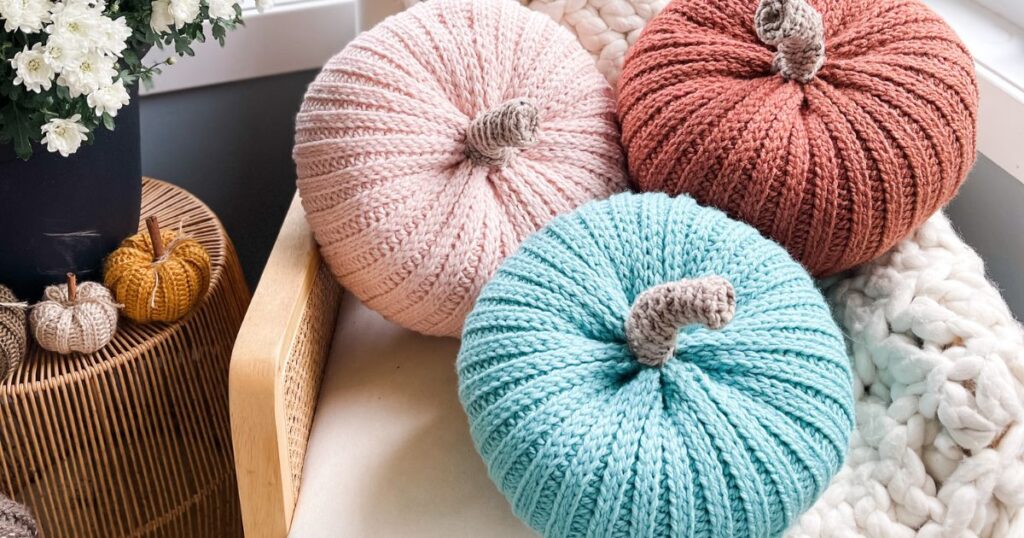
Pumpkin Pillows are modern and trending in home decor. Why buy one when you can crochet one yourself? This quick and easy pattern will have you crocheting multiple crochet pumpkin pillows for friends and family. The easy ribbed crochet stitch looks knit, and when you crochet your own pillow, you can pick whatever colour you want.
Want less distractions?
Join Off the Hook Crochet Club
Join the Off The Hook Crochet Club and enjoy hundreds of MJ’s crochet patterns ad-free, plus exclusive resources, member perks and new free patterns added every week.
This easy crochet pattern is suitable for beginners and will add a modern and cozy touch to your home this Holiday season.
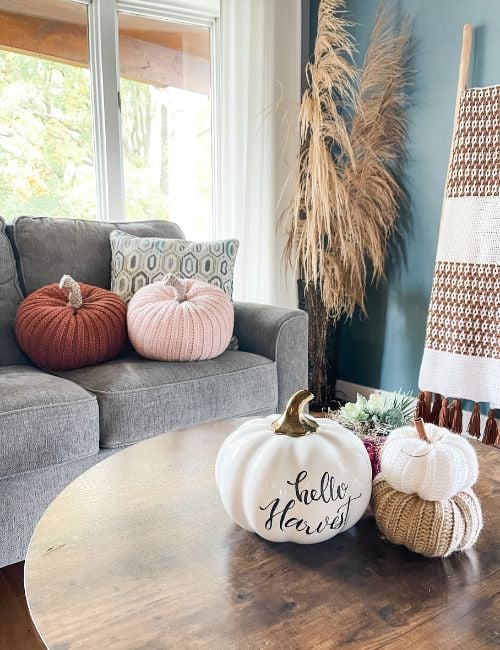
The Hello Harvest Pumpkin Pillow Pattern is written in Standard American terms and includes 3 sizes. Purchase the beautifully designed written PDF.
Support me by purchasing the pattern below!
.
You might also love the Bulky & Quick Rustic Farmhouse Pumpkin Pattern Free crochet pattern, or find more crochet patterns in my Etsy Shop
Crochet Hook
The Country Harvest Crochet Pumpkins pattern requires a
US K/10 (6.5mm) or size needed to obtain gauge.
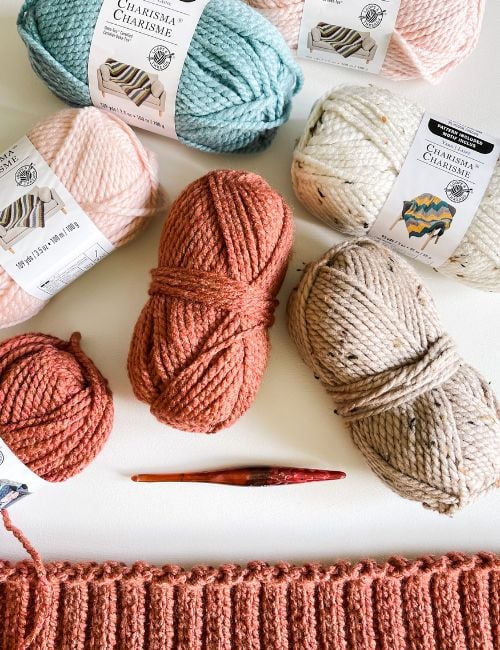
To prevent hand pain, I crochet with Furls Crochet Hooks. I can spend hours crocheting with these hooks. For the Hello Harvest Crochet Pumpkin Pillow, I used the Furls Streamline Aries Hook. You can purchase them HERE with code MJS15 for 15% off.
Crochet Pumpkin Pillow Yarn
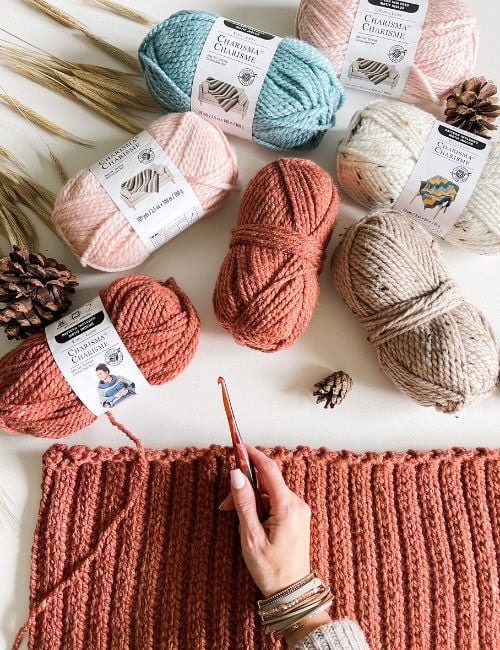
I used Charisma Bulky weight yarn from Michaels to crochet the Hello Harvest Crochet Pumpkin Pillow. This is a heavy bulky similar to a super bulky #6. I will list some substitutes that I think would be suitable alternatives. Otherwise, your pumpkins may come out smaller than those shown if you are using a light, bulky weight yarn.
Charisma Yarn By Loops & Threads
Bulky Weight Yarn #5 – 109yds/100g – Shown in Clay Heather, Blush & Arctic
2 (3, 5) skeins
Charisma Tweed – shown in Taupe tweed
1 skein (11 yards per stem)

Crochet Pumpkin Pillow Yarn Substitutes

Or Hold together 2-3 strands of Worsted weight yarn
Wool of the Andes Worsted Weight from WeCrochet
Video Tutorial

Crochet Pumpkin Pillow Free Pattern-


Materials:
Gauge:
11.25 sts and 8.75 rows equal to 4″ with 6.5mm crochet hook in pattern
Special Crochet Stitches
Linked Sl St – Ch 1, 1 sc in the first st, *pick up a loop in the same st, pick up a loop in the next st, pull that loop through the 2 loops on the hook; rep from * across, end with a sc in the last st, turn.
Reverse Sl St – Go through the stitch back to front; keep working yarn to the front, YU (Yarn Under) pulling through the loop on the hook
Abbreviations
Blo – Back Loop Only
Ch – Chain
Hdc – Half Double Crochet
Rep – Repeat
RS – Right Side
Sc – Single Crochet
Sl St – Slip Stitch
Sp(s) – Space(s)
St(s) – Stitch(es)
WS – Wrong Side
( ) – Work step in parentheses in indicated stitch
FAQ & Terms
This post may contain affiliate links. Purchases made through these links may earn MJ’s Off The Hook Designs Inc. a small commission at no extra cost to you. Content on this site is supported by ads—please do not block or remove them.
Copyright
All patterns, photos, and written content are the property of MJ’s Off The Hook Designs Inc. and protected by copyright law.
Usage
Free patterns are for viewing only on this blog. You may not copy, download, print, screenshot, or redistribute any part of the pattern. Access must remain through this page with ads visible. Use of ad blockers, reader view, or any similar tools that remove or hide ads and site content is strictly prohibited.
Legal Notice
Unauthorized reproduction or distribution may result in copyright infringement penalties.
By accessing this post, you agree to these terms and conditions.
Yes! You may sell finished items made from MJ’s patterns, but please credit:
“Pattern by MJ’s Off The Hook Designs Inc.”
Pattern Support is only available in our Facebook Community group and Video Tutorials.
No additional support is provided for modified patterns, alternate yarns, or changes to gauge.
Having trouble unlocking the pattern?
If you’re seeing the message “Email subscription failed, please try again”, don’t worry — it’s usually an easy fix! Here are a few quick things to try:
First, double-check your login details. Make sure you’re signing in with the same email you originally used to create your Grow account. If you’re not sure, click “Forgot Password” to reset your login. Once you’ve updated it, return to my site and try again.
Next, clear your browser’s cache and cookies. Sometimes the login just gets stuck. You can also try opening the page in a private or incognito window, or switching to another browser like Chrome, Safari, or Firefox to see if that does the trick.
It also helps to make sure you’re logged into Grow directly. Visit https://grow.me and sign in there first. Once you’re logged in, come back to my site and refresh the page — your pattern should unlock automatically.
If you’re still having trouble, check your browser’s privacy settings. Grow needs cookies to verify your account, so make sure cookies and cross-site tracking are allowed. On iPhone, go to Settings → Safari → Privacy & Security, then turn off “Prevent Cross-Site Tracking” and “Block All Cookies.” On Android or Chrome, go to Settings → Site Settings → Cookies and select “Allow all cookies.”
Lastly, ad blockers or browser extensions can sometimes block the login pop-up. Try turning them off temporarily while you sign in. If nothing seems to work, log out of Grow completely by going to https://grow.me, selecting your profile icon, and choosing Log Out. Then come back to my site and try logging in again.
If you’re still stuck after trying all of this, please reach out through my Contact Page and let me know what device and browser you’re using (and include a screenshot if you can).
Would you like to save this?
You can unsubscribe at any time.
Upgrade to the Premium PDF Pattern!
Digital PDF Download
Digital pattern only. No physical item will be shipped.
To unlock Exclusive Content on my Blog, all you need to do is click the box below and the Grow.me app will pop up, allowing you to enter your email and create a password. Once you’ve created an account, every time you see Exclusive Content on my blog, simply login to your Grow account. Be sure to switch to the login screen to enter your login credentials.
If you forget your password, click the “forgot password” link and follow the prompts. Please note that I’m unable to assist with resetting Grow passwords or accessing your Grow account, so be sure to save your login information in a safe place.
To make things even easier, I’ve created a video for both desktop and mobile users that offer additional assistance. You can access this video by visiting my FAQs page HERE or by watching the video below.
Thank you for subscribing and for joining me on my crochet journey. I hope you enjoy the exclusive content available to our subscribers and create beautiful crochet projects using the resources you discover.
Product Links
If you enjoyed this pattern, you may also like these patterns:
This pattern is designed by Michelle Moore of MJ’s Off The Hook Designs Inc, based in Lakefield, Ontario, Canada. Your go-to source for modern, easy crochet patterns. Published on October 8th, 2022.
Thank you for visiting MJ’s Off The Hook Designs. I hope you enjoyed this pattern and feel inspired to pick up your hook and start creating.
You can find even more crochet patterns in our Ravelry and Etsy shops.
For daily inspiration and behind-the-scenes peeks, join me over on Facebook or Instagram, or join our YouTube Membership for exclusive content!
You’ve got questions, we’ve got a community!
Crocheting is better with friends! Join our group to post pictures and ask all your pattern support questions.