*This post may contain affiliate links to support the cost of this blog. At no cost to you, I may make a small commission if you purchase through these links. Read our Privacy Policy HERE
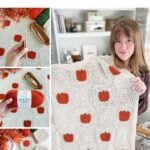
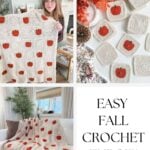
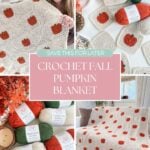
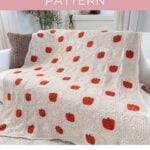
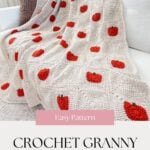

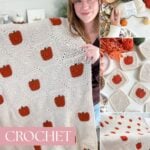
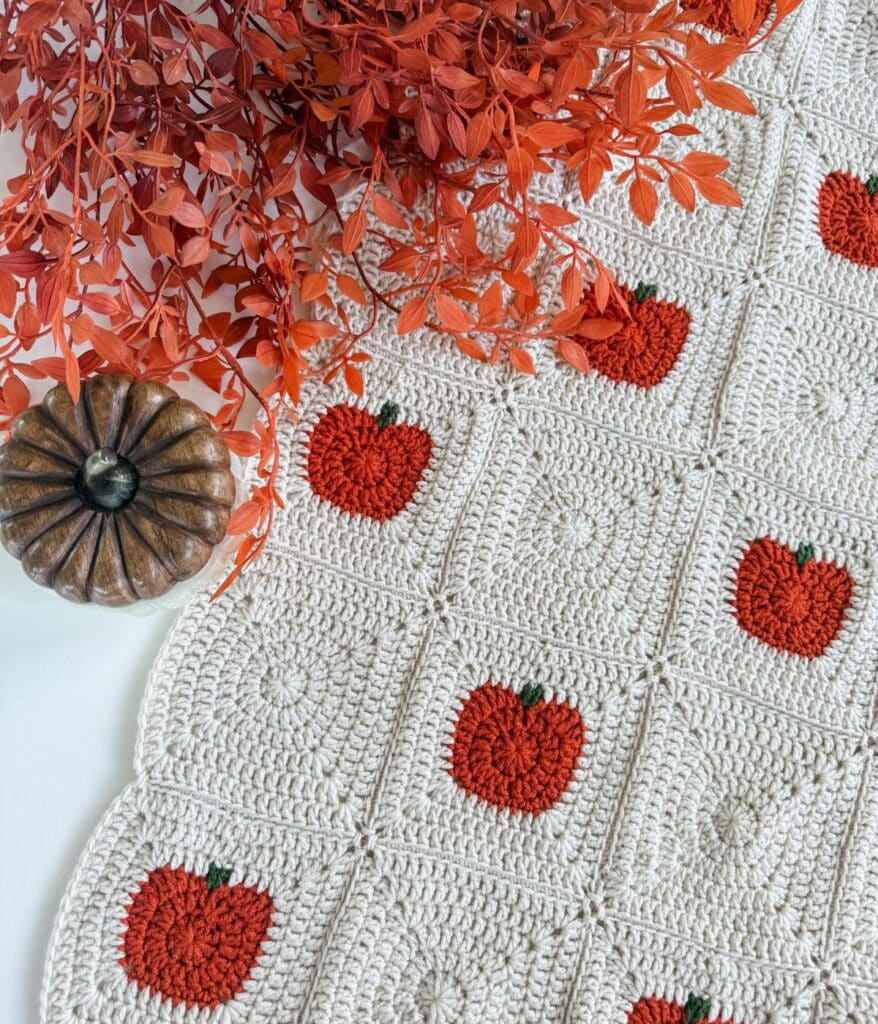
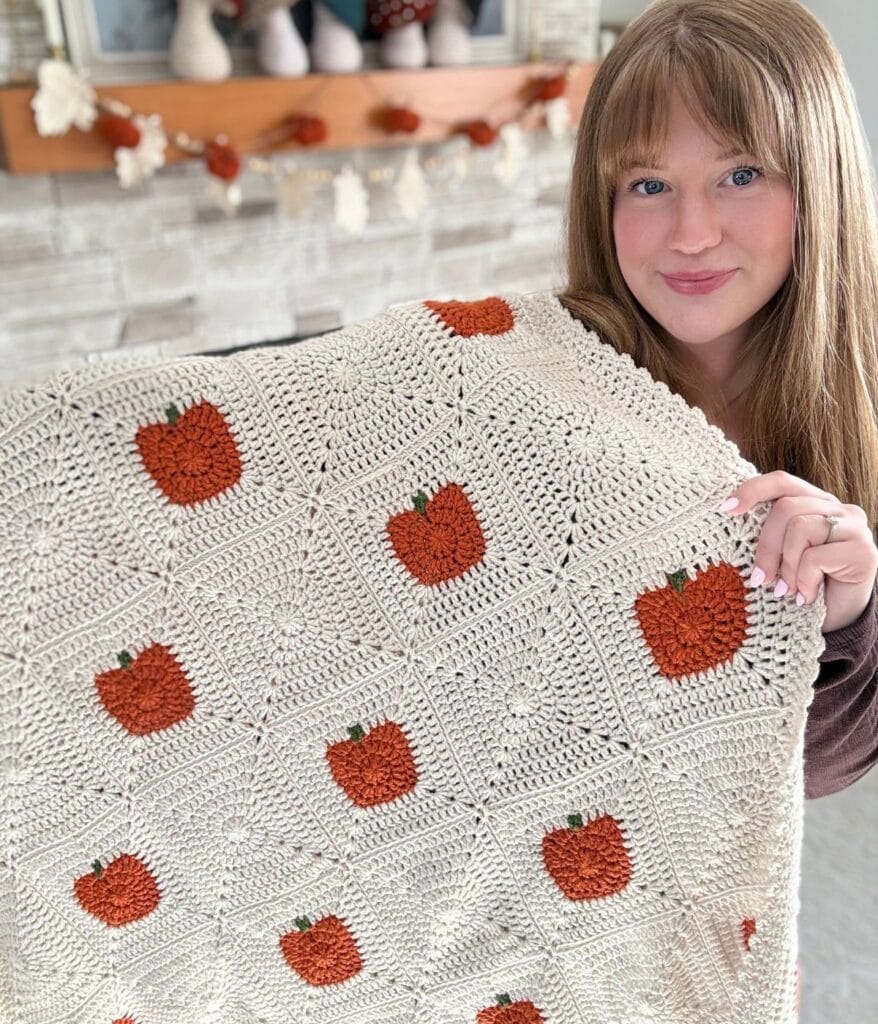
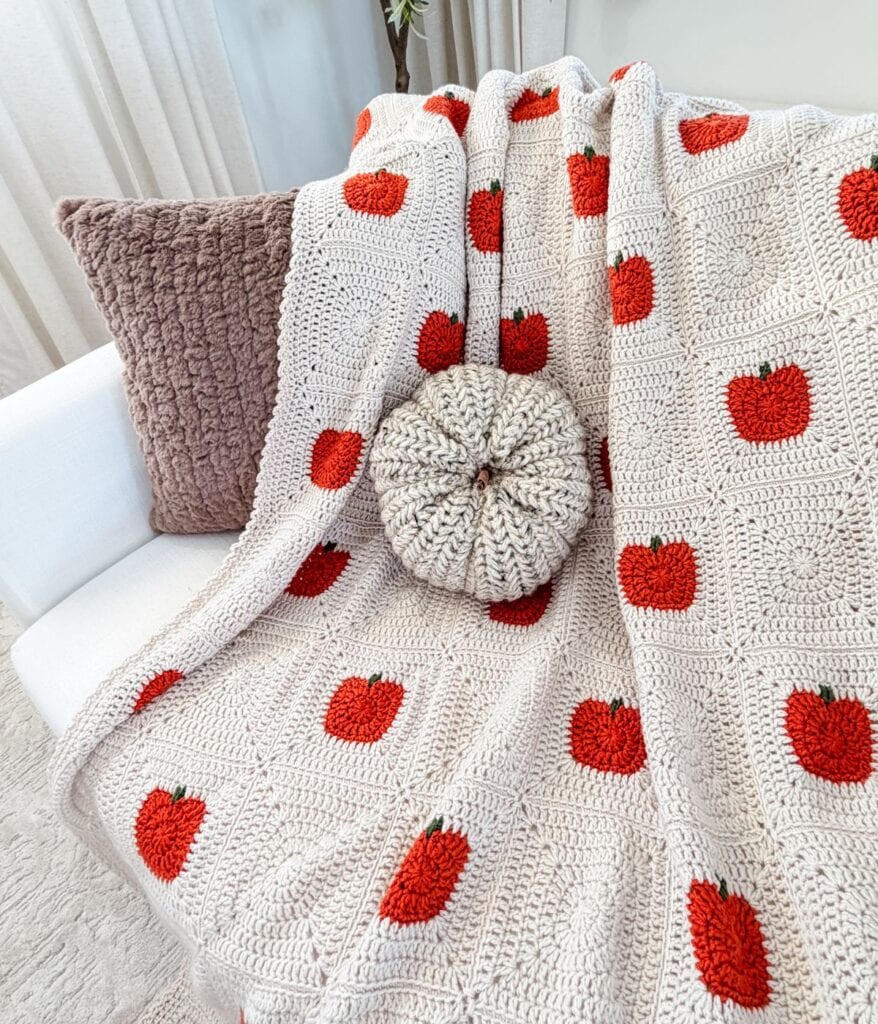
Bring all the cozy feelings of fall into your home with the Pumpkin Patch Blanket, a fun crochet pumpkin blanket pattern filled with little pumpkins and classic autumn colors.
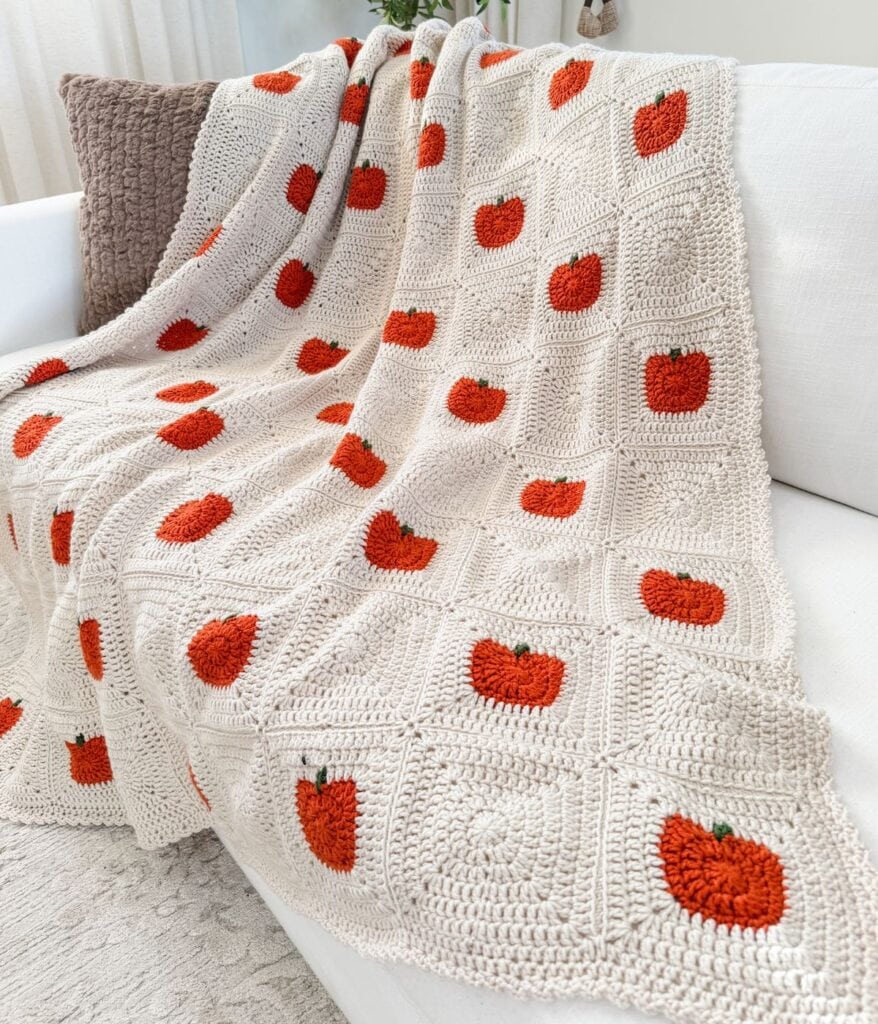
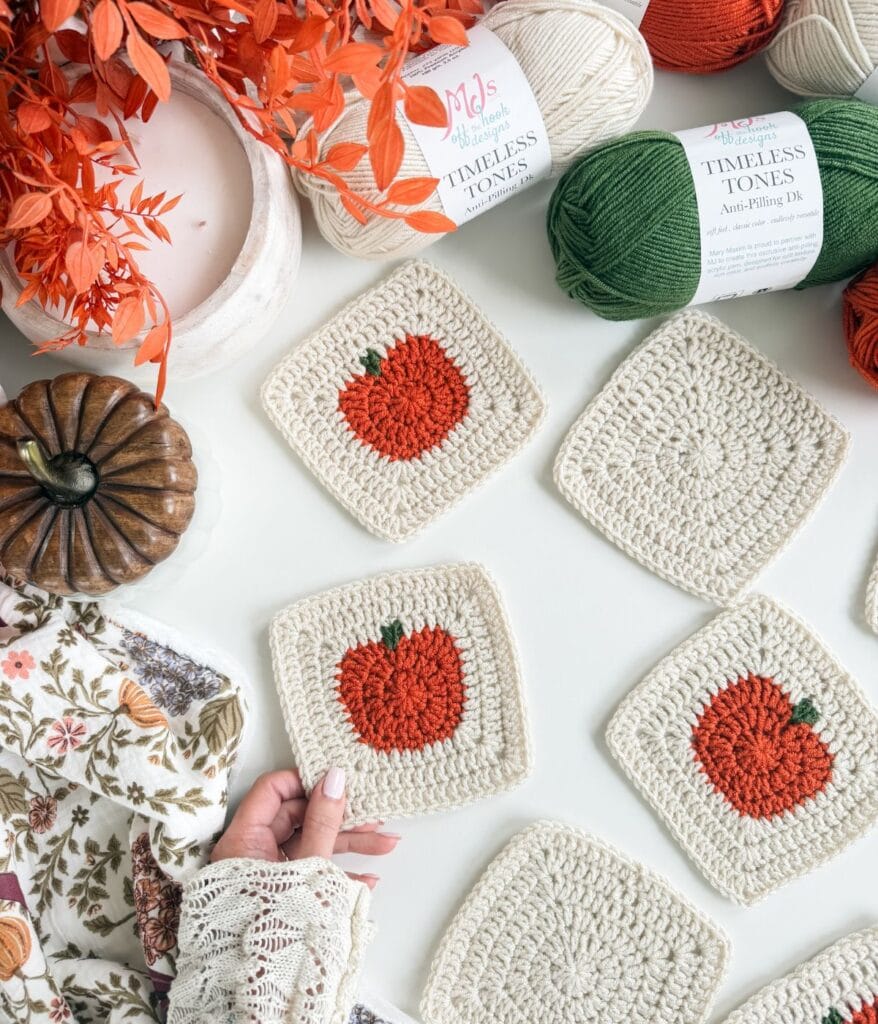
This fall crochet blanket is made from a combination of crochet pumpkin granny squares and solid granny squares, arranged in an alternating pattern to look like your very own handmade pumpkin patch.
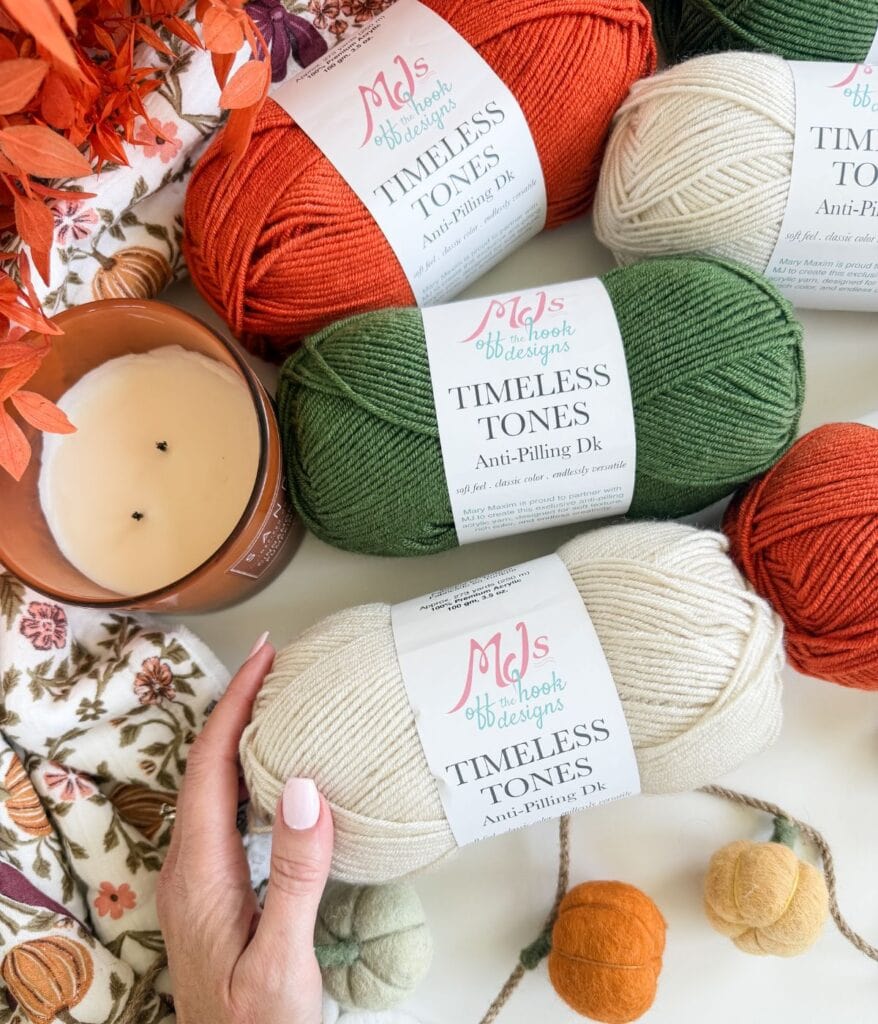
I designed my blanket using MJ’s Off The Hook Designs Timeless Tones (CDN) DK yarn in Oat Milk, Pumpkin Spice, and Olive Grove. The soft cream background really makes those little orange pumpkins pop, while the green stems add the perfect finishing touch.
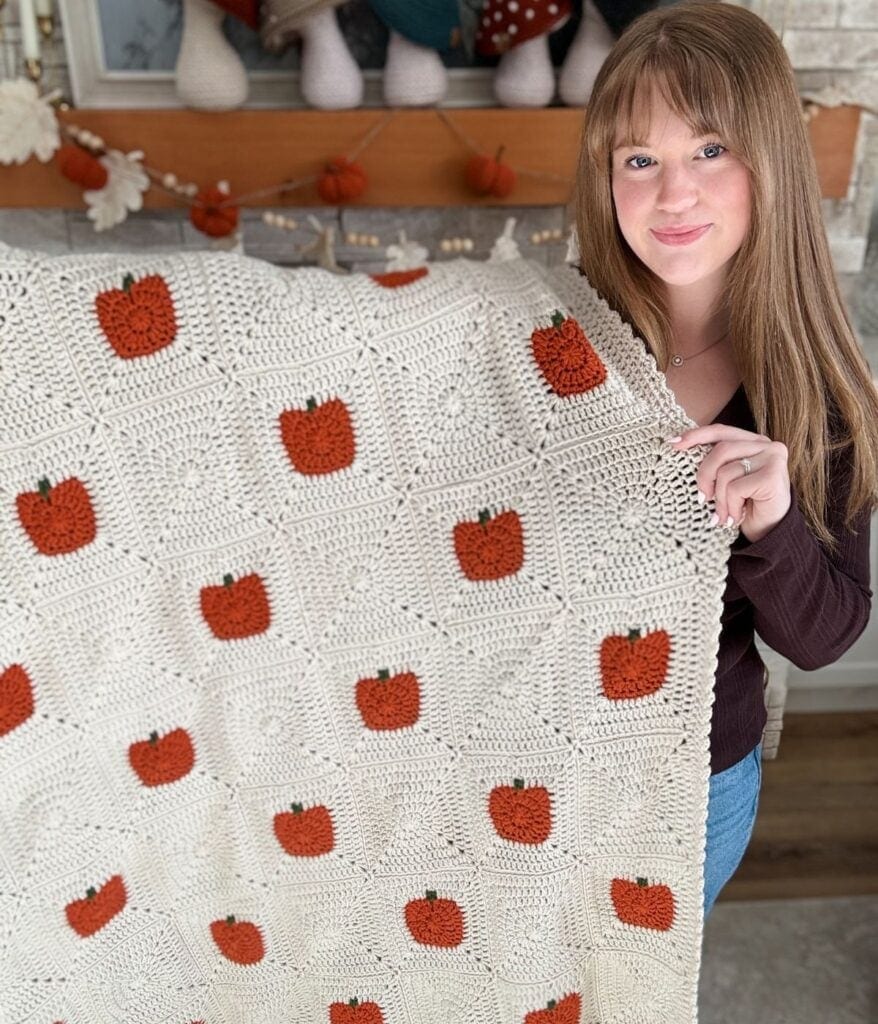
The finished Pumpkin Patch Blanket measures approximately 53″ × 65″, making it a beautiful throw size for curling up on the couch, adding to the end of your bed or displaying throughout the fall season.

Want less distractions?
Join Off the Hook Crochet Club
Join the Off The Hook Crochet Club and enjoy hundreds of MJ’s crochet patterns ad-free, plus exclusive resources, member perks and new free patterns added every week.
I’m sharing the complete Pumpkin Patch Blanket crochet pattern for free on the blog below!
Project Overview
Bring all the cozy feelings of fall into your home with the Pumpkin Patch Blanket. Filled with sweet little pumpkins and warm autumn colours, this blanket is perfect for curling up with on crisp fall mornings and chilly evenings.
Crocheted with Timeless Tones Anti-Pilling DK yarn, the mix of pumpkin and solid granny squares creates a charming patchwork look that feels like your very own handmade pumpkin patch. Drape it over your favourite chair, add it to the end of your bed or cozy up underneath it all season long.
Skill level: Easy
Sizes: Throw Size: 53″ x 65″
Yarn Weight: DK Weight #3
Yarn: MJ’s Off The Hook Designs Timeless Tones
Hook Sizes: 4.5 mm, 5 mm
Construction: Seamed Granny Squares
Video Tutorial: https://youtu.be/F7E-V4MnxE4
The Perfect Crochet Blanket for Fall
Fall is my favorite season, so naturally I had to make a blanket covered in pumpkins!
I wanted this design to feel unmistakably autumn without being something you could only bring out for Halloween. The cream background and simple patchwork design give it a classic look that can stay out throughout the entire fall season.
Although this is a larger project, making it one granny square at a time makes it really manageable. You can make a few pumpkins whenever you have time and slowly watch your pumpkin patch grow.
Pumpkin Patch Blanket Video Tutorial
If you prefer learning visually, you can crochet along with the complete Pumpkin Patch Blanket video tutorial.
Video Tutorial

Yarn for the Pumpkin Patch Blanket
The Pumpkin Patch Blanket is made with MJ’s Off The Hook Designs Timeless Tones (CDN) Anti Pilling DK, my signature yarn collection available through Mary Maxim.
Timeless Tones is a DK Weight #3, 100% premium acrylic yarn with 273 yards per 100 g ball.
For my blanket, I used:
A: Oat Milk
B: Pumpkin Spice
C: Olive Grove
I love these three colors together for fall. Oat Milk gives the blanket a soft neutral background, Pumpkin Spice is the perfect classic pumpkin orange and Olive Grove gives the little stems a beautiful earthy green.
You could easily change up the palette to make this pumpkin granny square blanket your own. Try different shades of orange, warm browns and creams, or even softer muted pumpkins for a more neutral fall look.
Yarn Requirements
Per Pumpkin Square
A: 16 yds
B: 8 yds
C: 3 yds
Per Solid Square
A: 27 yds
Seaming
A: 205 yds
Border
A: 216 yds
Total Yarn Required
A: 10 balls / 2,544 yds
B: 2 balls / 400 yds
C: 1 ball / 150 yds
Crochet Hooks and Supplies
You will need:
- US H/8 (5 mm) Crochet Hook
- US G+/7 (4.5 mm) Crochet Hook
- Yarn needle
- Scissors
- Measuring tape
- Blocking pins
- 4 to 6 blocking mats, 24″ × 24″
- Wool wash, optional
Use the hook size needed to obtain the correct gauge.
Gauge
Finished Square: 5″ × 5″ (12.5 × 12.5 cm) using a 5 mm crochet hook.
Gauge is measured across a completed Pumpkin Square or Solid Square before joining. Adjust your hook size as needed to achieve the correct finished square measurement.
Finished Blanket: Approximately 53″ × 65″ (135 × 165 cm) after final blocking.
Yarn Substitutes
This pattern was designed using Timeless Tones DK Weight #3 yarn
273 yds/100 g = 2.73 yds per gram
When substituting yarn, look for a DK-weight yarn with a similar yards per gram ratio to achieve comparable results.
Suggested Substitutions
- Mary Maxim Mellowspun DK (CDN): 284 yds/100 g = 2.84 yds per gram
- Knit Picks Brava Baby: 273 yds/100 g = 2.73 yds per gram
- Premier Basix DK (CDN): 306 yds/100 g = 3.06 yds per gram
- Lion Brand Color Theory: 246 yds/100 g = 2.46 yds per gram
Adjust hook size if needed to achieve the correct gauge and maintain a soft, flexible fabric.
Project Tips & Notes
- Pumpkin Squares are worked in joined rounds.
- At the end of the Border rounds, slip stitch across the indicated stitches to reposition the hook in the corner ch-1 space. This allows each new round to begin in the corner and creates a cleaner, more seamless join.
- The stitches worked into when repositioning the hook are included in the stitch count. Do not skip these stitches when working the following round.
- Keep repositioning slip stitches loose enough to work into on the following round.
- Corner ch-1 spaces are not included in the stitch count and are listed separately.
- When making the Pumpkin Squares, I like to crochet all of the pumpkins first, then add all of the stems, followed by the border rounds. Working in batches like this means you’re not constantly switching colours and makes the process much quicker and more efficient.
- Easily customize the blanket by adding or removing squares. Each finished square measures approximately 5″ × 5″ (12.5 × 12.5 cm).
- To maintain the alternating design, use an odd number of squares across and down. Keep in mind that changing the size will also change the yarn requirements.
Abbrevations
Blo – Back Loop Only
Ch – Chain
Dc – Double Crochet
Flo – Front Loop Only
Hdc – Half Double Crochet
Picot – Work (sc, ch 2, sc) in the indicated stitch.
Rep – Repeat
RS – Right Side
Sc – Single Crochet
Sk – Skip
Sl St – Slip Stitch
Sp(s) – Space(s)
St(s) – Stitch(es)
Tr – Treble Crochet
WS – Wrong Side
( ) – Work step in parentheses in indicated stitch.
[ ] – Work instructions within brackets as indicated.
Digital Download + No Ads!
Upgrade to the Digital PDF Download
The printable PDF includes both the Solid Square and Pumpkin Square stitch diagrams, making it easy to visually follow the construction of each granny square alongside the written instructions.
Digital pattern only. No physical item will be shipped.
Would you like to save this?
You can unsubscribe at any time.
Pattern
Pumpkin Square
Make 50
Round 1:
With B and larger hook, Magic ring, ch 2 (not included as a stitch here and throughout), 10 dc in ring, sl st in first st to join —10 sts.
Round 2:
Ch 2, 2 dc in each st around, sl st in first st to join —20 sts.
Round 3:
Ch 1, 1 sc next st, 2 dc next st, 1 tr next st, 3 dc next st, 1 hdc next st, 2 hdc next st, 1 hdc next st, 2 sc next st, 1 sc next st, 2 sc next st, 1 sc next st, 2 sc next st, 1 sc next st, 1 hdc next st, 2 hdc next st, 1 hdc next st, 3 dc next st, 1 tr next st, 2 dc next st, 1 sc next st, sl st in starting ch-sp to join, fasten off B —31 sts.
Stem
With C, put a slip knot on hook, join in sl st sp with a sl st, ch 2, 1 dc in sl st sp, ch 1 to secure, fasten off C.
Pumpkin Square Border
Round 4:
With A, put a sl knot on hook, skip first 3 sts after stem, join in 4th st with a sl st, (ch 2, 2 dc, ch 1, 2 dc) in st (first corner), 1 dc next 7 sts, (2 dc, ch 1, 2 dc) in next st (second corner), 1 dc next 7 sts, (2 dc ch 1, 2 dc) next st (third corner), 1 dc next 7 sts, (2 dc, ch 1, 2 dc) in next st, (fourth corner) 1 dc next 3 sts, 1 sc next st (stem), 1 dc next 3 sts, sl st in ch-sp to join, sl st in next st, sl st in corner ch-1 sp —44 sts, 4 ch-1 sps.
Round 5:
Ch 2, (2 dc, ch 1, 2 dc) in corner ch-1 sp, *work 1 dc in each st to next corner ch-1 sp, (2 dc, ch 1, 2 dc) in corner ch-1 sp; rep from * around, work 1 dc in each remaining st, sl st in starting ch, sl st in next dc, sl st in corner ch-1 sp to join. 60 sts and 4 ch-1 sps.
Round 6:
Rep Round 5 ending with 76 sts, 4 ch-1 sps. Fasten off and weave in all ends.
Solid Square
Make 49
Round 1:
With A, Magic ring, ch 2 (not included as a stitch here and throughout), 10 dc in ring, sl st in first st to join —10 sts.
Round 2:
Ch 2, 2 dc in each st around, sl st in first st to join —20 sts.
Round 3:
Ch 2, *2 dc in next st, 1 dc in next st, 2 dc in each of next 2 sts, 1 dc in next st; rep from * around, sl st in first st to join —32 sts.
Round 4:
Ch 2, (2 dc, ch 1, 2 dc) in same st (first corner), 1 dc next 7 sts, (2 dc, ch 1, 2 dc) next st (second corner), 1 dc next 7 sts, (2 dc ch 1, 2 dc) in next st (third corner), 1 dc next 7 sts, (2 dc, ch 1, 2 dc) next st, (fourth corner) 1 dc next 7 sts, sl st in ch sp to join, sl st, next st, sl st in corner ch-1 sp —44 sts, 4 ch-1 sps.
Round 5:
Ch 2, (2 dc, ch 1, 2 dc) in corner ch-1 sp, *work 1 dc in each st to next corner ch-1 sp, (2 dc, ch 1, 2 dc) in corner ch-1 sp; rep from * around, work 1 dc in each remaining st, sl st in starting ch, sl st in next dc, sl st in corner ch-1 sp to join, — 60 sts, 4 ch-1 sps.
Round 6:
Rep Round 5 ending with 76 sts, 4 ch-1 sps. Fasten off and weave in all ends.
Blocking (Optional)
Before joining, wet block each Pumpkin Square and Solid Square to approximately 5″ × 5″ (12.5 × 12.5 cm). Gently shape each square, making sure the corners are defined and the sides are straight. Pin in place if needed and allow the squares to dry completely before joining.
Keeping all of the squares a consistent size will make the joining process easier and help prevent puckering or uneven seams.
Seaming
Seam all squares together using the single crochet join method. Arrange the squares in an alternating pattern, beginning and ending each row with a Pumpkin Square. The blanket is arranged 9 squares wide by 11 squares long, for a total of 99 squares.
- When joining your crochet squares together, follow these steps:
- Start by placing two squares with the right sides facing each other.
- Put a slip knot on your hook. Go through the ch-1 sp corner of each square, working a sc to join.
- Work through the flo of the first square and the blo of the second square, completing a sc stitch.
- Work in this manner across, ending with a sc in the ch-1 corner.
- Continue joining as many squares as you can without fastening off.
- Continue until all squares are joined.
Border
Note: When you approach a join between squares work 1 hdc in corner sp, 1 hdc in the seam, 1 hdc in corner sp
Round 1:
With A and smaller hook, join in any st. Ch 2 (counts as 1 hdc here and throughout), work 1 hdc in each dc, ch-1 sp and seam sp around, working 3 hdc in each corner ch-1 sp; sl st in starting ch-2 to join.
Round 2:
Ch 2, work 1 hdc in each st around, working 3 hdc in the centre hdc of each 3 hdc corner; sl st in starting ch-2 to join.
Round 3 (picot edge):
Ch 1 (sc, ch 3, sc) in same first st, sk next st, *(sc, ch 3, sc) in next st, sk next st; rep from * around sl st in first sc to join. Fasten off and weave in tails.
Final Blocking
Once the blanket has been completely assembled and the border is finished, wet block the entire blanket. Gently stretch and shape it to approximately 53″ × 65″ (135 × 165 cm), taking care to keep the sides straight and the corners square.
Lay the blanket flat on blocking mats or another suitable surface. Smooth the fabric with your hands, adjusting the squares and seams as needed. Pin around the edges if necessary to maintain the desired shape and measurements.
Allow the blanket to air dry completely before removing it from the blocking surface. Avoid overstretching individual sections. The goal is to gently relax and open up the stitches while creating an even, rectangular finished shape.
Tip: When blocking a large blanket, use the finished measurements as a guide rather than trying to stretch every section individually. Measure across several points of the blanket as you work to keep the width and length consistent.
Looking for more beginner projects?
- Easiest Dishcloth Pattern
- Granny Stitch Throw
- Easy C2C Blanket
- Easiest Beanie Pattern
- Chunky Suzette Pocket Shawl
Yes! Just be aware that using a thicker yarn will result in larger squares. This will also alter how much yarn you will need.
The main pumpkin is worked using the half double crochet stitch through the back loop. This creates the beautiful ribbed texture that helps give the finished pumpkin its shape. You will also use basic stitches during the finishing process.
What size are the crochet pumpkin granny squares?
Both the Pumpkin Squares and Solid Squares should measure approximately 5″ × 5″ (12.5 × 12.5 cm) before joining.
Yes! Just add more or fewer squares!
How many granny squares are in the Pumpkin Patch Blanket?
The blanket contains 99 crochet granny squares in total.
You will make 50 Pumpkin Squares and 49 Solid Squares, arranged 9 squares wide by 11 squares long.
How are the granny squares joined?
The Pumpkin Patch Blanket uses a single crochet joining method. With the right sides of two squares facing each other, the join is worked through the front loop of the first square and back loop of the second square..
Yes! You may sell finished items made from MJ’s patterns, but please credit:
“Pattern by MJ’s Off The Hook Designs Inc.”
All patterns, photos, and written content are the property of MJ’s Off The Hook Designs Inc. and protected by copyright law.
Usage
Free patterns are for viewing only on this blog. You may not copy, download, print, screenshot, or redistribute any part of the pattern. Access must remain through this page with ads. The use of tools that remove or hide ads or site content is strictly prohibited.
Legal Notice
Unauthorized reproduction or distribution may result in copyright infringement penalties.
By accessing this post, you agree to these terms and conditions.
This post may contain affiliate links. Purchases made through these links may earn MJ’s Off The Hook Designs Inc. a small commission at no extra cost to you. Content on this site is supported by ads—please do not block or remove them.
I hope you love our Pumpkin Granny Square Blanket Pattern. You might also love these crochet patterns:
This pattern is designed by Michelle Moore of MJ’s Off The Hook Designs Inc., based in Lakefield, Ontario, Canada. Your go-to source for modern, easy crochet patterns. Published on September 21, 2026.
Thank you for visiting MJ’s Off The Hook Designs! I hope you enjoyed this pattern and feel inspired to pick up your hook and start creating.
You can find even more crochet patterns in our Ravelry and Etsy shops.
For daily inspiration and behind-the-scenes peeks, join me over on Facebook or Instagram or join our YouTube Membership for exclusive content!
You’ve got questions, we’ve got a community!
Crocheting is better with friends! Join our group to post pictures and ask all your pattern support questions.