*This post may contain affiliate links to support the cost of this blog. At no cost to you, I may make a small commission if you purchase through these links. Read our Privacy Policy HERE


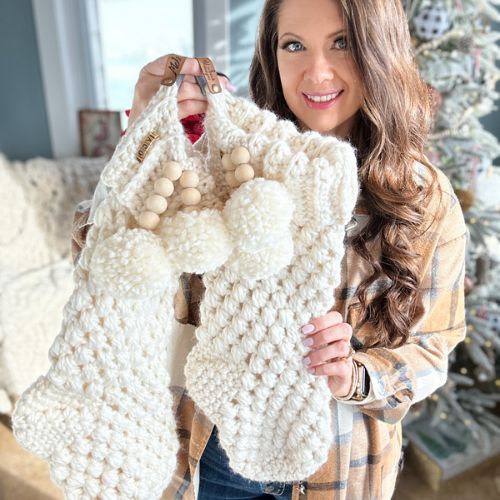
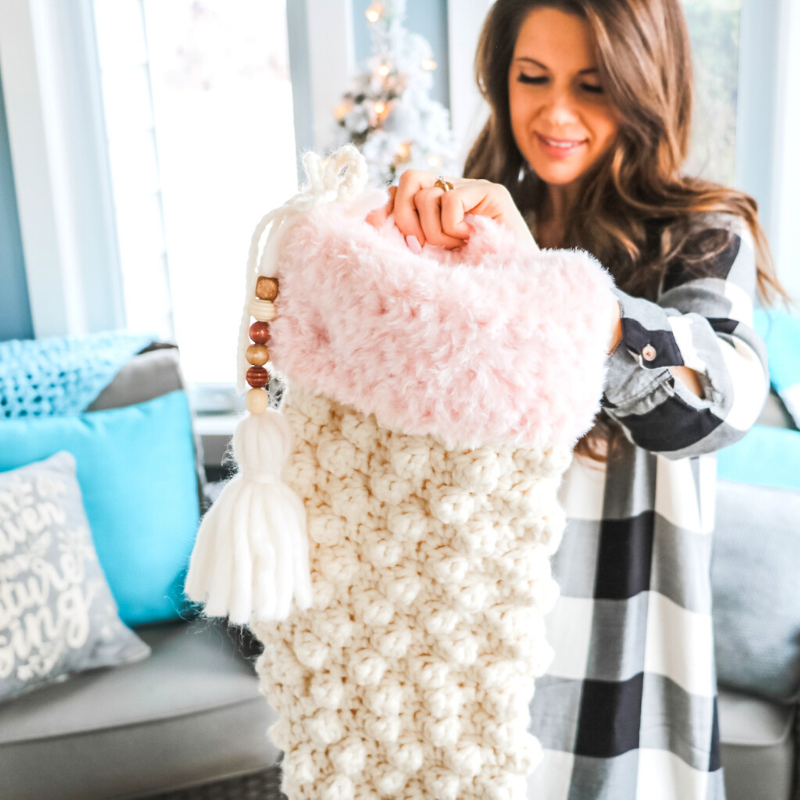
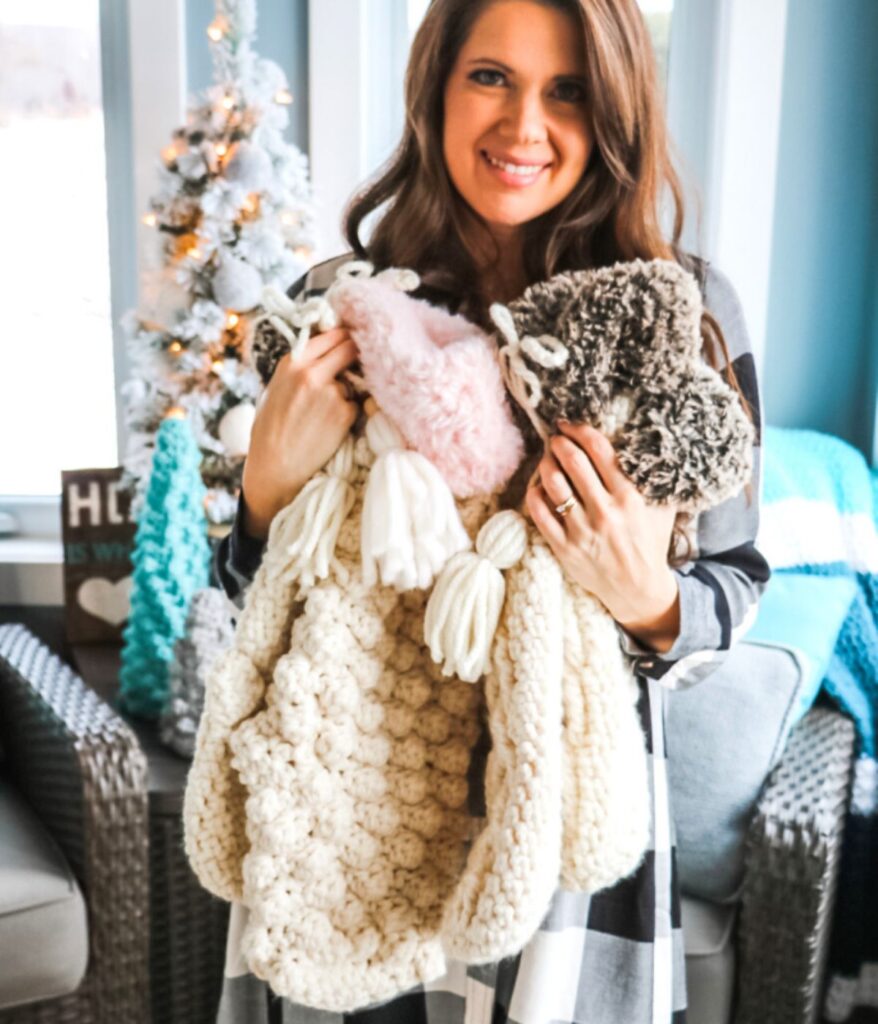
Crochet Christmas Stocking now available. Soft and cozy bobble stitch crochet Christmas stocking pattern works up quickly in super bulky yarn and fur. The small crochet Christmas stocking is free on the blog, and the digital PDF pattern includes the small and large size Christmas stocking. You can watch the free crochet a stocking tutorial on YouTube.

Project Overview
This Crochet Christmas Stocking pattern features a soft, cozy bobble stitch design worked in the round from the toe up, using super bulky yarn and a faux fur cuff for a quick, beginner-friendly project. The free blog version includes a small size with a full video tutorial, while the PDF offers both small and large sizes, making it perfect for creating matching stockings for the whole family.
Skill level: Intermediate
Sizes: Small: 17″ x 6″
Large: 21″ x 8″
Yarn Weight: Super Bulky #6
Hook Sizes: US M/13 (9mm)
Construction: Stocking is worked from the toe up
Video Tutorial: https://youtu.be/Dovr-qBIQEc
The crochet bobble stitch is an easy stitch to get the hang of, making this a beginner-friendly crochet pattern. The Christmas stocking is worked in the round from the toe up with an opening made for the heel as you go. The heel is completed at the end of the pattern.
The bobble stitch crochet Christmas stocking matches my Buttons & Bobbles Tree Skirt. I’m excited to have new stockings for the entire family this year, including Grandma and Papa. The matching cabled crochet stocking pattern is free HERE
I’ve kept my Holiday decor neutral this year by using cream as my primary colour that looks gorgeous with all the blues in my home. I designed the Bobble all the way Christmas stockings in Tuff Puff and Fable Fur to match the tree skirt.

My youngest daughter wanted her stocking with pink fur. It looks so good now I’m wishing I had made mine in pink too!

The how-to crochet Christmas stocking tutorial also includes how to make those big beaded tassels. So let’s get right into how to make these stockings.
Video Tutorial

Yarn Requirements:
WeCrochet Tuff Puff (MC)
Shown in White -100%Wool (100g/44yds) 3 (5) balls needed or 115 (205) yards
WeCrochet Fable Fur (CC)
Shown in Falke and Paloma- 100% Polyester (100g/71yds)
1 Ball needed (40 grams required for small and 70 grams large)
Yarn Substitutes
Total Yards Needed Tuff Puff MC 115 (205)
Lion Brand Wool-Ease Thick & Quick
Total Yards Needed Fur CC 30 (50)
Sizes:
Small (Large)
Finished Measurements:
Small: 17″ x 6″
Large: 21″ x 8″

Crochet Hook Requirements:
US M/13 (9mm) or size needed to obtain gauge
Gauge:
6 sc & 2 bobbles and 7 rounds equal to 4″in Bobble Pattern
Additional Supplies:
Helpful Resources
Sign up for our YouTube Membership
Join our Facebook Crochet Community for pattern support and inspiration
Subscribe on YouTube for hundreds of free tutorials
Sign up for our newsletter and receive 40% off your first Ravelry purchase!
Abbreviations:
CC – Contrast Colour
Ch – Chain
Hdc – Half Double Crochet
MC – Main Colour
Rep – Repeat
RS – Right Side
Sc – Single Crochet
Sc3tog – Single Crochet 3 together
Sk – Skip
Sp(s) – Space(s)
St(s) – Stitch(es)
WS – Wrong Side
[ ] – Work step in brackets number of times indicated
Special Stitches:
Bobble (bo) – *Yarn over (YO), insert hook into stitch and pull up a loop, YO, pull through two; repeat from *, two more times, YO pull through all four loops on the hook.

Upgrade to the premium PDF Pattern!
Digital PDF Download
Digital pattern only. No physical item will be shipped.
Crochet Christmas Stocking Pattern
FAQ & Terms
This post may contain affiliate links. Purchases made through these links may earn MJ’s Off The Hook Designs Inc. a small commission at no extra cost to you. Content on this site is supported by ads—please do not block or remove them.
Copyright
All patterns, photos, and written content are the property of MJ’s Off The Hook Designs Inc. and protected by copyright law.
Usage
Free patterns are for viewing only on this blog. You may not copy, download, print, screenshot, or redistribute any part of the pattern. Access must remain through this page with ads visible. Use of ad blockers, reader view, or any similar tools that remove or hide ads and site content is strictly prohibited.
Legal Notice
Unauthorized reproduction or distribution may result in copyright infringement penalties.
By accessing this post, you agree to these terms and conditions.
Yes! You may sell finished items made from MJ’s patterns, but please credit:
“Pattern by MJ’s Off The Hook Designs Inc.”
Pattern Support is only available in our Facebook Community group and Video Tutorials.
No additional support is provided for modified patterns, alternate yarns, or changes to gauge.
Notes:
Stocking is worked from the toe up. An opening is made for the heel. The heel is worked after the stocking is complete. Step by step video on YouTube for size small.
Small Stocking
Toe
Round 1(RS): With MCMagic Ring, ch 2 (does not count as st) work 9 hdc in ring, pull ring tight, sl st in first hdc to join—9 sts.
Round 2: Ch 2, work 2 hdc in each st around, sl st in first hdc to join—18 sts.
continue
Round 3: Ch 2, work 1 hdc in each st around, sl st in first hdc to join, turn—18 sts.

Round 4 (WS): Ch 1, *work 1 sc in first 2 sts, work bo in next st; rep from * around, sl st in first sc to join, turn—18 sts. (6 bobbles made)
Round 5 (RS): Ch 1, work 1 sc in each st around, sl st in first sc to join, turn—18 sts.
Round 6: Ch 1, work 1 sc in first st, work 1 bo in next st, * work 1 sc in next 2 sts, work 1 bo in next st; rep from * around, work 1 sc in last st, sl st in first sc to join, turn—18 sts.
Round 7: Ch 1, work 1 sc in each st around, sl st in first sc to join, turn—18 sts.
Rounds 8-10: Rep Rounds 4-6 [1 time]—18 sts.

Heel Opening
Round 11(RS): Ch 1, 2 sc in first st, 1 sc in each of next 8 sts, 2 sc in next st, ch 6, sk 6 sts (heel opening), 2 sc in next st, 1 sc in next st, sl st in the first sc to join, turn—21 sts including ch-6.
Leg
Round 12 (WS): Ch 1, *work 1 sc in first 2 sts, work bo in next st; rep from * around, sl st in first sc to join, turn—21 sts.* work in pattern across ch-6 (7 bobbles made)
Round 13 (RS): Ch 1, work 1 sc in each st around, sl st in first sc to join, turn—21 sts.
Round 14: Ch 1, work 1 sc in first st, work 1 bo in next st, * work 1 sc in next 2 sts, work 1 bo in next st; rep from * around, work 1 sc in last st, sl st in first sc to join, turn—21 sts.
Round 15: Ch 1, work 1 sc in each st around, sl st in first sc to join, turn—21 sts.
Rounds 16-25: Rep Rounds 12-15 [2 times], Rep Round 12-13 [1 more time]—21 sts. Last round, last st change to CC, cut MC.
Cuff
* If using Tuff Puff as the MC you may want to increase the cuff by 2 sts (Incr. to 23 sts)
Rounds 26-35 (10 Rnds): With CC, ch 2, work 1 hdc in each st around, sl st in first hdc to join—21 sts. Last round fasten off and weave in ends. Fold over fur cuff.

Heel
Position stocking so that the heel opening is facing toe down. Join MC yarn with a sl st into the 4th sc st from the Right.
Round 1: Ch 1, work 1 sl st in first st and next 2 sts, work 1 sl st in corner, work 1 sl st in next 6 chs, work 1 sl st in corner, work 1 sl st in next 3 sts, sl st in first sl st to join—14 sts.
Round 2: Ch 1, work 1 sc in first 2 sts, work 1 sc3tog over next 3 sts, work 1 sc in each of next 4 sts, work 1 sc3tog across next 3 sts, work 1 sc in last 2 sts, sl st in first sc to join—10 sts.
continue
Round 3: Ch 1, work 1 sc in first st, work 1 sc3tog over next 3 sts, work 1 sc in each of next 2 sts, work 1 sc3tog across next 3 sts, work 1 sc in last st, sl st in first sc to join—6 sts. Fasten off leaving a long tail. With yarn needle, weave through the front loop only of each st around. Pull heel closed. Weave in ends.

Stocking Tie
With MC yarn join through folded over stocking at the side with a sl st, ch 12, sl st at the base forming a loop for hanging. Fasten off and knot the beginning tail with the ending tail. Tie in a bow or weave in ends.
Tassel
Cut 10 strands 12″ in length, cut 2 stands 20″ in length—separate 20″ lengths from the bundle for tying. Tie bundle at the halfway point (use this tie to attach to the stocking and for beads). With a second length tie around all pieces making a tassel ball. Weave end under the ball. Trim tassel ends. With a yarn needle, string beads to the strands for tying. Tie tassel to stocking.

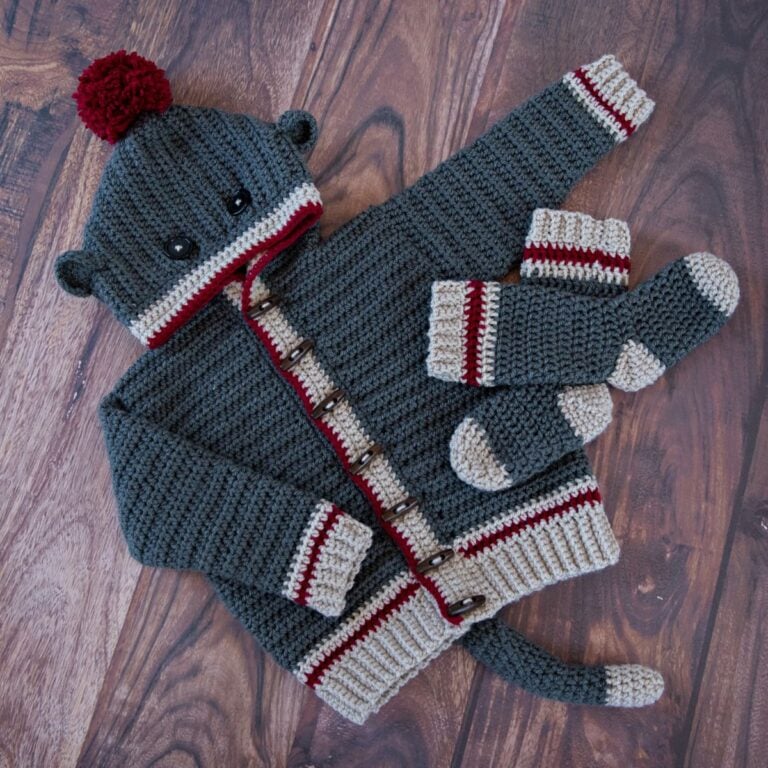
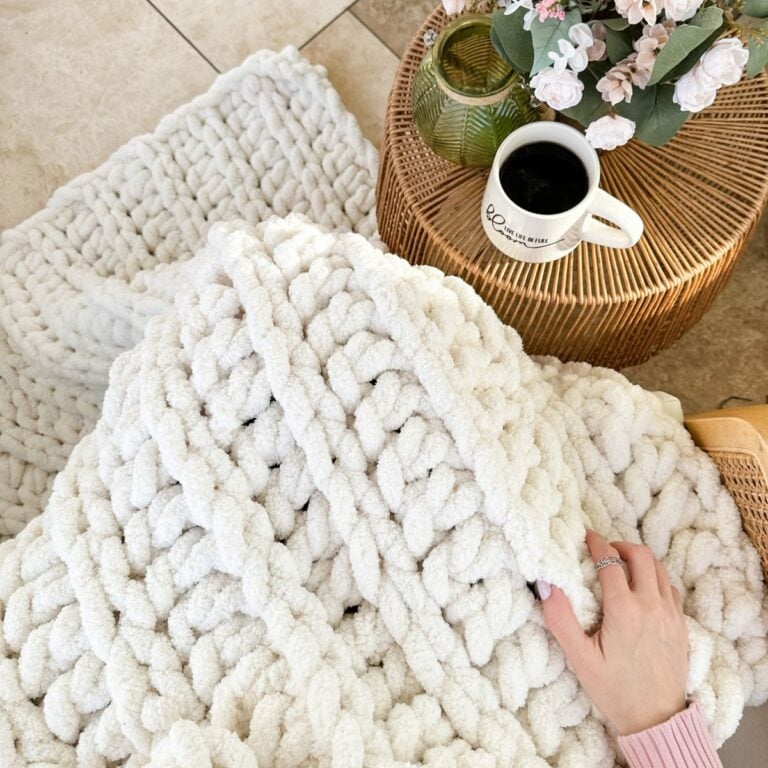
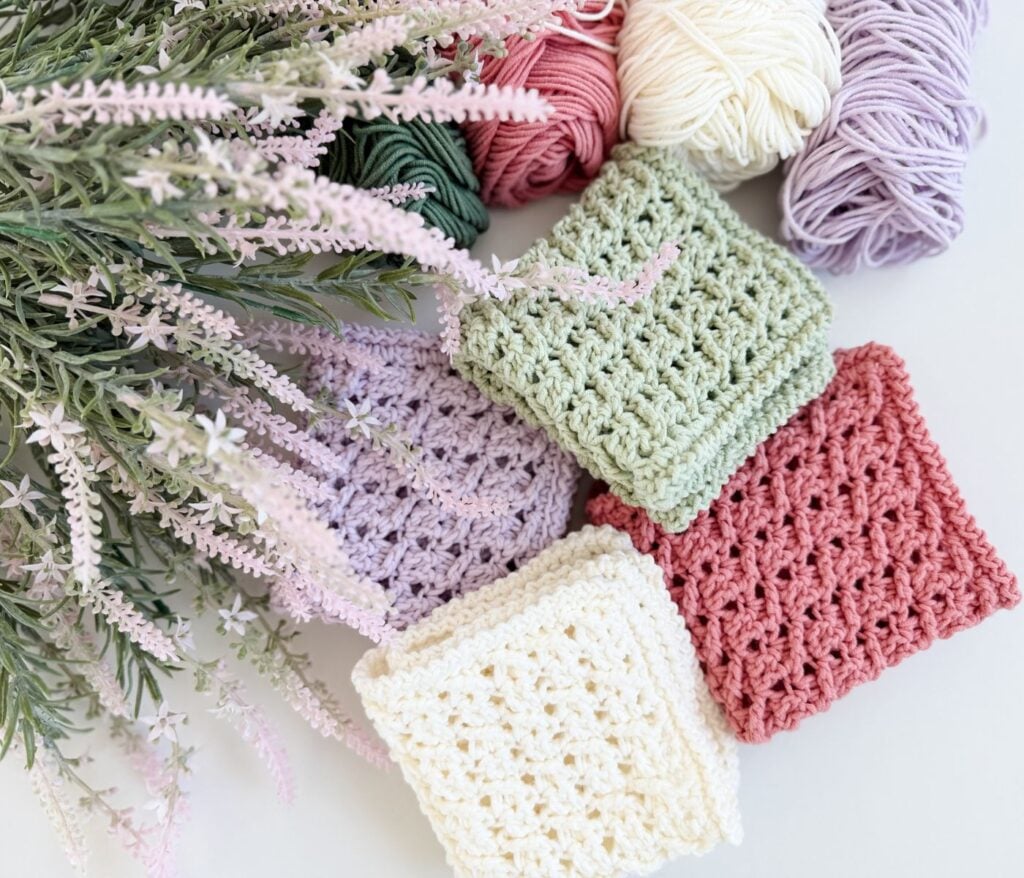
If you enjoyed this pattern, you may also like:
This pattern is designed by Michelle Moore of MJ’s Off The Hook Designs Inc, based in Lakefield, Ontario, Canada. Your go-to source for modern, easy crochet patterns. Published on December 19th, 2025.
Thank you for visiting MJ’s Off The Hook Designs I hope you enjoyed this pattern and feel inspired to pick up your hook and start creating.
You can find even more crochet patterns in our Ravelry and Etsy shops.
For daily inspiration and behind-the-scenes peeks, join me over on Facebook or Instagram, or join our YouTube Membership for exclusive content!
- This post contains affiliate links at no cost to you
You’ve got questions, we’ve got a community!
Crocheting is better with friends! Join our group to post pictures and ask all your pattern support questions.