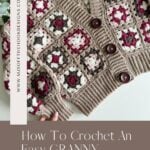
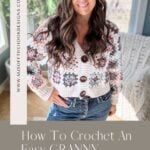
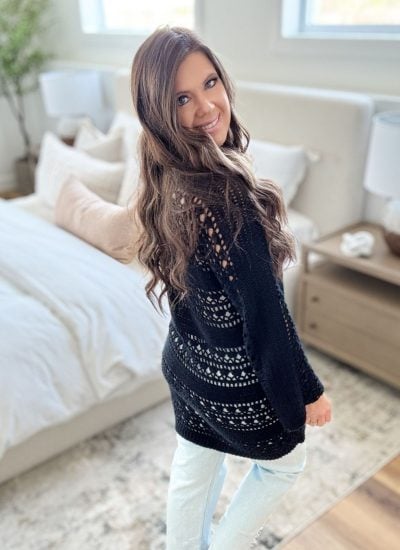
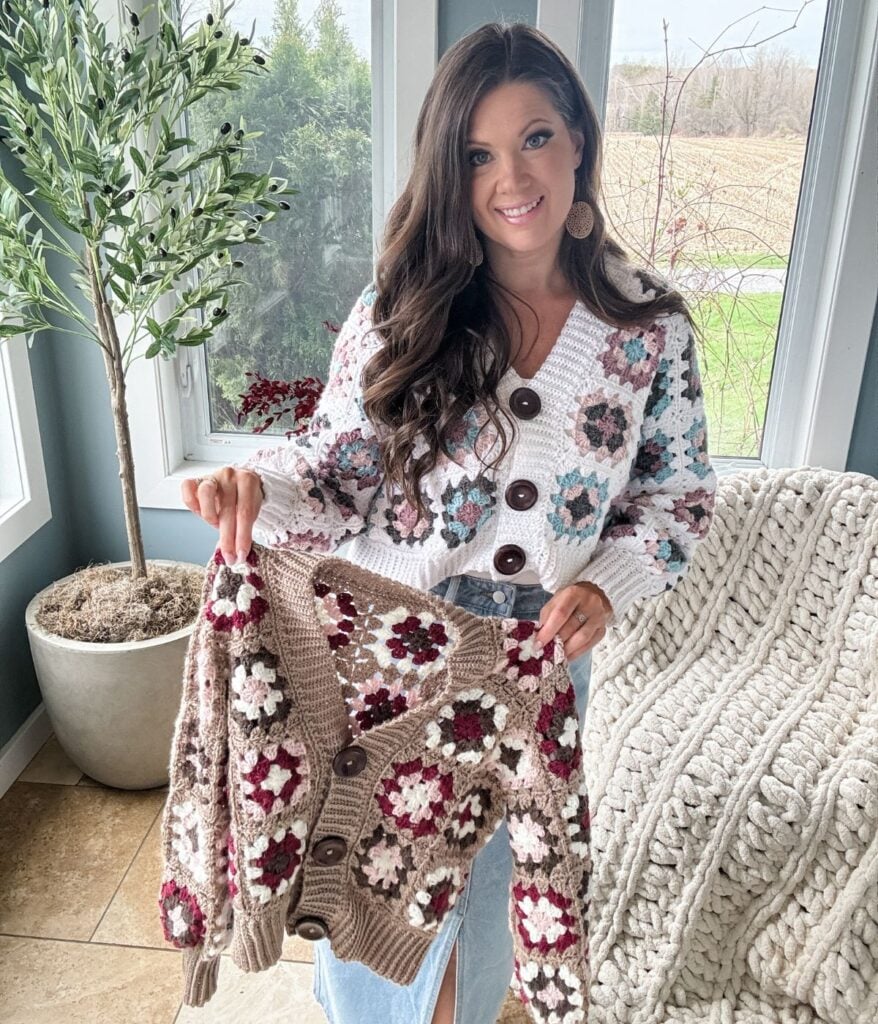
The Granny Square Cardigan crochet pattern is the perfect blend of cozy and trendy. Designed using a classic granny square pattern, this cardigan comes in sizes XS-5X, ensuring a flattering fit for everyone.
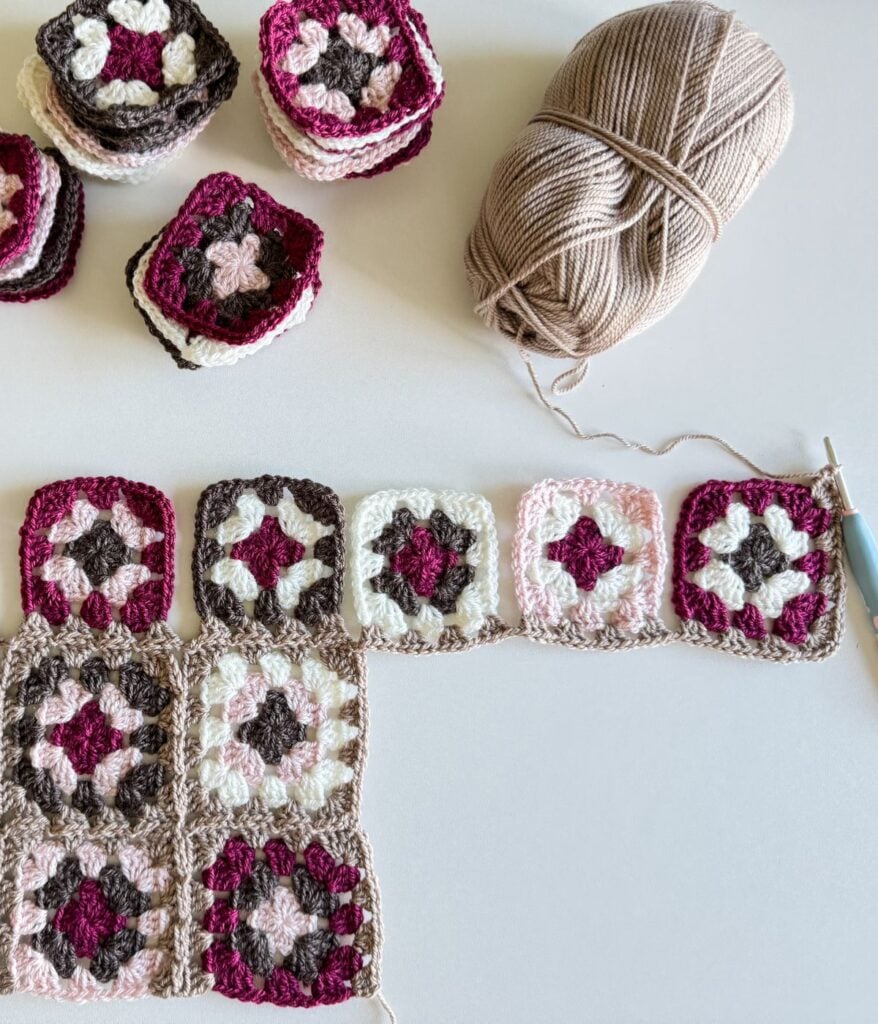
With the genius join-as-you-go granny square technique (JAYGO), the final round of the granny square is seamlessly connected, eliminating the need for tedious seaming.
Follow along with the included video tutorial to easily master this join-as-you-go technique, which is often used for blankets.
Table of Contents
Key Takeaways
- The Granny Square Cardigan features a classic design with sizes XS-5X, ensuring a cozy and trendy fit for all.
- Utilizing the join-as-you-go (JAYGO) technique, this cardigan eliminates tedious seaming for a streamlined crochet process.
- The pattern includes a free written version, video tutorial, and detailed yarn requirements for easy crafting.
- Granny squares are back in style, making this cardigan a fashionable choice for the Spring season.
- Support for the pattern is available through affiliate links and a Facebook community for crochet enthusiasts.
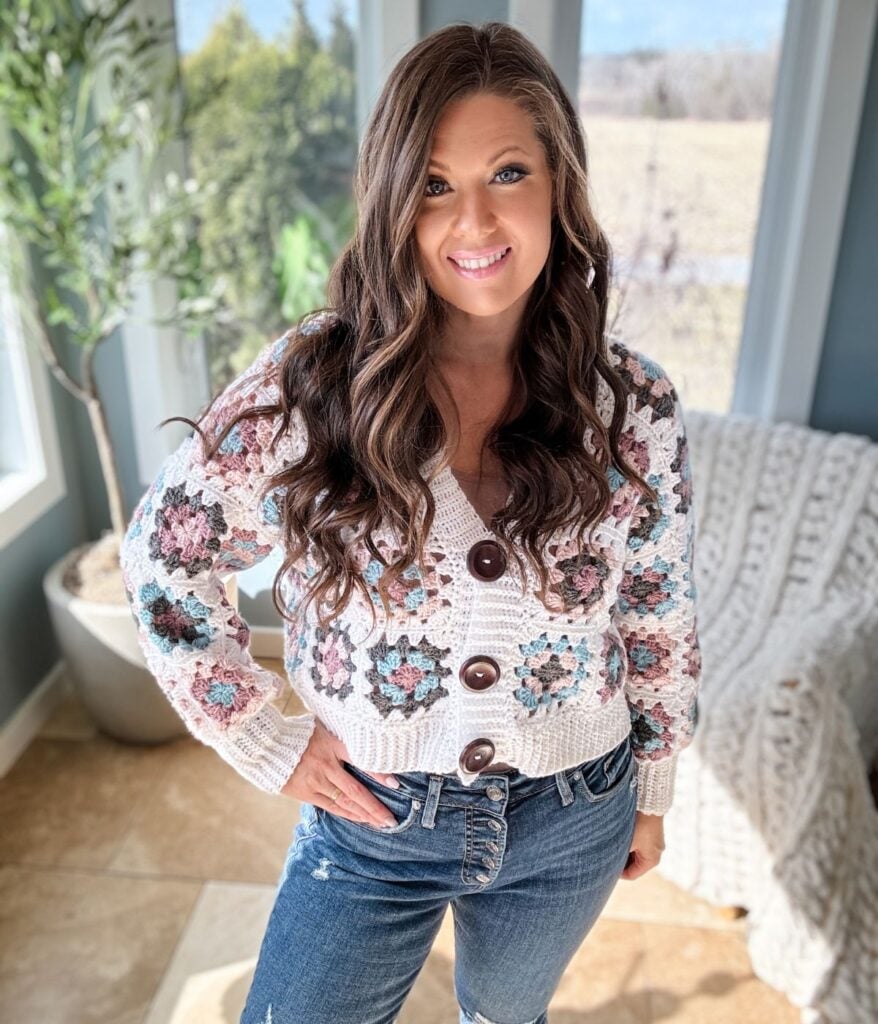
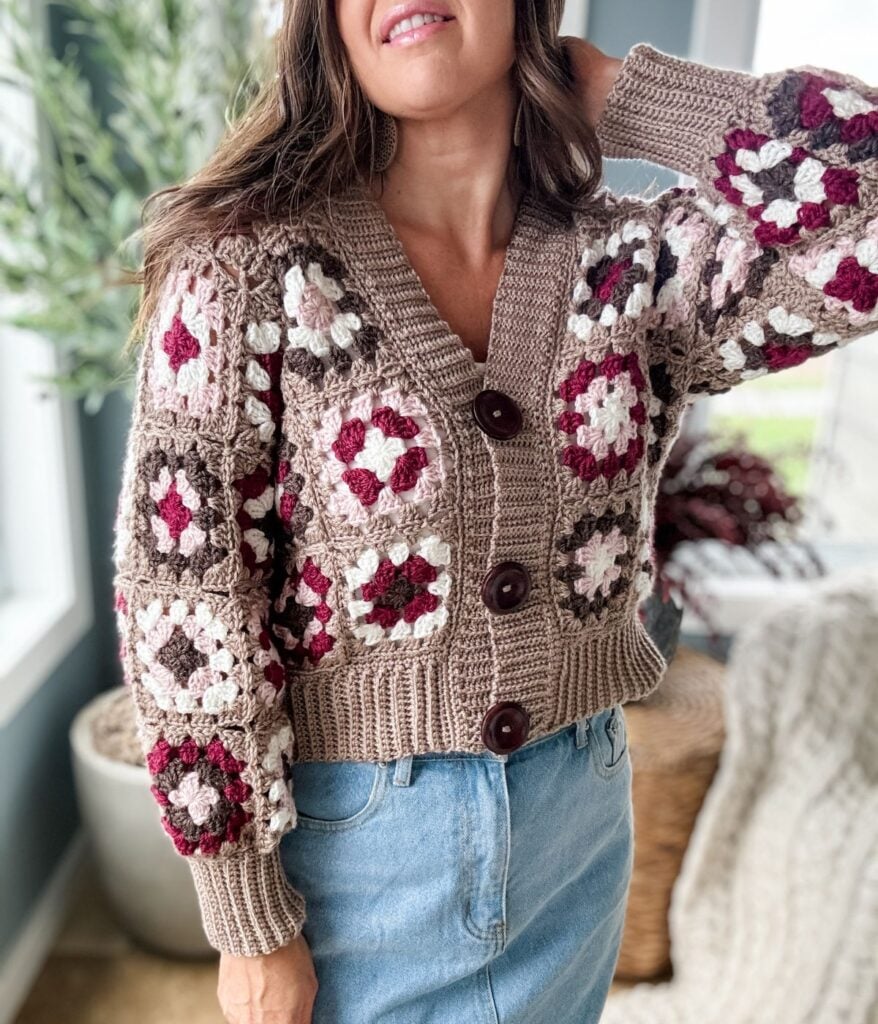
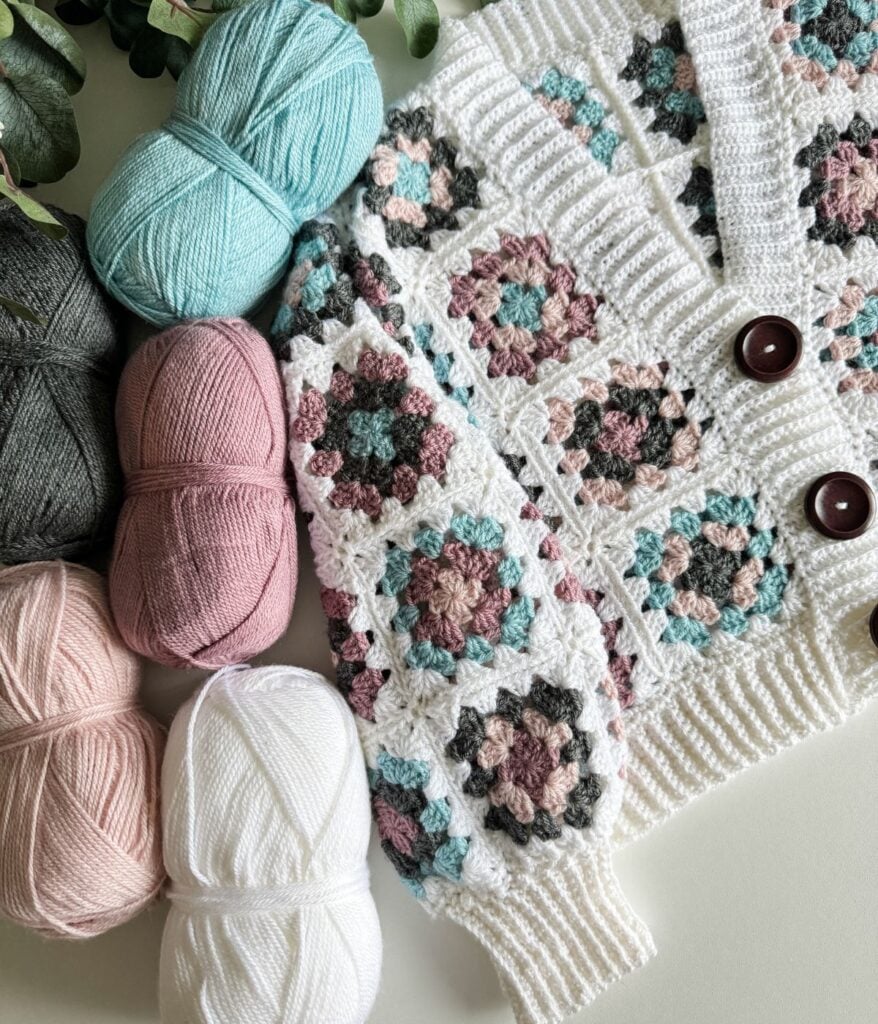
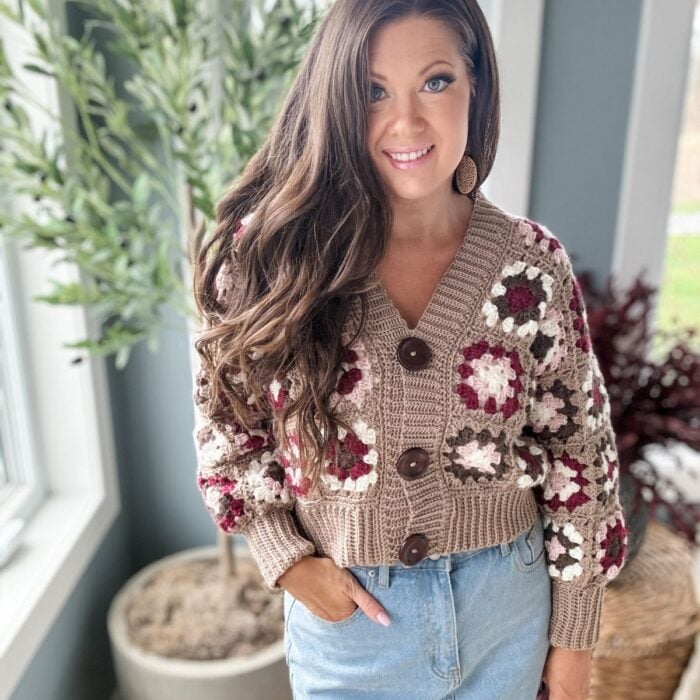
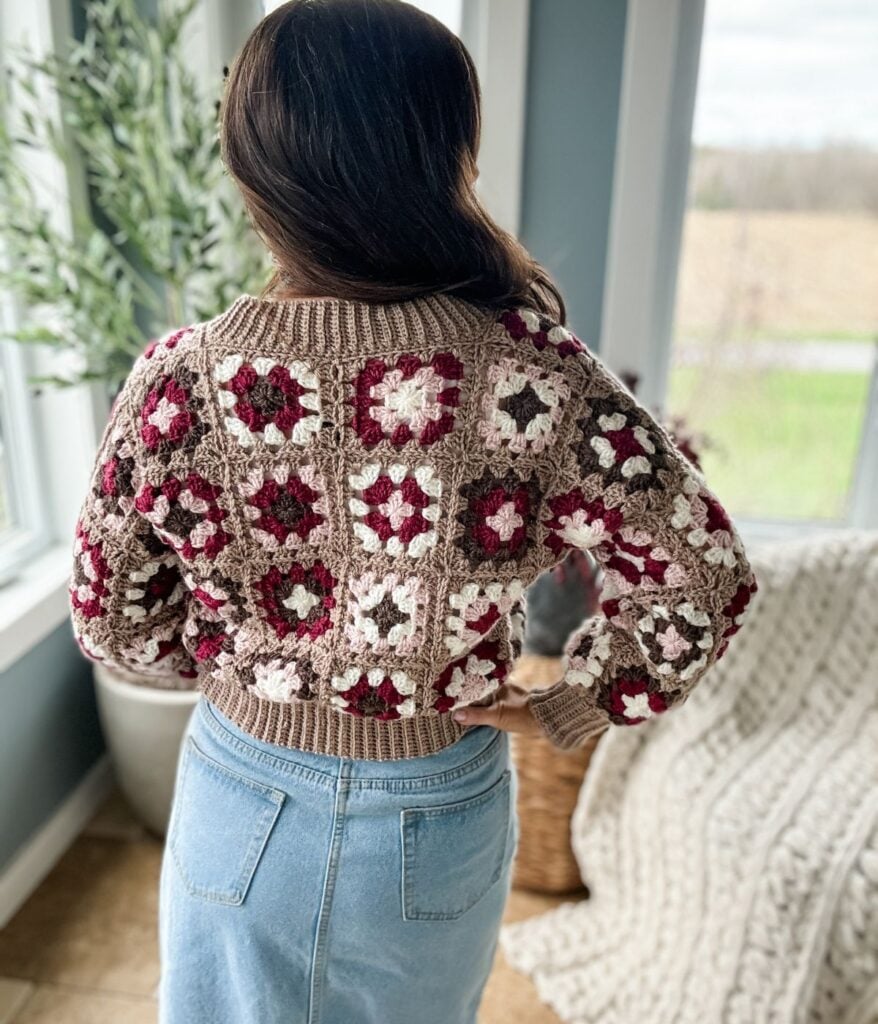
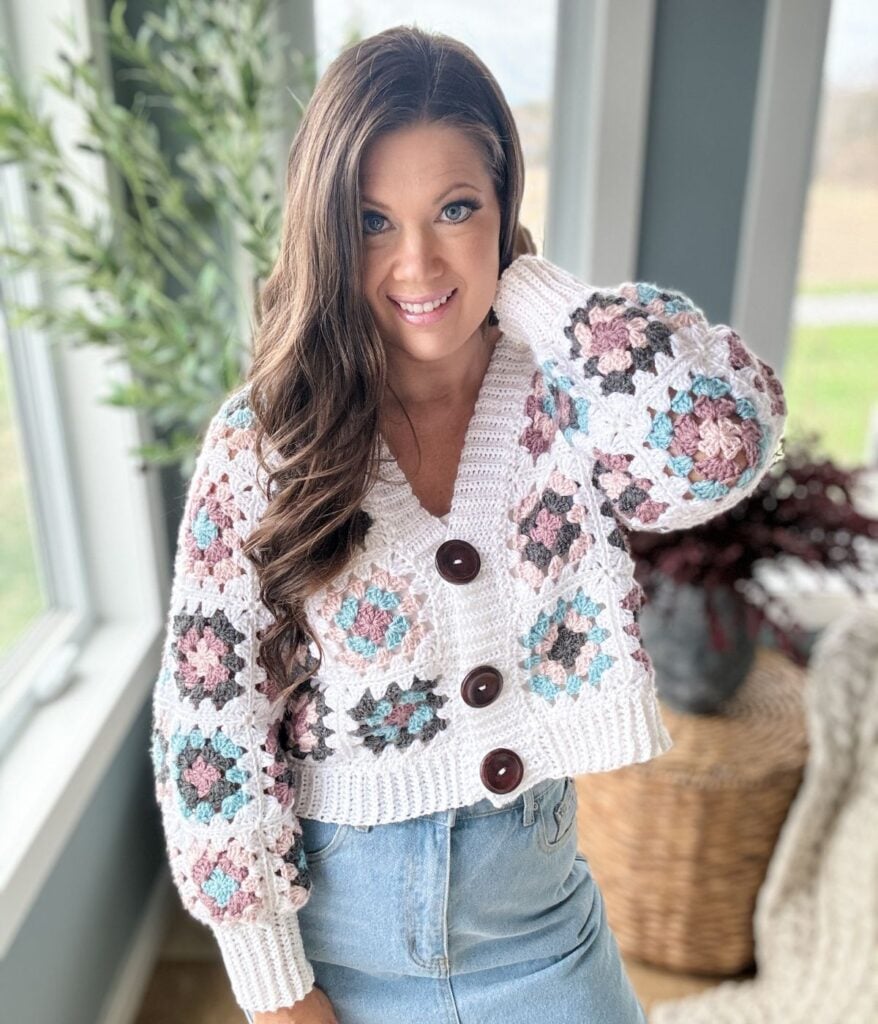
This charming granny square cardigan is adorned with three buttons, snug ribbed cuffs, and a ribbed collar and band, adding a touch of sophistication to your sweater.
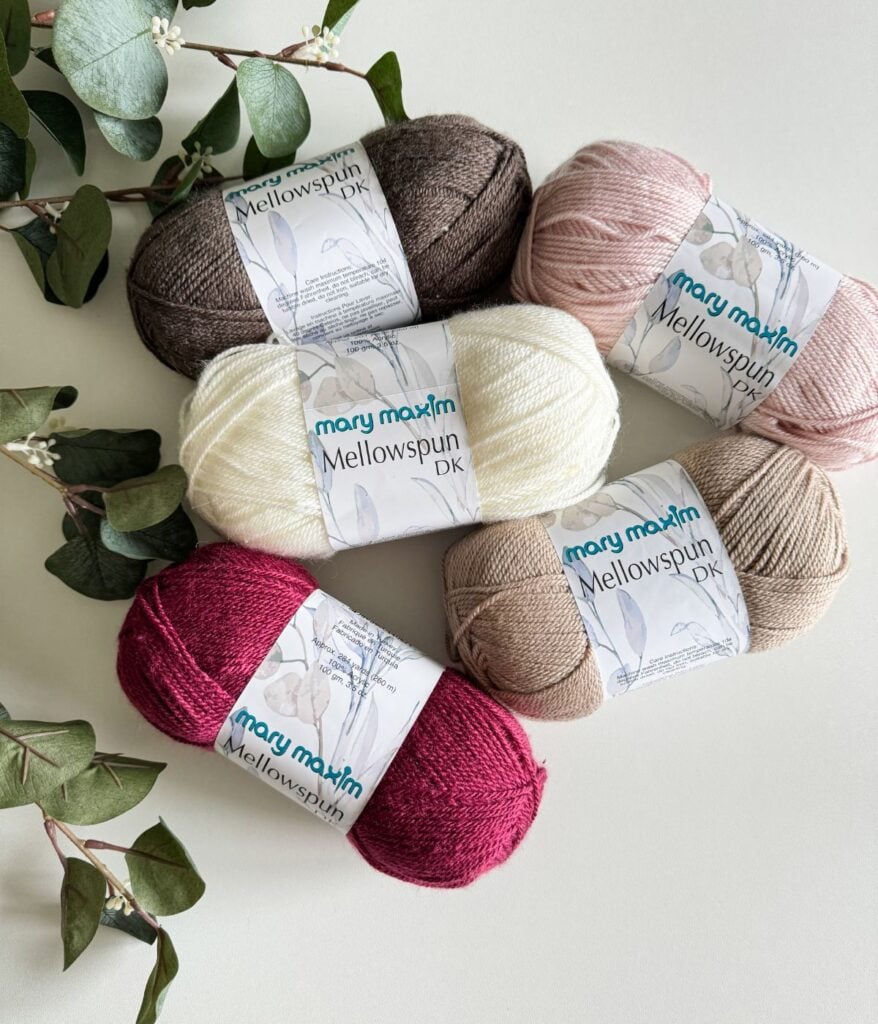
Crocheted using five shades of Mary Maxim Mellowspun DK yarn, it is not only stylish but also wonderfully soft and lightweight—ideal for the Spring season.
Below, you will find everything you need to crochet this granny square cardigan, including the yarn, hook, materials, a free written pattern for blog subscribers, pictures, and a video tutorial. If you love this free granny square pattern, please share!
Disclaimer
This post contains affiliate links for the items I used to crochet this pattern and clothing articles I have modelled at no cost to you. I make a small commission if you purchase through these links. This blog post also displays ads. The revenue I receive from Ads, and affiliate links, allows me to post this crochet pattern for free on my blog. I do so in good faith that you will not copy and paste this pattern or distribute it in any way.
If you prefer not to view the pattern on the blog, you may purchase an AD-FREE digital PDF pattern in one of my pattern shops for a small fee.
Whether you purchase this pattern or view the pattern on my blog, I greatly appreciate your support and readership.
Mary Maxim Yarn
This granny square cardigan is designed in Mellowspun DK (CDN) provided by Mary Maxim (cdn). This yarn captured my heart long ago. The selection of colour combinations available for this granny square cardigan is limitless. The hues within this yarn line blend together effortlessly, offering endless creative possibilities.
This affordable yarn is a silky, soft, lightweight yarn that is perfect for baby and children’s projects, light wearables, soft blankets, cozy hats, and home decor. Plus, it’s washable and dryable; how can it get any better than that?
Join-As-You-Go Granny Squares
Have you ever come across the join-as-you-go Granny Square joining technique? Let me tell you, it’s a game-changer! If you’re not a fan of seaming, this method is a godsend for creating granny square garments without the hassle of extensive seaming at the end. Say goodbye to tedious seaming and weaving in countless tails. It’s remarkably straightforward. For a detailed walkthrough, check out the video tutorial demonstrating this technique.
Are Granny Squares in Style?
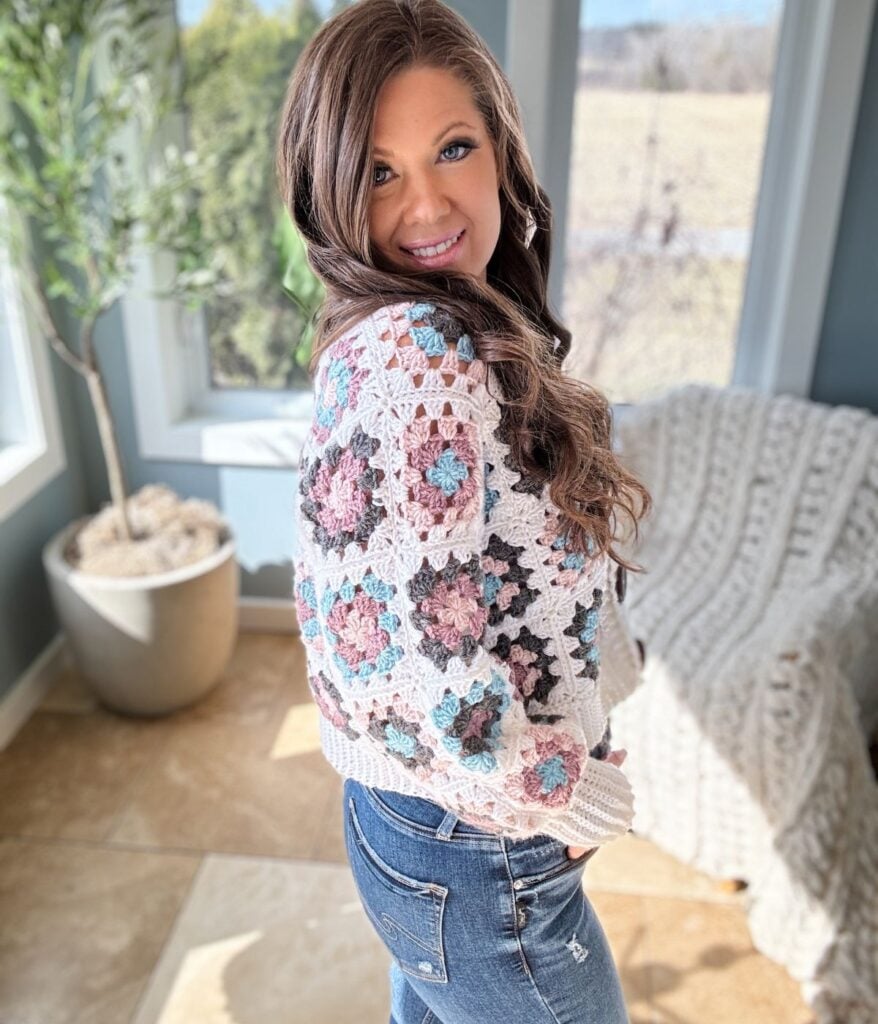
Granny squares have made a comeback! They’re everywhere these days, from dominating my social media feeds to adorning people’s outfits in public. Whether it’s a cozy sweater, a stylish tank top, or a trendy bag, granny squares are making their mark even in big retail stores.
However, this resurgence isn’t always positive; machines can’t replicate crochet as they can knit, and companies often fall short of ensuring fair wages for those who create these handmade pieces.
It might be cool to see a gorgeous crochet top in a store for example $24.99, but let’s face it: when it is being sold so cheaply, we crocheters know how much time and money goes into crochet. The person who crocheted it was likely not paid fairly to make it.
Are Granny Squares Easy to Make?
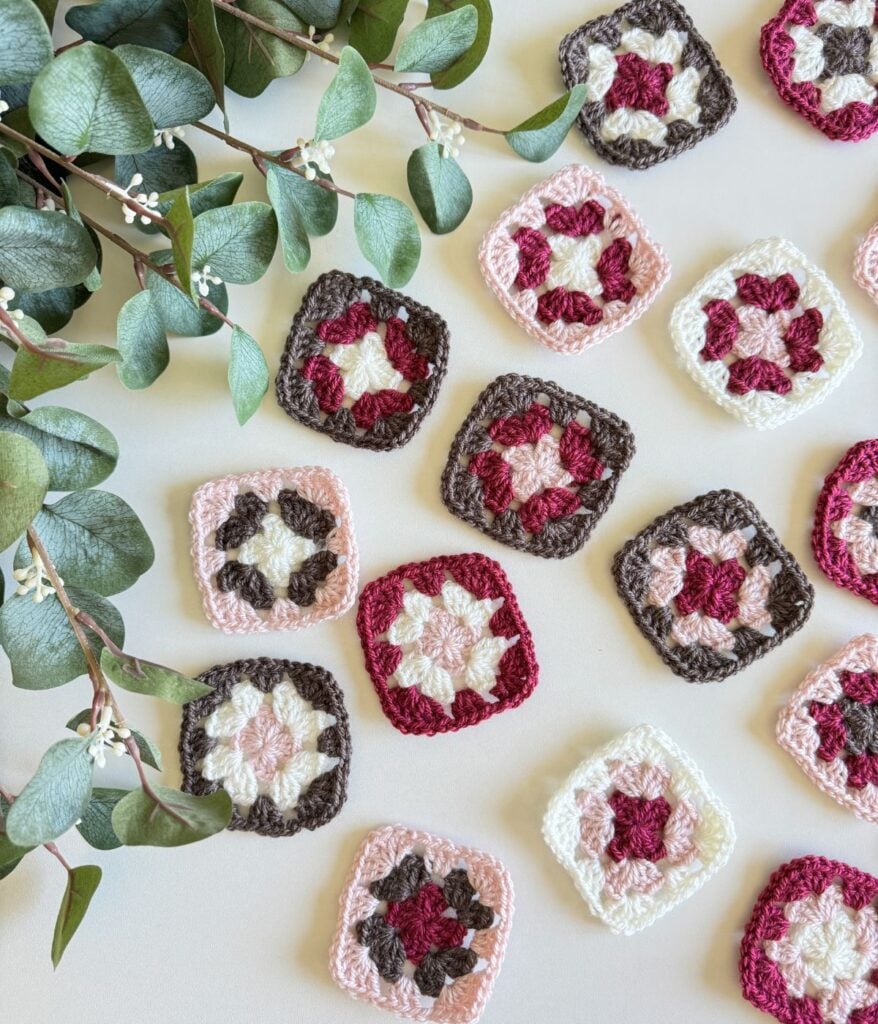
One of the best details about traditional granny square cardigans is that anyone can make one! A traditional granny square is one of the simplest things to master. With just basic crochet stitches, even beginners can create stunning pieces. Plus, the versatility of granny squares allows for endless customization.
Whether you prefer bold colours or subtle hues, a granny square cardigan is the design for you! Plus, with the join-as-you-go method, you don’t have to worry about seaming all those motifs together.
Video Tutorial
This comprehensive video tutorial provides step-by-step guidance on creating the Granny Crop Cardigan from start to finish. You’ll learn about the specific yarn and hooks required for this project, ensuring you have all the necessary supplies on hand before you begin.
The tutorial covers how to crochet the traditional granny square, breaking down each stitch to make it easy to follow along, even for beginners.
Additionally, the video demonstrates the join-as-you-go granny square technique. This clever method seamlessly connects the individual squares as you crochet, saving you time and effort in the finishing stage. Each step of joining together the cardigan using this technique is thoroughly explained and visually demonstrated.
Furthermore, you’ll be guided through the process of seaming together the sides and sleeves of the cardigan to assemble the final piece. The tutorial also includes detailed instructions on crocheting the ribbed collar with buttonholes, as well as the band and cuffs to complete the stylish cardigan.
By the end of this video tutorial, you’ll have the skills and confidence to crochet your very own Granny Crop Cardigan with ease.
https://youtu.be/cKtnocz8wNY?si=L5LDytLw4wbro9Lm
Granny Square Crochet Cropped Cardigan
Follow along with this tutorial to create the Granny Crop Cardigan for size M/L
Yarn Requirements
DK Weight #3
284yds/100g, 100% Acrylic Shown in
MC – Taupe / White
A – Cream / Stream
B – Berry / Mauve
C- Soft Pink
D – Dark Oak / Slate
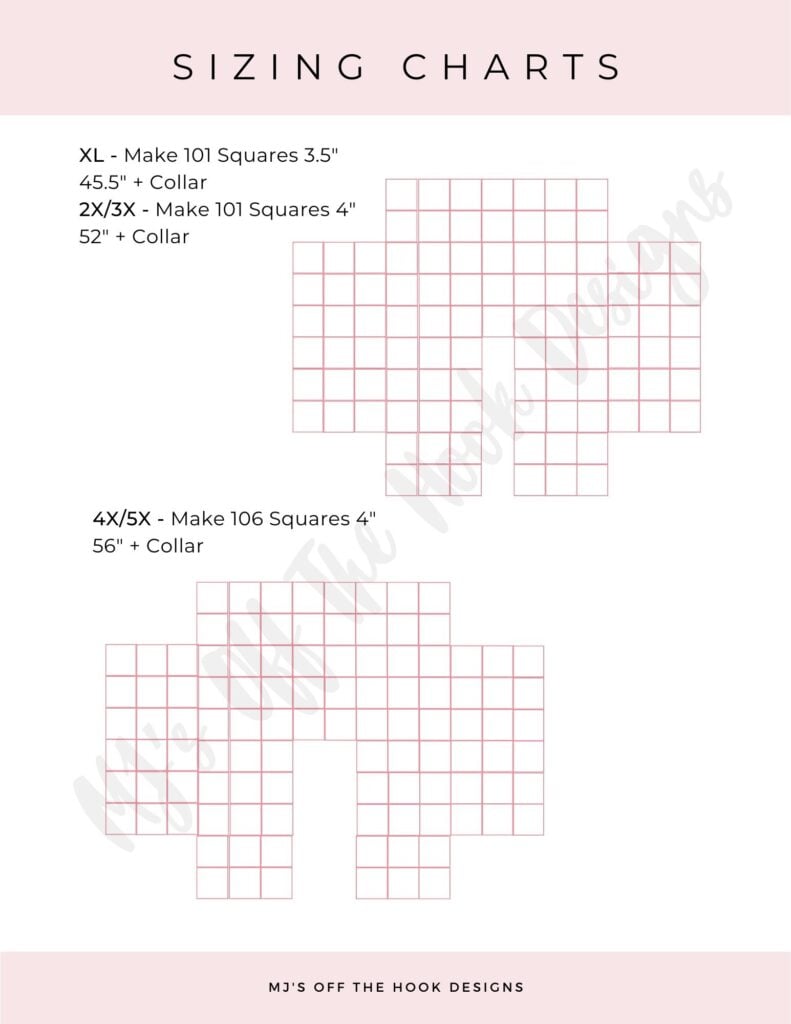
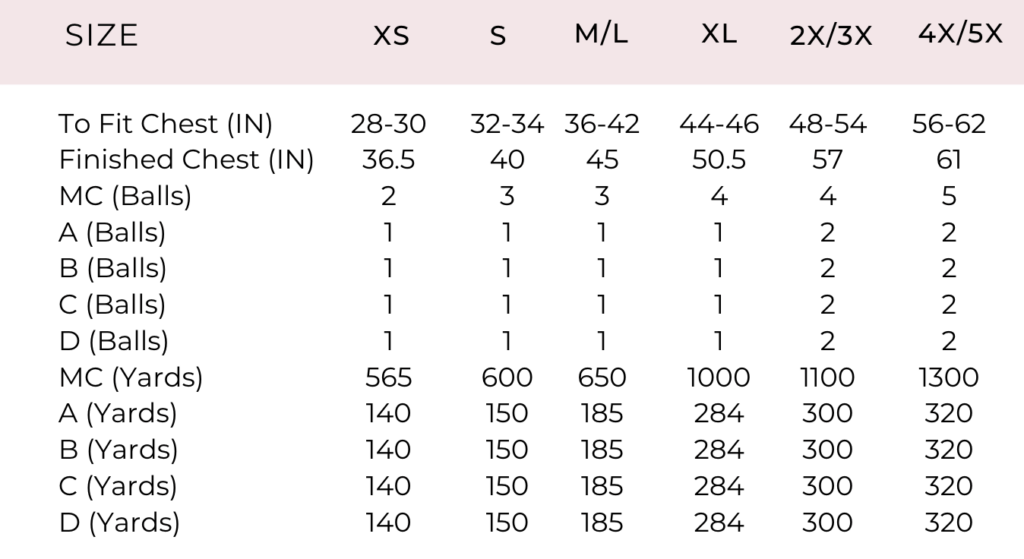
See the size chart directly below for yarn requirements
Size Chart
Yarn Substitutes
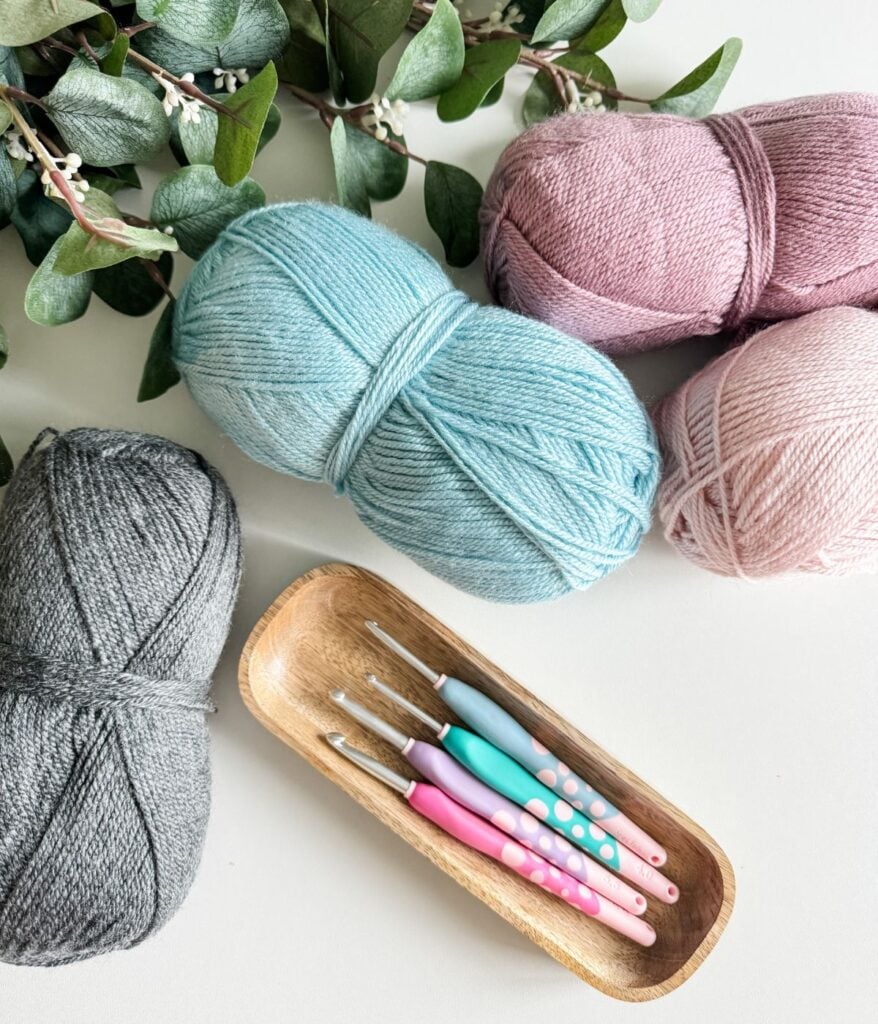
CotLin DK – 123 yards/50g
Bernat Softee Baby (CDN) – 362 yds/140g
Paintbox Cotton DK – 137yds/50g
Brava Recycle -306yds/100g
Sizes Included for the Granny Square Cardigan
XS (S, M/L, XL, 2X/3X, 4X/5X)
Crochet Hook Requirments
US G/6 (4mm) Crochet Hook or size needed to obtain gauge
US G+/7 (4.5mm) Crochet Hook or size needed to obtain gauge
Helpful Resources
- Join our Facebook Crochet Community for pattern support and inspiration
- Subscribe on YouTube for hundreds of free tutorials
- Sign up for our newsletter and receive 40% off your first Ravelry purchase!
- Sign up for our YouTube Membership
Gauge
Granny Square: 4 rounds equal to 4″ x 4″ with 4.5mm hook, 4 rounds equal to 3.5″ x 3.5″ with 4mm crochet hook
Ribbing: 10 sts and 10 rows equal to 2″ with 4mm crochet hook in sc blo
Abbreviations
Blo – Back Loop Only
Ch – Chain
Dc – Double Crochet
MC – Main Colour
Rep – Repeat
RS – Right Side
Sc – Single Crochet
Sk – Skip
Sl St – Slip Stitch
Sp(s) – Space(s)
St(s) – Stitch(es)
WS – Wrong Side
( ) – Work step in parentheses in indicated stitch
[ ] – Work step in brackets number of times indicated
Granny Square Cardigan Construction
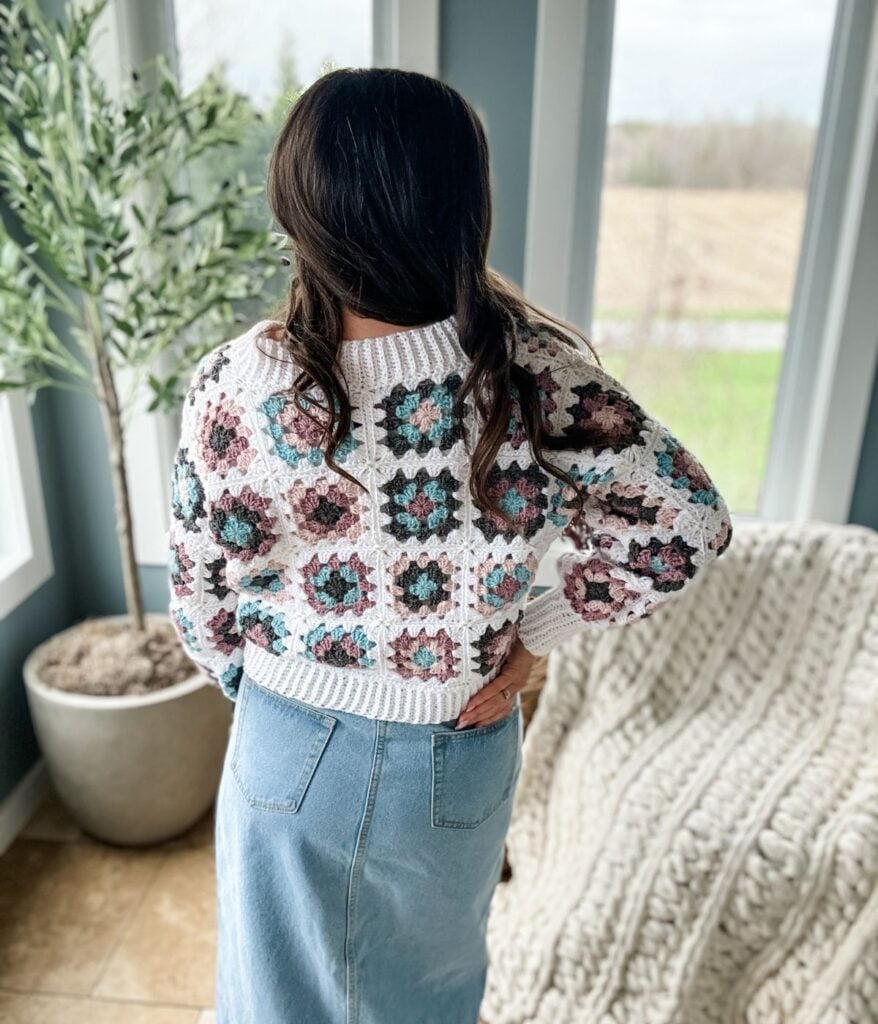
Begin crocheting your granny square motifs by crocheting them in the round, completing a total of three rounds for each square. Once you have made the necessary number of squares based on your desired size, utilize the join-as-you-go granny square technique to crochet the final round, seamlessly connecting the motifs as you go. Next, assemble the cardigan by seaming together the sides and sleeves. Finally, add the band, collar, and cuffs to complete the project with a polished finish.
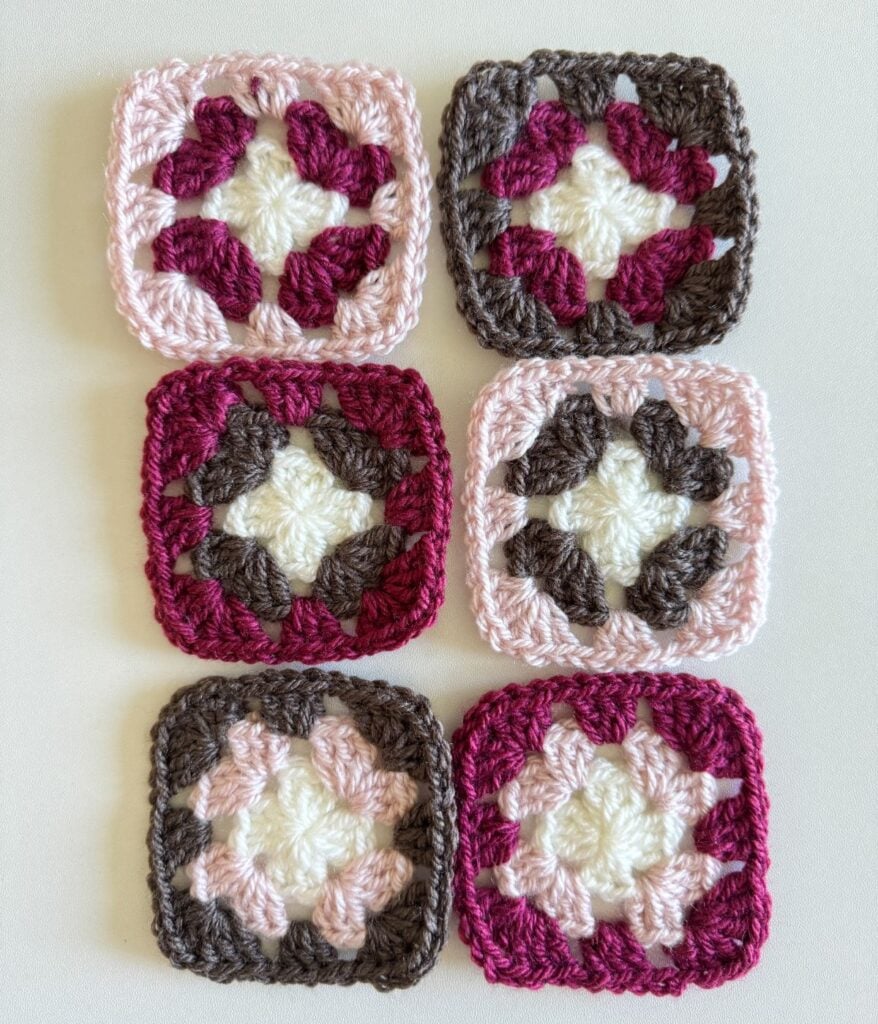
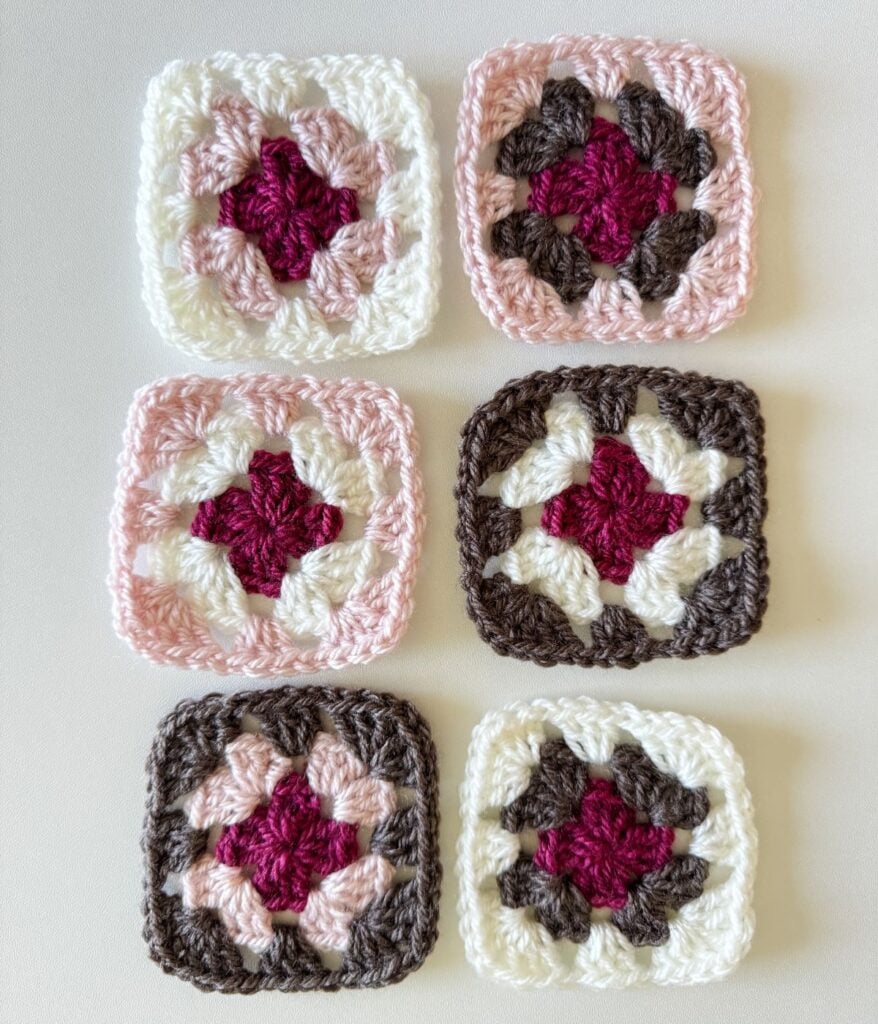
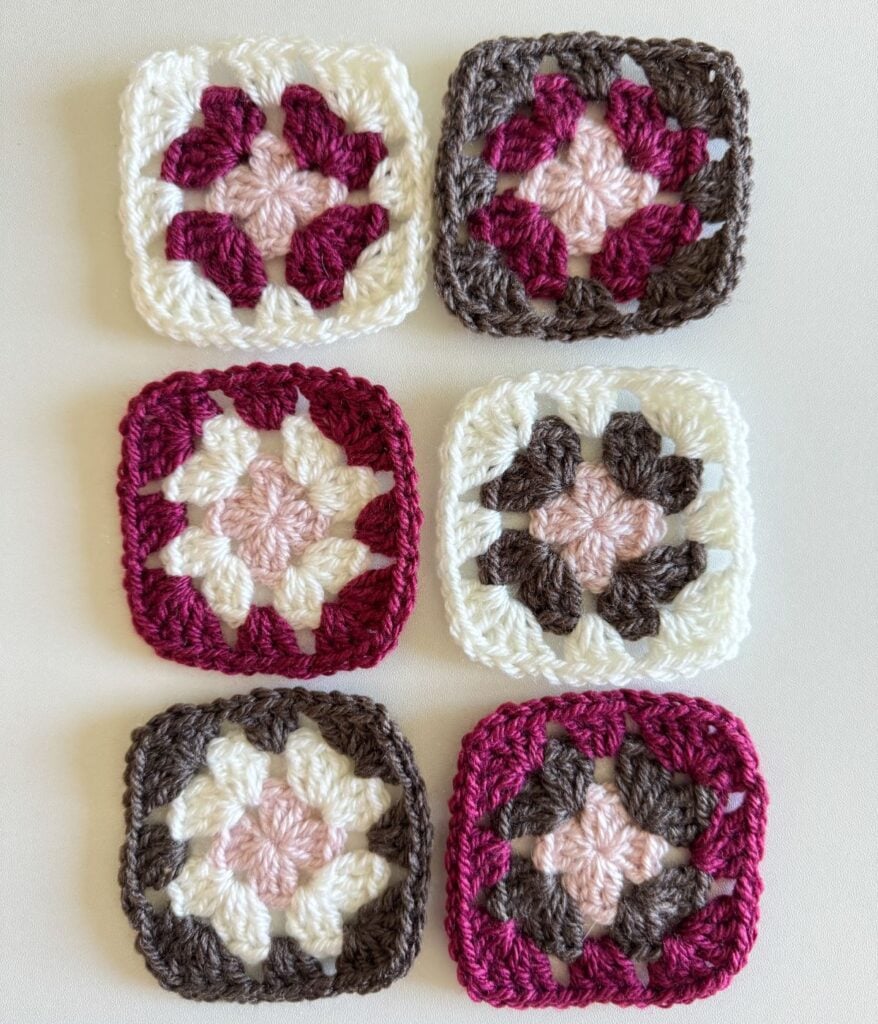
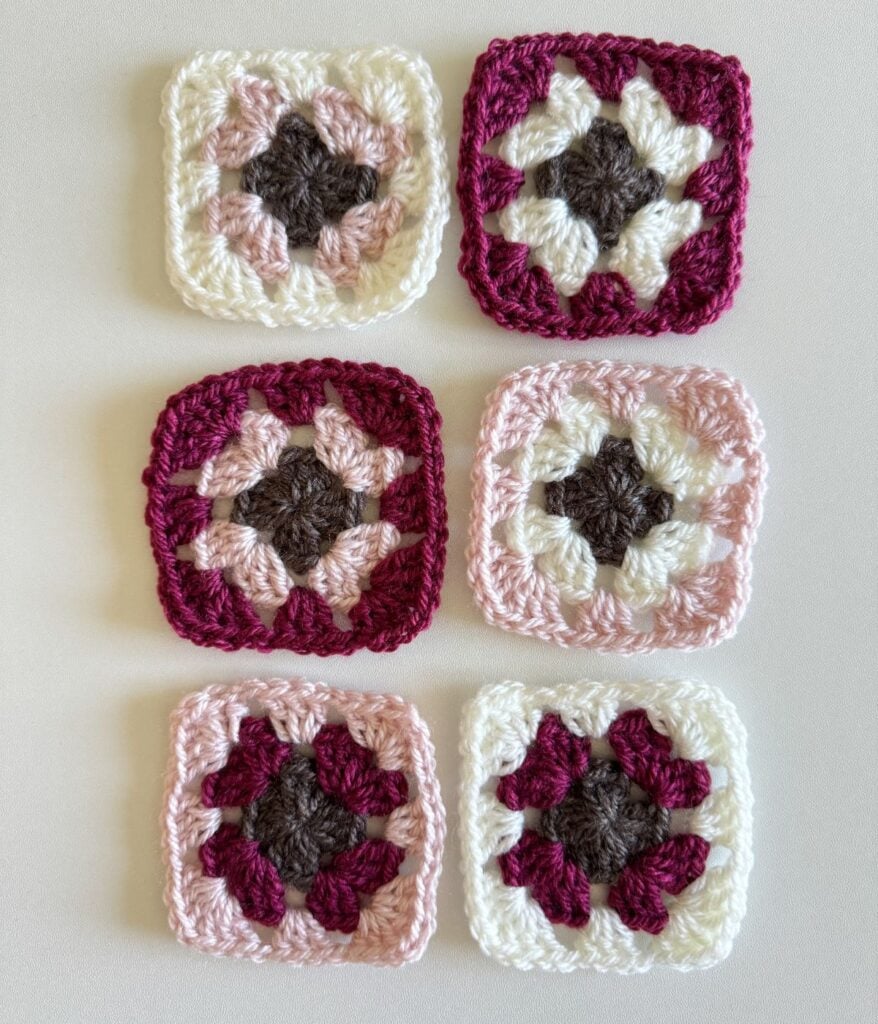
Suggested Colour Combinations
COMBINATION #1 (white center)
Colour A – 6 Squares Round 1
Colour B – 2 Round, 2 Round 3
Colour C – 2 Round, 2 Round 3
Colour D – 2 Round, 2 Round 3
COMBINATION #2 (dark pink center)
Colour B – 6 Round 1
Colour A – 2 Round, 2 Round 3
Colour C – 2 Round, 2 Round 3
Colour D – 2 Round, 2 Round 3
COMBINATION #3 (light pink center)
Colour C – 6 Round 1
Colour B – 2 Round, 2 Round 3
Colour A – 2 Round, 2 Round 3
Colour D – 2 Round, 2 Round 3
COMBINATION #4 (brown center)
Colour D – 6 Round 1
Colour B – 2 Round, 2 Round 3
Colour C – 2 Round, 2 Round 3
Colour A – 2 Round, 2 Round 3

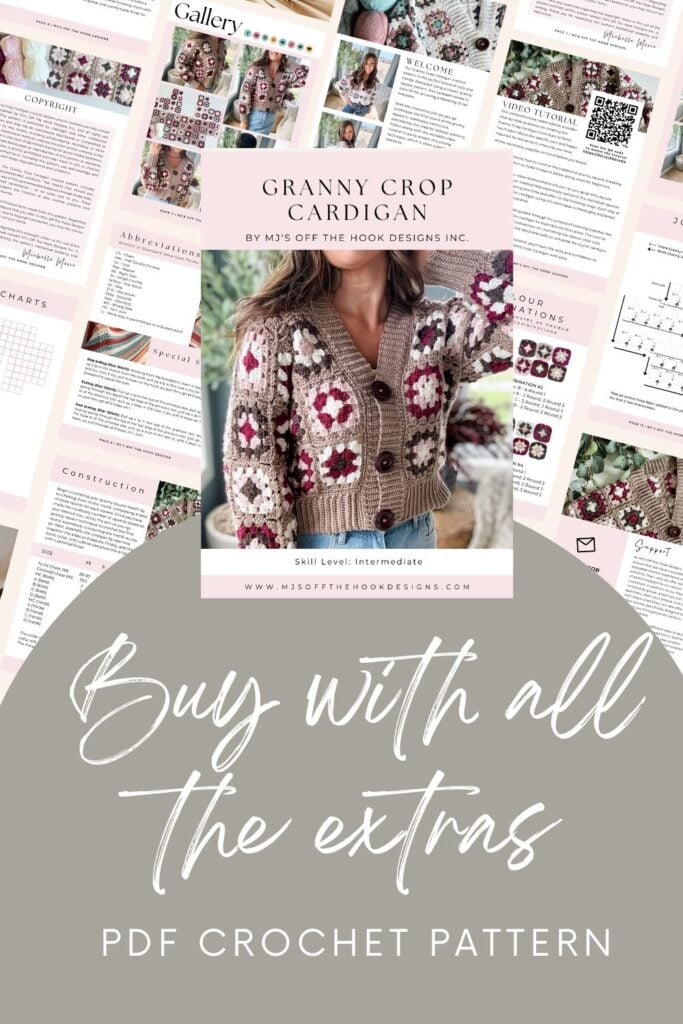
Purchase The Beautifully Designed PDF Crochet Pattern
The PDF includes the schematic and written join-as-you-go seaming instructions
Please note that my blog will never ask for credit card information. The PDF pattern is only available for download on Etsy or Ravelry. If you are asked to give credit card information while visiting my website, you have clicked on an ad.
FAQ & Terms
This pattern requires an intermediate skill level.
This pattern is professionally written in technical writing and tech edited for accuracy. You need to be familiar with technical repeats.
1. Affiliate Links & Ad Support
This post may contain affiliate links. At no extra cost to you, purchases made through these links may earn MJ’s Off The Hook Designs a small commission. The content on this site is supported by advertisements. By using this site, you agree not to circumvent, block, or tamper with these ads.
2. Copyright & Intellectual Property
All content on this blog, including free crochet patterns, instructions, charts, photos, videos, and written materials, is the property of MJ’s Off The Hook Designs Inc. and is protected under copyright and other intellectual property laws.
3. Personal Viewing & Use Only
Free patterns published on this site are provided for viewing only on this blog. You may not:
• Copy, download, print, take screenshots, or redistribute the pattern in any form (digital or physical) outside this blog.
• Post the pattern or instructions elsewhere online or share it publicly without written consent.
Even for “personal use,” the pattern must only be used while viewing this blog post with the ads intact. Tampering with, hiding, or removing ads while accessing the pattern is strictly prohibited.
4. Screenshots & Unauthorized Sharing
Screenshots or any other method of copying the pattern for offline use or redistribution is prohibited. Sharing patterns in forums, social media groups, or private messages without permission is also prohibited.
5. Legal Enforcement
Violation of these terms may constitute copyright infringement and could result in civil or criminal penalties under intellectual property laws. By using this pattern, you agree to comply fully with these terms.
6. Questions & Permissions
For questions about these terms or for permission to use or share patterns outside of these rules, please contact MJ’s Off The Hook Designs Inc. in writing.
Thank you for respecting our work and supporting MJ’s Off The Hook Designs.
Yes! You may sell finished items made from MJ’s patterns, but please credit:
“Pattern by MJ’s Off The Hook Designs Inc.”
Pattern Support is only available in our Facebook Community group and Video Tutorials.
No additional support is provided for modified patterns, alternate yarns, or changes to gauge.
If you’re seeing the message “Email subscription failed, please try again”, don’t worry — it’s usually an easy fix! Here are a few quick things to try:
First, double-check your login details. Make sure you’re signing in with the same email you originally used to create your Grow account. If you’re not sure, click “Forgot Password” to reset your login. Once you’ve updated it, return to my site and try again.
Next, clear your browser’s cache and cookies. Sometimes the login just gets stuck. You can also try opening the page in a private or incognito window, or switching to another browser like Chrome, Safari, or Firefox to see if that does the trick.
It also helps to make sure you’re logged into Grow directly. Visit https://grow.me and sign in there first. Once you’re logged in, come back to my site and refresh the page — your pattern should unlock automatically.
If you’re still having trouble, check your browser’s privacy settings. Grow needs cookies to verify your account, so make sure cookies and cross-site tracking are allowed. On iPhone, go to Settings → Safari → Privacy & Security, then turn off “Prevent Cross-Site Tracking” and “Block All Cookies.” On Android or Chrome, go to Settings → Site Settings → Cookies and select “Allow all cookies.”
Lastly, ad blockers or browser extensions can sometimes block the login pop-up. Try turning them off temporarily while you sign in. If nothing seems to work, log out of Grow completely by going to https://grow.me, selecting your profile icon, and choosing Log Out. Then come back to my site and try logging in again.
If you’re still stuck after trying all of this, please reach out through my Contact Page and let me know what device and browser you’re using (and include a screenshot if you can).
Granny Square Crop Cardigan
Pattern
To unlock Exclusive Content on my Blog, all you need to do is click the box below and the Grow.me app will pop up, allowing you to enter your email and create a password. Once you’ve created an account, every time you see Exclusive Content on my blog, simply login to your Grow account. Be sure to switch to the login screen to enter your login credentials.
If you forget your password, click the “forgot password” link and follow the prompts. Please note that I’m unable to assist with resetting Grow passwords or accessing your Grow account, so be sure to save your login information in a safe place.
To make things even easier, I’ve created a video for both desktop and mobile users that offer additional assistance. You can access this video by visiting my FAQs page HERE or by watching the video below.
Thank you for subscribing and for joining me on my crochet journey. I hope you enjoy the exclusive content available to our subscribers and create beautiful crochet projects using the resources you discover.
Join-As-You-Go Ribbing
Directions are for a 3″ band.
Row 1:
With the 4mm hook, ch 15, 1 sc in the 2nd ch from hook and in each ch across, sk first st at the base row, sl st in the next 2 sts (base row), turn—14 sts.
Row 2:
Sk sl sts, 1 sc in the blo of each st across, turn—14 sts.
Row 3:
Ch 1, work 1 sc in the blo of each st across, sl st in next 2 sts (base row), turn—14 sts.
Rep Row 2 & 3 across the bottom edge of the cardigan. Don’t fasten off, continue to collar.
Collar
Setup Row (RS):
With RS facing and 4 (4, 4.5, 4, 4.5, 4.5)mm hook, continue from the bottom corner of the right front panel. Ch 1, sc in the blo of each st and ch across ending at the bottom left panel, turn.
Base Row (WS):
With 4mm hook, ch 1, 1 sc in each st across, turn.
Join-As-You-Go Ribbing
Notes: For split sizes, you may want to increase the width of the ribbing for additional ease (refer to size chart for finished bust). For sizes L, 3X and 5X, chain 15-19 instead of 11.
Mark Buttonholes:
Watch the tutorial for directions.
With RS facing at the front right side, count 4 sts from the bottom edge, pm in the 5th st, *count 18 sts, pm in the 19th st; rep from * [one more time] for crop length. Add additional buttons if needed for a longer cardigan. For large 40mm buttons, the buttonhole will be 4 sts.
Buttonhole Row:
Ch 1, work 1 sc in the blo 2 sts, 1 sc next st, ch 4, sk 4 sts, 1 sc in next st, 1 sc in the blo last 2 sts.
Next Row:
Ch 1, work 1 sc in the blo 3 sts, 4 sc in ch-4 sp, 1 sc in last 3 sts.
The collar is joined as you go to the edging base row.
Row 1:
Ch 11, 1 sc in 2nd ch from hook and in each ch across, sk first st at the edge, sl st in next 2 sts, turn—10 sts.
Row 2:
Sk sl sts, 1 sc in the blo of each st across, turn—10 sts.
Row 3:
Ch 1, work 1 sc in the blo of each st across, sl st in next 2 sts, turn—10 sts.
Rep Row 2 & 3 for the entire edge of the cardigan working buttonhole row at each marked st. Fasten off and weave in tails. Sew buttons opposite the buttonholes.
Sleeve Cuff:
Repeat for left and right sleeves.
Sleeve Edge:
With RS facing and the smaller hook join yarn to the seamed edge of sleeve, ch 1, *work 1 sc in ch-1 sp, sk 1 dc, 1 sc in the 2nd dc, sk 1 dc; rep from * around, sl st in first sc to join—32 (32, 32, 48, 48, 48 )sts.
Cuff
The cuff is joined as you go to the sleeve edge.
Row 1:
Ch 19, 1 sc in 2nd ch from hook and in each ch across, sk first st at the sleeve edge, sl st in next 2 sts (sleeve edge), turn—18 sts.
Row 2:
Sk sl sts, 1 sc in the blo of each st across, turn—18 sts.
Row 3:
Ch 1, work 1 sc in the blo of each st across, sl st in next 2 sts (sleeve edge), turn—18 sts.
Rows 4- 32 (32, 32, 48, 48, 48):
Rep Rows 2 and 3, ending on Row 2. After the last row, ch 1, with RS facing sl st band together by going through the starting ch and blo. Fasten off and weave in tails.
Finishing:
Lightly steam the cardigan to finish.
If you loved this pattern, you might also love these crochet patterns:
This pattern is designed by Michelle Moore of MJ’s Off The Hook Designs Inc, based in Lakefield, Ontario, Canada. Your go-to source for modern, easy crochet patterns. Published on April 22nd, 2024.
Thank you for visiting MJ’s Off The Hook Designs. I hope you enjoyed this pattern and feel inspired to pick up your hook and start creating.
You can find even more crochet patterns in our Ravelry and Etsy shops.
For daily inspiration and behind-the-scenes peeks, join me over on Facebook or Instagram, or join our YouTube Membership for exclusive content!tion!

