*This post may contain affiliate links to support the cost of this blog. At no cost to you, I may make a small commission if you purchase through these links. Read our Privacy Policy HERE
One of the most common questions crocheters ask is:
“Can I use a different yarn weight for this pattern?”
The short answer is yes — but it requires planning, swatching, and math.
Changing yarn weight affects:
- Stitch counts
- Row counts
- Finished size
- Yarn yardage
- Fabric drape
If the stitch counts are not adjusted, the finished project will turn out larger or smaller than intended.
In many cases, substituting yarn weight requires recalculating the pattern based on a new gauge, which means you are essentially creating a modified version of the pattern.
This guide will walk you through how yarn substitution works so you can confidently adapt patterns on your own.
Why Designers Can’t Always Answer This Quickly
Crochet designers are often asked:
“Can I just use a different yarn weight?”
While it might sound like a simple question, the reality is that yarn substitution often requires the same steps a designer would use when creating the pattern in the first place.
Even designers must:
- Crochet a gauge swatch
- Measure stitches and rows
- Calculate stitches per inch
- Recalculate stitch counts for the project
Because of this, switching yarn weight is not always a quick answer. It often involves working through the math and adjusting the pattern accordingly.
Understanding how to do these calculations yourself will give you the freedom to adapt patterns to the yarn you prefer to work with.
The Golden Rule of Yarn Substitution
Before diving into the math, it helps to remember one simple rule.
| Yarn Weight Change | What Happens |
|---|---|
| Lighter yarn | More stitches and more rows |
| Same yarn | Pattern works as written |
| Heavier yarn | Fewer stitches and fewer rows |
This is why changing yarn weight affects the final size of your project.
Step-by-Step: How to Substitute Yarn
Whenever you want to change yarn weight, follow these steps.
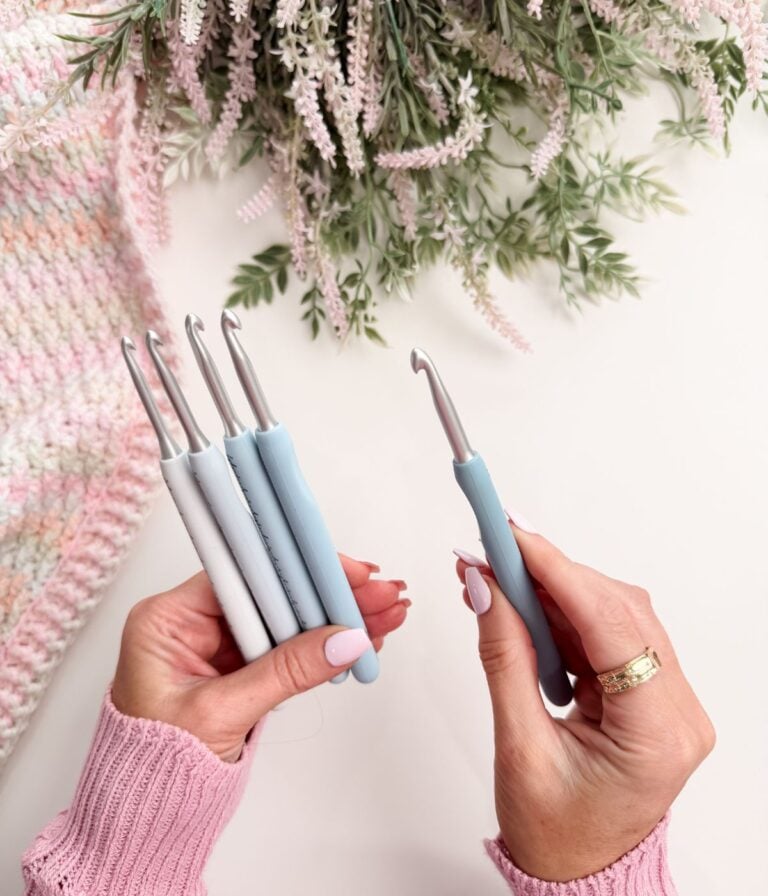
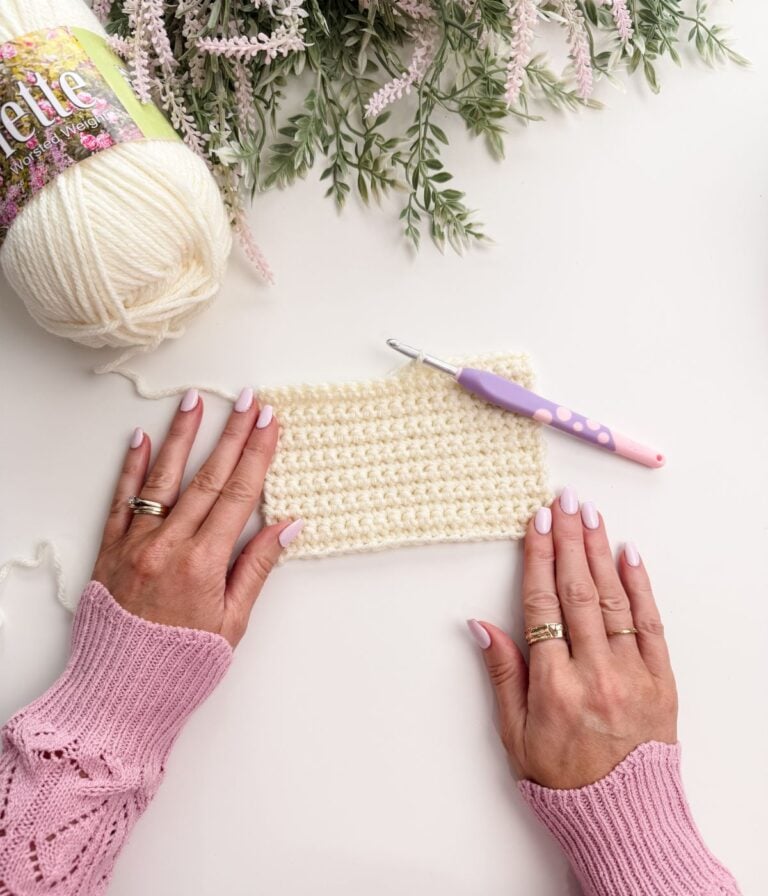
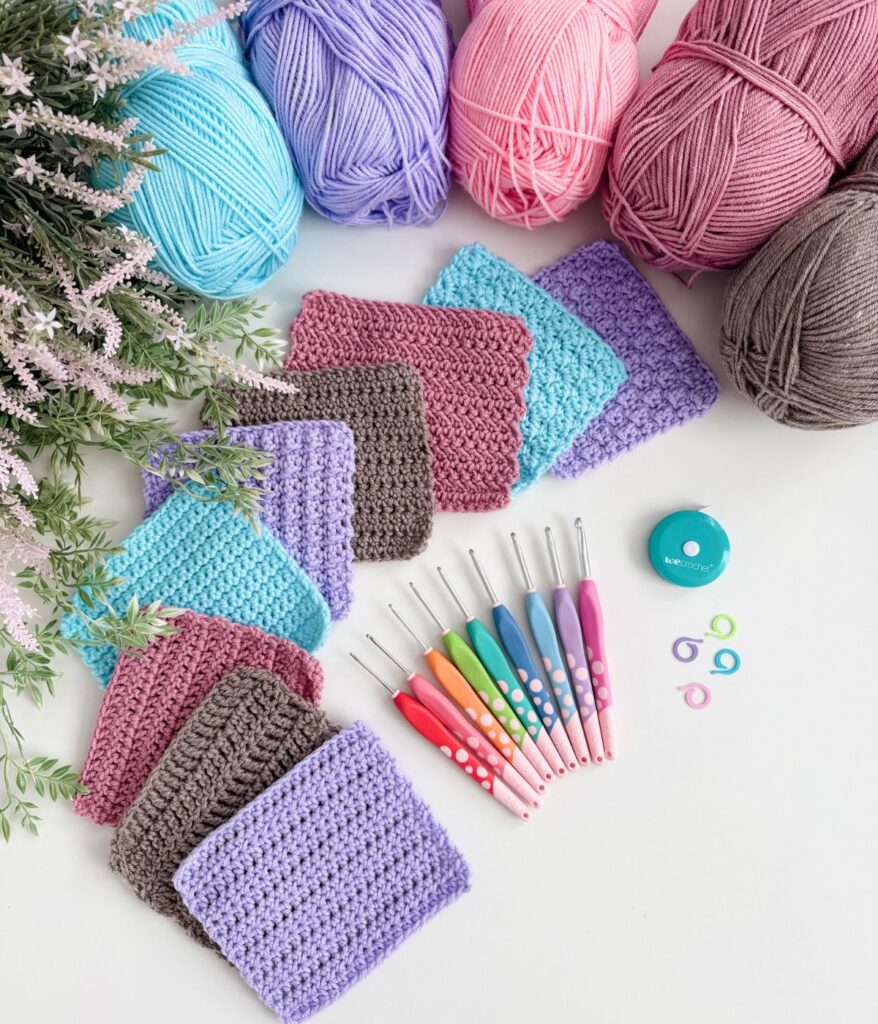
Step 1 – Make a Gauge Swatch
Crochet a swatch using the same stitch pattern as the design.
Your swatch should be at least 4 inches by 4 inches.
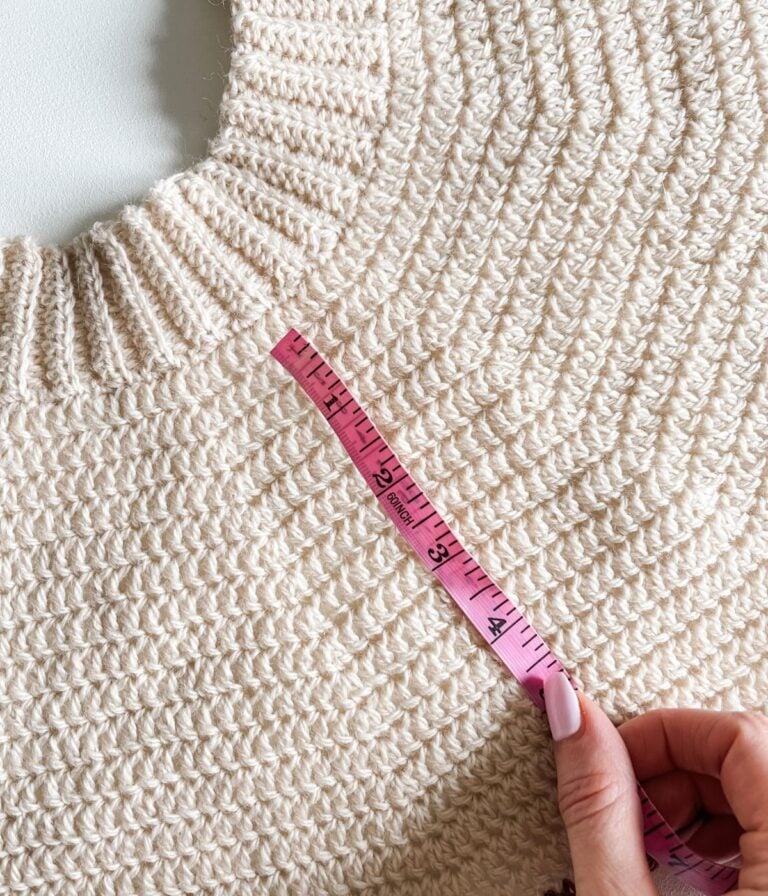
Step 2 – Measure Your Gauge
Count the stitches and rows within 4 inches.
Example:
20 stitches = 4 inches
16 rows = 4 inches

Step 3 – Calculate Stitches Per Inch
Divide the stitch count by 4.
Example:
20 ÷ 4 = 5 stitches per inch
Step 4 – Calculate Rows Per Inch
Divide the row count by 4.
Example:
16 ÷ 4 = 4 rows per inch
Step 5 – Calculate Your New Stitch Counts
Use these formulas:
Stitches per inch × finished width = stitch count
Rows per inch × finished height = row count
These formulas allow you to calculate how many stitches and rows you need for your project.
Example 1: Substituting Yarn in a Blanket
Blankets are one of the easiest projects to modify because they are usually simple rectangles.
Let’s imagine a blanket pattern made with worsted-weight yarn.
Pattern Gauge
16 stitches = 4 inches
12 rows = 4 inches
Which equals:
4 stitches per inch
3 rows per inch
Original Blanket Size
50 inches wide
60 inches long
Stitch Count
50 inches × 4 stitches per inch
= 200 stitches
Row Count
60 inches × 3 rows per inch
= 180 rows
So the original blanket would be:
200 stitches × 180 rows
Using a Lighter Yarn (DK Weight)
After making a gauge swatch with DK yarn, you measure:
20 stitches = 4 inches
16 rows = 4 inches
Which equals:
5 stitches per inch
4 rows per inch
New Stitch Count
50 × 5
= 250 stitches
New Row Count
60 × 4
= 240 rows
Your DK version becomes:
250 stitches × 240 rows
The blanket remains the same size, but the stitch counts change.
Using a Bulkier Yarn
Now, imagine you want to use bulky yarn.
Your swatch measures:
12 stitches = 4 inches
9 rows = 4 inches
Which equals:
3 stitches per inch
2.25 rows per inch
New Stitch Count
50 × 3
= 150 stitches
New Row Count
60 × 2.25
≈ 135 rows
So the bulky version becomes:
150 stitches × 135 rows
Example 2: Substituting Yarn in a Crochet Garment
Garments are more complex than blankets because they must match body measurements and often involve shaping.
For this example, imagine a cardigan designed for a 40-inch bust.
Original Pattern Gauge (Worsted Yarn)
16 stitches = 4 inches
12 rows = 4 inches
Which equals:
4 stitches per inch
3 rows per inch
Bust Stitch Count
40 × 4
= 160 stitches
This means the sweater needs 160 stitches around the bust.
Using DK Yarn
Your DK swatch measures:
20 stitches = 4 inches
16 rows = 4 inches
Which equals:
5 stitches per inch
4 rows per inch
New Bust Stitch Count
40 × 5
= 200 stitches
So the sweater would need 200 stitches around the bust instead of 160.
Adjusting Row Counts
If the sweater length is 24 inches:
Original row count:
24 × 3 = 72 rows
DK version:
24 × 4 = 96 rows
Using Bulky Yarn
Now imagine using bulky yarn.
Swatch gauge:
12 stitches = 4 inches
9 rows = 4 inches
Which equals:
3 stitches per inch
2.25 rows per inch
New Bust Stitch Count
40 × 3
= 120 stitches
New Row Count
24 × 2.25
≈ 54 rows
Why Garment Substitution Is More Complicated
Changing yarn weight affects every part of a garment, including:
- Yoke depth
- Sleeve width
- Armhole shaping
- Neckline shaping
- Garment length
This means yarn substitution may require recalculating several parts of the pattern.
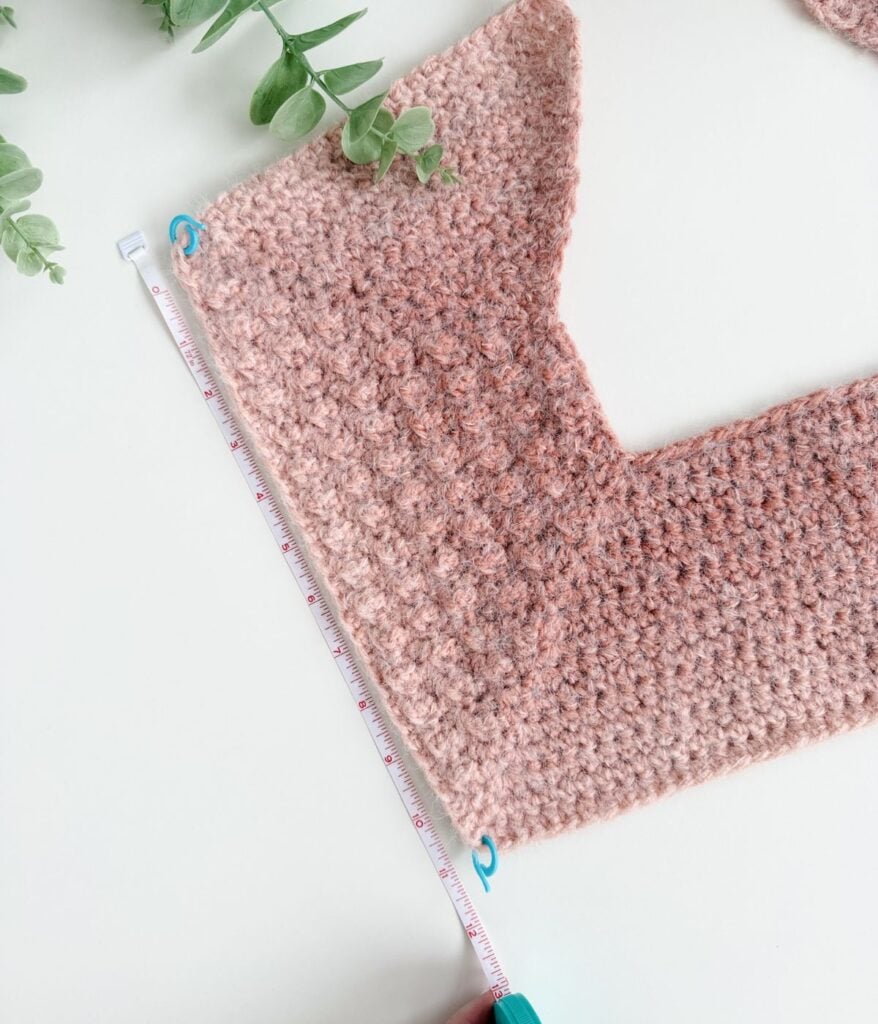
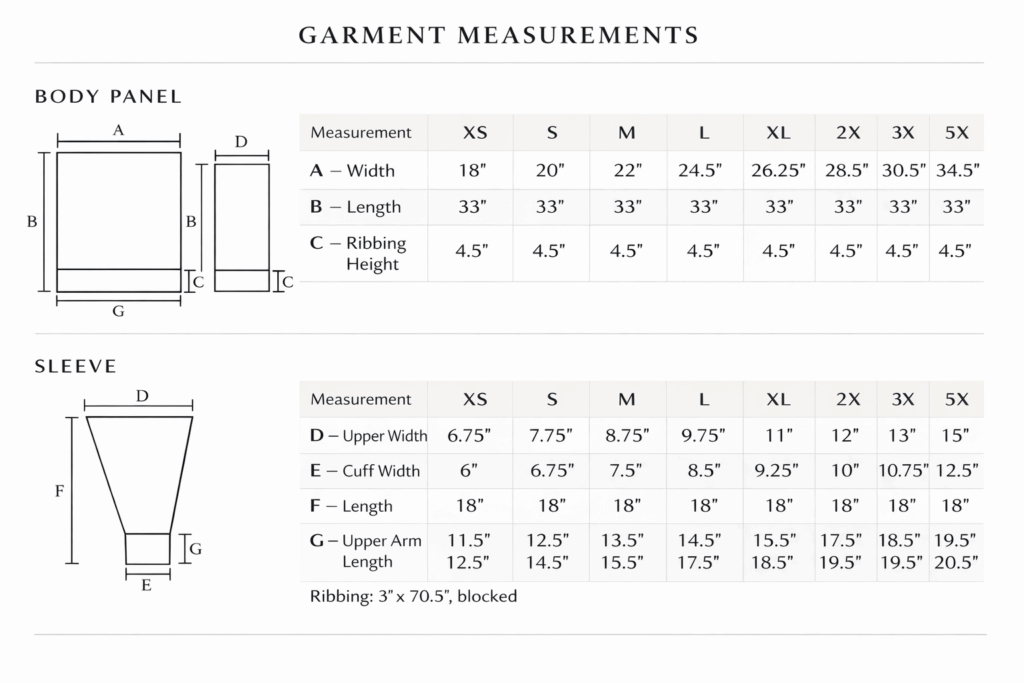
Using the Pattern Schematic Instead
Sometimes the easiest way to substitute yarn weight is to follow the finished measurements shown in the schematic rather than the written stitch counts.
A schematic might show measurements such as:
Back panel width: 20 inches
Body length: 24 inches
Sleeve width: 14 inches
Instead of following the pattern stitch counts, you can:
- Calculate stitches per inch from your swatch
- Chain the number of stitches needed to reach the required width
- Work rows until you reach the required length
This method works best for simpler constructions such as:
- Drop shoulder sweaters
- Panel-constructed garments
- Rectangular cardigans
Simple Rectangle Garment Schematic
A basic drop-shoulder style garment can be visualized like this:
- Body width
- Body length
- Sleeve length
- Sleeve width
When Yarn Substitution Works Best
Yarn substitution tends to work best for projects with simpler construction, such as:
- Blankets
- Scarves
- Rectangular garments
- Drop shoulder sweaters
These projects rely mainly on measurements rather than shaping.
Patterns That Are Harder to Modify
Some patterns are more difficult to convert because they rely on precise stitch placement.
These include:
- Raglan sweaters
- Top-down yokes
- Mosaic crochet
- Colourwork designs
- Fitted garments
These designs may require significant recalculations if yarn weight changes.
How Yarn Substitution Affects Yardage
Changing yarn weight also changes how much yarn your project requires.
General rule:
Lighter yarn → more yardage required
Bulkier yarn → less yardage required
Because fibre content and stitch patterns also affect yarn usage, it’s always a good idea to purchase extra yarn when substituting yarn weights.
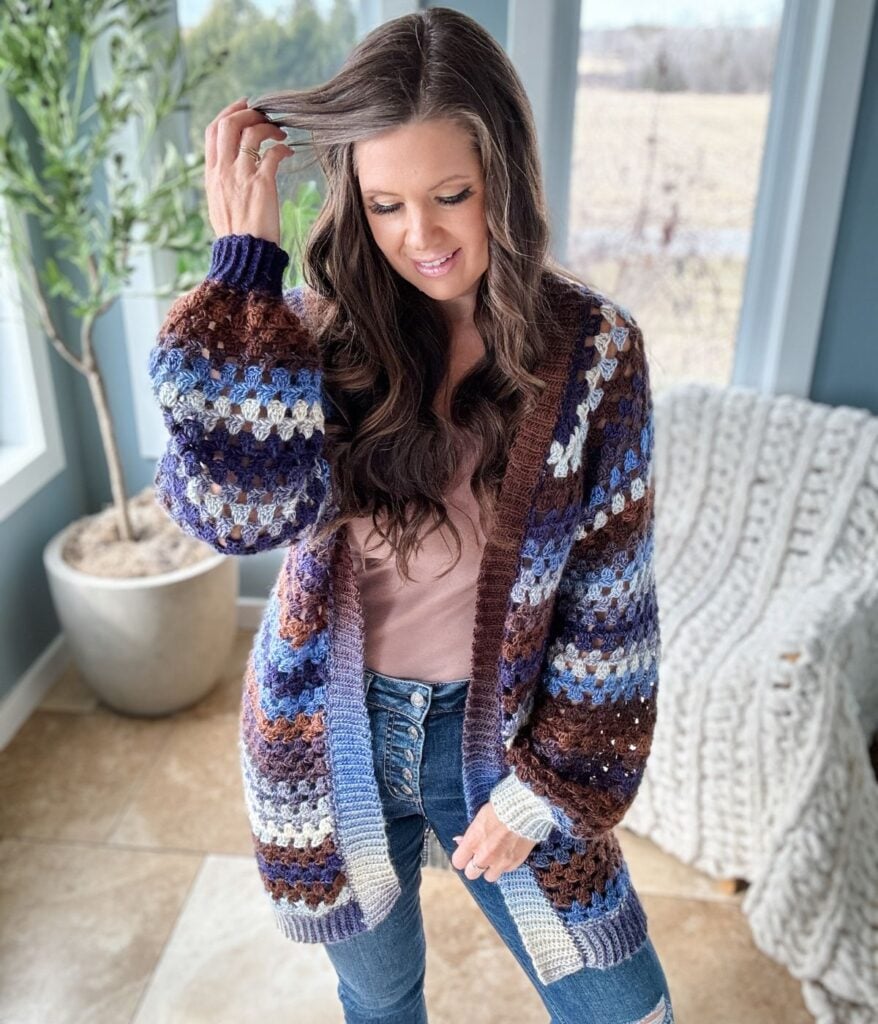
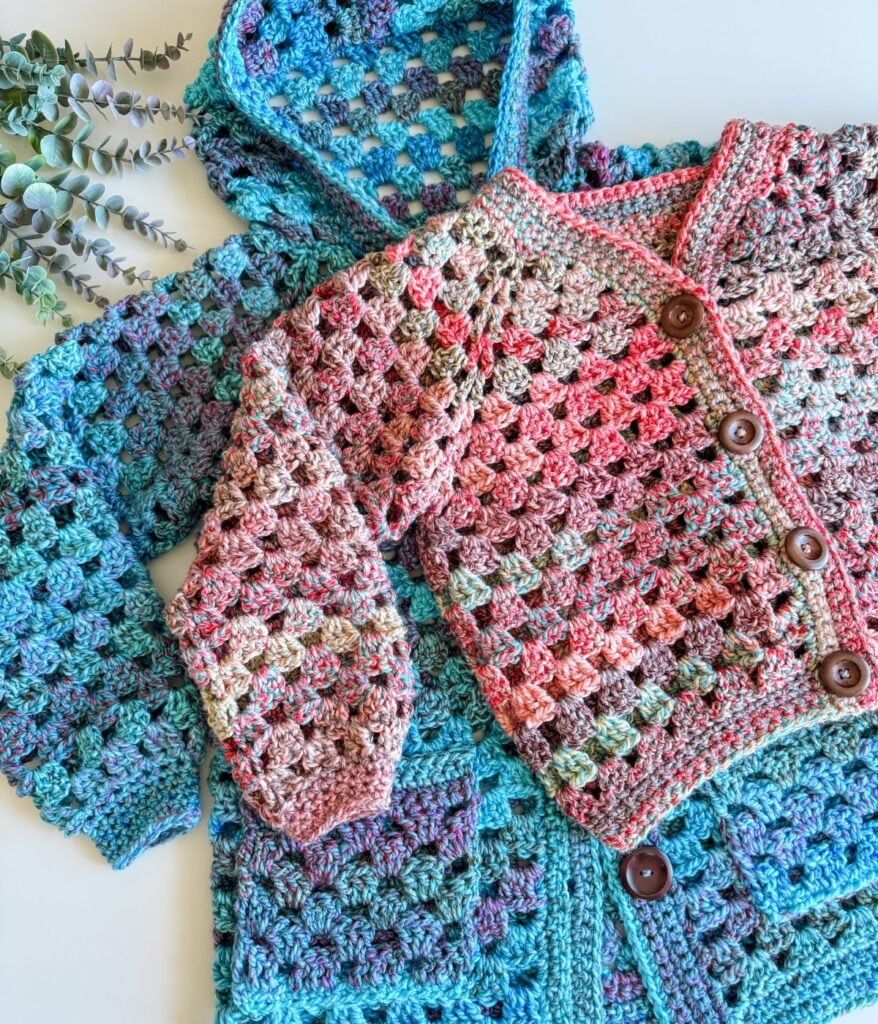
A Real Example From My Own Designs
In my Granny Pop cardigan, the original design used a DK to light worsted-weight yarn.
Later, many crocheters asked for a bulky version.
Because bulky yarn has a completely different gauge, the stitch counts had to be drastically reduced. In fact, the stitch counts ended up closer to the baby size of the original pattern in order to create an adult sized cardigan.
That bulky version eventually became its own pattern.
This shows how dramatically yarn weight can change a design.
An Easier Option
If adjusting stitch counts feels overwhelming, another option is to look for patterns designed specifically for the yarn weight you want to use.
On my blog, you can easily search patterns by yarn weight to find designs that match the yarn you already have.
Some popular patterns are even designed in multiple yarn weights.
For example, my Granny Pop collection includes versions made in both lighter yarns and bulky yarns to suit different preferences.
Final Thoughts
Learning to substitute yarn weight is an advanced crochet skill, but once you understand gauge and stitch calculations, it becomes much easier to adapt patterns.
With a little swatching and some simple math, you can customize almost any crochet pattern to suit the yarn you want to use.
And if you prefer to skip the calculations, choosing a pattern that already uses your preferred yarn weight is always a great option.
Helpful Resources
Sign up for our YouTube Membership
Join our Facebook Crochet Community for pattern support and inspiration
Subscribe on YouTube for hundreds of free tutorials
Sign up for our newsletter and receive 40% off your first Ravelry purchase!
This lesson is part of the Learn to Crochet course by Michelle Moore of MJ’s Off The Hook Designs Inc, based in Lakefield, Ontario, Canada.
Thank you for learning with me at MJ’s Off The Hook Designs. I hope this lesson encourages you to keep practising and enjoying the process of crochet.
You’ve got questions, we’ve got a community!
Crocheting is better with friends! Join our group to post pictures and ask all your pattern support questions.