*This post may contain affiliate links to support the cost of this blog. At no cost to you, I may make a small commission if you purchase through these links. Read our Privacy Policy HERE


Everything You Need to Know About Gauge, Yarn Weights, and Substituting Yarn
One of the most common frustrations for new crocheters is finishing a project only to discover it turned out too big, too small, or a completely different shape than expected. The good news is that there is a simple solution. It all comes down to gauge.

Gauge is one of the most important concepts in crochet, and learning how to measure it will save you time, yarn, and stress. This beginner-friendly guide explains what gauge is, how to check it, why it matters, and how to substitute yarn with confidence.
Below you will find everything you need to start using gauge correctly so your crochet projects turn out the way the pattern intended.
Key Points
- Understanding gauge is crucial for ensuring your crochet projects fit and look as intended.
- Check gauge by crocheting a swatch using the recommended yarn and hook size, then measure stitches and rows.
- If your gauge doesn’t match, adjust your hook size or tension accordingly to achieve a better fit.
- Yarn weights impact gauge and fabric density; always check labels for guidance on hook size and gauge.
- Substituting yarn is possible by matching weight, comparing gauge, and checking fiber content before swatching.
What Is Gauge in Crochet?
Gauge is the number of stitches and rows per square inch, usually 4 inches. A pattern will include a gauge, so you know how tight or loose your stitches should be before you start your project.
For example
Gauge
10 stitches and 10 rows equal four inches in single crochet
This tells you how many stitches you should have in that space when working with the recommended hook size and yarn.
Why Does Gauge Matter?
Gauge affects the finished size, shape, and fit of your project. Here is why it makes a difference
- Ensures garments fit properly across all sizes
- Prevents blankets from turning out too long or too narrow
- Helps you use the correct amount of yarn
- Creates consistent stitch tension
- Makes yarn substitutions more successful
Even small variations in tension can change the outcome of your project, especially with garments.
How Gauge Connects to Sizing and Pattern Accuracy
All crochet patterns are essentially math equations. Every size in a pattern is graded based on the designer’s gauge. That means the stitch counts, shaping, and schematic measurements are calculated from that exact tension.
When your gauge matches the pattern gauge
- Your finished piece will come out to the correct measurements
- Garments will fit with the intended ease from the size chart
- Lengths, widths, and shaping will align with the schematic
- You will use the right amount of yarn
If your gauge is off by even a small amount, the math no longer works. A hat can come out too large, a sleeve can become too long, or a sweater can fit tighter or looser than expected.
When making garments, always choose your size based on your preferred finished measurements, not your usual clothing size. Compare the schematic to a garment you love the fit of, then match your gauge before you begin.
Getting gauge means the pattern does the math for you, so you can relax and enjoy the stitching.
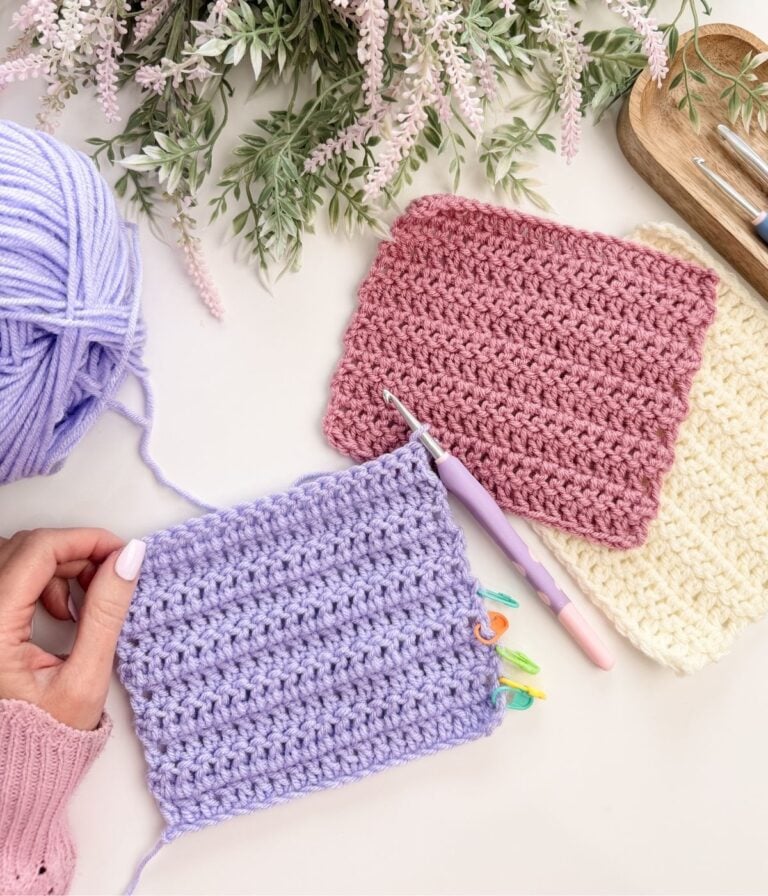
How to Check Gauge
Checking the gauge only takes a few minutes and saves hours of rework later. Here is how to do it
- Use the yarn and hook size listed in the pattern
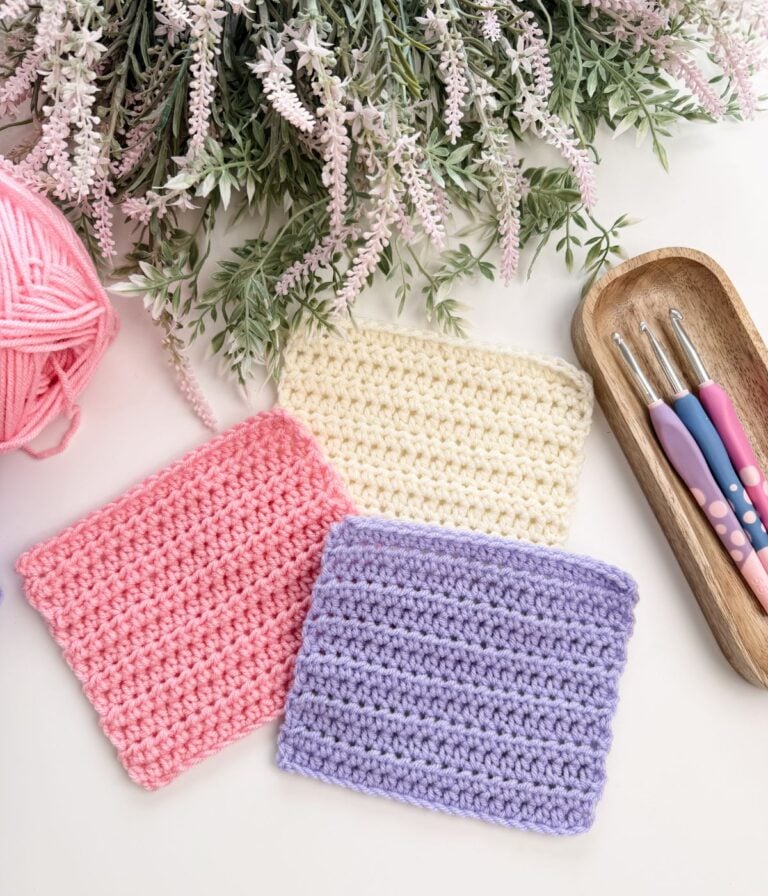
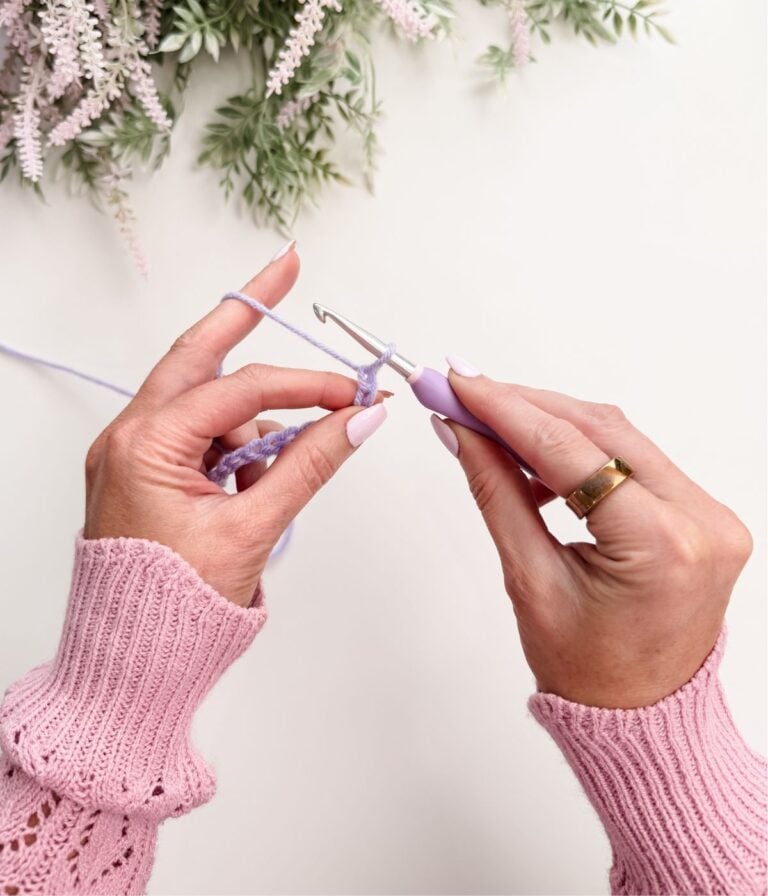
- Crochet the recommended stitch pattern for a swatch
- Make a square at least six inches wide
- Lay it flat without stretching
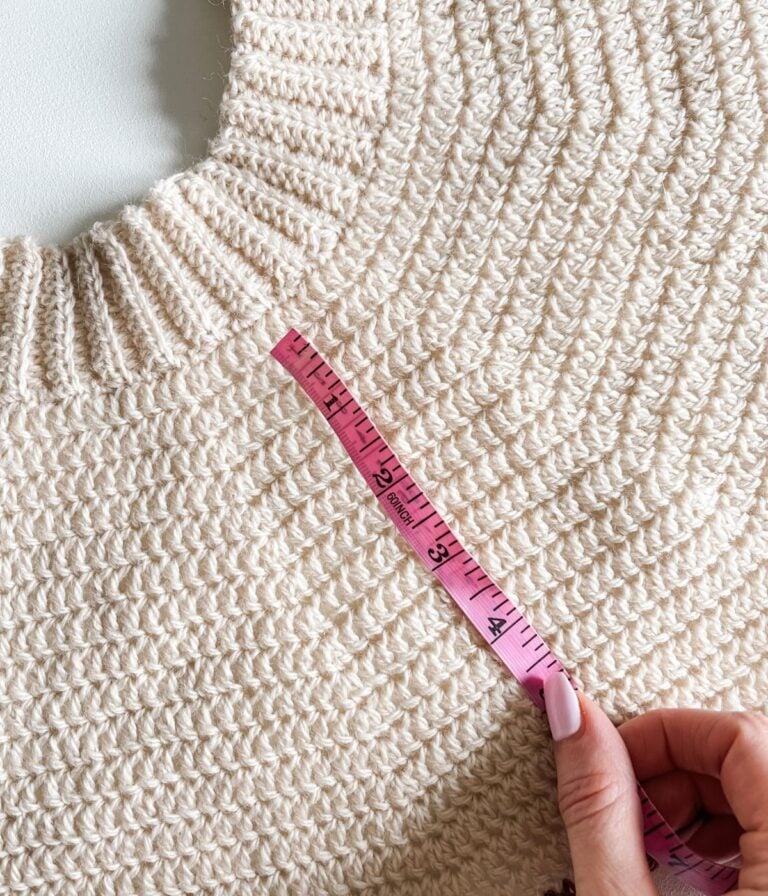
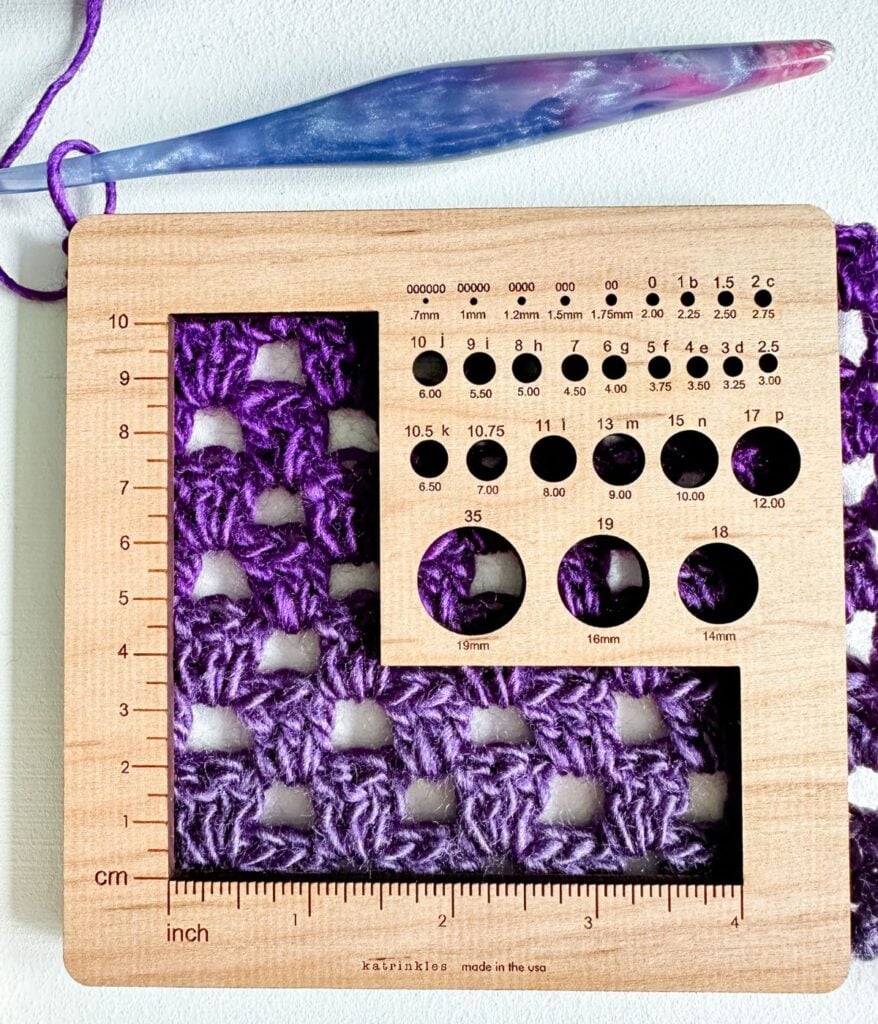
- Measure across four inches and count stitches and rows. You can either use a measuring tape or a handy gauge tool.
Do not measure the edge of the swatch. Count inside the square for the most accurate results.
Check out our Granny Pop Gauge Guide Tutorial
Mary Maxim Prism (CDN) Shown in Iris
Your Gauge Swatch Must Match the Stitch Pattern
One of the most important and most overlooked rules of gauge is this:
Your gauge swatch must be made using the same stitch pattern used in the pattern.
If the main stitch pattern of the garment is for example:
- half double crochet
- moss stitch
- a textured or post-stitch pattern
Then your gauge swatch must use that exact stitch pattern.
A single crochet swatch does not accurately represent the fabric behaviour of a half double crochet garment. Stitch height, drape, and density all vary depending on the stitch choice.
Always swatch in:
- the same stitch pattern
- the same stitch multiple
- the same construction direction, when possible
This gives you a true representation of the finished fabric.
How Big Should Your Gauge Swatch Be
One of the most important things to know about gauge is that your swatch must be larger than the measurement you are checking. If a pattern lists a gauge over 4 inches, do not make a 4-inch swatch.
Always make your swatch at least six to eight inches wide and tall. This gives you enough room to measure accurately without edge distortion. The stitches at the edges are usually looser and can throw off your results.
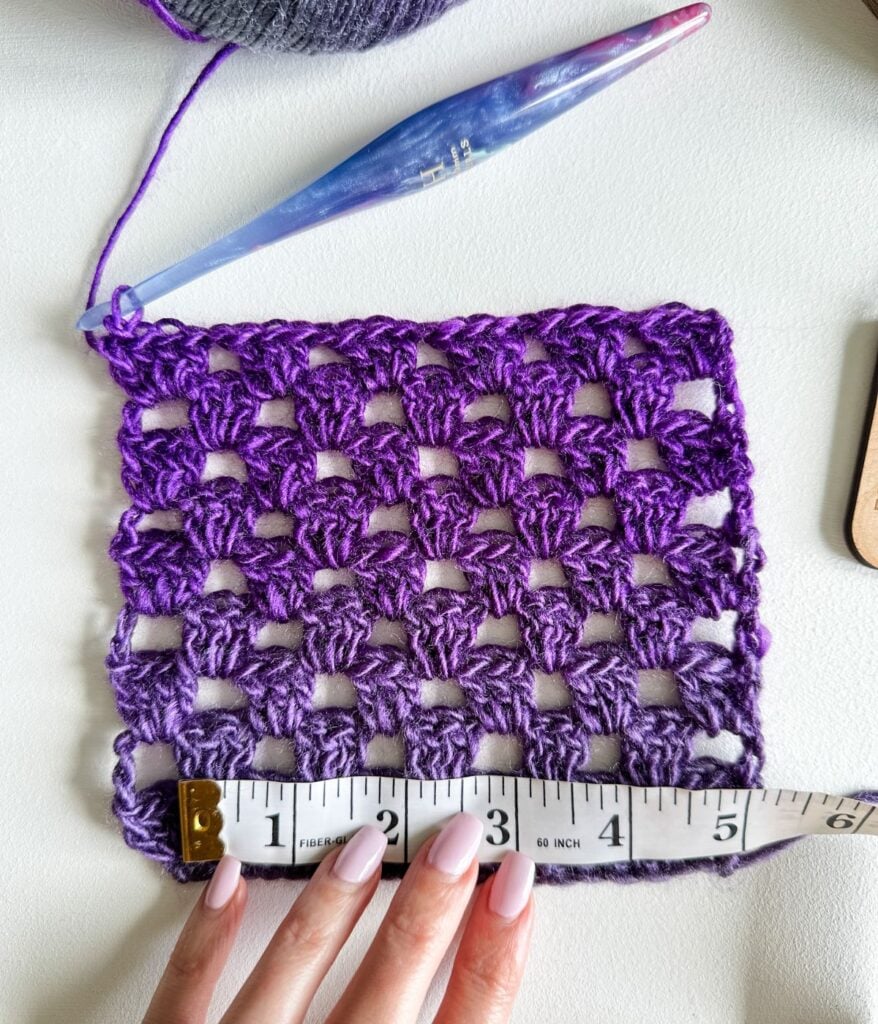
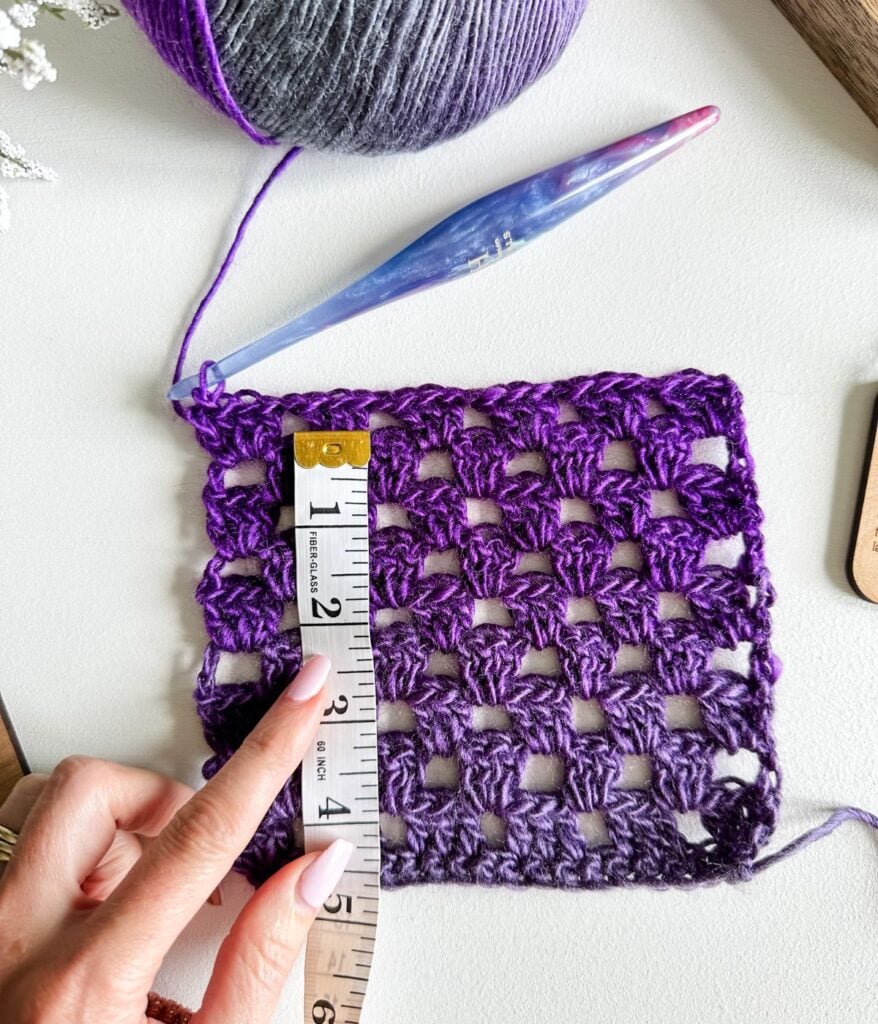
When measuring gauge
- Lay your swatch flat without stretching
- Place your ruler in the centre of the swatch
- Count the stitches and rows across four inches only
- Never measure from the bottom edge or sides
Using the centre of the swatch ensures you measure your true tension, leading to a much more accurate match and a better-fitting project.
When checking gauge on small projects like a hat, I suggest making a newborn-size hat as your gauge swatch.
What if Your Gauge Does Not Match
If your swatch is too big:
- Go down a hook size
- Tighten your tension slightly
If your swatch is too small:
- Go up a hook size
- Relax your hands and loosen your tension
Always make a new swatch after changing your hook size.
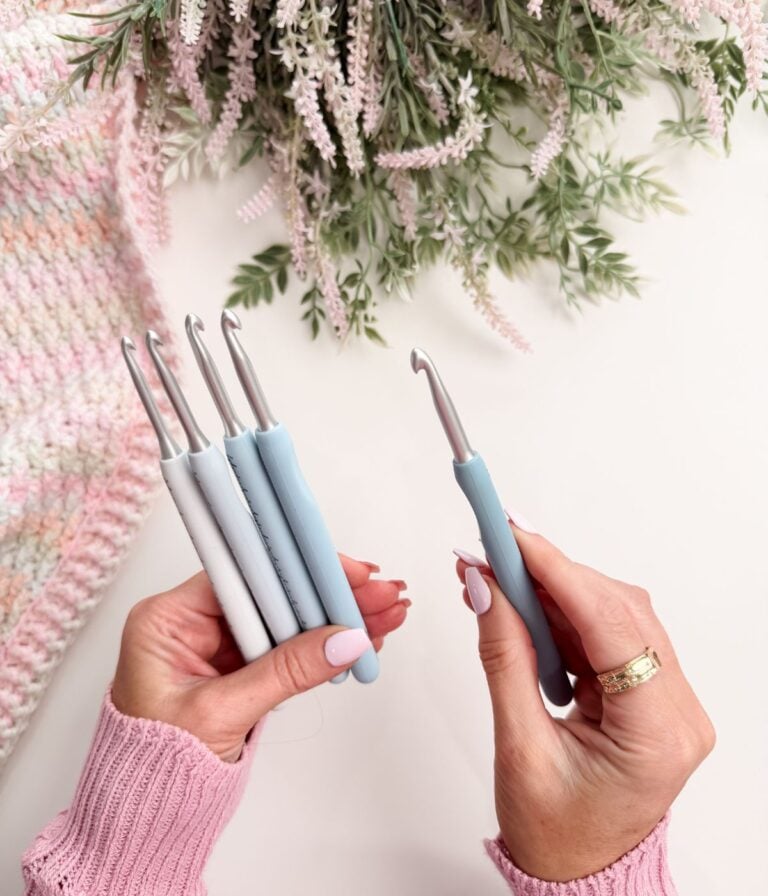
How Your Crochet Hook Brand Can Affect Gauge
Something many crocheters do not realize is that the brand of hook you use can change your gauge. Even when two hooks are labelled the same size, slight differences in the head shape, material, and grip can affect your tension.
I notice this all the time. When I switch to a different brand of crochet hook, my stitches can tighten or loosen without me even trying. This is why it is essential to use the same hook brand throughout your entire project, especially for garments. Mixing hook brands can lead to subtle changes in stitch size and create uneven sections.
If you are struggling to meet the gauge with your current hook sizes
- Try switching to a different hook brand
- Test a few rows to see if your tension changes
- Make a fresh swatch before starting your project
A simple hook change can often solve a gauge issue without adjusting your stitch tension or pattern.
Does Blocking Affect Gauge
Blocking can change the size of natural fibres like wool, alpaca, and cotton. If your pattern recommends blocking, measure your swatch after it has dried completely.
Acrylic yarn usually changes little with blocking, but steam can relax it if applied carefully. Test on your swatch before applying heat to your project.
Gauge Can Change as You Crochet
Something that often goes unmentioned is that gauge is not always consistent from start to finish — even for experienced crocheters.
Tension can change throughout a project due to:
- Stress or fatigue
- Speed of stitching
- Temperature
- Posture or hand position
- Switching hook grip or hand dominance
This happens to the best of us.
For garments, it is a good habit to:
- Measure your gauge in more than one place
- Check tension again after major sections
- Notice if your fabric feels denser or looser as you go
Small changes across a large project can affect length, width, and overall fit.
Gauge is not a one-time check — it is an ongoing reference point.
I’m Meeting Gauge, So Why Doesn’t My Garment Fit?
It’s very common to meet gauge, follow the pattern, and still feel surprised by how a garment fits.
When this happens, it doesn’t mean the pattern is wrong, and it doesn’t mean gauge doesn’t matter.
Gauge helps ensure your project matches the pattern’s measurements.
Fit is also affected by factors such as ease, garment shape, yarn choice, and body proportions.
If you’d like to understand this more, these posts break it down step by step:
- How to Measure Your Body for Crochet Garments
- Choosing the Right Size, Understanding Ease, and Getting the Fit You Want
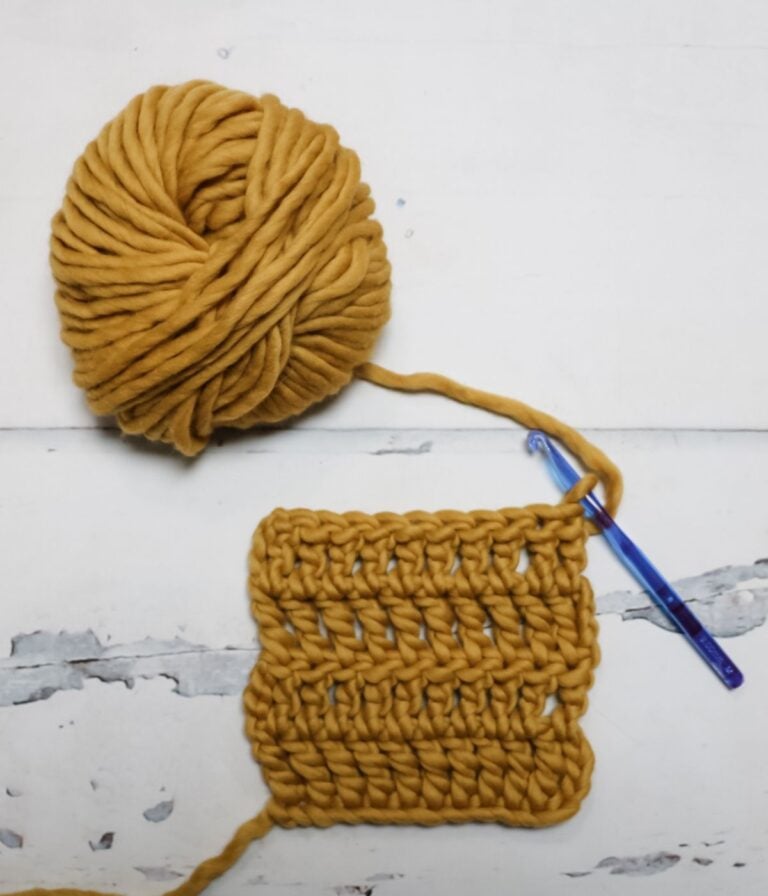
Understanding Yarn Weights
Yarn comes in different thicknesses called weights. The most common categories include:
- Fingering Weight Number 1
- Sport Weight Number 2
- DK Weight Number 3
- Worsted Weight Number 4
- Aran Weight Number 4
- Bulky Weight Number 5
- Super Bulky Weight Number 6
- Jumbo Weight Number 7
Yarn weight affects gauge and fabric density. Thicker yarn creates larger stitches and works up faster. Thinner yarn creates smaller stitches with more drape.
Always check the yarn label for the recommended hook size and gauge as a starting point.
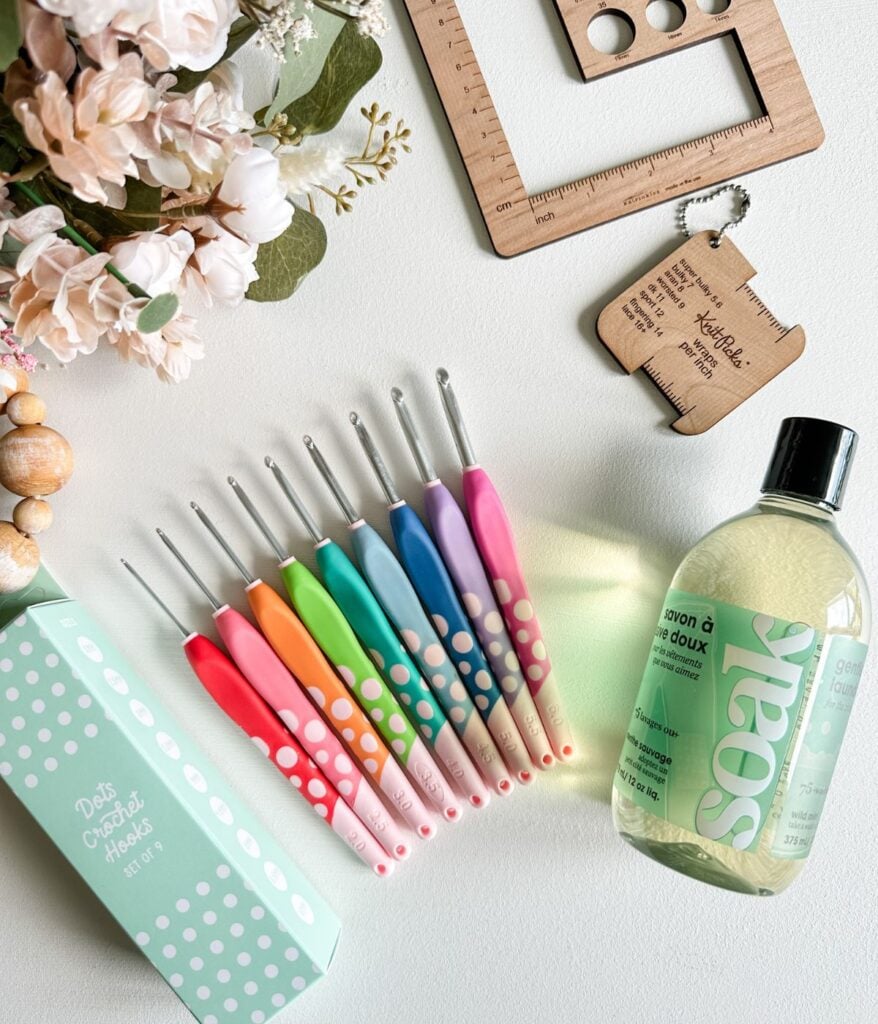
Helpful Tools:
- Wool Wash (wild mint)
- Dots Hooks
- Guage Tool
- Wraps Per Inch Tool
How to Substitute Yarn Correctly
Substituting yarn is possible as long as you follow a few simple steps
- Match the yarn weight listed in the pattern
- Compare the gauge on the yarn label
- Check the fibre content to maintain a similar drape
- Make a swatch to confirm the match
- Buy extra yarn if the yardage per ball is different
If you cannot find the same weight, you can hold two strands of lighter yarn together to mimic a thicker yarn. Always check the gauge before beginning your project.
For more information, check out our free guide to substituting yarn.
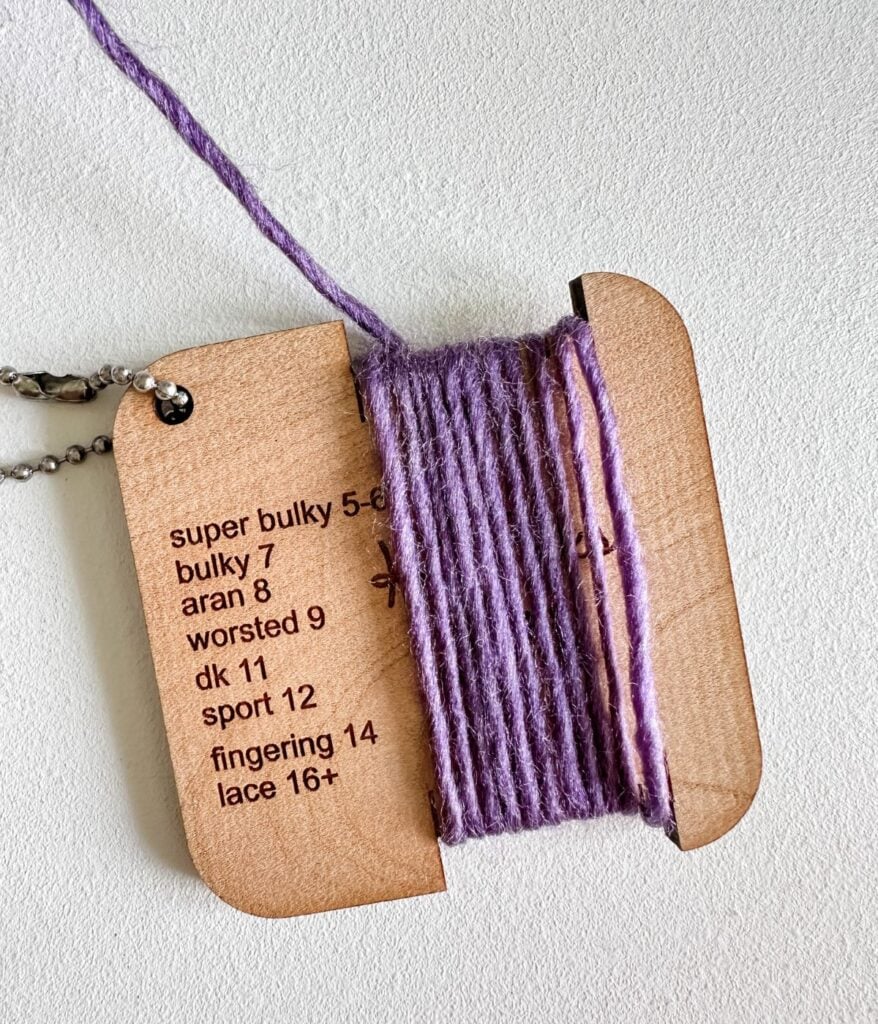
Watch our Granny Pop Guage Guide Tutorial for a wraps per inch tool example.
Gauge for Amigurumi
For amigurumi, a firm, dense fabric is essential so stuffing does not show through. Aim for tight stitches with no gaps. If your fabric feels loose, go down a hook size until it feels solid and smooth.
Size is less critical than structure, so matching gauge exactly is not required.
Help, I Hate Swatching
You are not alone. Most crocheters skip swatching at some point and later regret it. Think of it as a mini test that protects your time and yarn investment. Once you get used to it, swatching becomes quick and automatic.
Quick Troubleshooting
My project is curling
- Check that you are using the correct stitch pattern
- Measure your swatch again
- Try adjusting the hook size
- It is completely normal for some stitches, such as the Alpine stitch or other relief stitches, to curl slightly. Blocking and adding a border will help it relax and lay flat, so trust the process.
My fabric feels stiff
- Go up a hook size
- Switch to a softer fibre like merino or cotton blend
My project is using more yarn than expected
- Your gauge is likely smaller than the pattern
- Recheck with a larger hook

A Note About Yarn Labels
Yarn labels often list a suggested hook size and gauge. While this information can be helpful as a general reference, it should never override the gauge listed in your pattern.
When working from a pattern:
- The yarn label gauge is irrelevant
- The suggested hook size is irrelevant
The only gauge that matters is the pattern gauge, worked in the pattern stitch, using the fabric you want to achieve.
Designers calculate stitch counts, shaping, and sizing based on their gauge — not the yarn label.
Use the yarn label only as a starting point when substituting yarn, then rely on swatching to dial in the correct fabric.
Final Thoughts
Learning how to measure gauge is one of the most valuable skills you can develop in crochet. It ensures your projects turn out the right size, helps when substituting yarn, and makes your work look more polished and professional.
With a bit of practice, checking gauge becomes quick, easy, and completely worth the effort.
Ready to Practice
Here are some beginner-friendly projects to try:
This post is written by Michelle Moore of MJ’s Off The Hook Designs Inc., based in Lakefield, Ontario, Canada. Your go-to source for modern, easy crochet patterns.
Thank you for visiting MJ’s Off The Hook Designs! I hope you enjoyed this post and feel inspired to pick up your hook and start creating.
You can find crochet patterns in our Ravelry and Etsy shops.
For daily inspiration and behind-the-scenes peeks, join me over on Facebook or Instagram or join our YouTube Membership for exclusive content!
You’ve got questions, we’ve got a community!
Crocheting is better with friends! Join our group to post pictures and ask all your pattern support questions.