*This post may contain affiliate links to support the cost of this blog. At no cost to you, I may make a small commission if you purchase through these links. Read our Privacy Policy HERE


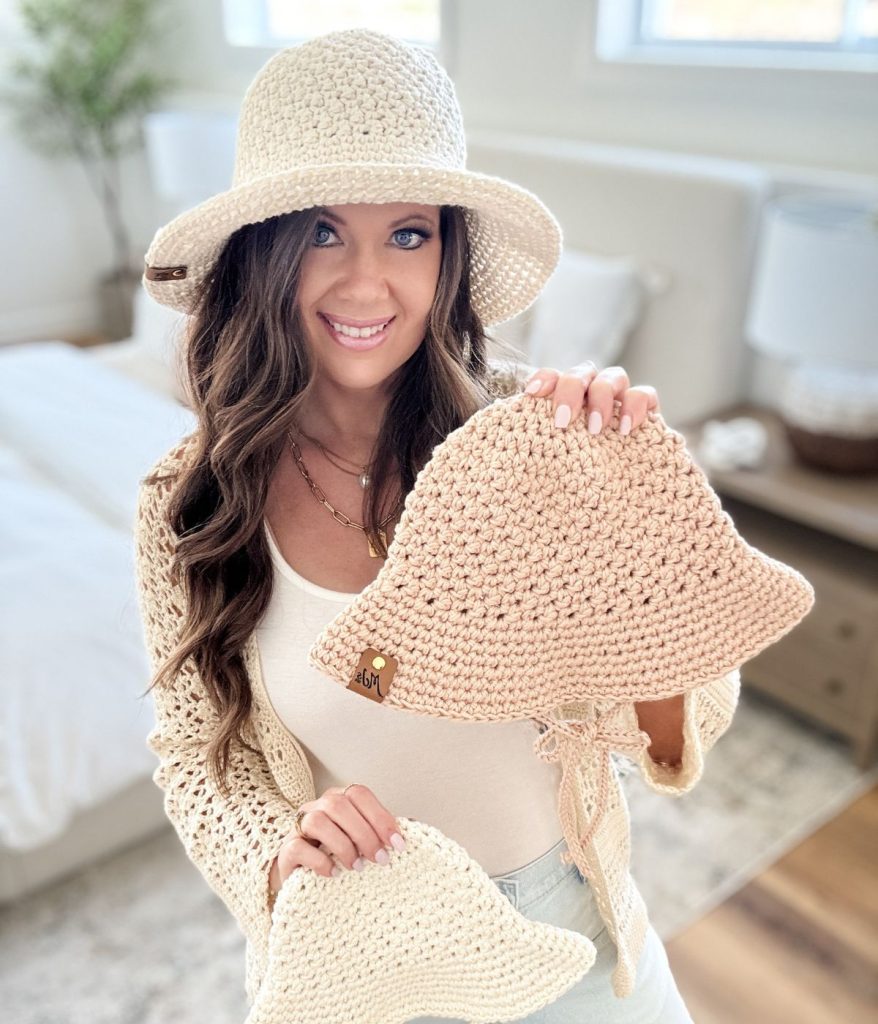
Get ready for sunny days with the Caribbean Sand Sunhat! This quick and easy crochet pattern is the perfect warm-weather project, designed to keep you stylish and shaded.


Worked in the round from the top down, this hat features a simple yet beautiful stitch pattern using just single and double crochet stitches—making it ideal for confident beginners and experienced crocheters alike.
For added structure and durability, the yarn is held double throughout, creating a sturdy hat and brim that work up quickly without sacrificing comfort.
The pattern includes instructions for a full range of sizes, from baby to adult, so you can make one for every member of the family. Plus, a full YouTube tutorial is included to walk you through the steps!
Whether you’re heading to the beach, lounging by the pool, or enjoying a summer stroll, the Caribbean Sand Sunhat is a must-have accessory.
Best Yarn For A Crocheted Sunhat
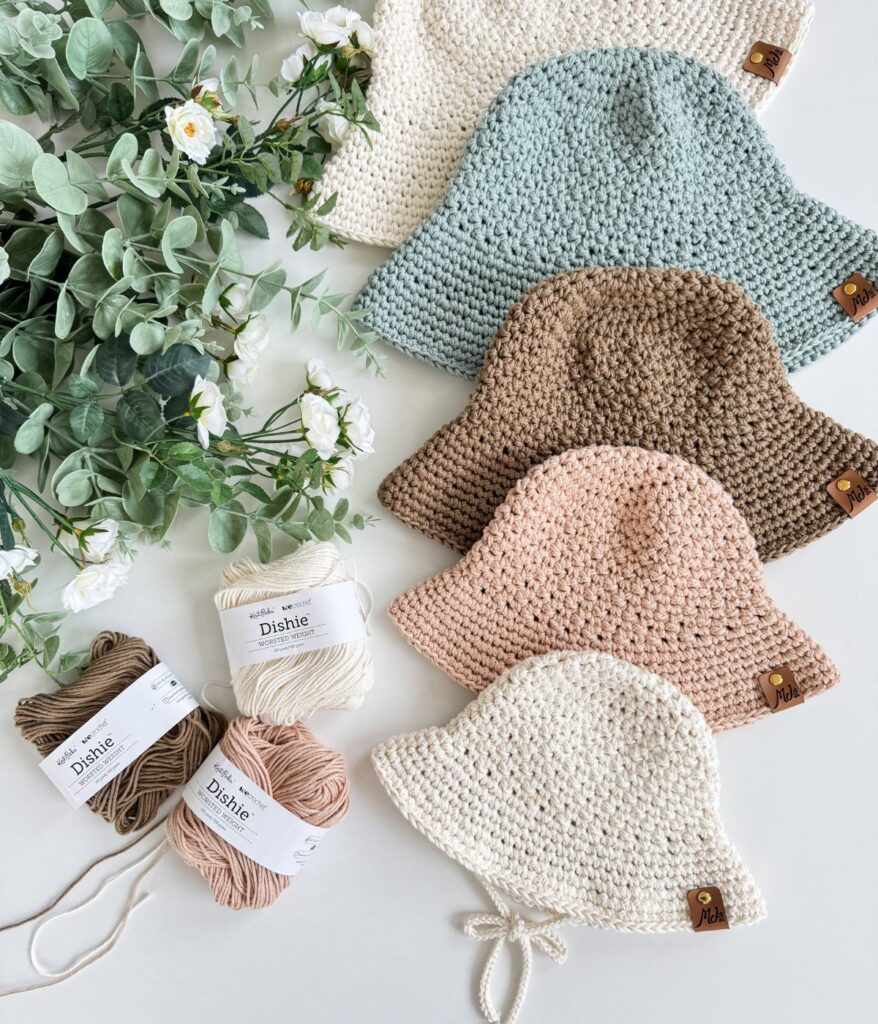
When it comes to making the perfect crochet sunhat, choosing the right yarn is key. For my Caribbean Sand Sunhat, I used Dishie Cotton Yarn from WeCrochet. This 100% cotton yarn offers the ideal balance of structure and softness, helping your hat hold its shape while remaining breathable and comfortable to wear.
Dishie is also durable, easy to work with, and comes in a beautiful range of summer-ready colors, making it perfect for warm-weather accessories. If you’re looking for a cotton yarn for crochet hats that delivers both performance and style, Dishie is an excellent choice.
Yarn Requirements
100% Cotton, 2 (190yds/100g)
Shown in Ivory, Swan, Inlet, Mushroom and Linen. Hold 2 strands together to make super bulky weight yarn.
SIZES 6-12mth (18-24mth, Child, Adult)
2 (2, 2, 2) balls or 205 (250, 320, 380) yds
Size Chart

Skill Level

Gauge
Pattern Stitch: 5 sts and 4.5 rows equal to 2″ in dc/sc pattern with 6mm hook
Brim: 6 sts and 6 rows equal to 2″ in sc with 6mm hook
Before starting your project, it’s best to create a gauge swatch to ensure your tension and stitch count align with the pattern’s specifications. This is especially important when substituting yarn, as not all Worsted Weight #4 yarns are the same—variations in thickness, drape, and softness can affect the final result.
To check gauge, I recommend working the first 5 rounds of the hat and measuring the diameter. Compare it to the measurements provided in the pattern. If your gauge is off, you can adjust by changing hook size, switching hook brands or styles, or even choosing a different size in the pattern.
- Too many stitches? Try a larger hook.
- Too few stitches? Try a smaller hook.
- You can also adjust by slightly loosening or tightening your tension as needed.
I’ve included some yarn recommendations I believe make great substitutes for the original yarn, helping you get the look and structure you want.

Suitable Yarn Substitutes for Dishie
Crochet Hooks Required
US H/8 (5mm) for hat ties
US J/10 (6mm)

Materials Needed
Abbreviations
Dc – Double Crochet
Rep – Repeat
RS – Right Side
Sc – Single Crochet
Sk – Skip
Sl St – Slip Stitch
Sp(s) – Space(s)
St(s) – Stitch(es)
( ) – Work step in parentheses in indicated stitch
[ ] – Work step in brackets the number of times indicated
Special Stitches
Seamless Join: After the last stitch of the round, fasten off. With a yarn needle, weave under both loops of the first st, then weave through the blo of the last stitch. Weave in tail.

Construction
The Caribbean Sand Sunhat is crocheted from the top down, starting with crown increases. The hat body is worked in a simple textured stitch using single and double crochet, followed by a sturdy brim. Baby and toddler sizes include optional i-cord ties for a secure fit. Finish your hat with a personalized garment tag for a polished look.
Upgrade to the Premium PDF Pattern!
Digital PDF Download
Digital pattern only. No physical item will be shipped.
Caribbean Sand Sunhat Video Tutorial
Follow along with this step-by-step tutorial to crochet the adult size Caribbean Sand Sunhat! In this video, you’ll learn how to start with a magic ring, work seamless top-down construction, create the textured stitch pattern, and finish with a smooth seamless join. I’ll also demonstrate how to add i-cord ties for the baby and toddler sizes.
Whether you’re a seasoned crocheter or just starting out, this tutorial is tailored to help you create a beautiful and functional sunhat that you’ll love to wear. Get ready to crochet your own Caribbean Sand Sunhat with confidence!
Video Tutorial

Caribbean Sand Sunhat Pattern
To unlock Exclusive Content on my Blog, all you need to do is click the box below and the Grow.me app will pop up, allowing you to enter your email and create a password. Once you’ve created an account, every time you see Exclusive Content on my blog, simply login to your Grow account. Be sure to switch to the login screen to enter your login credentials.
If you forget your password, click the “forgot password” link and follow the prompts. Please note that I’m unable to assist with resetting Grow passwords or accessing your Grow account, so be sure to save your login information in a safe place.
To make things even easier, I’ve created a video for both desktop and mobile users that offer additional assistance. You can access this video by visiting my FAQs page HERE or by watching the video below.
Thank you for subscribing and for joining me on my crochet journey. I hope you enjoy the exclusive content available to our subscribers and create beautiful crochet projects using the resources you discover.

Round 5:
Work 1 hdc in first 3 sts, work 2 hdc in next st, * 1 hdc in next 3 sts, 2 hdc in next st; rep from * around—40 (45, 50, 55) sts. At this point the diameter of rounds should equal 4.5 (4.75, 5, 5.25)”.
Notes: The stitch pattern is worked in an odd number. Increase the last st of 6-12mth and child size as follows.
Round 1:
Work dc in first st, *sc next st, dc next st; rep from * around, 6-12mth and child size work (1 sc, 1 dc) in last st—41 (45, 51, 55) sts.
Round 2:
Work sc in first st, *dc next st, sc next st; rep from * around—41 (45, 51, 55) sts.
Round 3:
Work dc in first st, *sc next st, dc next st; rep from * around—41 (45, 51, 55) sts.
Rounds 4-8 (9, 10, 11):
Rep rounds 2 & 3, 6-12mth and child ending on round 2.
Brim
Round 1 (Incr):
Work 1 sc in first st, work 2 sc in next st, * 1 sc in next st, 2 sc in next st; rep from * around, 1 sc in last st—61 (67, 76, 82) sts.
Rounds 2-4 (4, 5, 6):
Work 1 sc in each st around—61 (67, 76, 82) sts.
Round 5 (5, 6, 7) (Incr):
Work 1 sc in first 2 sts, work 2 sc in next st, * 1 sc in next 2 sts, 2 sc in next st; rep from * around, 1 sc in last st—81 (89, 101, 109) sts.
Rounds 6 (6, 7, 8) – 7 (8, 10, 12):
Work 1 sc in each st around—81 (89, 101, 109) sts. Last round sl st in next 2 sts, fasten off and finish with a seamless join and weave in tails.
I-Cord Ties for Baby and Toddler Size
Evenly, place strings on each side of the hat and place a marker for reference.
Begin with a long tail 80-100″. With the 5mm hook, join yarn to the corner of the hat at the first sc row with a sl st. *YO (yarn over) the hook with the tail, YO with the working yarn, and pull through two loops on the hook; repeat from * for a total of 70-80 sts. Fasten off knot tails and trim. Repeat for the other side of the hat.

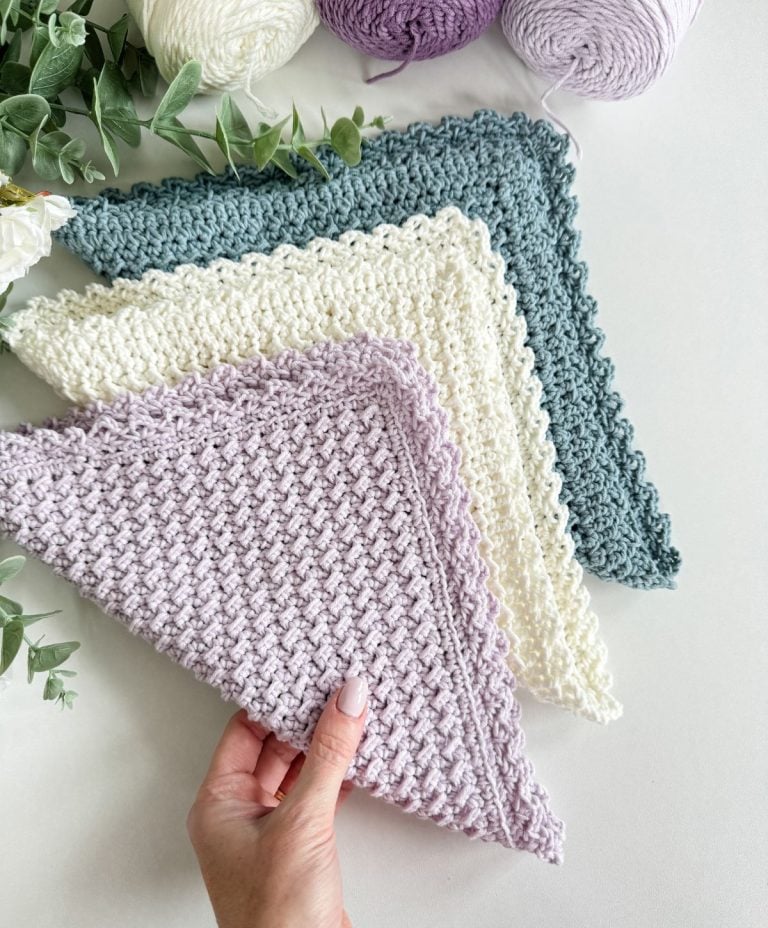
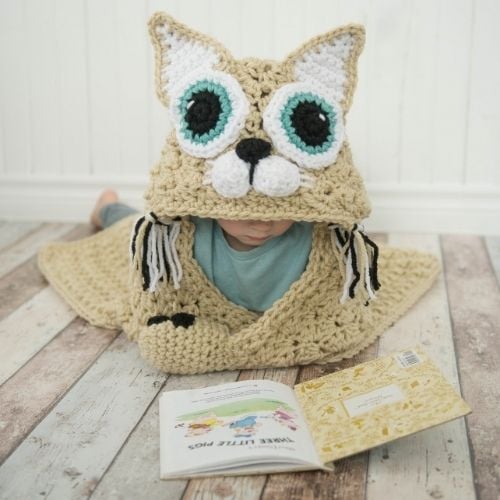
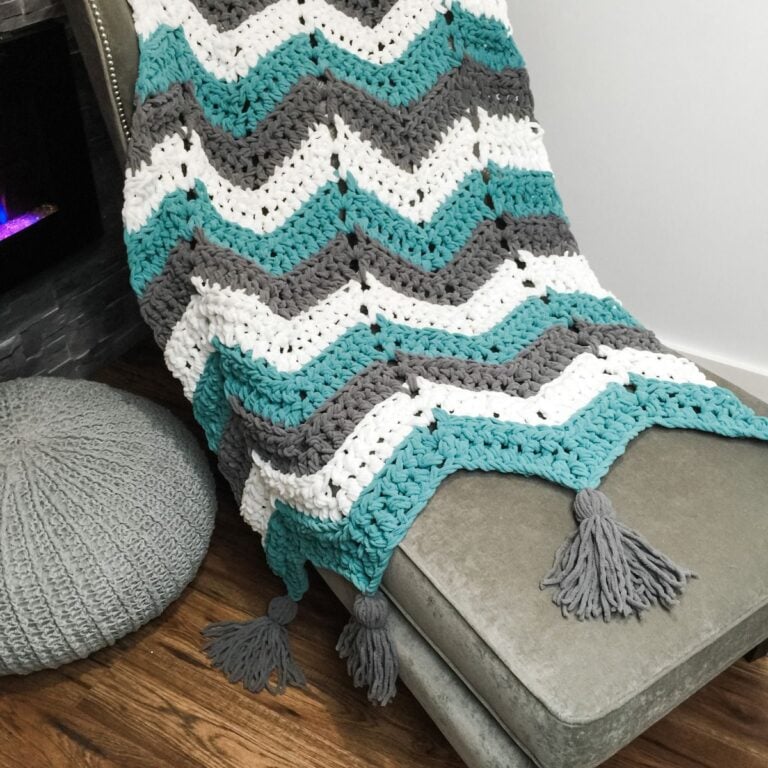
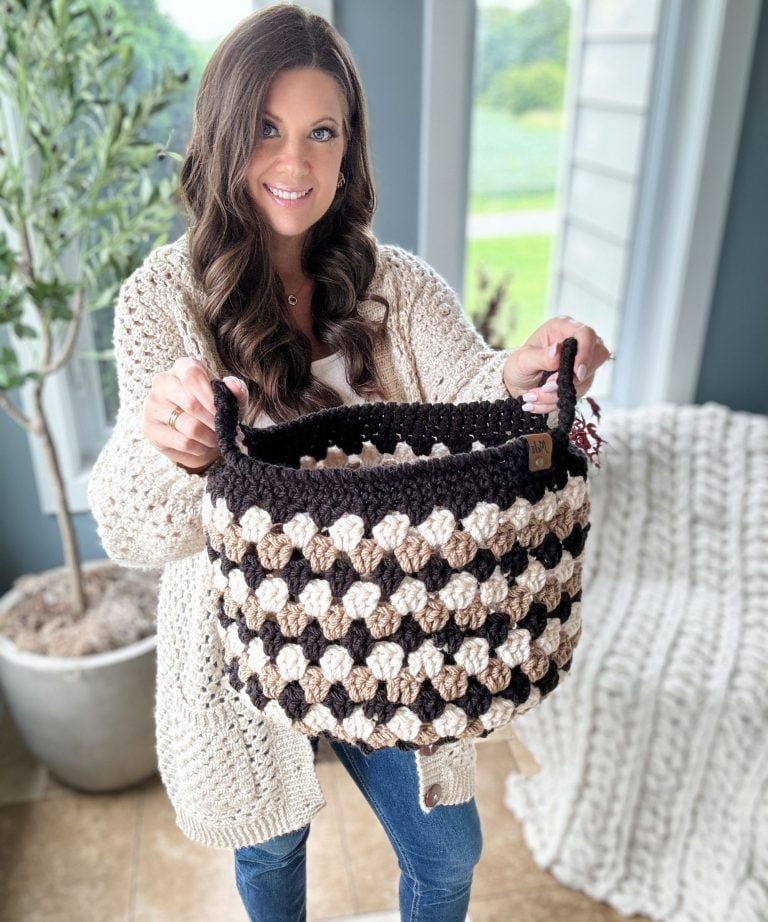
You May Also Love These Patterns
This pattern is designed by Michelle Moore of MJ’s Off The Hook Designs Inc based in Lakefield Ontario Canada. Your go to source for modern easy crochet patterns. Published on May 29th, 2025.
Thank you for visiting MJ’s Off The Hook Designs I hope you enjoyed this pattern and feel inspired to pick up your hook and start creating.
You can find even more crochet patterns in our Ravelry andEtsy shops.
For daily inspiration and behind the scenes peeks join me over on Facebook or Instagram or join our YouTube Membership for exclusive content!
You’ve got questions, we’ve got a community!
Crocheting is better with friends! Join our group to post pictures and ask all your pattern support questions.