*This post may contain affiliate links to support the cost of this blog. At no cost to you, I may make a small commission if you purchase through these links. Read our Privacy Policy HERE


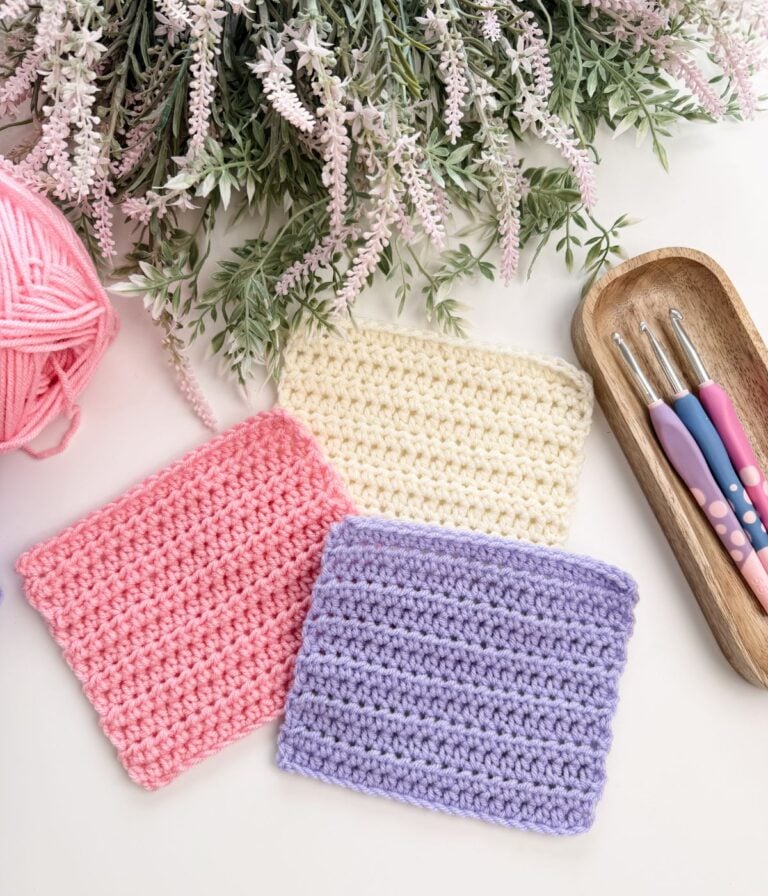
Finishing your project properly is just as important as learning the stitches themselves. Knowing how to fasten off and securely weave in your yarn tails will keep your work from coming undone and give your projects a clean, professional finish.
In this lesson, you’ll learn how to fasten off your work, choose the right yarn needle, weave in your ends securely, prevent distortion, and finish your piece neatly.
What Does “Fasten Off” Mean?
Fastening off simply means securing your final stitch, so your work does not unravel.
Once your final stitch is complete, cut your yarn and leave approximately 6 inches of tail. Pull the yarn tail completely through the loop on your hook and gently tighten to secure the stitch. This creates a secure knot at the top of your final stitch.
How Much Yarn Should You Leave?
When cutting your yarn, leave about 6 inches of tail. This gives you enough length to weave in one direction, turn and weave back in the opposite direction, and add additional passes if needed for extra security. Cutting the yarn too short makes weaving difficult and less secure.
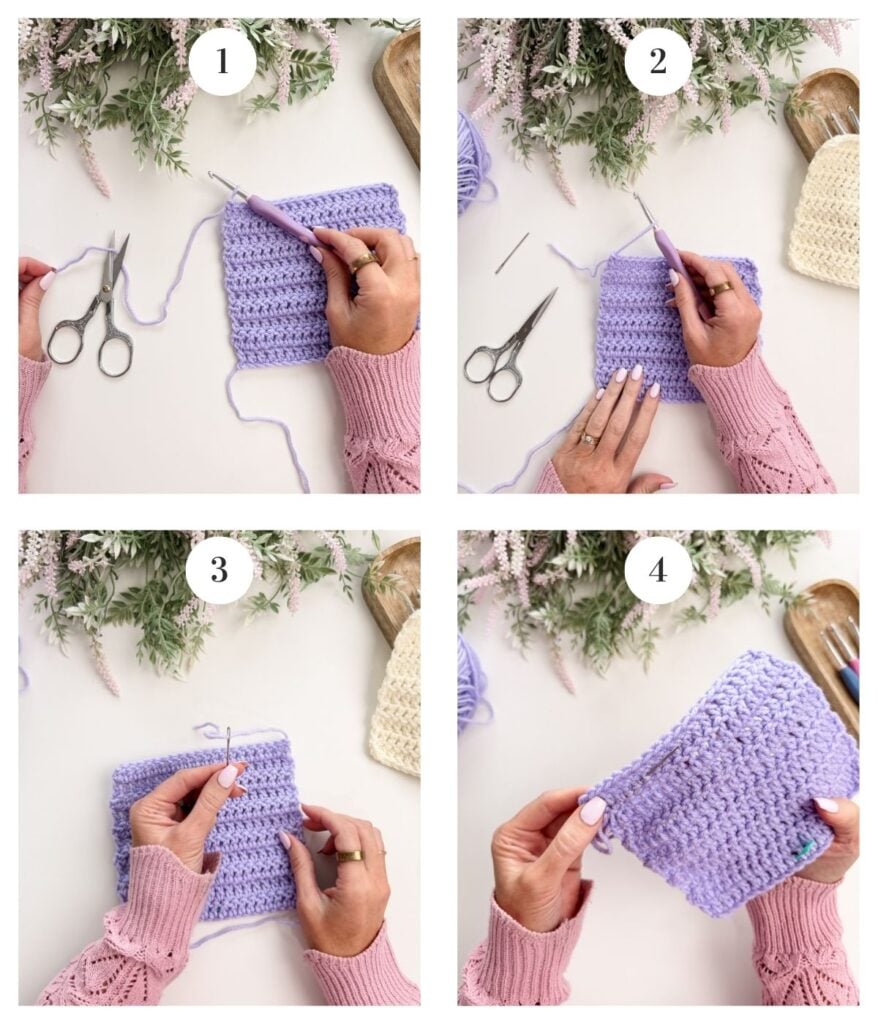
Step-by-Step Visual Guide: How to Fasten Off and Weave in Ends
Follow these simple steps to finish your work securely:
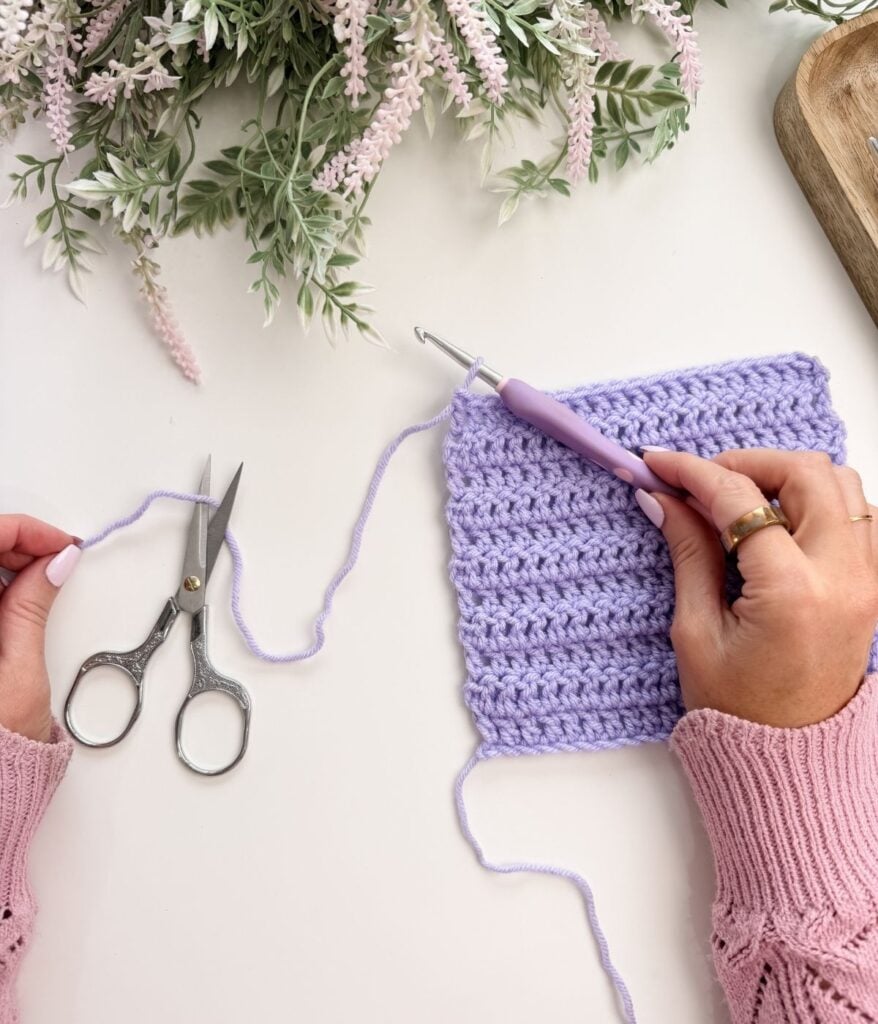
1. Cut the Yarn
Cut your working yarn, leaving approximately 6 inches of tail.
2. Pull the Tail Through
Pull the yarn tail completely through the loop on your hook and gently tighten to secure the stitch. Avoid pulling so tightly that the fabric puckers.
3. Thread the Yarn Needle
Place the yarn tail onto a yarn needle that matches your yarn weight.
4. Weave the Tail into the Fabric
On the wrong side of your work, insert the needle through the thicker parts of the stitches. Weave in one direction, then turn and weave back in the opposite direction to lock the yarn in place.
Video Tutorial
Choosing the Right Yarn Needle
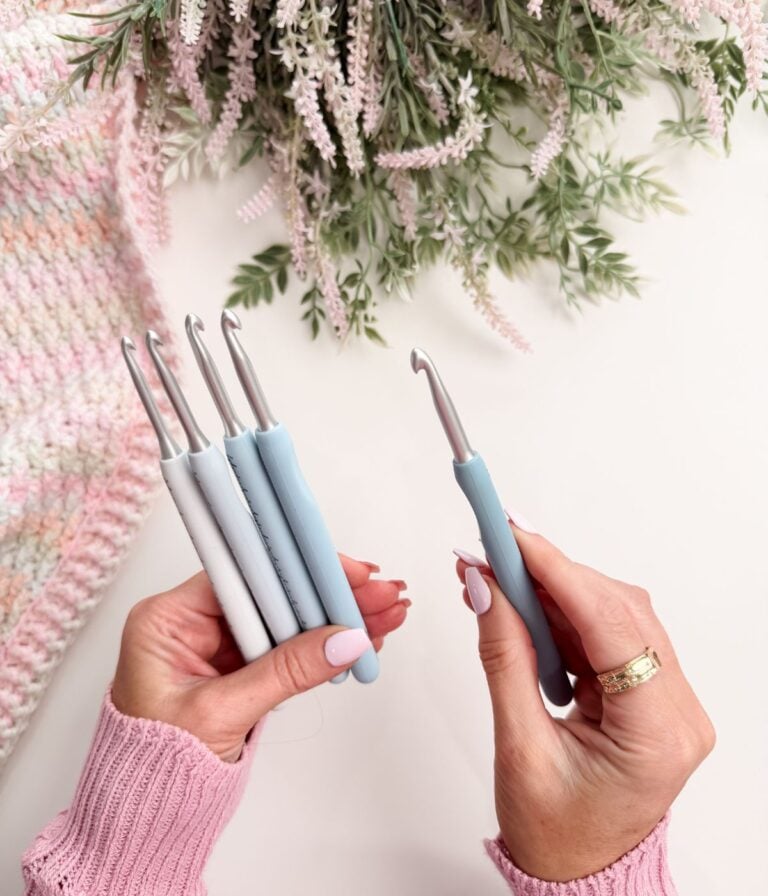
Yarn needles come in different sizes, materials, and shapes.
Choose a needle size that matches your yarn weight. Bulky yarn requires a larger needle with a bigger eye. Lightweight yarn requires a smaller needle.
For worsted-weight yarn, I like to use a needle small enough that I can pierce through the yarn strands rather than just sliding under them. Piercing the strands creates more friction, which helps secure your woven ends.
You may see both plastic and metal yarn needles. Both work well. Some crocheters prefer metal for durability, while others like plastic for its gentler feel. Having a small variety on hand makes it easier to match your tool to your project.
How to Thread a Yarn Needle
If threading your needle feels tricky, try folding the yarn tail over the eye of the needle. Pinch it tightly to create a flattened edge, slide the needle off while holding the yarn flat, then insert that flattened tip through the eye.
You can also trim the yarn tail at a slight angle or gently twist the fibres together before threading. A small needle threader can also be helpful if needed.
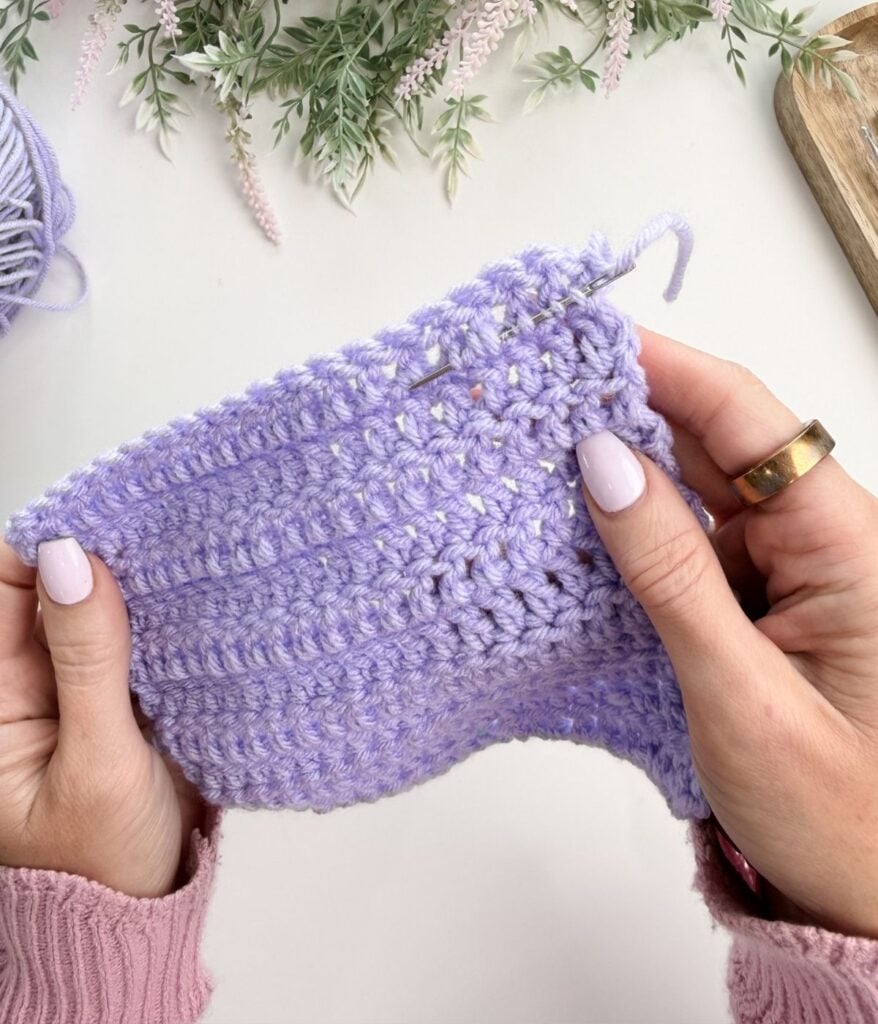
Where to Weave in Your Ends
Always weave in your yarn tails on the wrong side of your work. This keeps the right side clean and prevents visible strands from showing through.
Avoid weaving through open gaps in the stitch, especially with taller stitches like double crochet or treble crochet. Instead, weave through the thicker, denser part of the fabric so the yarn blends in naturally and stays hidden.
How to Weave in Yarn Ends Securely
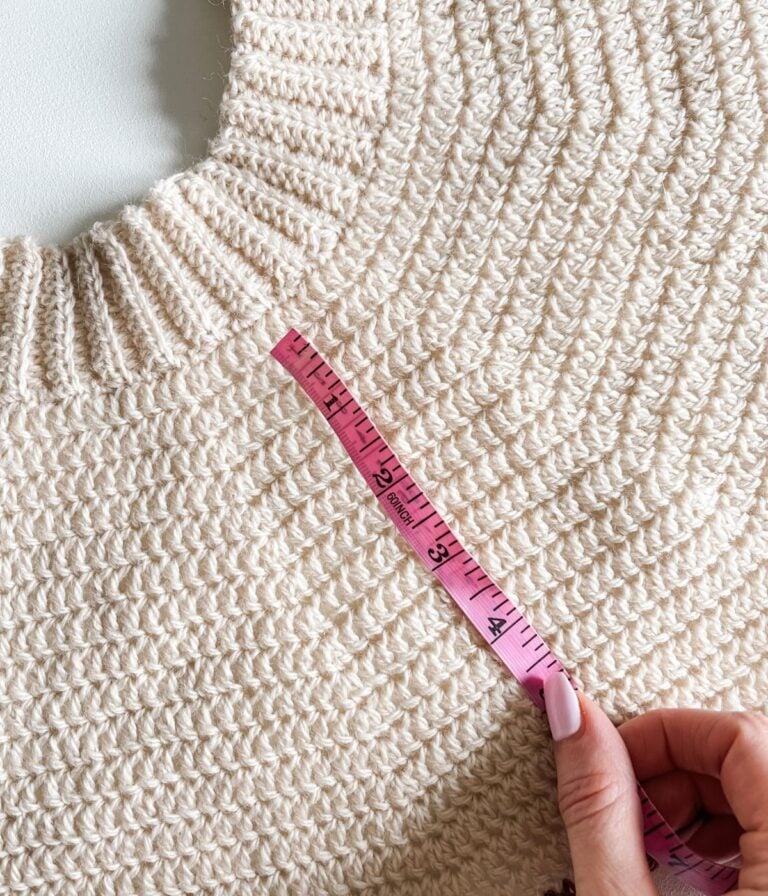
Insert your needle through several stitches at the thicker part and pull the yarn through gently, without distorting the fabric. Turn and weave back in the opposite direction. For items that will receive heavy use or frequent washing, repeat a third time for extra security.
Weaving back in the opposite direction helps lock the yarn in place and prevents it from working loose over time. As you pull the yarn through, make sure you do not tighten the fabric or create puckers. The fabric should lie flat and smooth.
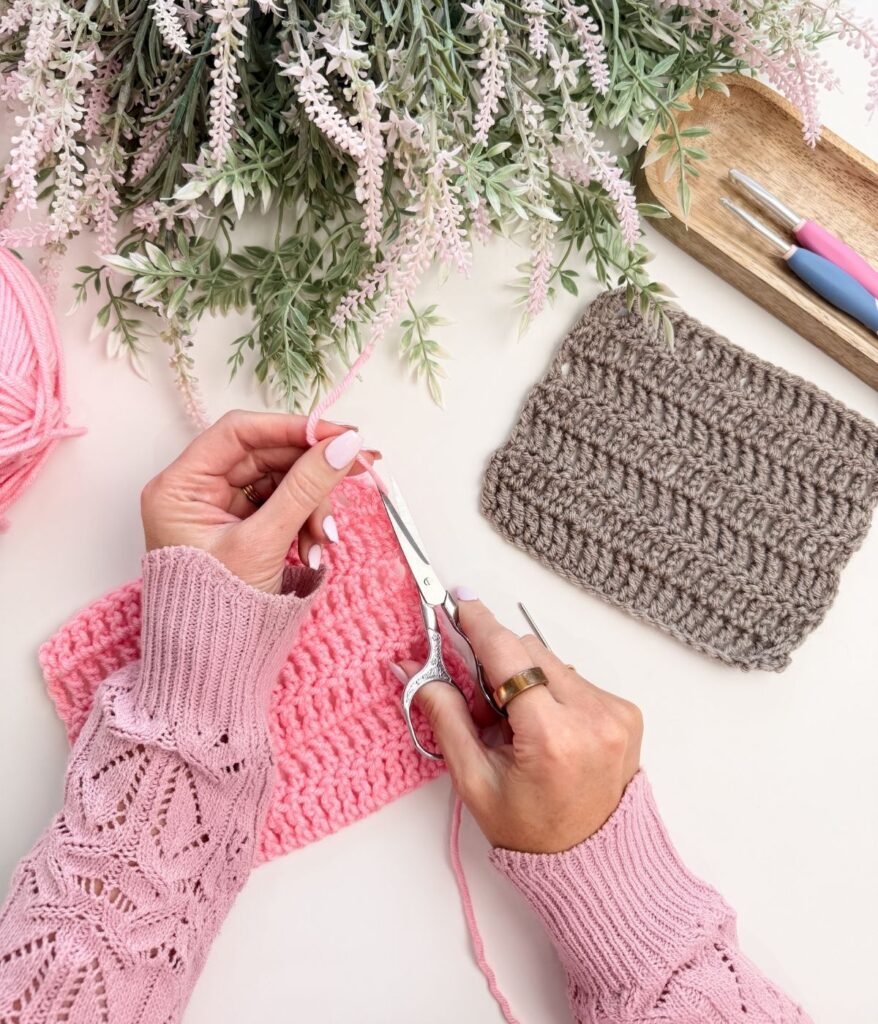
Once secure, trim the excess yarn close to the fabric. You can gently stretch the fabric afterward to help the tail settle invisibly inside.
Tips for Extra Security
Splitting the yarn strands slightly when weaving can increase friction and help secure the tail.
Weave in at least two directions for durability. Add a third pass for garments, blankets, or projects that will be washed often.
Taking a little extra time here ensures your pieces stay secure and last.
Light Blocking for a Finished Look
Splitting the yarn strands slightly when weaving can increase friction and help secure the tail.
Weave in at least two directions for durability. Add a third pass for garments, blankets, or projects that will be washed often.
Taking a little extra time here ensures your pieces stay secure and last.
Common Beginner Mistakes
Cutting the yarn tail too short
Weaving in only one direction
Weaving through open stitch spaces
Pulling the fabric too tight while weaving
Weaving on the right side of the work
Take your time while finishing. A neat finish improves both the durability and appearance of your project.
Practise Before Moving On
Before continuing, practise fastening off cleanly, weaving in both directions, checking the right side for visible tails, and gently stretching your swatch after trimming.
Proper finishing builds confidence and ensures your projects last.
What’s Next
Now that you know how to fasten off and weave in your yarn tails, you’ve completed the foundational skills in this beginner crochet series.
With secure finishing techniques in place, you’re ready to move on to combining stitches, reading patterns, and building full projects with confidence.
Continue through the Learn to Crochet Hub to start applying your new skills in beginner-friendly patterns.
Helpful Resources
Sign up for our YouTube Membership
Join our Facebook Crochet Community for pattern support and inspiration
Subscribe on YouTube for hundreds of free tutorials
Sign up for our newsletter and receive 40% off your first Ravelry purchase!
This lesson is part of the Learn to Crochet course by Michelle Moore of MJ’s Off The Hook Designs Inc, based in Lakefield, Ontario, Canada.
Thank you for learning with me at MJ’s Off The Hook Designs. I hope this lesson encourages you to keep practising and enjoying the process of crochet.
You’ve got questions, we’ve got a community!
Crocheting is better with friends! Join our group to post pictures and ask all your pattern support questions.