


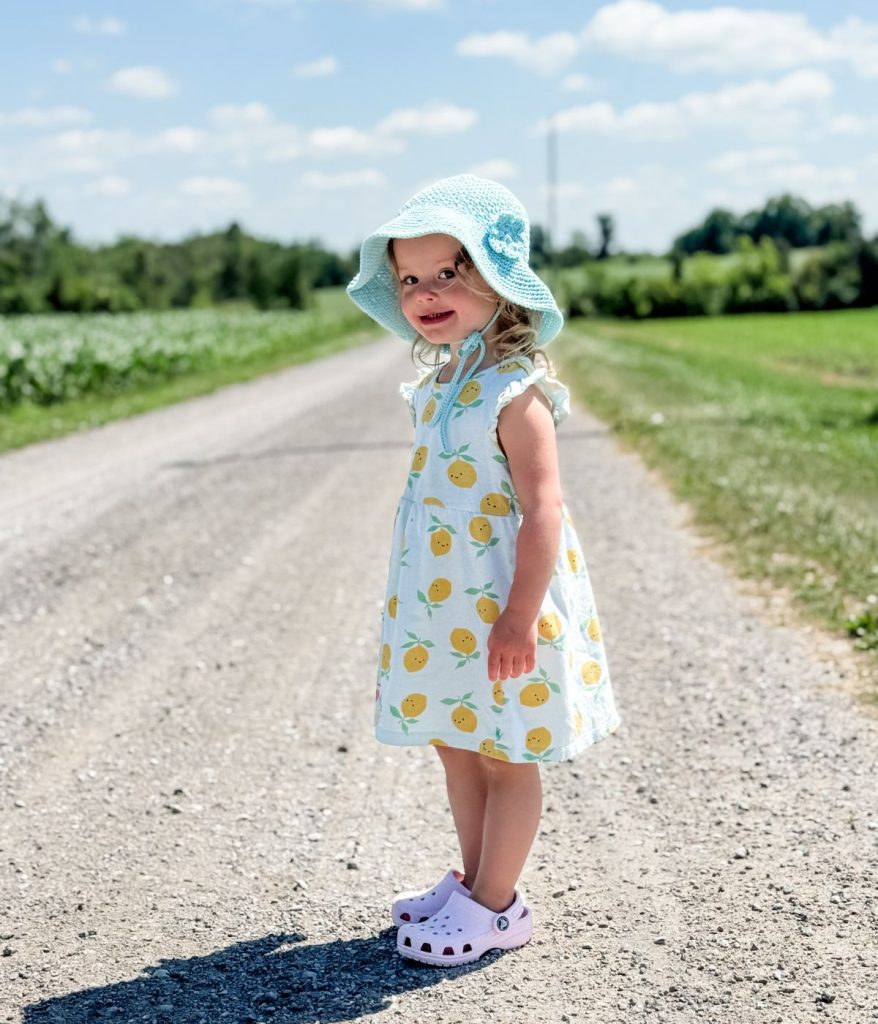
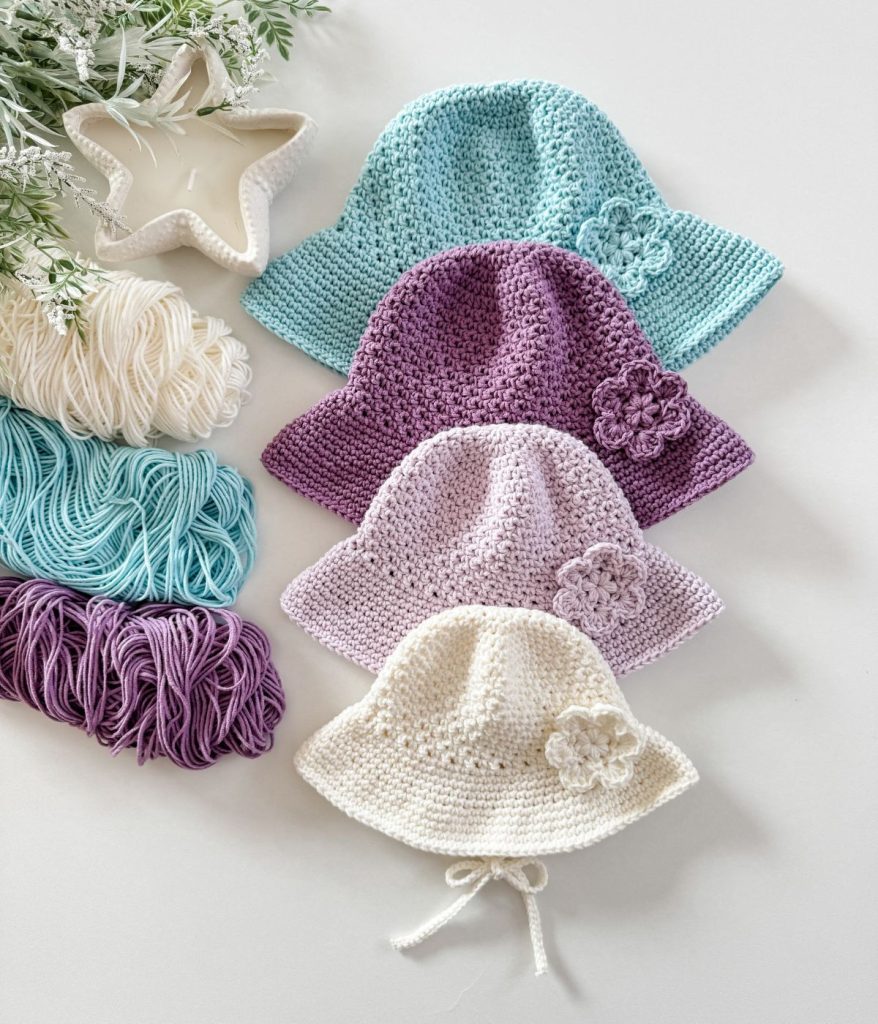
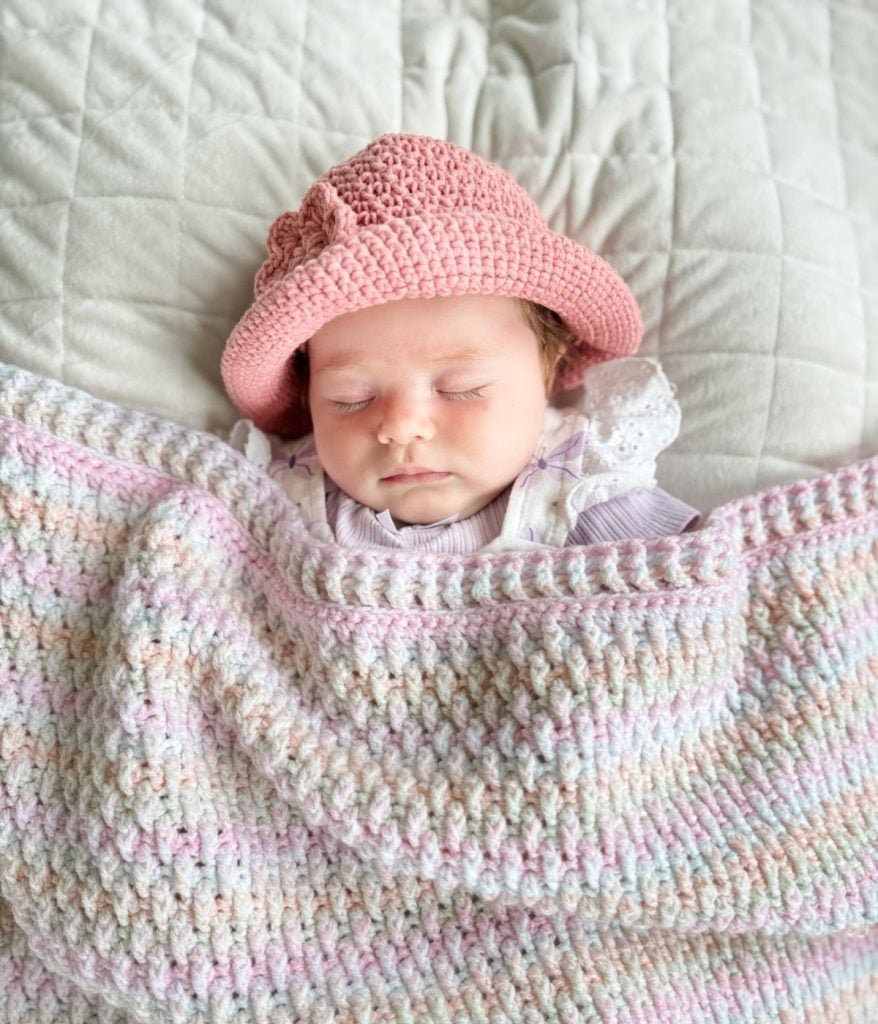
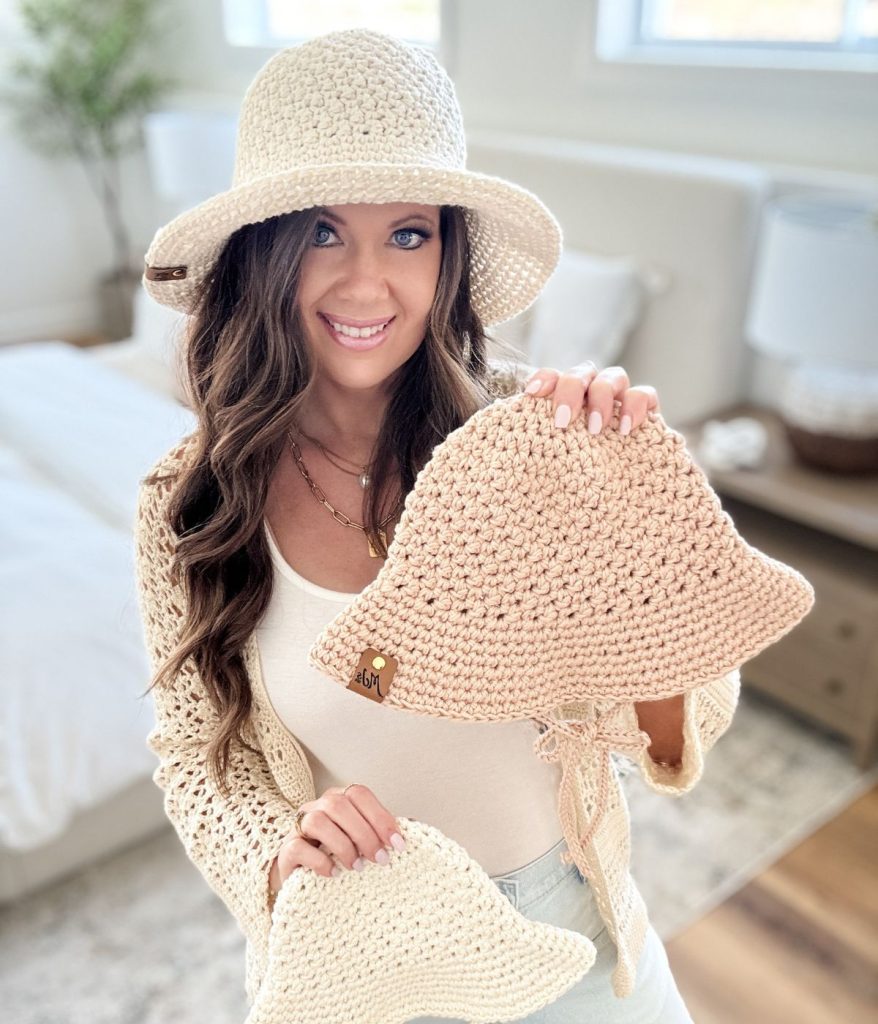
Introducing my Baby Sunhat pattern — a charming and practical accessory designed to keep your little one safe from the sun in the sweetest way possible. This baby-sized version of our best-selling Caribbean Sand Sunhat features the same elegant stitch pattern, thoughtfully adapted for tiny heads. Whether you’re heading to the beach, enjoying a sunny day at the park, or simply going for a walk, this lightweight hat is a must-have for warmer weather.
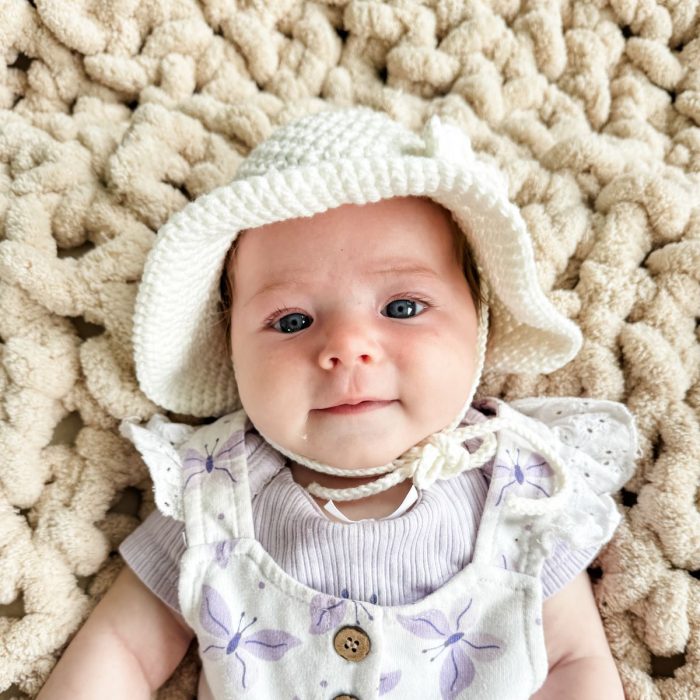
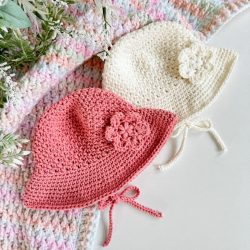
Crocheted with a single strand of Cottage Cotton yarn — a soft and breathable cotton/acrylic blend — this hat is gentle enough for even the most sensitive newborn skin. The pattern includes sizing from newborn up to toddler, so you can make one for every stage of their early years. Ties help keep the hat in place, even on windy days or wiggly babies, and an optional flower embellishment adds an extra dash of cuteness (perfectly customizable depending on the child).
Whether you’re a beginner or a seasoned crocheter, the included video tutorial for the 0–3 month size on YouTube makes this pattern easy to follow. Quick to work up and irresistibly cute, the Baby Sand Sunhat is a thoughtful handmade gift and a stylish solution for sunny-day adventures.
Table of Contents
Yarn Requirments
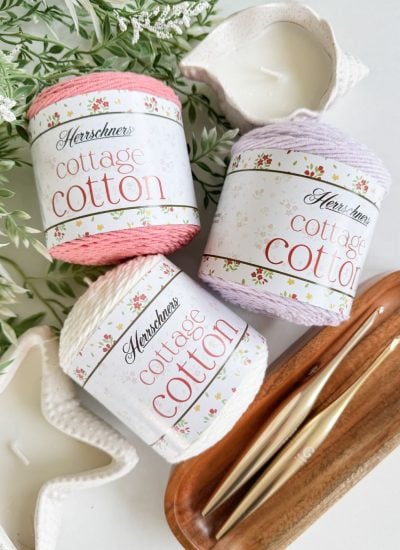
Worsted Weight # 4
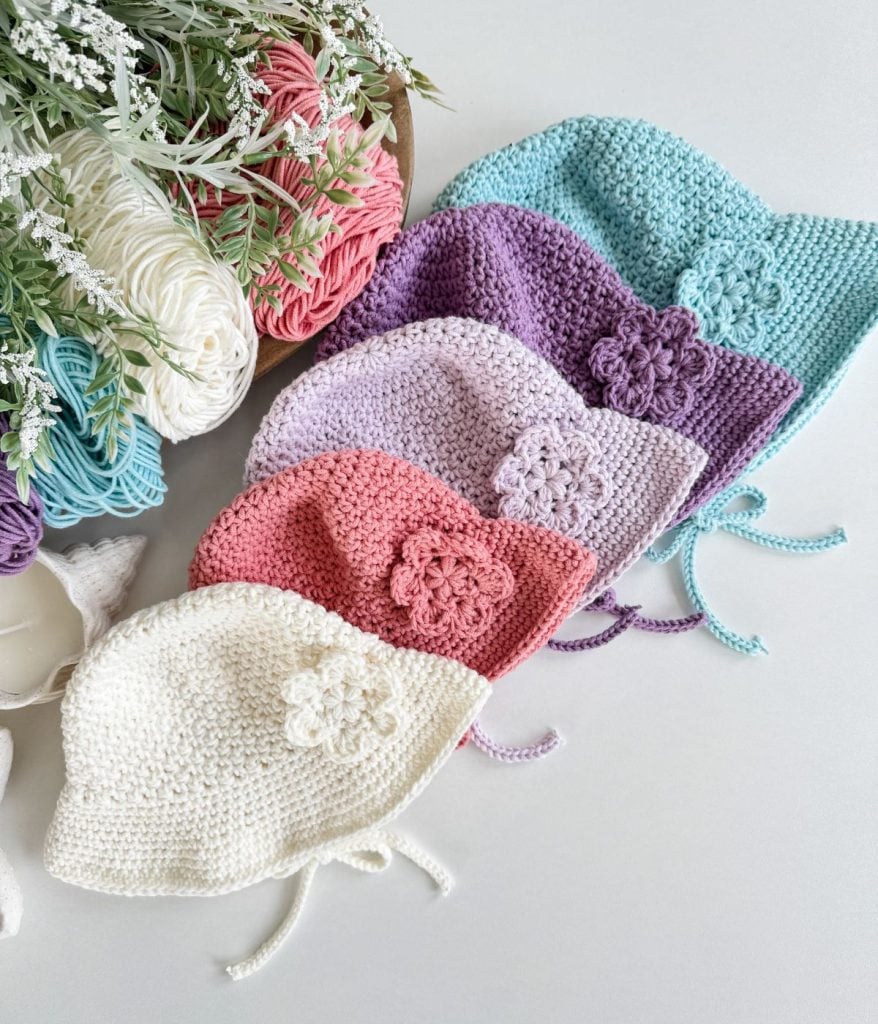
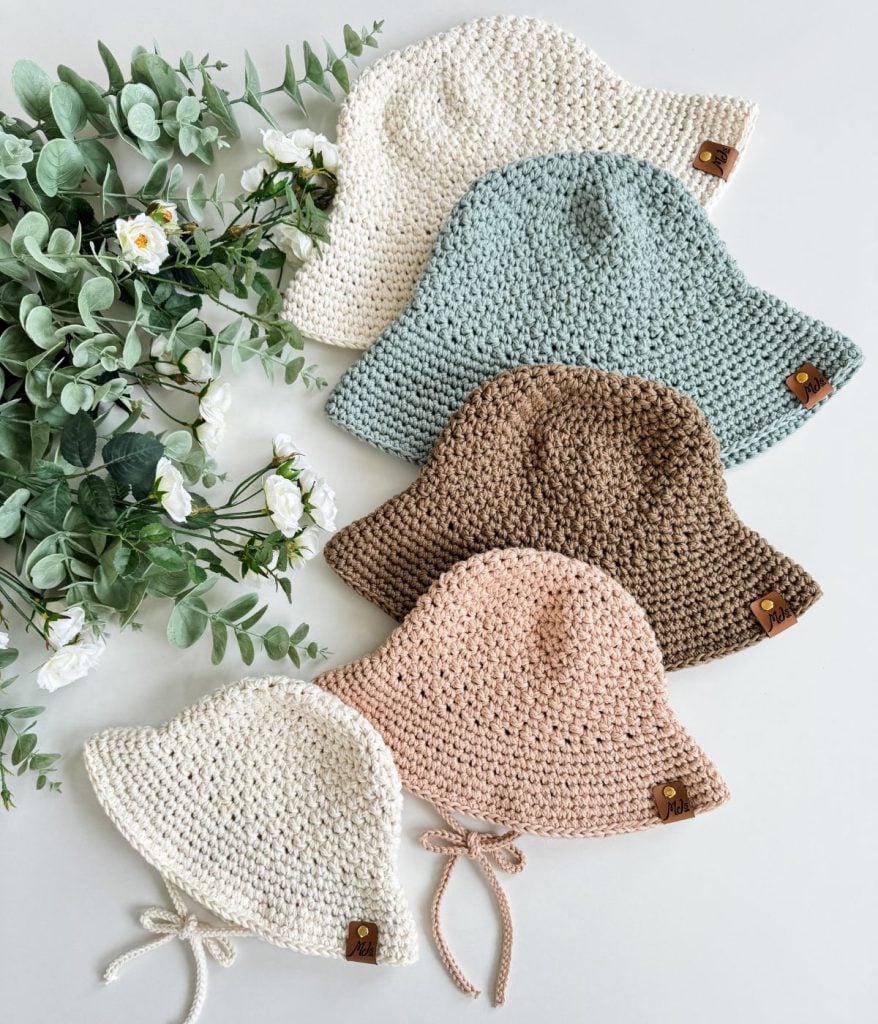
207yds/100g, 60% Cotton, 40% Acrylic Shown in Fresh Lilac, Wisteria, Tame Teal, Blossom and Chiffon
SIZES 0-3mth (3-6mth, 6-12mth, 18-24mth)
1 ball or 100 (120, 150, 180) yds
Baby Sunhat Size Chart

Skill Level
Gauge
Pattern Stitch: 7 sts and 7 rows equal to 2″ in dc/sc pattern with 4mm hook
Brim: 8 sts and 9 rows equal to 2″ in sc with 4mm hook
Gauge Swatch Tip
Before you begin, it’s a good idea to create a gauge swatch to ensure your tension and stitch count match the pattern’s specifications. This step is especially important if you’re substituting yarn, as not all worsted weight #4 yarns are created equal—differences in thickness, drape, and softness can significantly impact your finished project.
To check your gauge, work a 4″ x 4″ swatch using the pattern stitch over approximately 14 stitches. Compare your results to the measurements provided in the pattern. If your gauge doesn’t match, adjust as follows:
- Too many stitches? Try a larger hook.
- Too few stitches? Try a smaller hook.
- You can also fine-tune your gauge by slightly loosening or tightening your tension, or by switching hook brands or styles.
I’ve included some recommended yarn alternatives that closely match the original, so you can achieve a similar look and structure—even if you’re using something different from what I used in the sample.
Suitable Yarn Substitutes for Cottage Cotton
Crochet Hooks Required
Abbreviations
Dc – Double Crochet
Rep – Repeat
RS – Right Side
Sc – Single Crochet
Sk – Skip
Sl St – Slip Stitch
Sp(s) – Space(s)
St(s) – Stitch(es)
( ) – Work step in parentheses in indicated
stitch
[ ] – Work step in brackets the number of
Special Stitches:
Puff Stitch: [Yo (yarn over), go through indicated stitch and pull up a loop] 3 times, yo, pull through all 7 loops on the hook, ch 1 to secure the puff.
Seamless Join: After the last stitch of the round, fasten off. With a yarn needle, skip the first stitch, weave under both loops of the next st, then weave through the blo of the last stitch. Weave in the tail.
Construction
The Baby Sand Sunhat is crocheted from the top down, starting with crown increases. The hat body is worked in a simple textured stitch using single and double crochet, followed by a single crochet brim. Includes optional i-cord ties for a secure fit. Finish your hat with a flower or personalized garment tag for a polished look.
Video Tutorial For The Baby Sunhat
Watch the tutorial https://youtu.be/tKKqrUA4ObA
Follow along with this step-by-step tutorial to crochet the 0–3 month size Baby Sand Sunhat! In this video, you’ll learn how to begin with a magic ring, work seamless top-down construction, create the textured stitch pattern, and finish with a smooth, seamless join. I’ll also walk you through how to crochet the i-cord ties and the optional flower embellishment. Whether you’re an experienced crocheter or just getting started, this tutorial is designed to guide you through each stage with ease—so you can confidently create a beautiful and practical sunhat for the little one in your life.
Watch the Tutorial Now
In this video, we’ll guide you through each step of the pattern, allowing you to create this baby sunhat pattern in a 0-3-month size.
Purchase the Beautifully Designed AD-FREE PDF Download
Baby Sand Sunhat Crochet Pattern
COPYRIGHT
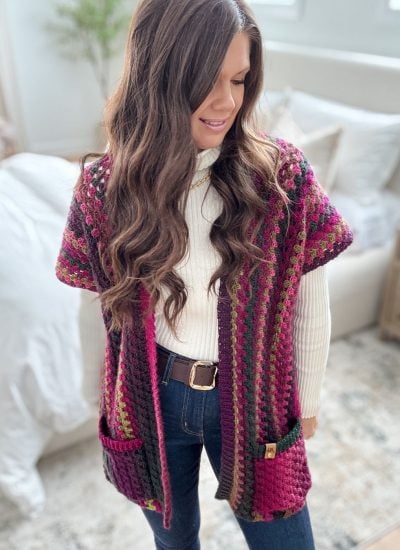
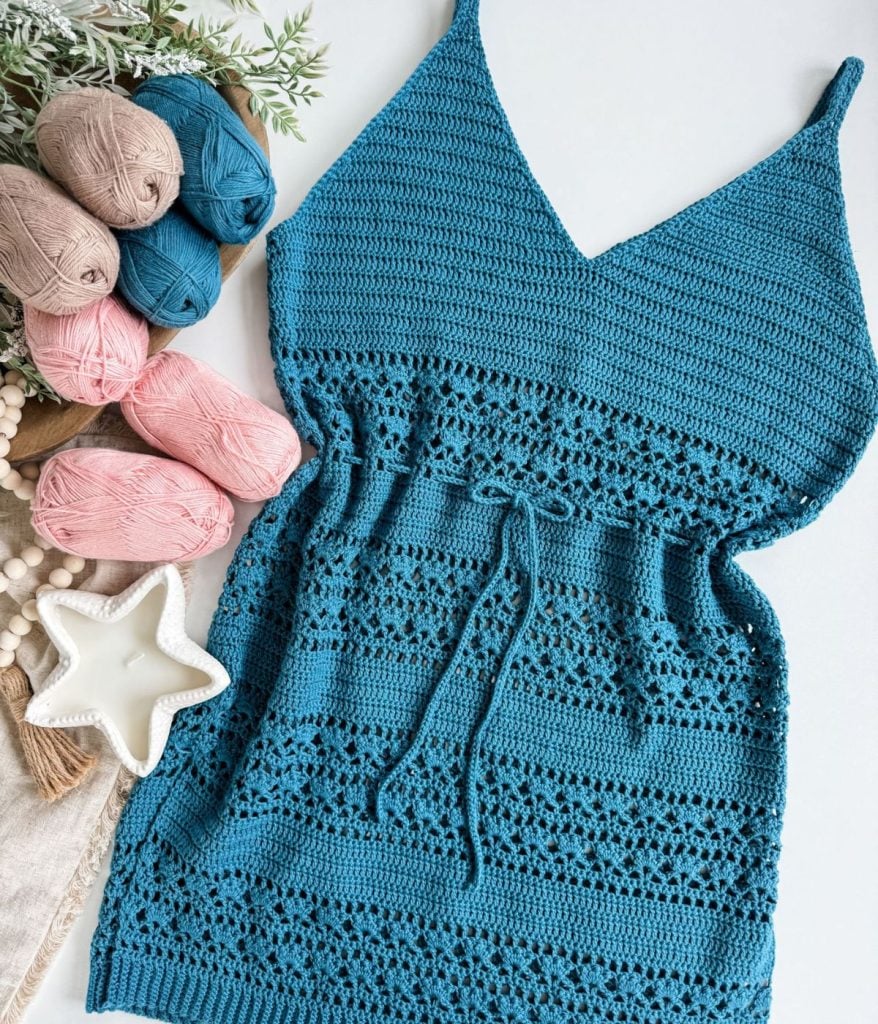
You May Also Love the Adult Version
Pattern Support

Pattern
0-3mth (3-6mth, 6-12mth, 18-24mth)
The pattern is written for the smallest size, with the larger sizes in parentheses (). If there is only 1 number, it applies to all sizes—a step-by-step video tutorial is provided on YouTube for the 0-3mth size.
HAT
Notes: The hat is worked in a continuous round. Use a stitch marker to mark the first stitch of every round.
Round 1:
With larger hook, Magic Ring, ch 1, work 10 (11, 10, 11) hdc in the ring, pull ring tight (don’t join)— 10 (11, 10, 11) sts.
Increase Rounds
Round 2:
Brim
Round 1 (Incr):
Work 1 sc in first st, work 2 sc in next st, * 1 sc in next st, 2 sc in next st; rep from * around, 1 sc in last st—76 (82, 91, 100) sts.
Rounds 2-5 (6, 6, 6):
Work 1 sc in each st around—76 (82, 91, 100) sts.
Round 6 (7, 7, 7) (Incr):
Work 1 sc in first 2 sts, work 2 sc in next st, * 1 sc in next 2 sts, 2 sc in next st; rep from * around, 1 sc in last st—101 (109, 121, 133) sts.
Rounds 7 (8, 8, 8) – 10 (11, 12, 13):
Work 1 sc in each st around—101 (109, 121, 133) sts. Last round sl st in next 2 sts, fasten off and finish with a seamless join and weave in tails. Lightly steam the brim to prevent curling.
I-Cord Ties
Evenly, place strings on each side of the hat and place a marker for reference.
Begin with a long tail 50-60″. With the 4mm hook, join yarn to the corner of the hat at the first sc row with a sl st. *YO (yarn over) the hook with the tail, YO with the working yarn, and pull through two loops on the hook; repeat from * for a total of 70-80 sts. Fasten off knot tails and trim. Repeat for the other side of the hat.
How To Crochet A Flower
Tip: Start with a long tail to make it easier to sew the flower onto the hat. To make a larger flower, simply use a larger hook.
Round 1:
Magic Ring, ch 1, 6 puffs in the ring, pull ring tight, sl st in the first puff to join—6 puffs.
Round 2:
Sl st in first ch-1 sp, ch 3, sl st in same sp, *(sl st, ch 3, sl st) in next ch-1 sp; rep from * around, sl st in first ch-3 sp to join—6 ch-3 sps made.
Round 3:
Ch 1, *(sc, 5 dc, sc) in ch-3 sp; rep from * in each ch-3 sp around, sl st in the first sc to join, fasten off and weave in tail. Use the starting tail to sew the flower to the hat.
Optional: Add a customized tag to the hat.
Looking for Pattern Support?
Head over to my Facebook Community Group to ask any questions about this pattern, share photos of your MJ’s Designs, and cheer on fellow crocheters!
Our group has a vibrant and supportive community of experienced crocheters who have made various MJ patterns. They are always eager to offer guidance and share their experiences, so don’t hesitate to reach out and connect with them.
Thank you for joining our community, and happy crocheting!
I hope you love our Crochet Bandana Pattern. You might also love these crochet patterns!
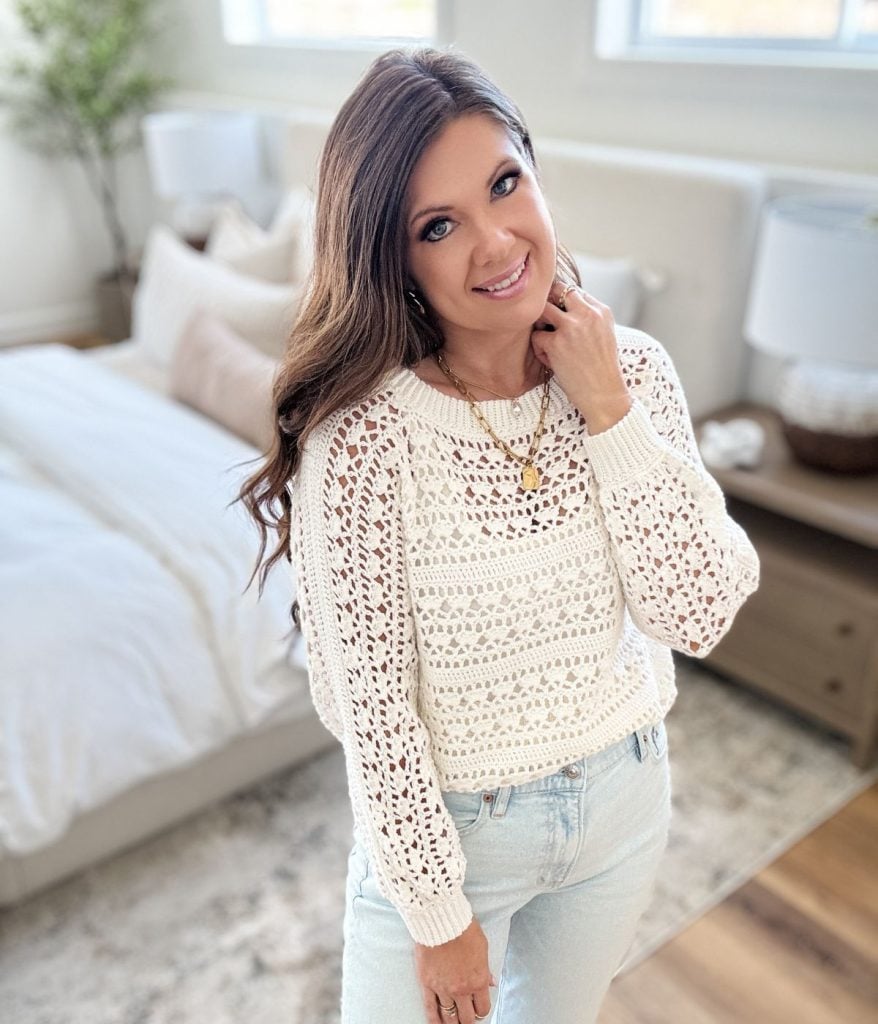
For more crochet patterns by MJ’s Off The Hook Designs see our Ravelry and Etsy Shop. Check out our Facebook and Instagram for inspiration.