*This post may contain affiliate links to support the cost of this blog. At no cost to you, I may make a small commission if you purchase through these links. Read our Privacy Policy HERE
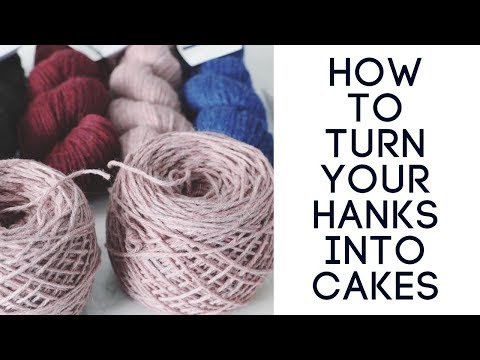
How to turn your hanks into cakes! I remember my first hank, and I’m a little embarrassed to say I had NO IDEA what to do with it. With a little trial and error, I worked out a system of chairs back to back and hand winding. It worked but was so tedious I’d beg the kids to do it for me!
Steps if you don’t own a swift or ball winder
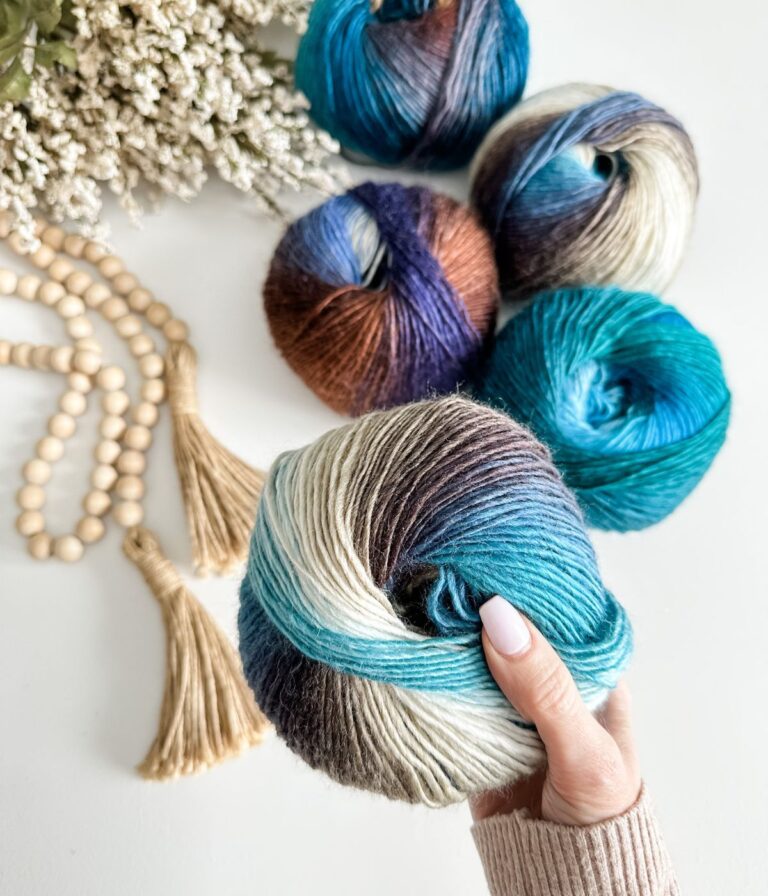
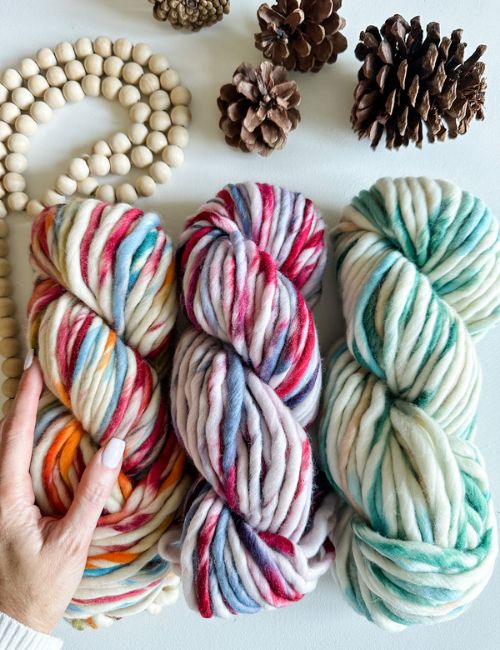
So if you don’t have a swift and ball winder it’s OK. You can roll your hanks into a ball. I still suggest watching the video to see how to untwist the hank and find the strand that goes to the outer part of the hank. If you grab the inner strand by mistake, it’s a nightmare. The yarn shown here is Alla Prima from WeCrochet.
If you don’t have a swift, you can use 2 chairs back to back to hold the hank. You can use your knees or you can recruit someone to hold it with their hands for you.
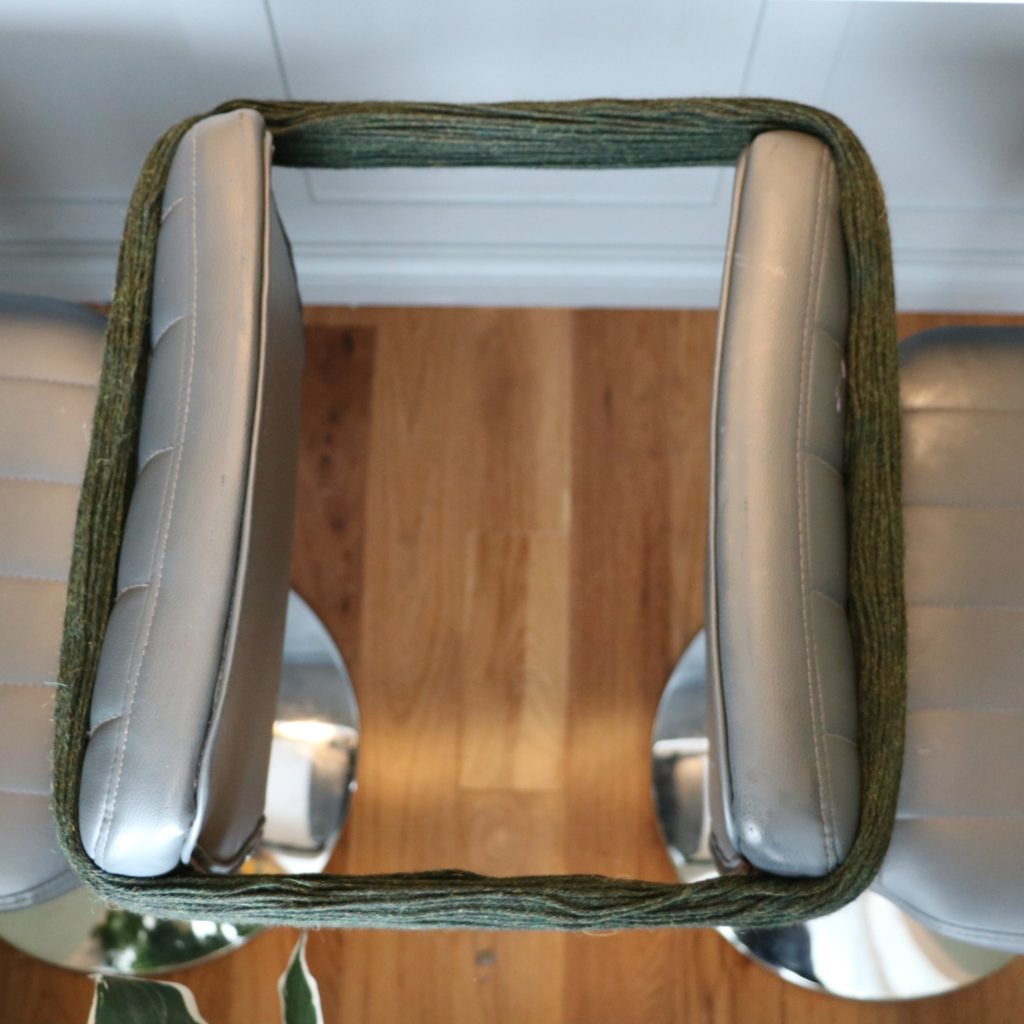
Cut the ties securing your hank. From the cut tie, find the strand that goes to the outside of the hank. You might have to unwind them a bit to see for sure which strand it is.

Next, start rolling into a ball or use a ball winder for that perfect centre pull.

Steps if you have a swift
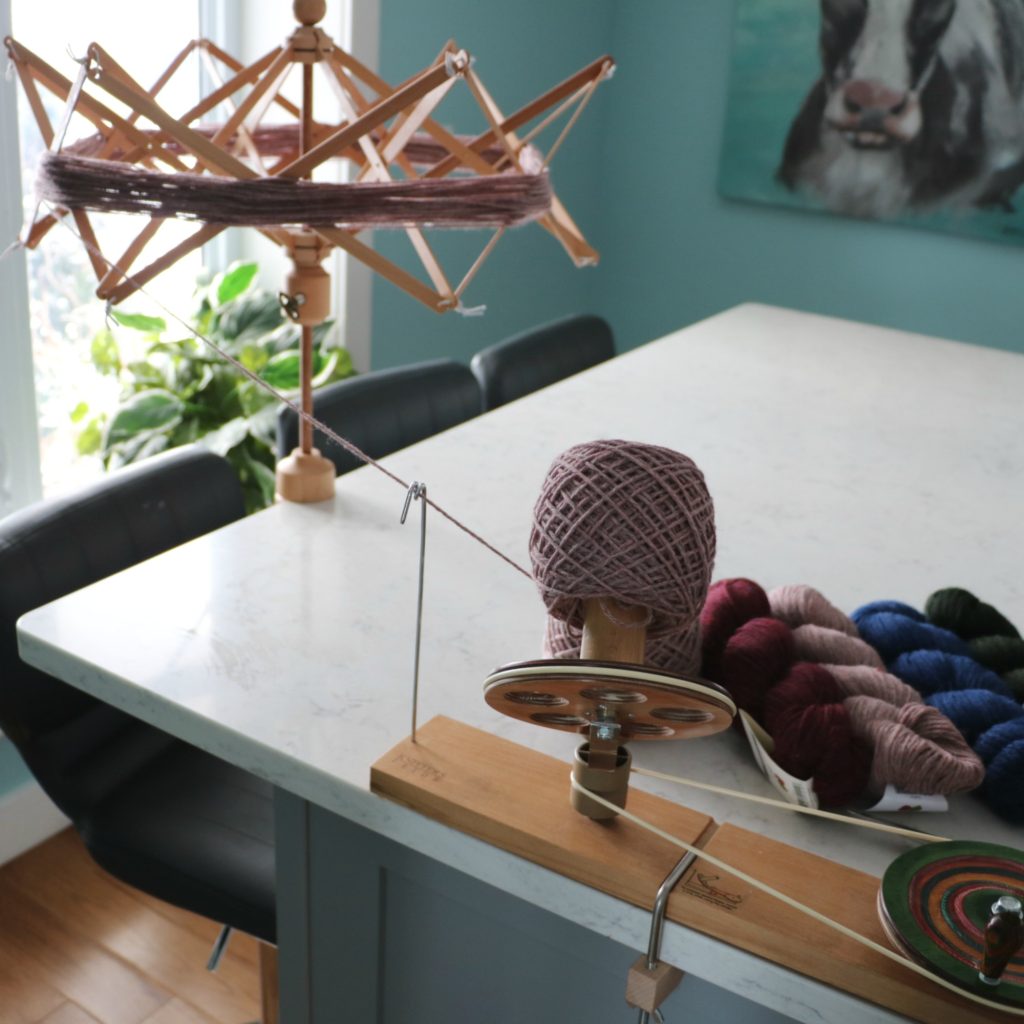
Now, if you have a swift or want to get one, you’ll need to know how to use it. I love my new swift from WeCrochet & Knit Picks. It’s so easy to use, and I’ve demonstrated the whole process on video for you.

First off you need to secure your swift with the screw provided to a table or island.

Would you like to save this?
You can unsubscribe at any time.
The swift looks like this before opening it up. I suggest opening it up not too far initially, so it’s easy to get the hank around it. There’s another screw just below the umbrella you tighten to hold it in place.
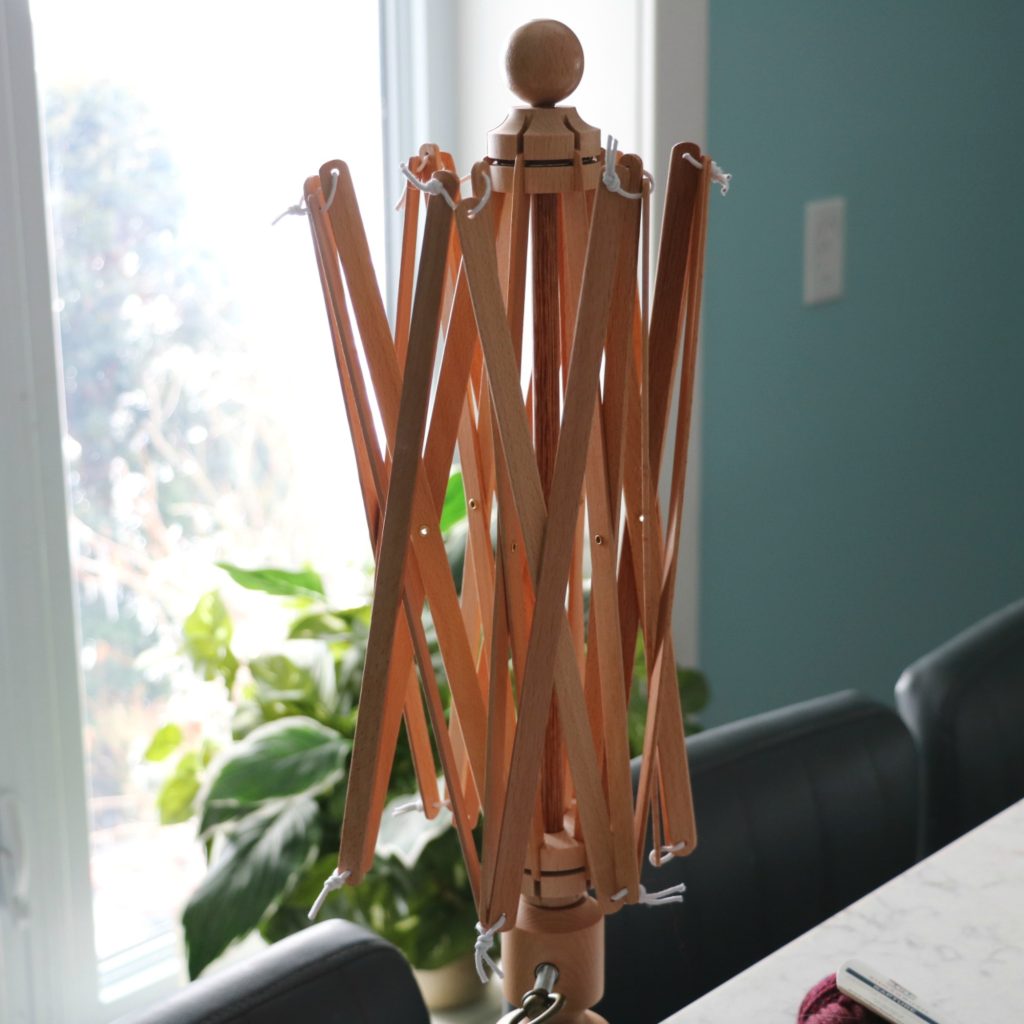
Next, place your hank around the umbrella. Push the umbrella upwards to tighten. Cut the strand holding the hank per the instructions I gave you above.
Steps for turning your hank into a cake
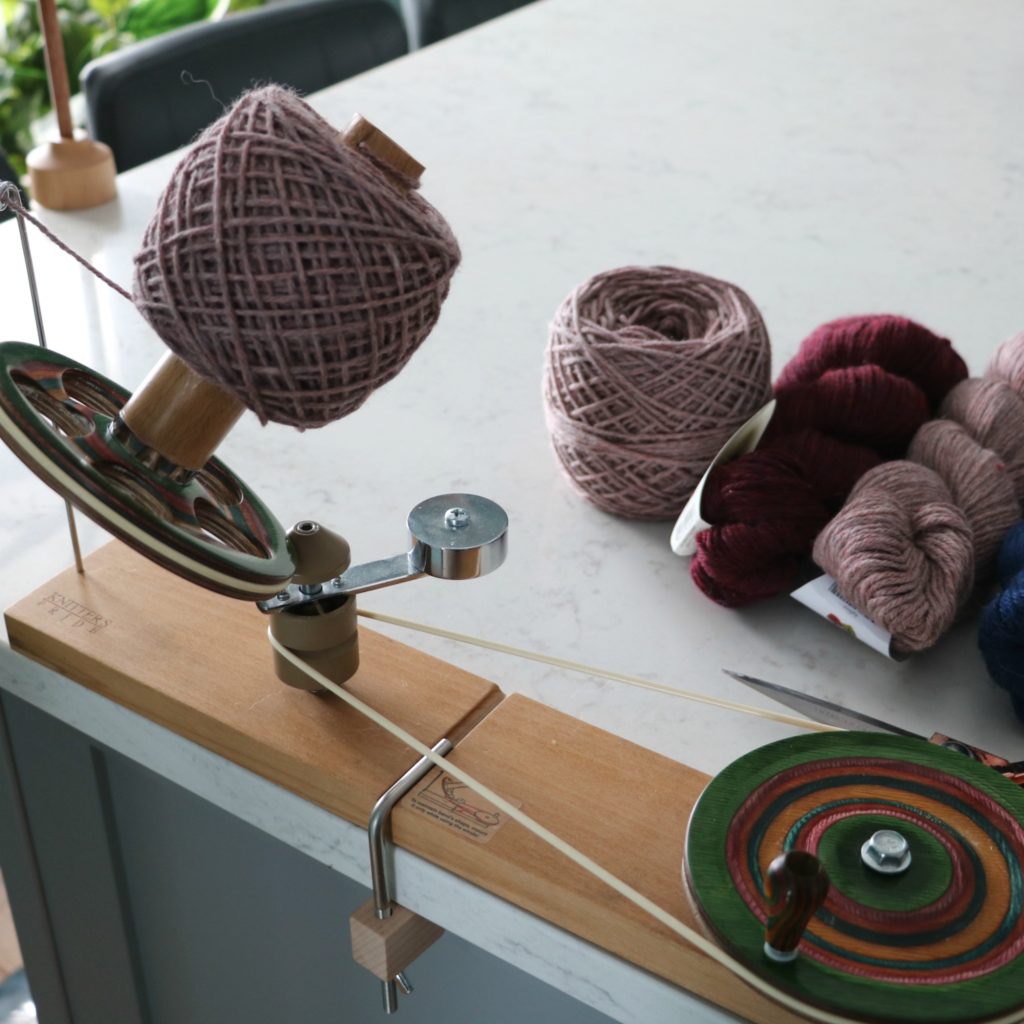
Now to turn your hanks into cakes. Thread the outer strand through your ball winder. Placing it through the slit in the wooden shaft (this is your centre pull). Shown here is my Knitter’s Pride Ball winder.

Use the handle and start off slow. Once it’s winding well, you can speed up.
Watch the full tutorial now on YouTube
If you want to learn how to crochet, start HERE with our Learn to Crochet Series!
Find more on Ravelry, Etsy, or Lovecrafts Shop. Check out our Facebook and Instagram for daily inspiration!
Please share and Pin! Follow us on Pinterest HERE
Happy Hooking MJ
*This post contains affiliate links at no cost to you!

You’ve got questions, we’ve got a community!
Crocheting is better with friends! Join our group to post pictures and ask all your pattern support questions.