*This post may contain affiliate links to support the cost of this blog. At no cost to you, I may make a small commission if you purchase through these links. Read our Privacy Policy HERE
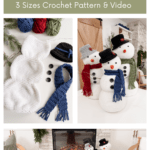
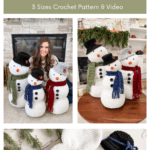
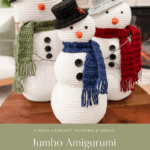
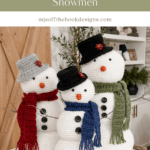
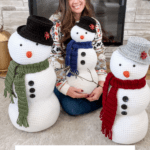
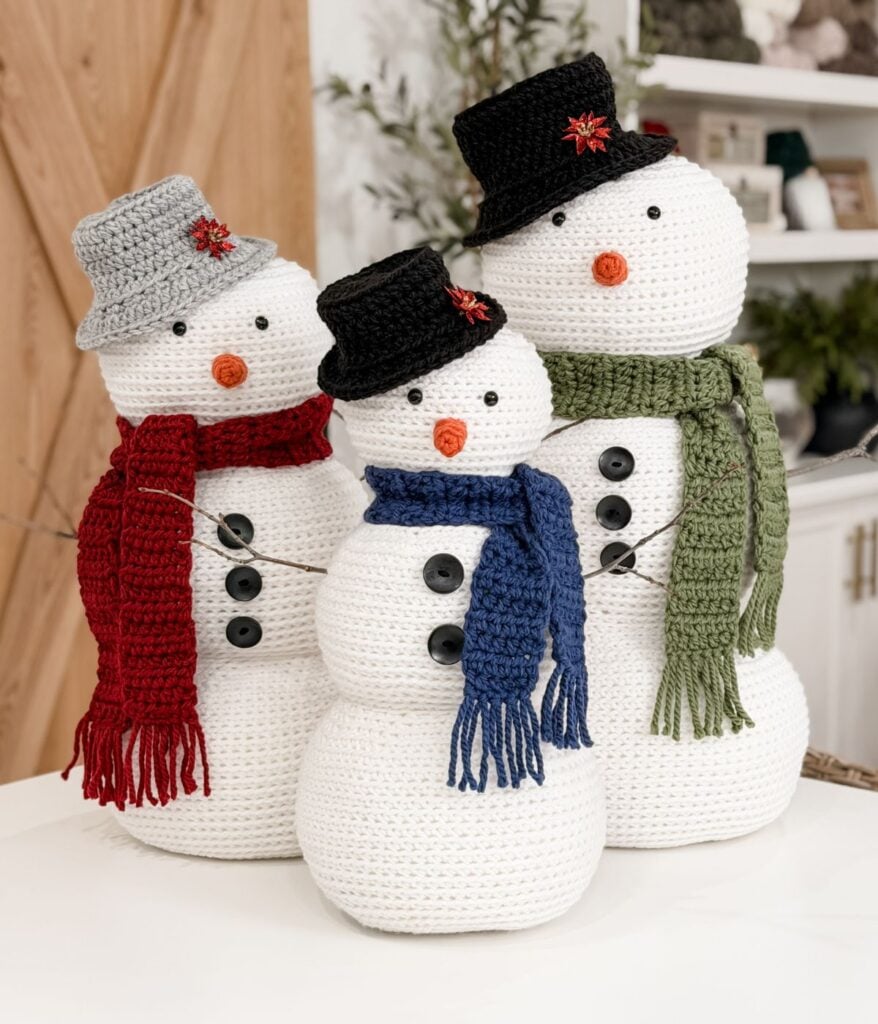
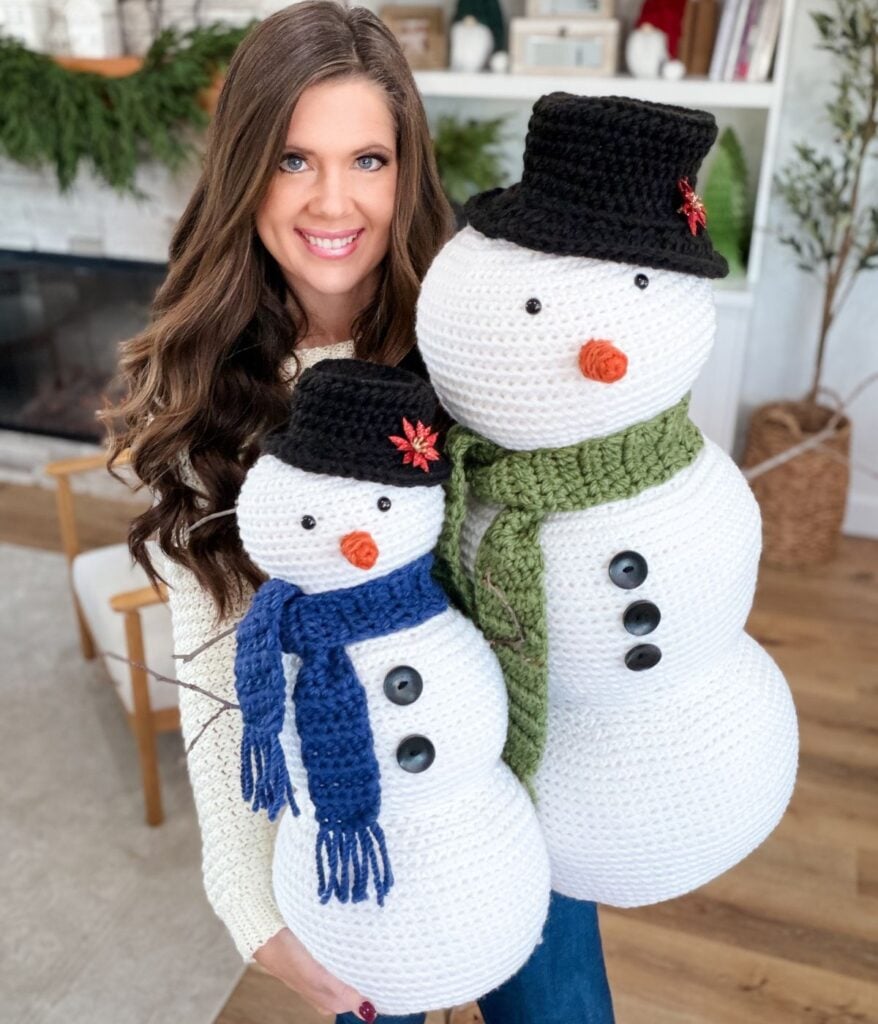
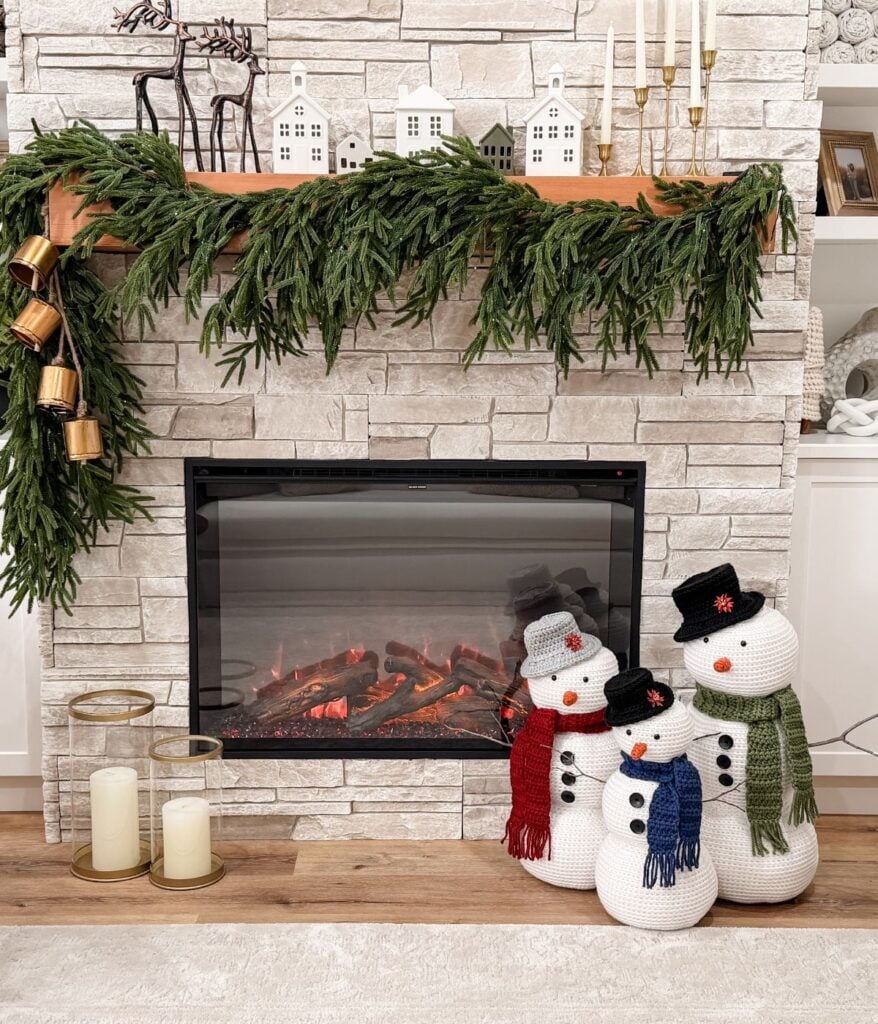
Meet the Jumbo Amigurumi Crochet Snowman Family, the happiest and squishiest holiday decor you will crochet this season. This adorable trio comes in three sizes so you can create a full snowman family for your entryway, fireplace hearth, or Christmas display. The medium size is free here on the blog, and the small and large sizes are available inside the premium PDF pattern.

Key Takeaways
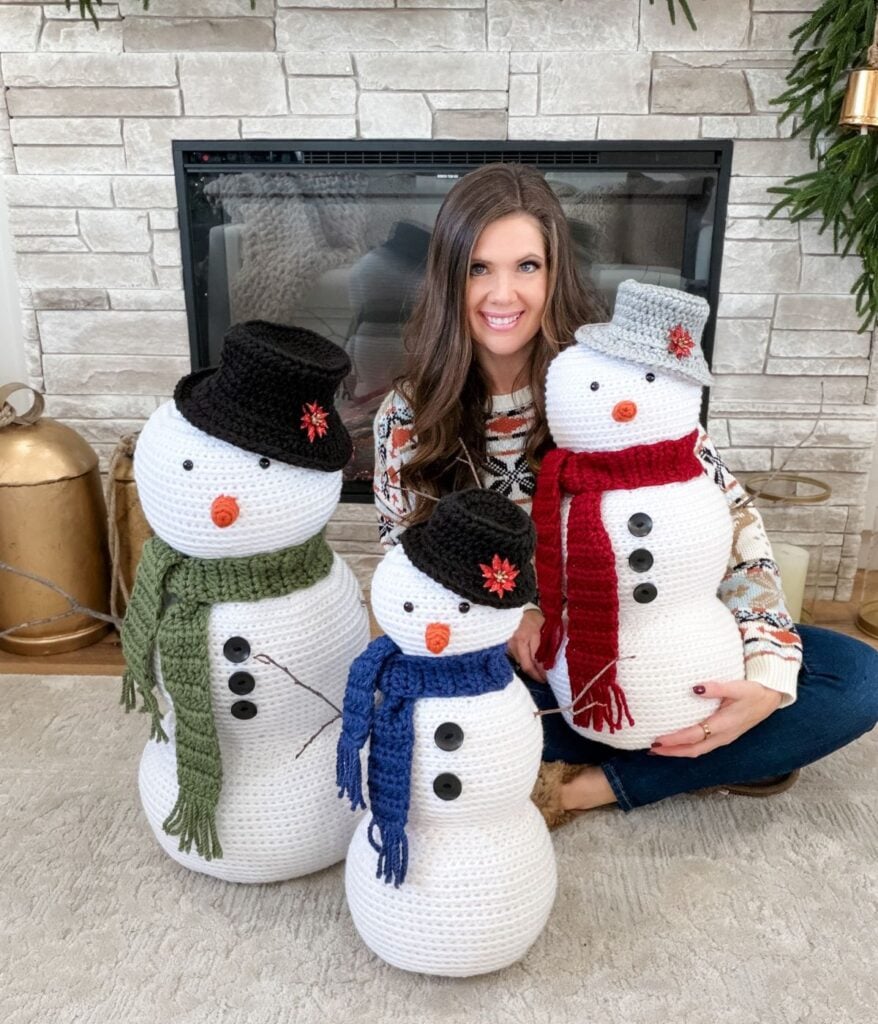
- Create a full snowman family with the Jumbo Amigurumi Crochet Snowman pattern, available in small, medium, and large sizes.
- The medium size is free on the blog, while small and large patterns are in the premium PDF version.
- These snowmen are beginner-friendly and require no sewing, using simple stitches and super bulky yarn.
- Each snowman features seamless construction, a weighted base option, and classic details like hats, scarves, and carrot noses.
- Watch the step-by-step video tutorial for guidance and tips for finishing touches on your Crochet Snowman.
Project Overview
The post shares a free Jumbo Amigurumi Crochet Snowman Family pattern featuring three adorable snowmen in small, medium, and large sizes—perfect for winter décor or gifting—with the medium size available free on the blog and the other sizes offered in a premium PDF. These plush figures are worked seamlessly in super-bulky yarn with simple stitches, include classic details like hats, scarves, carrot noses, and optional stick arms, and even have a step-by-step video to guide you through making the medium snowman.
Hook Sizes: US K/10.5 (6.5mm)
Construction: each snowman is worked in one continuous round from the bottom up—no joining separate snowballs
Video Tutorial: https://youtu.be/es6s7skvARg?si=Xy7_wajo9lldJRVN
These snowmen work up quickly in super bulky yarn, have no sewing or separate balls, and use simple stitches. They are the perfect handmade project for winter decorating or gifting.
Why You Will Love the Jumbo Snowman Family Pattern
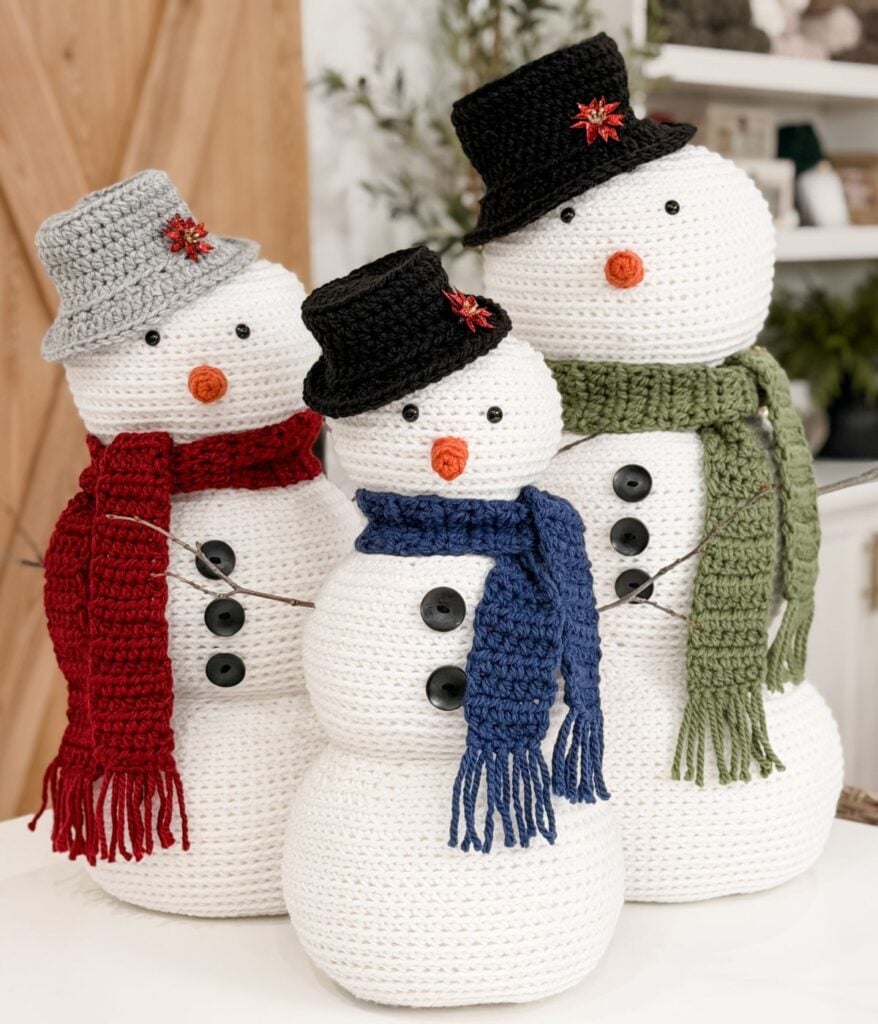
- Three sizes included: small, medium, and large (Dad, Mom and Baby Snowman)
- Medium size is free on the blog
- Small and large sizes are included in the premium PDF pattern
- Seamless construction: each snowman is worked in one continuous round from the bottom up—no joining separate snowballs.
- Beginner-friendly: simple increases, decreases, and single crochet in the back loop only
- Weighted base option: helps your snowman stand upright and stable
- Classic details: hat, scarf, carrot nose, buttons, and stick arms for personality
- Step-by-step video tutorial for the medium size
- Perfect for entryways, fireplace hearths, mudrooms, kids’ rooms, or holiday markets
- Great stash buster for super bulky yarn
Finished Sizes
- Small (only in the PDF)
Height: 18 inches
Base circumference: 29.5 inches - Medium
Height: 20 inches
Base circumference: 33 inches - Large (only in the PDF)
Height: 24 inches
Base circumference: 38 inches
Accessories included:
- Hats sized to each snowman
- Scarves sized to each snowman
- Optional stick arms
- Crocheted carrot nose
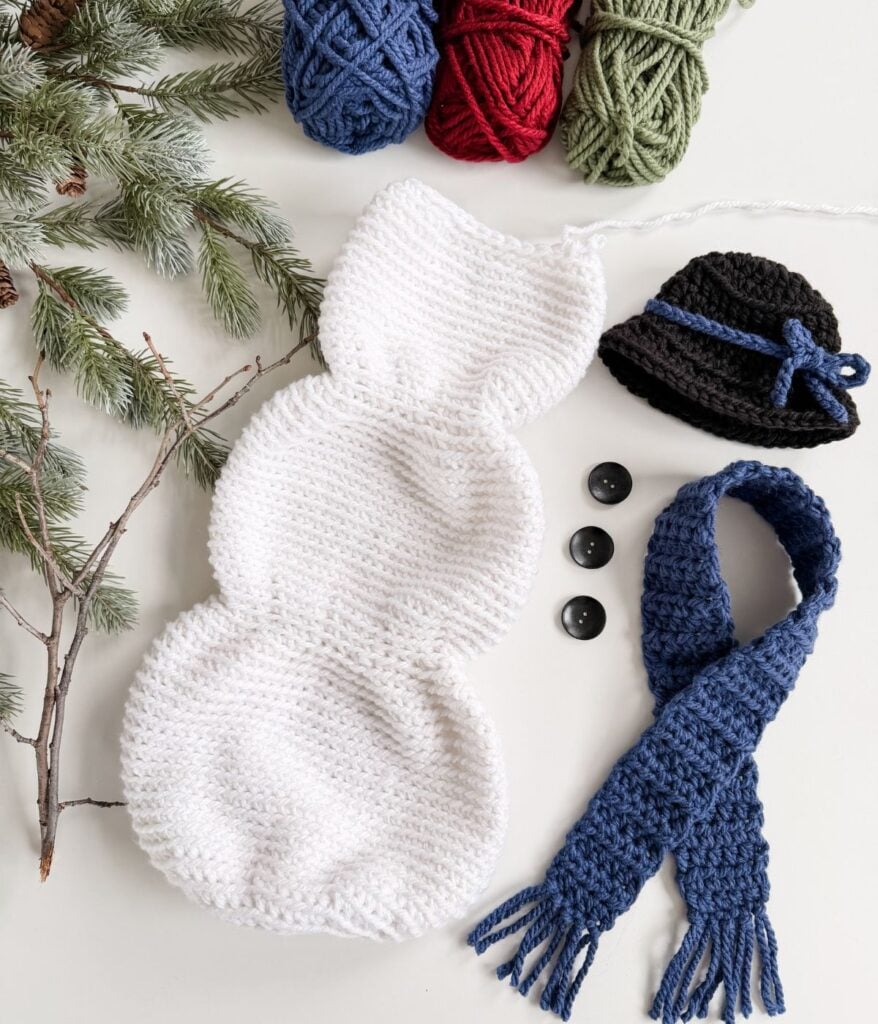
What you need to crochet the snowman:
Yarn Required
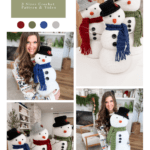
Super Bulky Weight #6 100% acrylic 108 yds/ 100g, shown in (A) White, (B) Pumpkin, (C) Black & Gray Heather, (D) Faded Denim, (E) Wine and (F) Forest
Small (Medium, Large)
A: 3 (3, 4) balls or 245 (320, 425) yards
B: Small amount
C: 40 (60, 75) yards
D-F: 40 (60, 70) yards
Yarn Substitutes
Lion Brand Hue + Me – 137 yds/100g
Titan Bulky Weight Yarn #5 (cdn) 80yrds/85G
Brava Bulky 136yds/100g
PREMIER BASIX CHUNKY YARN CDN) – 117yds/100g
Crochet Hook
Materials
Polyester Fill (64 oz bag)
Suffing Pellets (CAD) and a Plastic Bag
Poinsettia, ribbon, or other embellishment
Sticks for arms: two pieces, each measuring 8, 9, or 10 inches
Black Buttons 30-35 mm size (2, 3, 3) (CAD)
Guage
5 sts and 5 rows equal to 2″ in sc blo with
6.5mm hook
New to gauge? It’s an important step to ensure your projects turn out the correct size. Check out our helpful free beginner’s guide to gauge.
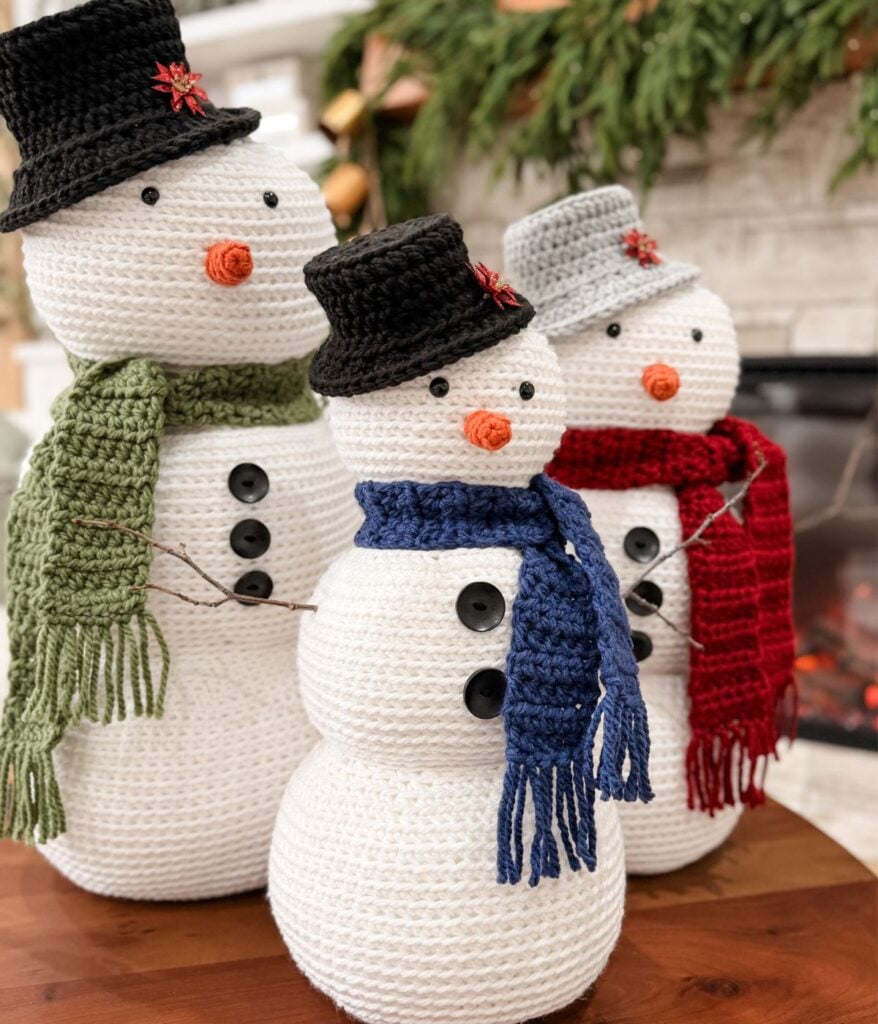
Perfect Holiday Decor
- These oversized snowmen look adorable in:
- Entryways
- Fireplace hearths
- Porch displays (covered)
- Mantels
- Kids bedrooms
- Winter market booths
- They are soft, whimsical, and perfect for holiday photos.
Helpful Resources
Sign up for our YouTube Membership
Join our Facebook Crochet Community for pattern support and inspiration
Subscribe on YouTube for hundreds of free tutorials
Sign up for our newsletter and receive 40% off your first Ravelry purchase
FAQ & Terms
This pattern requires a beginner skill level
This pattern is professionally written in technical writing and tech edited for accuracy. You need to be comfortable reading technical repeats.
Written in standard American terms
This post may contain affiliate links. Purchases made through these links may earn MJ’s Off The Hook Designs Inc. a small commission at no extra cost to you. Content on this site is supported by ads—please do not block or remove them.
Copyright
All patterns, photos, and written content are the property of MJ’s Off The Hook Designs Inc. and protected by copyright law.
Usage
Free patterns are for viewing only on this blog. You may not copy, download, print, screenshot, or redistribute any part of the pattern. Access must remain through this page with ads visible. Use of ad blockers, reader view, or any similar tools that remove or hide ads and site content is strictly prohibited.
Legal Notice
Unauthorized reproduction or distribution may result in copyright infringement penalties.
By accessing this post, you agree to these terms and conditions.
Yes! You may sell finished items made from MJ’s patterns, but please credit:
“Pattern by MJ’s Off The Hook Designs Inc.”
Pattern Support is only available in our Facebook Community group and Video Tutorials.
No additional support is provided for modified patterns, alternate yarns, or changes to gauge.
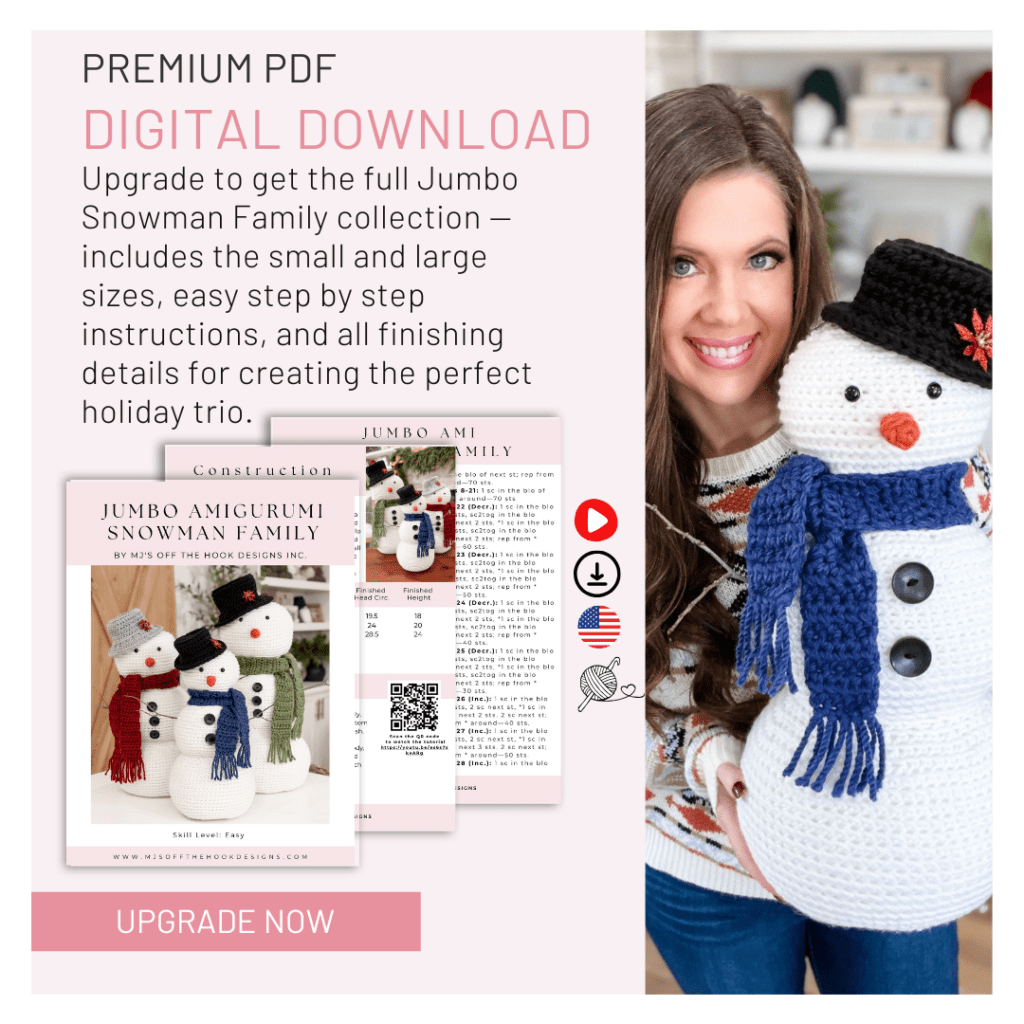
Upgrade to the Premium PDF Pattern
Digital PDF Download
Digital pattern only. No physical item will be shipped.
Abbreviations
Blo – Back Loop Only
Ch – Chain
Dc – Double Crochet
Flo – Front Loop Only
Hdc – Half Double Crochet
Rep – Repeat
RS – Right Side
Sc – Single Crochet
Sc2tog – Single Crochet Decrease
Sk – Skip
Sl St – Slip Stitch
Sp(s) – Space(s)
St(s) – Stitch(es)
WS – Wrong Side
Sc2tog – Single Crochet 2 together – Insert hook through indicated st and pull up a loop, insert hook in next st, pull up a loop, YO (Yarn Over), pull through 3 loops on the hook.
Seamless Join – After the last stitch of the round, fasten off. With a yarn needle, weave under both loops of first st, then weave through the blo of the last stitch. Weave in tail.
Jumbo Crochet Snowman Family Pattern (Size Medium)
Notes: The snowman is worked in continuous rounds from the bottom up. Use a stitch marker to mark the first stitch of each round.
Medium Snowman:
Body
Round 1:
With A, Magic Ring, ch 1, work 10 hdc in the ring, pull ring tight (don’t join)—10 sts.
Round 2:
2 sc in the blo of each st around—20 sts.
Round 3:
1 sc in the blo of first st, 2 sc in the blo of next st, *1 sc in the blo next st, 2 sc in the blo next st; rep from * around—30 sts.
Round 4:
1 sc in the blo of first 2 sts, 2 sc in the blo of next st, *1 sc in the blo next 2 sts, 2 sc in the blo of next st; rep from * around—40 sts.
Round 5:
1 sc in the blo of first 3 sts, 2 sc in the blo of next st, *1 sc in the blo next 3 sts, 2 sc in the blo of next st; rep from * around—50 sts.
Round 6:
1 sc in the blo of first 4 sts, 2 sc in the blo of next st, *1 sc in the blo next 4 sts, 2 sc in the blo of next st; rep from * around—60 sts.
Round 7:
1 sc in the blo of first 5 sts, 2 sc in the blo of next st, *1 sc in the blo next 5 sts, 2 sc in the blo of next st; rep from * around—70 sts.
Round 8:
1 sc in the blo of first 6 sts, 2 sc in the blo of next st, *1 sc in the blo next 6 sts, 2 sc in the blo of next st; rep from * around—80 sts.
Rounds 9-24:
1 sc in the blo of each st around—80 sts.
Round 25 (Decr.):
1 sc in the blo first 6 sts, sc2tog in the blo across next 2 sts, *1 sc in the blo next 6 sts, sc2tog in the blo across next 2 sts; rep from * around—70 sts.
Round 26 (Decr.):
1 sc in the blo first 5 sts, sc2tog in the blo across next 2 sts, *1 sc in the blo next 5 sts, sc2tog in the blo across next 2 sts; rep from * around—60 sts.
Round 27 (Decr.):
1 sc in the blo first 4 sts, sc2tog in the blo across next 2 sts, *1 sc in the blo next 4 sts, sc2tog in the blo across next 2 sts; rep from * around—50 sts.
Round 28 (Decr.):
1 sc in the blo first 3 sts, sc2tog in the blo across next 2 sts, *1 sc in the blo next 3 sts, sc2tog in the blo across next 2 sts; rep from * around—40 sts.
Round 29 (Inc.):
1 sc in the blo first 3 sts, 2 sc next st, *1 sc in the blo next 3 sts, 2 sc next st; rep from * around—50 sts.
Round 30 (Inc.):
1 sc in the blo first 4 sts, 2 sc next st, *1 sc in the blo next 4 sts, 2 sc next st; rep from * around—60 sts.
Round 31 (Inc.):
1 sc in the blo first 5 sts, 2 sc next st, *1 sc in the blo next 5 sts, 2 sc next st; rep from * around—70 sts.
Rounds 32-45:
1 sc in the blo of each st around—70 sts.
Round 46:
Rep Rnd 26—60 sts.
Round 47:
Rep Rnd 27—50 sts.
Round 48:
Rep Rnd 28—40 sts.
Round 49 (Decr.):
1 sc in the blo first 2 sts, sc2tog in the blo across next 2 sts, *1 sc in the blo next 2 sts, sc2tog in the blo across next 2 sts; rep from * around—30 sts.
Sew three black buttons centred on the middle snowball, then knot and trim the ends. Place a weighted bag in the bottom snowball and begin stuffing, adding small amounts at a time so the shape stays smooth and even. Continue to stuff firmly as you go.
Round 50 (Inc.):
1 sc in the blo first 2 sts, 2 sc next st, *1 sc in the blo next 2 sts, 2 sc next st; rep from * around—40 sts.
Round 51:
Rep Rnd 29—50 sts.
Round 52:
Rep Rnd 30—60 sts.
Rounds 53-64:
1 sc in the blo of each st around—60 sts.
Add the safety eyes around the 61st row, spacing them approximately six stitches apart. Make sure they line up with the buttons so the buttons sit centred beneath the eyes.
Round 65:
Rep Rnd 27—50 sts.
Round 66:
Rep Rnd 28—40 sts.
Round 67:
Rep Rnd 49—30 sts.
Round 68 (Decr.):
1 sc in the blo first st, sc2tog in the blo across next 2 sts, *1 sc in the blo next st, sc2tog in the blo across next 2 sts; rep from * around—20 sts.
Round 69 (Decr.):
1 sc2tog in the blo across first 2 sts, *1 sc2tog in the blo across next 2 sts; rep from * around, sl st in first st to join—10 sts. Fasten off with a long tail for finishing.
Head Closure
Using a yarn needle and the finishing tail, weave through the flo of each stitch around. Pull the yarn tight and continue weaving through the last round to secure the closure. Trim end.
Nose
Notes:
The nose is worked in continuous rounds. Use a stitch marker to mark the first stitch of each round.
Round 1:
With B, Magic Ring, ch 1, work 6 sc in the ring, pull ring tight (don’t join)—6 sts.
Round 2:
1 sc in the blo of each st around—6 sts.
Round 3:
1 sc in the blo first 2 sts, 2 sc in the blo next st, 1 sc in the blo of next 2 sts, 2 sc in last st—8 sts.
Round 4:
1 sc in the blo of each st around—8 sts. Sl st in blo next st, fasten off with a tail for sewing. Sew the nose centred between the eyes, approximately two to three rows below or in your preferred placement. Use the yarn tail to secure it to the snowman.
Scarf
Notes: The scarf is worked in short rows.
Row 1:
With D-F, ch 7, 1 hdc in the back bump (leg) of the 2nd ch from hook and in each ch across, turn—6 sts.
Row 2:
Ch 1, 1 hdc in each st across, turn—6 sts.
Rows 3- 61:
Rep Row 2. Last row fasten off and weave in tails.
Fringe Instructions
Cut fringe lengths to eight inches. Use one piece of fringe for each st across the short ends of the scarf for a total of 12 pieces. Insert your crochet hook through a right-side stitch, fold the fringe in half, and pull the loop through with the hook. Knot to secure the fringe in place.
Continue working across both ends of the scarf, adding fringe to each stitch. Trim the ends with scissors so the fringe is even and steam if needed.
Hat
Notes: The hat is worked in rounds from the top down.
Round 1:
With C, Magic Ring, ch 1, work 12 hdc in the ring, pull ring tight, sl st in first hdc to join—12 sts.
Round 2:
Ch 1, 2 hdc in each st around, sl st in first hdc to join—24 sts.
Round 3:
Ch 1, 1 hdc in first st, 2 hdc in next st, * 1 hdc in next st, 2 hdc in next st; rep from * around, sl st in first hdc to join— 36 sts.
Round 1:
Ch 1, 1 hdc in the blo of each st around, sl st in first hdc to join—36 sts.
Rounds 2- 5:
Ch 1, 1 hdc in each st around, sl st in first hdc to join—36 sts.
Brim
Round 1:
Ch 1, 1 sc in blo of first st, 2 sc in blo next st, *1 sc in blo next st, 2 sc in blo next st; rep from * around, sl st in first sc to join 54 sts.
Rounds 2 – 3:
Ch 1, 1 hdc in each st around, fasten off (don’t join)—54 sts. With yarn needle, work the seamless join to finish. Optional: Apply a small amount of hot glue around the inside of the first row of the brim and then attach it to the head at a slight angle.
Hat Embellishments
Attach ribbon or poinsettias to the snowman’s hat. Another option is to crochet a chain in the matching scarf colour and tie it around the base of the hat in a bow. Chain approximately 80 stitches, fasten off, and weave in the tails.
Arms
To create the snowman’s arms, find two small sticks that are around 9 inches long. Use a hot glue gun to secure each stick by pushing it through the stitches, ensuring that both arms are firmly attached to the middle section of the snowman.
If you enjoyed this pattern, you may also enjoy these patterns:
This pattern is designed by Michelle Moore of MJ’s Off The Hook Designs Inc, based in Lakefield, Ontario, Canada. Your go-to source for modern, easy crochet patterns. Published on December 6th, 2025.
Thank you for visiting MJ’s Off The Hook Designs I hope you enjoyed this pattern and feel inspired to pick up your hook and start creating.
You can find even more crochet patterns in our Ravelry andEtsy shops.
For daily inspiration and behind-the-scenes peeks, join me over on Facebook or Instagram, or join our YouTube Membership for exclusive content!
You’ve got questions, we’ve got a community!
Crocheting is better with friends! Join our group to post pictures and ask all your pattern support questions.