*This post may contain affiliate links to support the cost of this blog. At no cost to you, I may make a small commission if you purchase through these links. Read our Privacy Policy HERE
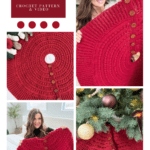
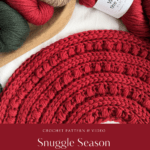
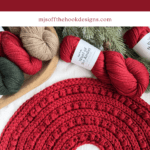

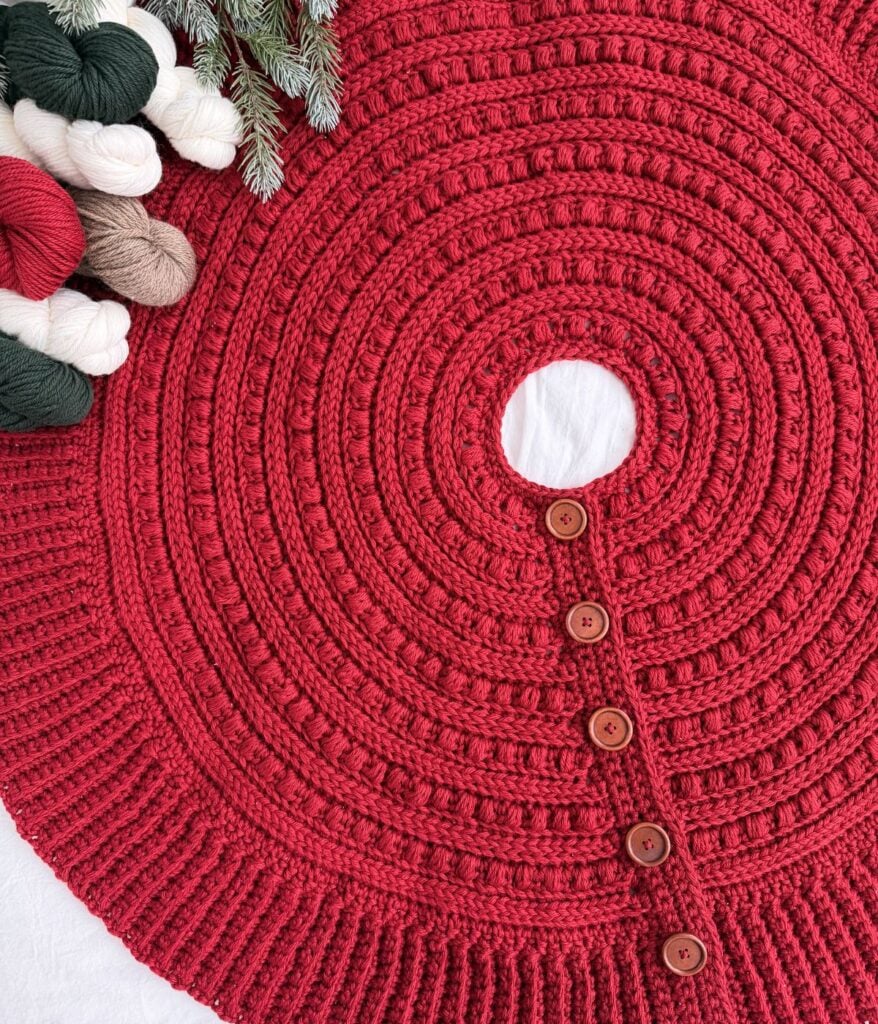
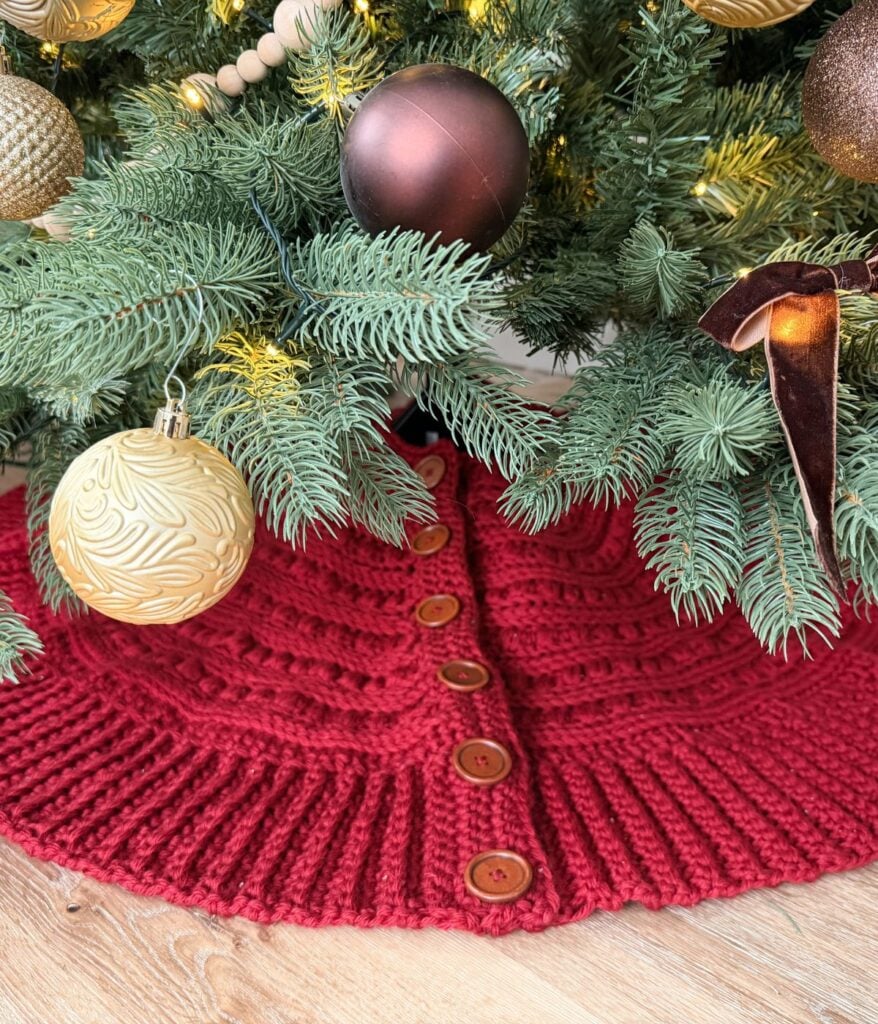
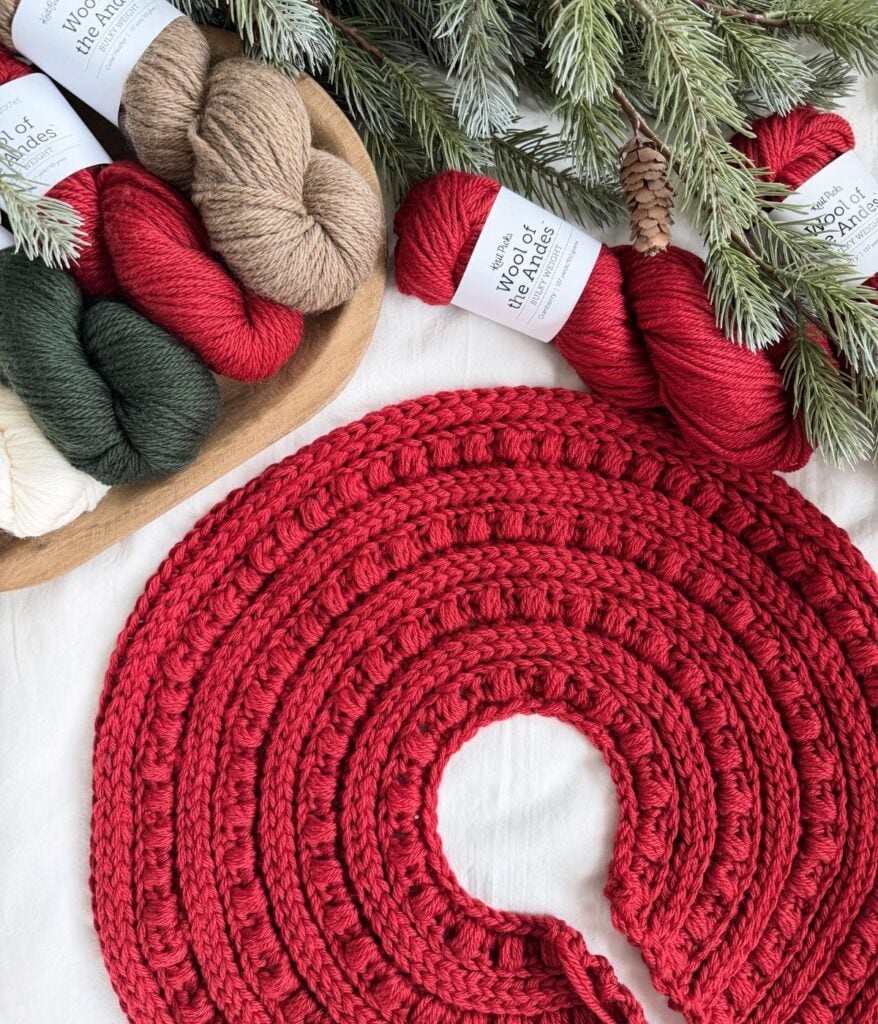
The Snuggle Season Tree Skirt is a fast-working, textured crochet project that brings warmth, charm, and classic holiday style right to the base of your tree.
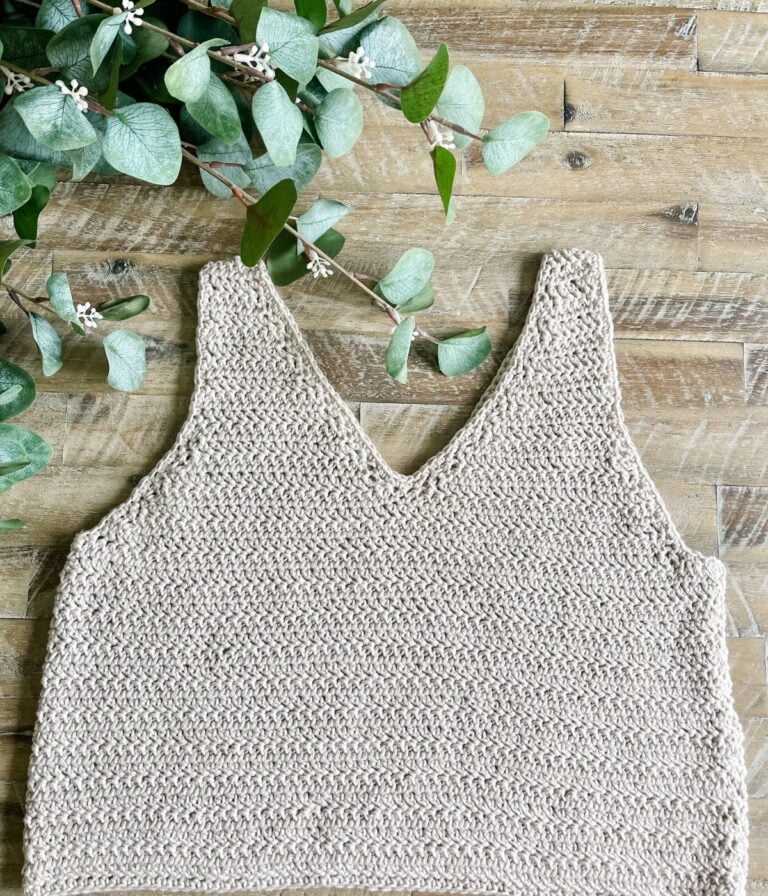
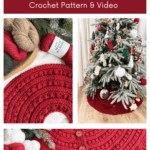
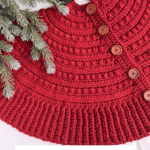
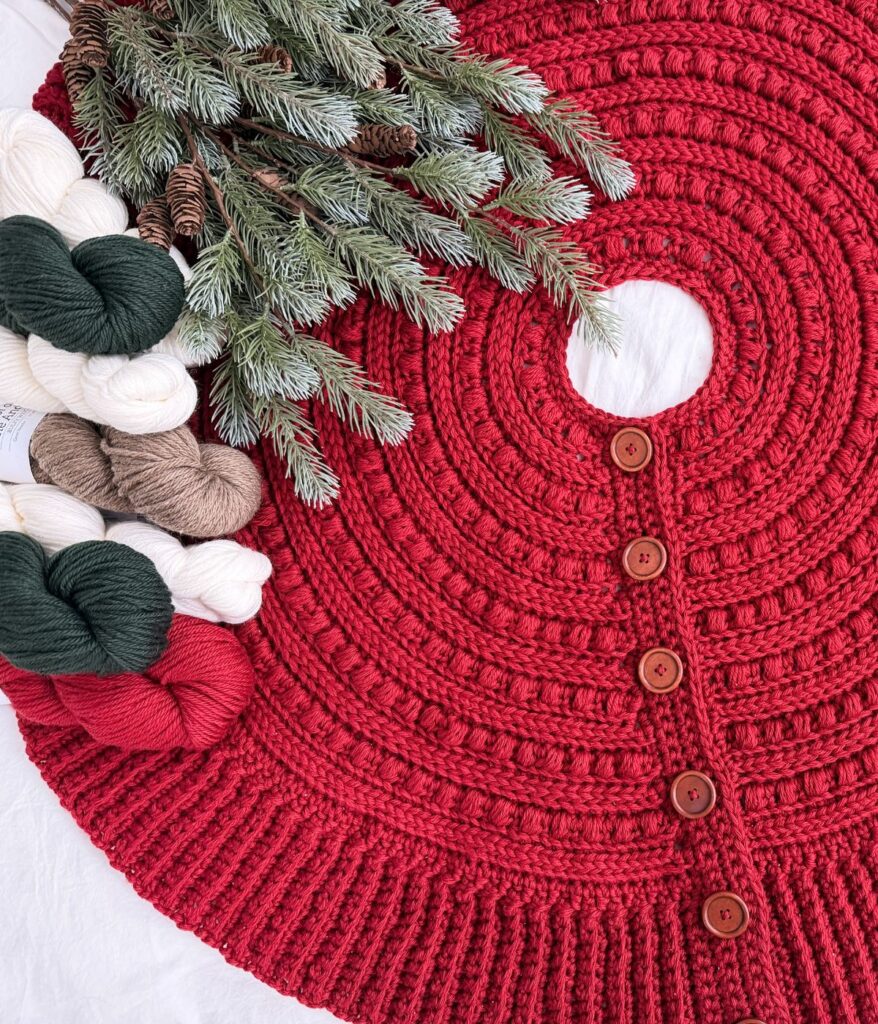
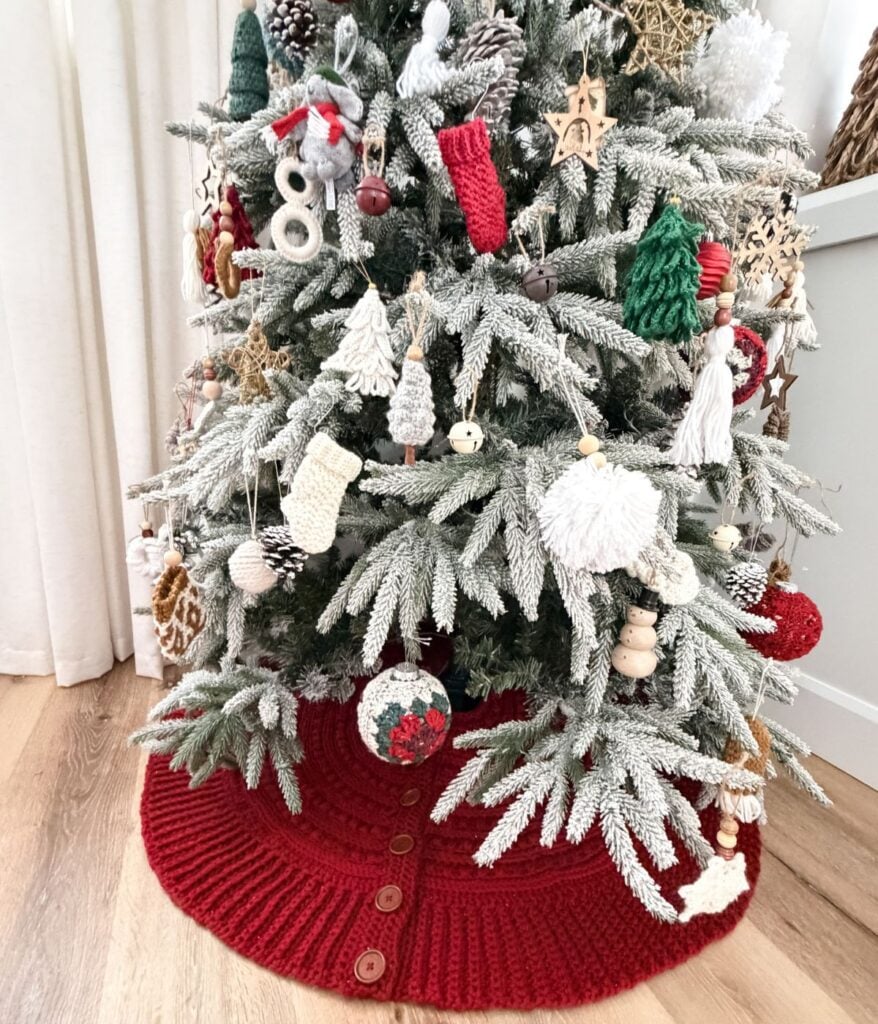
Designed with beautiful puff stitch texture and finished with a stretchy ribbed edge, this tree skirt wraps neatly around your tree with a functional button-up closure. It is the perfect statement piece for rustic, farmhouse, or modern Christmas homes.

Key Takeaways
- The Tree Skirt features a fast-working crochet design with a textured puff stitch and ribbed edge.
- It includes a video tutorial and an option for an ad-free premium PDF with detailed instructions.
- The pattern is suitable for intermediate crocheters, but confident beginners can follow along with the tutorial.
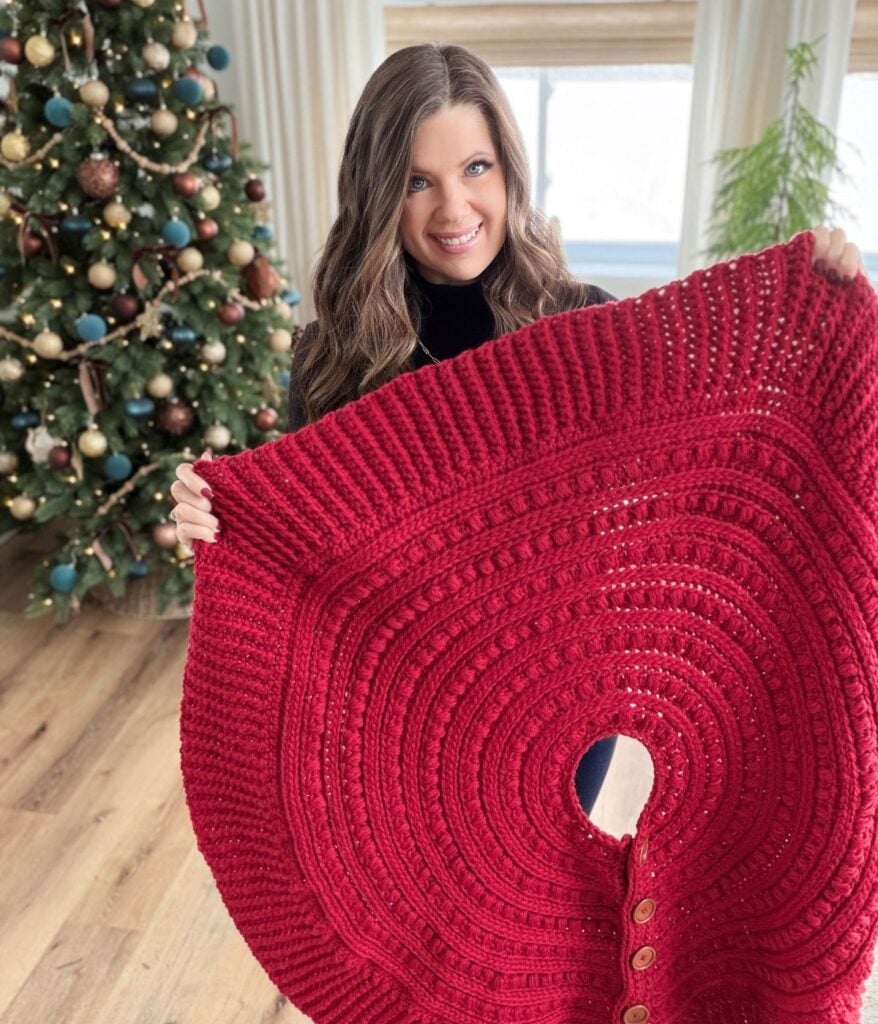
- Use two strands of bulky yarn for a plush look, and the finished skirt measures approximately 42 inches in diameter.
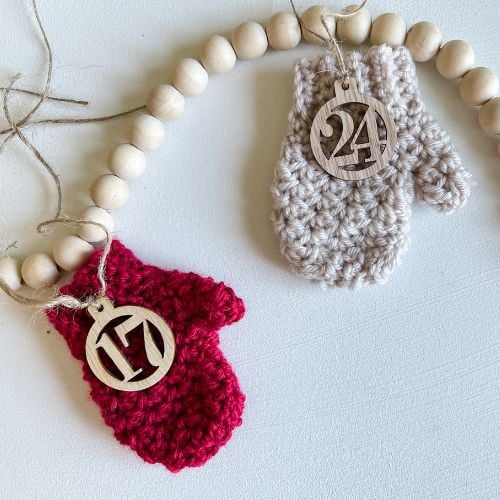
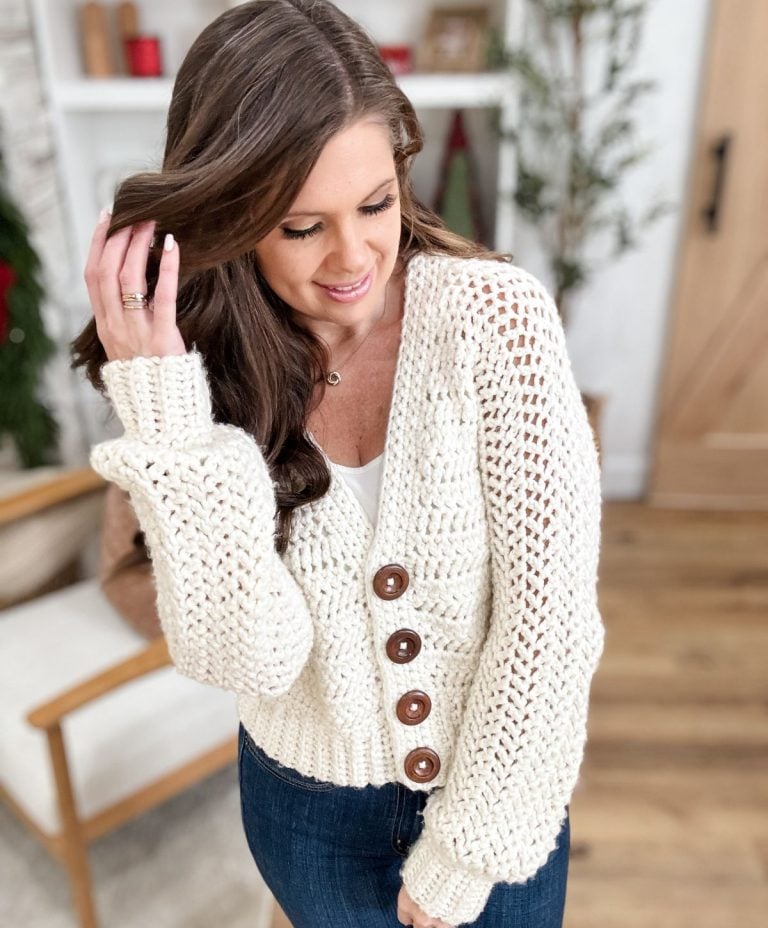
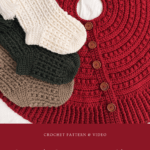
- This Tree Skirt coordinates well with other crochet patterns in the Snuggle Season collection.
Project Overview
The blog post introduces the Snuggle Season Tree Skirt, a free crochet pattern that creates a cozy, textured holiday tree skirt using a puff stitch design and a stretchy ribbed edge with a button-up closure, making it easy to wrap around your tree. It includes all the materials, instructions, and a full video tutorial to help you work it up, and the design pairs beautifully with other “Snuggle Season” crochet pieces for a coordinated holiday look.
Hook Sizes: US M/N/13 (9mm)
Construction: Worked flat in rows, beginning at the inner base of the tree and increasing outward toward the outer edge
Video Tutorial: https://youtu.be/mT1q3-A5AsI?si=xYTIMsJ-Upm8_cLu
This free crochet pattern includes everything you need to get started, with a full step-by-step video tutorial to guide you along the way.
For those who prefer an ad-free experience, the premium PDF includes all written instructions, schematics, and printable details.
Why You’ll Love the Snuggle Season Tree Skirt
• Works up incredibly fast by holding two strands of bulky yarn together
• Thick, plush fabric that looks stunning under holiday lights
• Eye-catching puff stitch texture with clean ribbed edging
• Button-up opening so you never need to lift or move your tree
• Relaxing, repetitive stitch pattern
• Designed to last and be used year after year
• Includes a full video tutorial for visual learners
• Coordinates perfectly with other Snuggle Season patterns
Video Tutorial
Crochet the Snuggle Season Tree Skirt

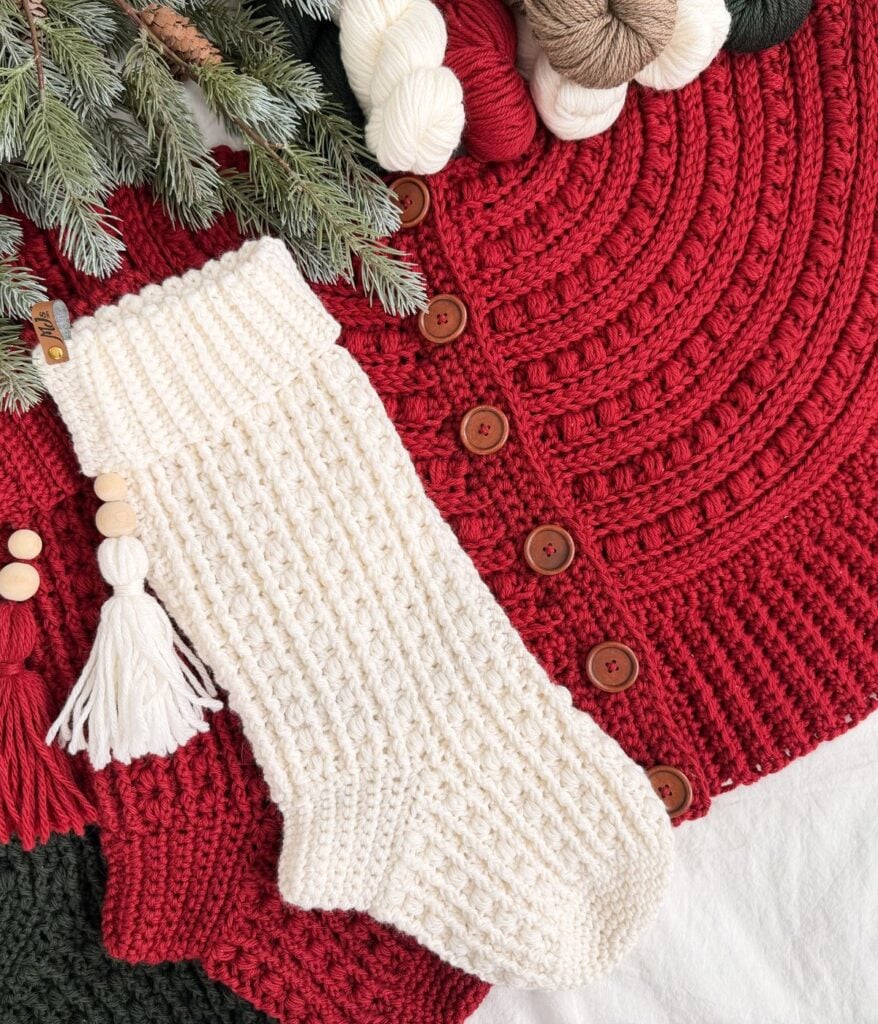
A Matching Crochet Collection You’ll Want to Make
If you love the stitch pattern used in the Snuggle Season Tree Skirt, you’ll be happy to know it is part of a full matching collection.
This design pairs beautifully with:
• Snuggle Season Stockings
• The Snuggle Season Headband
• Snuggle Season Hat
• The Snuggle Season Blanket
Create a cohesive, handmade holiday look throughout your home using the same cozy texture and stitch pattern.
Skill Level
• Intermediate
• Confident beginners can follow along using the video tutorial
Finished Measurements
• Total diameter: approximately 42 inches
• Radius: approximately 19 inches
• Centre opening diameter: approximately 4 inches
• Ribbed edging width: approximately 5 inches
This tree skirt is not a fitted item, so minor gauge differences will not affect functionality.
Materials Needed
Yarn
#5 Weight 100% Peruvian Highland Wool
137yds/100g ball Shown Cranberry
1820 yards per skirt or 14 hanks
Hold 2 Strands together to make a super bulky weight yarn
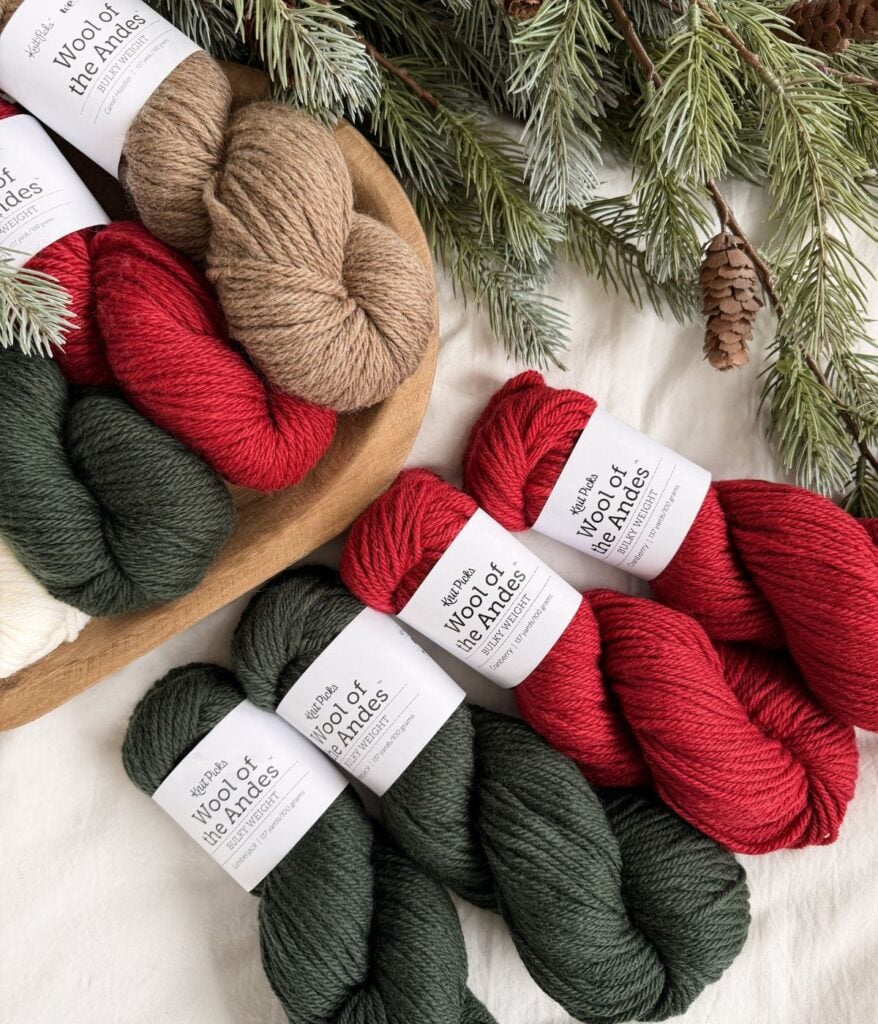
Yarn Substitutes
Starlette Worsted Weight Yarn #4 (cdn site)
Titan Bulky Weight Yarn #5 (cdn)
Brava Bulky 136yds/100g
PREMIER BASIX CHUNKY YARN CDN) – 117yds/100g
Learn how to substitute yarn in our Free Yarn Substitution Guide
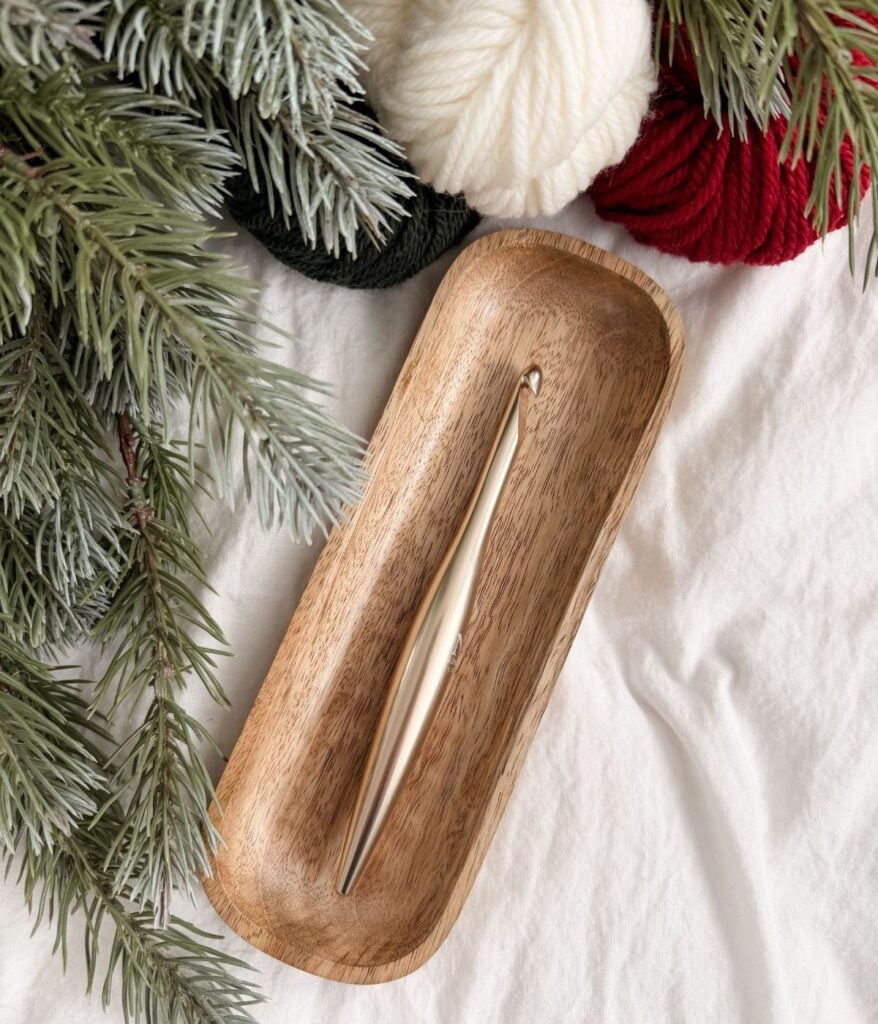
Crochet Hooks Needed
Or the crochet hook size needed to obtain the pattern gauge. Learn about gauge in our free beginner’s guide to gauge.
Additional Materials
Helpful Resources
- Join our Facebook Crochet Community for pattern support and inspiration
- Subscribe on YouTube for hundreds of free tutorials
- Sign up for our newsletter and receive 40% off your first Ravelry purchase!
- Sign up for our YouTube Membership
Guage
Pattern: 11 sts and 9 rows equal to 4″ in pattern with 9mm hook
Ribbing: 10 sts and 10 rows equal to 4″ in pattern with 9mm hook
Learn about what gauge is and how it affects your finished item in our beginner’s guide to gauge.
Constrcution
The Snuggle Season Tree Skirt is worked flat in rows, beginning at the inner base of the tree and increasing outward toward the outer edge. The main panel is built on a repeating puff-stitch pattern, with increases added to create the skirt’s gradual flare. After the main panel is completed, a join-as-you-go ribbed band is worked along the outer edge for a soft, stretchy finish. The inner edge is finished with a button-up closure, allowing the tree skirt to wrap easily around the base of the tree.
FAQ & Terms
This pattern requires an intermedaite skill level
This pattern is professionally written in technical writing and tech edited for accuracy. You need to be comfortable reading technical repeats.
Written in standard American terms
This post may contain affiliate links. Purchases made through these links may earn MJ’s Off The Hook Designs Inc. a small commission at no extra cost to you. Content on this site is supported by ads—please do not block or remove them.
Copyright
All patterns, photos, and written content are the property of MJ’s Off The Hook Designs Inc. and protected by copyright law.
Usage
Free patterns are for viewing only on this blog. You may not copy, download, print, screenshot, or redistribute any part of the pattern. Access must remain through this page with ads visible. Use of ad blockers, reader view, or any similar tools that remove or hide ads and site content is strictly prohibited.
Legal Notice
Unauthorized reproduction or distribution may result in copyright infringement penalties.
By accessing this post, you agree to these terms and conditions.
Yes! You may sell finished items made from MJ’s patterns, but please credit:
“Pattern by MJ’s Off The Hook Designs Inc.”
Pattern Support is only available in our Facebook Community group and Video Tutorials.
No additional support is provided for modified patterns, alternate yarns, or changes to gauge.
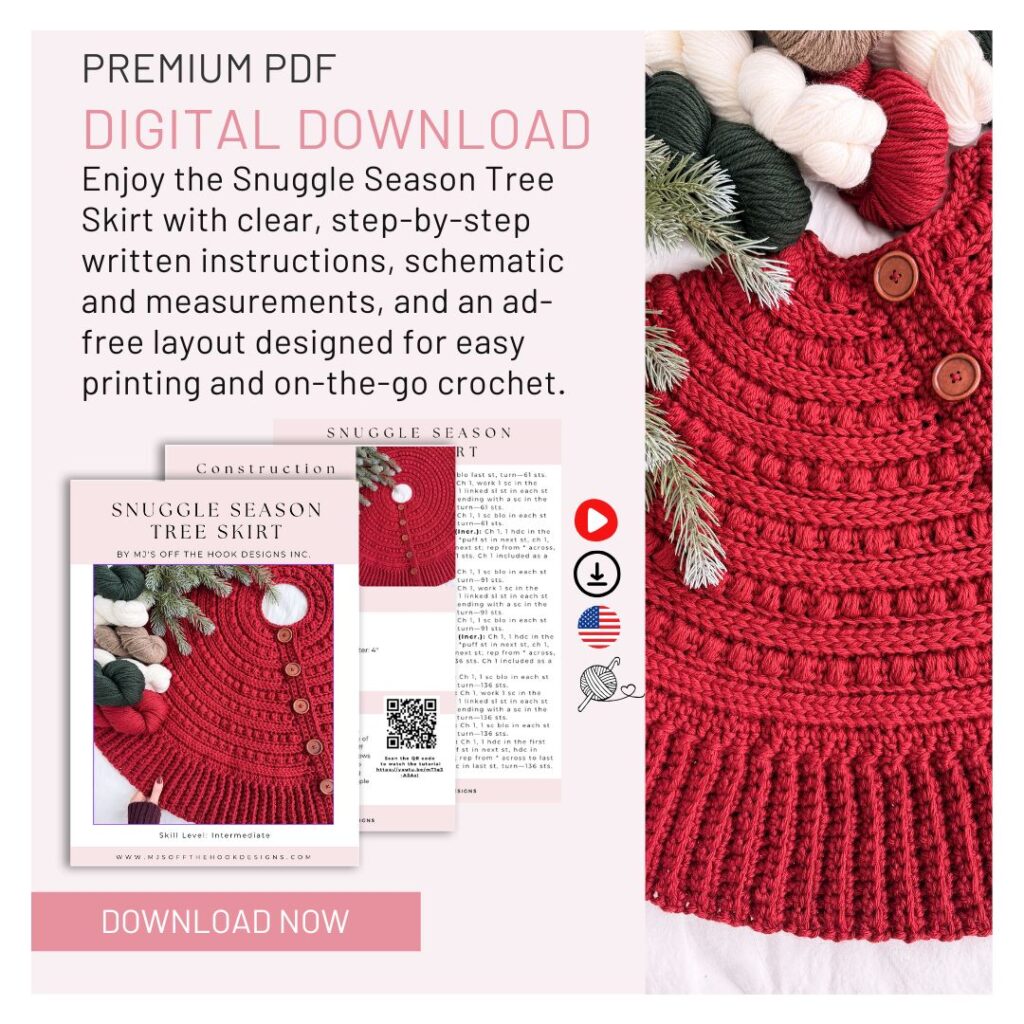
Upgrade to the Premium PDF Pattern
Digital PDF Download
Digital pattern only. No physical item will be shipped.
Abbrevations
Blo – Back Loop Only
Ch – Chain
Hdc – Half Double Crochet
Rep – Repeat
RS – Right Side
Sc – Single Crochet
Sk – Skip
Sl St – Slip Stitch
Sp(s) – Space(s)
St(s) – Stitch(es)
WS – Wrong Side
( ) – Work step in parentheses in the indicated stitch
Linked Sl St – Sc in the first st, *pick up a loop in the same st, pick up a loop in the next st, pull that loop through the 2 loops on the hook; rep from * across, end with a sc in the last st.
Puff Stitch (Puff st): [Yo, go through the indicated stitch and pull up a loop] 3 times; yo, pull through all 7 loops on the hook.
Tree Skirt Pattern
Notes: The Snuggle Season Tree Skirt is worked flat in rows, beginning at the inner base of the tree and increasing outward toward the outer edge. The main panel features a repeating puff stitch pattern, with increases widening the shape of the skirt.
Once the main panel is complete, a join-as-you-go, ribbed band is worked along the outer row edge, forming a soft, stretchy trim that finishes the skirt beautifully. The inner edge is completed with a button-up closure, allowing the tree skirt to wrap easily around the tree. Use two strands of bulky-weight yarn held together for this pattern.
Body
Row 1 (RS):
Ch 32, 1 sc in the back bump (leg) of the 2nd ch from the hook and in each ch across, turn—31 sts.
Row 2 (WS)(Incr.):
Ch 1 (not included as a st here and throughout), 1 hdc in the first st, *puff st in next st, ch 1, hdc in next st; rep from * across, turn—46 sts. Ch 1 after puff sts included as a st.
Row 3 (Incr.):
Ch 1, 1 sc blo first st, 1 sc blo next st, 2 sc blo next st, *1 sc blo next 2 sts, 2 sc blo next st; rep from * across to last st, 1 sc blo last st, turn—61 sts.
Row 4:
Ch 1, work 1 sc in the first st, 1 linked sl st in each st across, ending with a sc in the last st, turn—61 sts.
Row 5:
Ch 1, 1 sc blo in each st across, turn—61 sts.
Row 6 (Incr.):
Ch 1, 1 hdc in the first st, *puff st in next st, ch 1, hdc in next st; rep from * across, turn—91 sts. Ch 1 included as a st.
Row 7:
Ch 1, 1 sc blo in each st across, turn—91 sts.
Row 8:
Ch 1, work 1 sc in the first st, 1 linked sl st in each st across, ending with a sc in the last st, turn—91 sts.
Row 9:
Ch 1, 1 sc blo in each st across, turn—91 sts.
Row 10 (Incr.):
Ch 1, 1 hdc in the first st, *puff st in next st, ch 1, hdc in next st; rep from * across, turn—136 sts. Ch 1 included as a st.
Row 11:
Ch 1, 1 sc blo in each st across, turn—136 sts.
Row 12:
Ch 1, work 1 sc in the first st, 1 linked sl st in each st across, ending with a sc in the last st, turn—136 sts.
Row 13:
Ch 1, 1 sc blo in each st across, turn—136 sts.
Row 14:
Ch 1, 1 hdc in the first st, *puff st in next st, hdc in next st; rep from * across to last st, 1 hdc in last st, turn—136 sts.
Row 15:
Ch 1, 1 sc blo in each st across, turn—136 sts.
Row 16:
Ch 1, work 1 sc in the first st, 1 linked sl st in each st across, ending with a sc in the last st, turn—136 sts.
Row 17:
Ch 1, 1 sc blo in each st across, turn—136 sts.
Row 18 (Incr.):
Ch 1, 1 hdc in the first st, *puff st in next st, ch 1, hdc in next st; rep from * across to last st, 1 hdc in last st, turn—203 sts. Ch 1 included as a st.
Row 19:
Ch 1, 1 sc blo in each st across, turn—203 sts.
Row 20:
Ch 1, work 1 sc in the first st, 1 linked sl st in each st across, ending with a sc in the last st, turn—203 sts.
Row 21:
Ch 1, 1 sc blo in each st across, turn—203 sts.
Row 22:
Ch 1, 1 hdc in the first st, *puff st in next st, hdc in next st; rep from * across, turn—203 sts.
Row 23:
Ch 1, 1 sc blo in each st across, turn—203 sts.
Row 24:
Ch 1, work 1 sc in the first st, 1 linked sl st in each st across, ending with a sc in the last st, turn—203 sts.
Row 25:
Ch 1, 1 sc blo in each st across, turn—203 sts.
Row 26 (Incr.):
Ch 1, 1 hdc in the first st, *puff st in next st, ch 1, hdc in next st; rep from * across, turn—304 sts. Ch 1 included as a st.
Row 27:
Ch 1, 1 sc blo in each st across, turn—304 sts.
Row 28:
Ch 1, work 1 sc in the first st, 1 linked sl st in each st across, ending with a sc in the last st, turn—304 sts.
Row 29:
Ch 1, 1 sc blo in each st across, turn—304 sts.
Row 30:
Ch 1, 1 sc in each st across, turn—304 sts.
Join-as-you-go Ribbing
Row 1:
Ch 13, sc in the 2nd ch from hook and in each ch across, sk first st at the edge, sl st in the next 2 sts (edge), turn—12 sts.
Row 2:
Sk sl sts, sc in the blo of each st across, turn—12 sts.
Row 3:
Ch 1, sc in the blo of each st across, sl st in next 2 sts (edge), turn—12 sts.
Rows 4-304:
Rep Rows 2-3, ending after completion of Row 2 repeat. Don’t fasten off; proceed to the Buttonhole edge.
Buttonhole Edge – Side 1
Ch 1, turn working across the row edge.
Row 1:
Ch 1, 1 sc in each st across ribbing, at row edge work 1 sc evenly across rows to the row edge of the foundation row, don’t work around foundation ch, leave sts unworked for now, turn.
Row 2:
Ch 1, 1 sc in each st across, turn.
For button placement, use stitch markers to mark where you’d like your buttons to sit. Evenly space the buttons according to your preference. This method gives you flexibility with button size and the number of buttons.
Mark Buttonholes
With RS facing, count 1 st from the bottom edge, pm in next st, *count 7-8 sts, pm in next st; rep from *, marking 6 buttonholes.
Row 3:
Ch 1, work 1 sc first st, at marker, ch 2, sk 2 sts, *1 sc in each st to next marker, at marker, ch 2, sk 2 sts; rep from * across all markers, sc to end of row, turn.
Row 4:
Ch 1, work 1 sc first st, at ch-2 sp, work 2 sc, *1 sc in each st to ch-2 sp, work 2 sc in ch-2 sp; rep from * across, sc to end of row, turn.
Row 5:
Ch 1, 1 sc in each st across, after last st, ch 1, proceed to sc across the foundation row 31 sts.
Button Edge – Side 2
Working across the row edge.
Row 1:
Ch 1, work 1 sc evenly across row edge, 1 sc in each st across ribbing, turn.
Rows 2-5:
Ch 1, 1 sc in each st across, turn. After the last row, fasten off and weave in tails. Sew buttons opposite buttonholes on the button edge.
Finishing
Use a steamer to gently block the skirt and flatten the edges for a smooth, pressed look. Wrap the tree skirt around the base of your Christmas tree and fasten the buttons to finish.
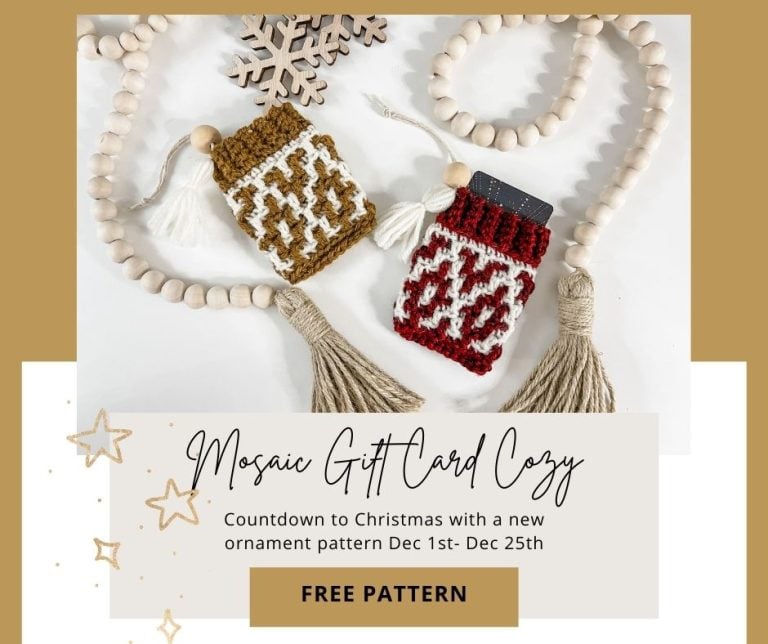
If you enjoyed this pattern, you may also like these patterns:
This pattern is designed by Michelle Moore of MJ’s Off The Hook Designs Inc, based in Lakefield, Ontario, Canada. Your go-to source for modern, easy crochet patterns. Published on December 15th, 2025.
Thank you for visiting MJ’s Off The Hook Designs I hope you enjoyed this pattern and feel inspired to pick up your hook and start creating.
You can find even more crochet patterns in our Ravelry andEtsy shops.
For daily inspiration and behind-the-scenes peeks, join me over on Facebook or Instagram, or join our YouTube Membership for exclusive content!
You’ve got questions, we’ve got a community!
Crocheting is better with friends! Join our group to post pictures and ask all your pattern support questions.