*This post may contain affiliate links to support the cost of this blog. At no cost to you, I may make a small commission if you purchase through these links. Read our Privacy Policy HERE

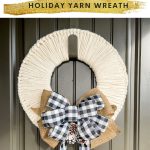


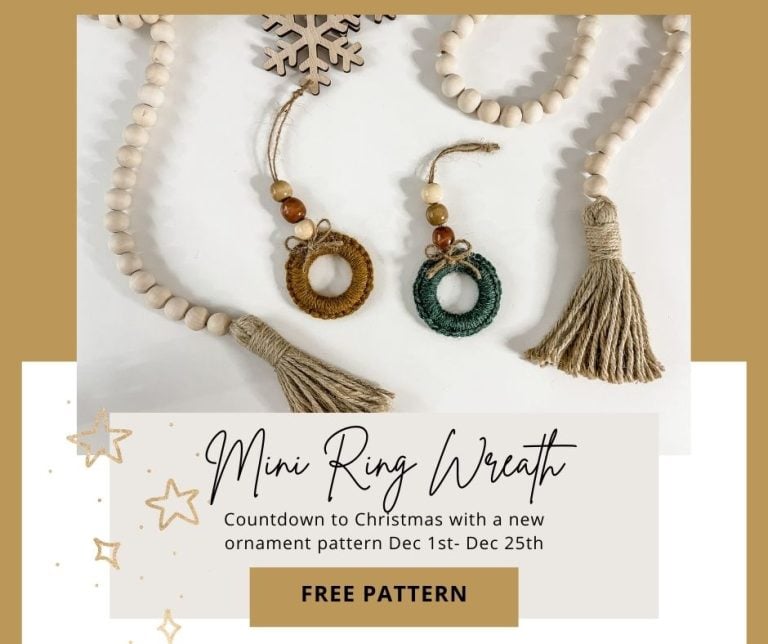
Make a beautiful and easy Holiday Yarn Wreath. This is a quick and easy Holiday project that can be made in less than an hour. Check your local dollar store for craft supplies for an inexpensive wreath. Use two strands of Super Bulky weight yarn or four strands of worsted weight. YouTube tutorial included. Read on for the Free pattern.

Project Overview
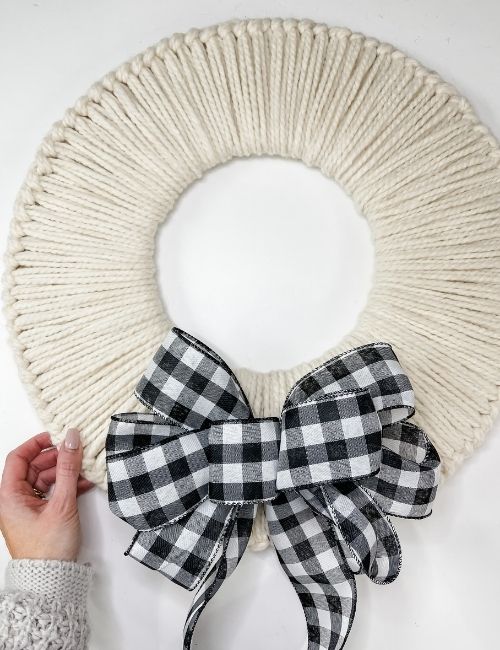
This Holiday Yarn Wreath is a quick, beginner-friendly project that creates a modern decorative wreath by slip-stitching yarn around two stacked wreath rings, using bulky yarn for a full, textured look. It’s inexpensive to make, takes under an hour, and can be customized with bows, pinecones, or other embellishments for any season.
Skill level: Easy
Sizes: One size
Yarn Weight: Super Bulky #6
Hook Sizes: US N (9mm) crochet hook
Construction: made by working 2 strands of yarn and slip-stitching them around a wreath ring. To create a wide 6″ section use 2 wreath sizes
Video Tutorial: https://youtu.be/ZhG3nvOxNKA
Key Takeaways
- Create a beautiful Holiday Yarn Wreath in under an hour using affordable dollar store supplies.
- This project requires basic crochet skills, making it accessible for even beginners.
- Use Super Bulky weight yarn or 4 strands of worsted weight yarn to create your wreath.
- Follow the detailed steps provided, including materials and construction tips for a unique design.
- Watch the video tutorial for visual guidance and get inspired to add personal touches with decorations.
This is a quick fun project that only requires basic crochet knowledge. You’ll just be using a crochet hook to make a slip knot so even if you don’t crochet it’s an easy Holiday Yarn Wreath to try.
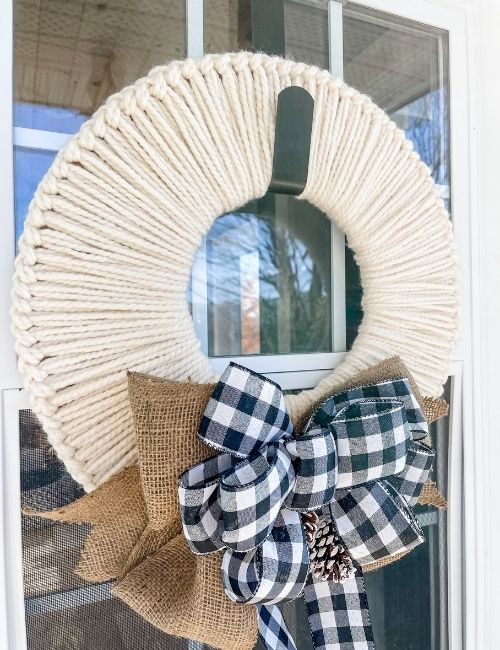
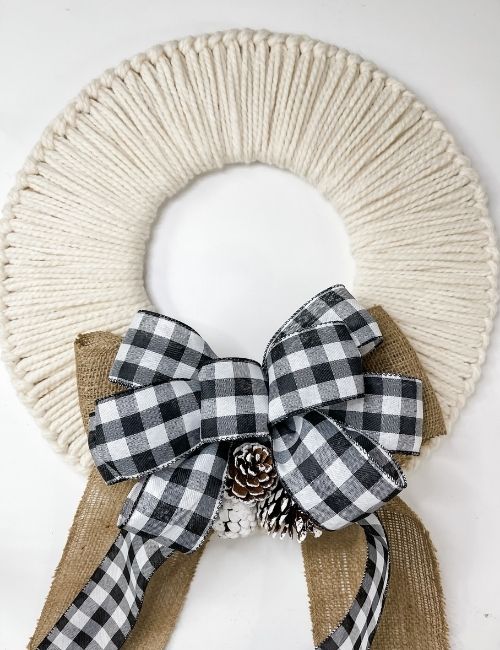
I love a traditional cedar Christams wreath but I thought this Holiday Yarn Wreath would be a modern alternative. Add just a bow and it would make a beautiful wreath for your front door in any season. I embellished my crochet wreath with a few pinecones but feel free to add any decorative ornaments or greenery to your Christmas Wreath. It’s the perfect project to use a little of your own creativity.
You’ll be excited to see how easy this Christmas crochet pattern is and how inexpensive the supplies are. I was picking up odds and ends at the dollar store and found two inexpensive wreath rings. An 18″ and a 12″ size. They inspired me to come up with a new crochet wreath pattern.
Video Tutorial

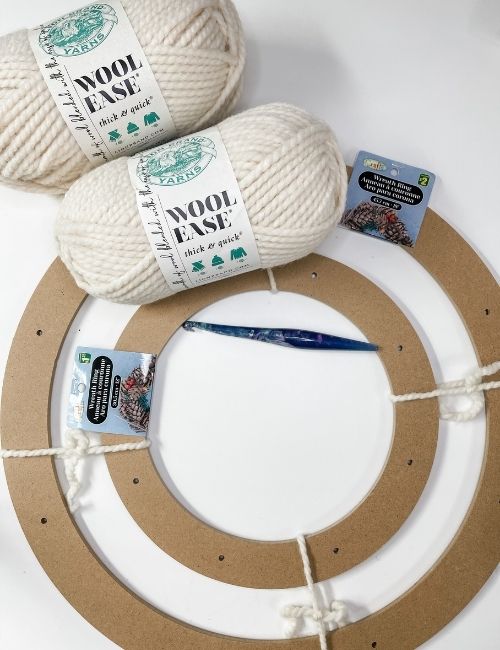
Yarn Requirements
Lion Brand Wool-Ease Thick & Quick (80% Acrylic, 20% Wool, 106yds/170g)
Super Bulky Weight Yarn #6
2 balls – 260g total
Substitute 4 strands of Worsted Weight Yarn
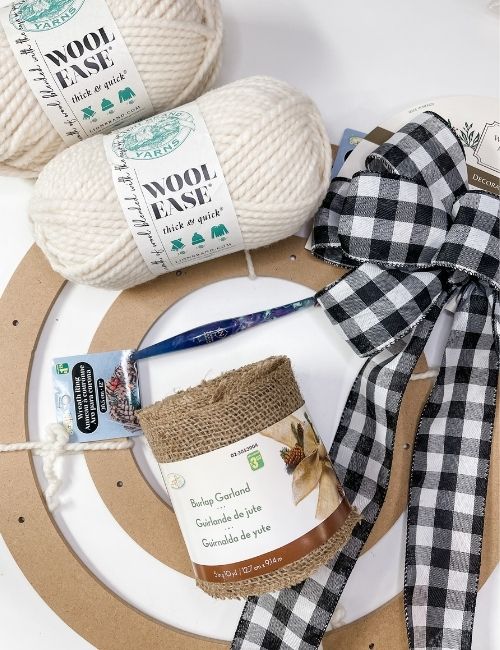
Materials
US N (9mm) crochet hook – use code MJS15 and save 15%
Pick up supplies at the dollar store or find similar products at my Amazon links
String
Construction
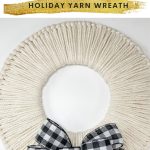
The wreath is made by working 2 strands of yarn and slip-stitching them around a wreath ring. To create a wide 6″ section use 2 wreath sizes. Tie together so that the small ring fits evenly inside the large ring. I used an 18″ and 12″ wreath. Gold or wooden hoops would work for this design.
Upgrade to the Premium PDF Pattern!
Digital PDF Download
Digital pattern only. No physical item will be shipped.
Holiday Yarn Wreath Pattern
Step #1
Place the wreaths on a flat surface with the smaller wreath placed evenly inside the larger wreath. Use any style of a wreath, 12″ and 18″ preferred. Cut 4 strands of yarn long enough to tie the wreaths together. Tie wreaths together evenly spacing the 4 strands of yarn.
Step #2
Combine 2 strands of Super Bulky weight yarn. Make a sl knot and place it on the crochet hook. Hold the hook at the top of the larger wreath ring. Hold both strands of yarn and wrap yarn down the back of the ring, come through the opening of the smaller ring and pull the yarn up across the front of the rings and sl st through the yarn on the hook. Make sure the yarn is taught and not too loose.

Step #3
So that the yarn doesn’t have to pull through the wreath ring you will alternate the wrap. Hold both strands of yarn and wrap the yarn down the front of the ring, go through the opening of the smaller ring and pull the yarn up the back of the rings and sl st through the yarn on the hook. Make sure the yarn is taught and not too loose.
Step #4
With both strands of yarn and wrap yarn down the back of the ring, come through the opening of the smaller ring and pull the yarn up across the front of the rings and sl st through the yarn on the hook.
Step #5
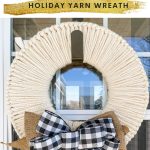
Repeat Steps 3 and 4 covering the wreath. Push yarn together as you go.
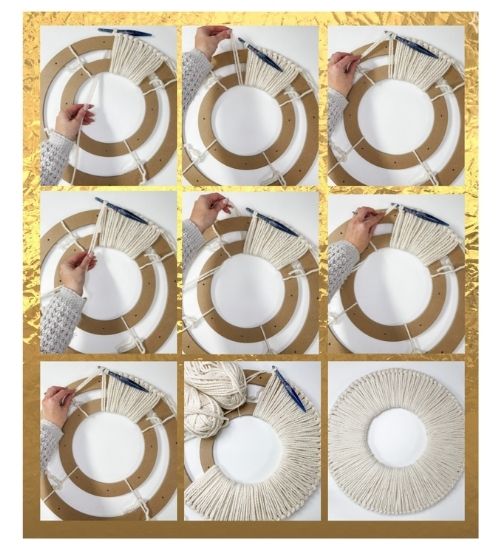
Step #6
When the wreath is fully covered fasten off and weave in yarn tails.
Step #7
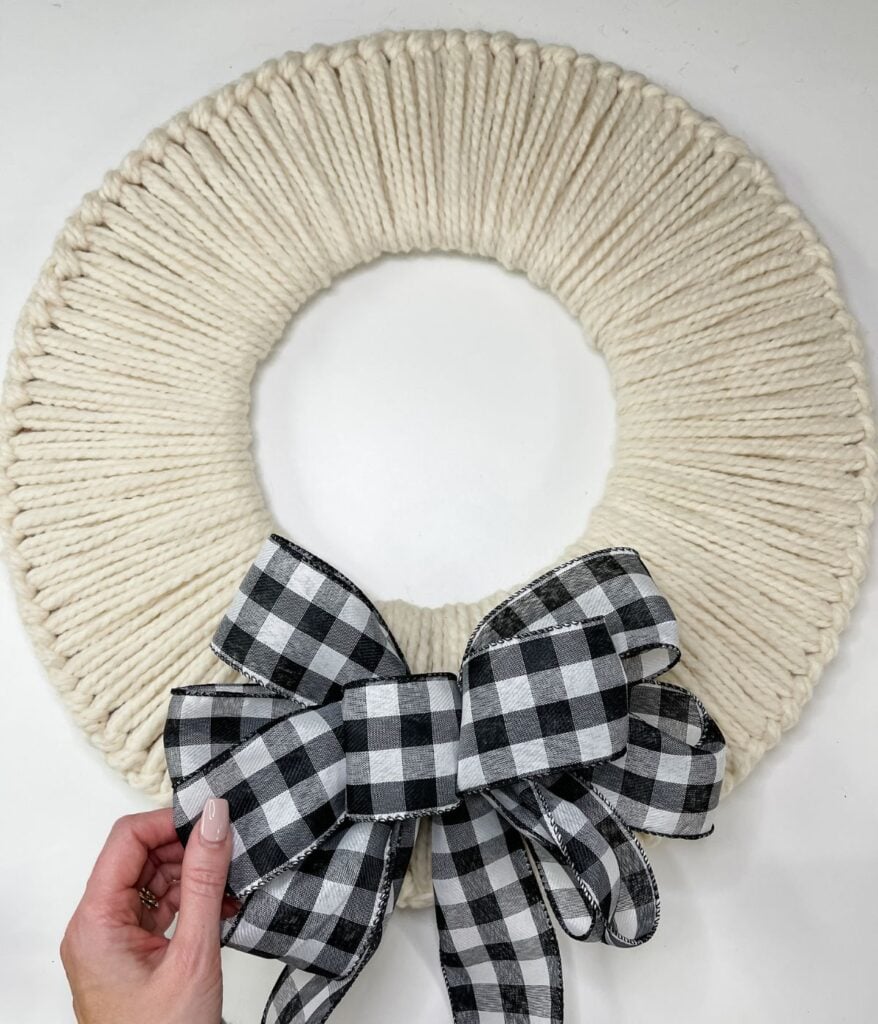
Cut a 70″ piece of burlap garland. Create a large loop big enough to layer under the bow. Place the top of the loop on the x of the loop. Use wire or string to tie the centre of the bow.

Step #8
Use a piece of string and tie together three pinecone ornaments.
Place the decorative bow on top of the burlap and tie ornaments to the bows. Use the wire on the decorative bow to fasten to the wreath.
If you enjoyed this pattern, you may also like these patterns:
This pattern is designed by Michelle Moore of MJ’s Off The Hook Designs Inc, based in Lakefield, Ontario, Canada. Your go-to source for modern, easy crochet patterns. Published on November 12th, 2021.
Thank you for visiting MJ’s Off The Hook Designs. I hope you enjoyed this pattern and feel inspired to pick up your hook and start creating.
You can find even more crochet patterns in our Ravelry and Etsy shops.
For daily inspiration and behind-the-scenes peeks, join me over on Facebook or Instagram, or join our YouTube Membership for exclusive content!
You’ve got questions, we’ve got a community!
Crocheting is better with friends! Join our group to post pictures and ask all your pattern support questions.