*This post may contain affiliate links to support the cost of this blog. At no cost to you, I may make a small commission if you purchase through these links. Read our Privacy Policy HERE
Have you ever been happily crocheting along only to realize you’re about to run out of yarn halfway through a row?
It happens to all of us!
One of the questions I’m asked most often is, “What’s the best way to join a new ball of yarn?” The truth is, there isn’t just one right answer. There are several different joining techniques, and each has its own advantages depending on the project, the fibre you’re using, and your personal preference.
In this post, I’m sharing four easy ways to join a new ball of yarn:
Want less distractions?
Join Off the Hook Crochet Club
Join the Off The Hook Crochet Club and enjoy hundreds of MJ’s crochet patterns ad-free, plus exclusive resources, member perks and new free patterns added every week.
- Simple Yarn Join
- Thumb Join
- Magic Knot
- Russian Join
Whether you’re making a blanket, sweater, shawl or accessory, these techniques will help you create a neat, secure finish with confidence.
Watch the Video Tutorial
1. Simple Yarn Join (Weave in the Ends)
This is by far the method I use most often and the one I recommend for beginners.
The Simple Yarn Join is exactly the same technique you would use when changing colours. Instead of completing the final yarn over of your stitch with the old ball of yarn, simply finish the stitch using the new ball of yarn. Continue crocheting as normal, leaving both yarn tails long enough to weave in later.
One of the biggest advantages of this method is that there are no knots in your crochet project.
I also use this technique whenever I come across a manufacturer’s knot inside a skein of yarn. Rather than leaving the knot in my project, I simply cut it out and join the yarn using this method instead.
Tips for Weaving in the Tails
When weaving in the two yarn tails, avoid weaving them directly on top of each other. Instead, weave one tail in one direction and the second tail into a nearby row or in a different direction. This helps prevent extra bulk from forming in one spot.
Whenever possible, try to join a new ball of yarn at the beginning or end of a row rather than in the middle. While this isn’t always possible, the transition is often easier to hide along the edge of your work.
Pros
- No knots
- Beginner friendly
- Works with virtually every yarn
- Strong and reliable
- Smooth, invisible finish
Cons
- Requires weaving in two yarn tails
Best for:
- Garments
- Blankets
- Home décor
- Amigurumi
- Any crochet project
2. Thumb Join
The Thumb Join is a quick knotting technique that many crocheters enjoy because it leaves only short tails to trim.
Using your thumb and index finger, the two yarn strands are wrapped together before tightening into a compact join.
This method takes a little practice to master, so don’t worry if it feels awkward the first few times you try it.
It’s also important to remember that this technique works best with yarns that have a little grip. If you’re working with silky, slippery or very smooth fibres, this may not be the most secure option.
Pros
- Quick once you learn it
- Small, compact join
- Very little trimming required
Cons
- Takes practice
- Not recommended for slippery yarns
- Uses a knot
Best for:
- Wool
- Acrylic
- Textured yarns
- Projects where a small knot won’t be noticeable
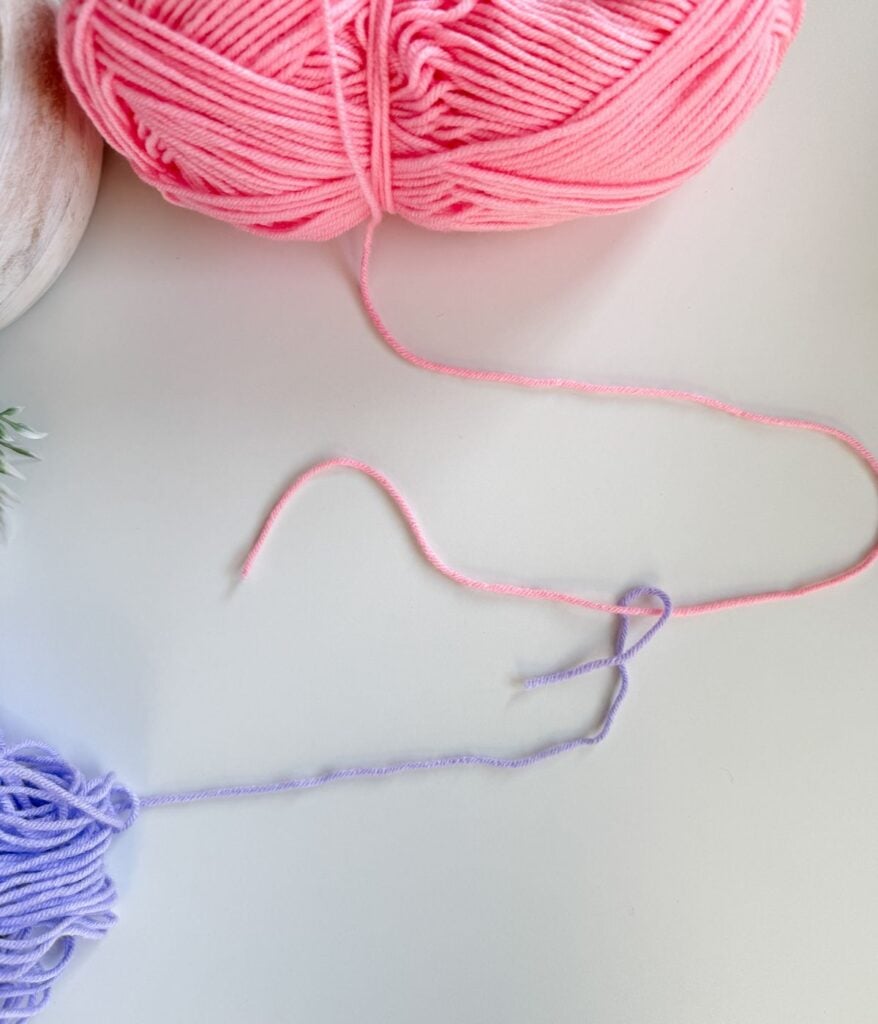
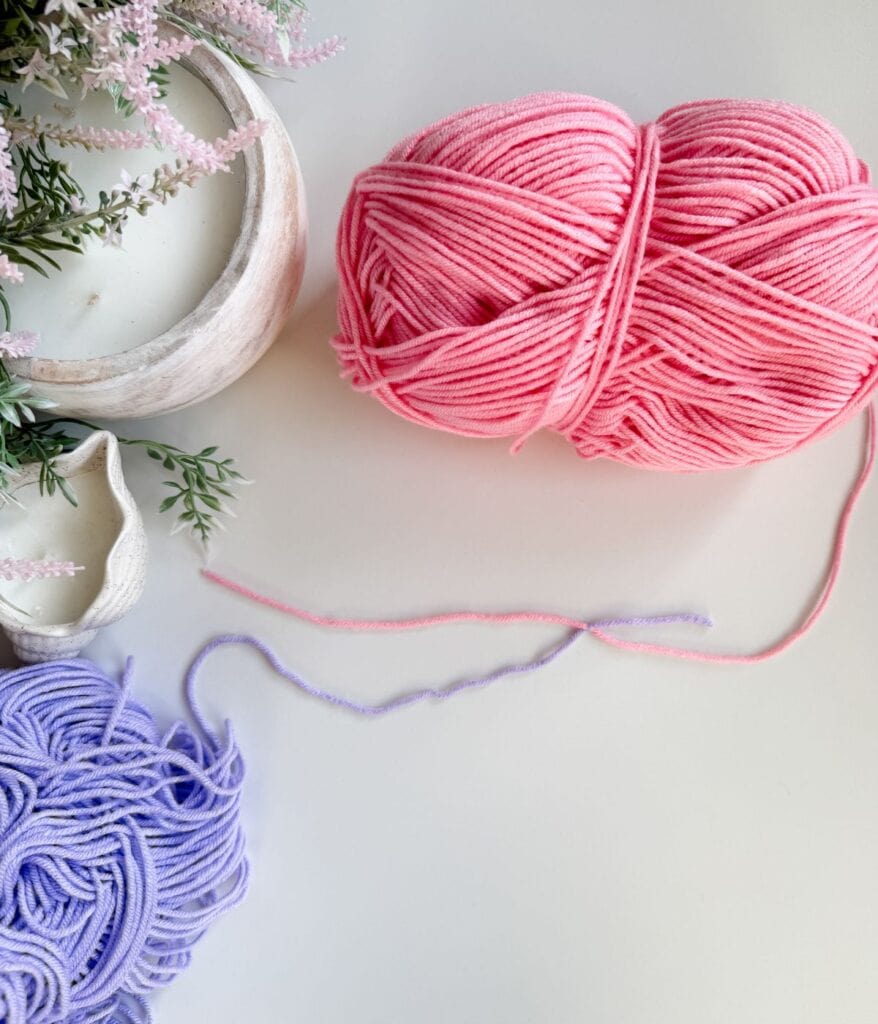
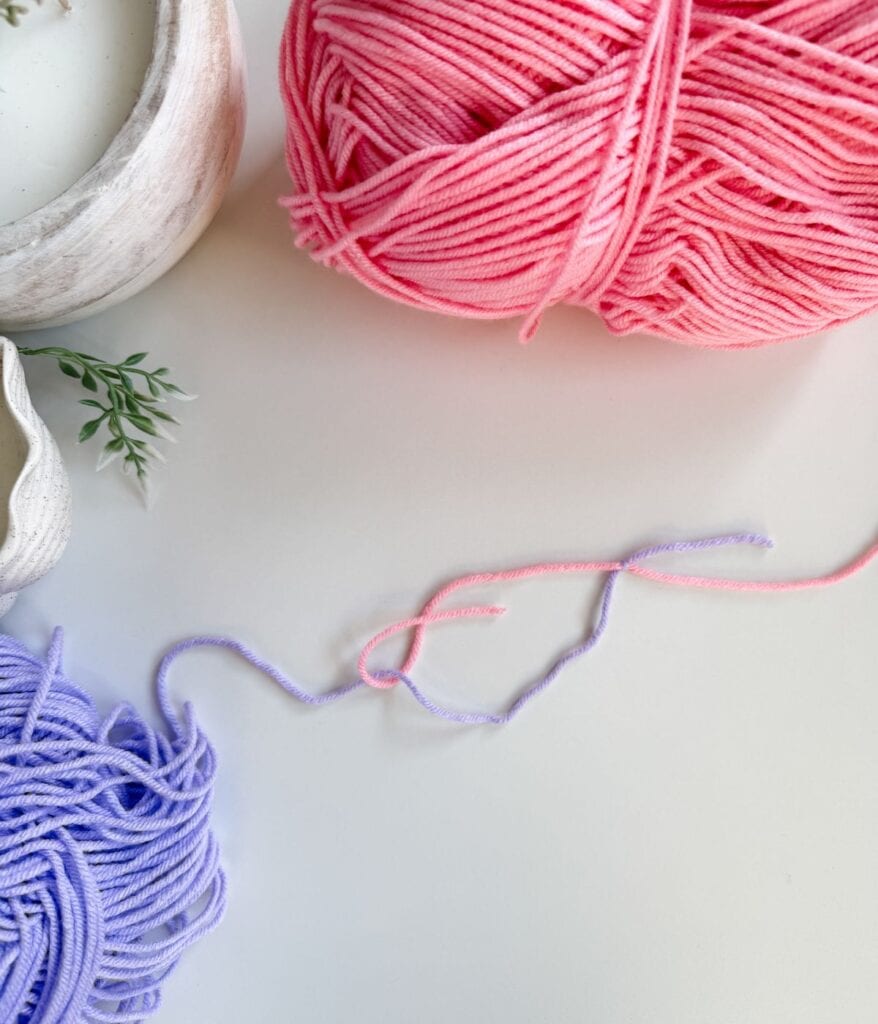
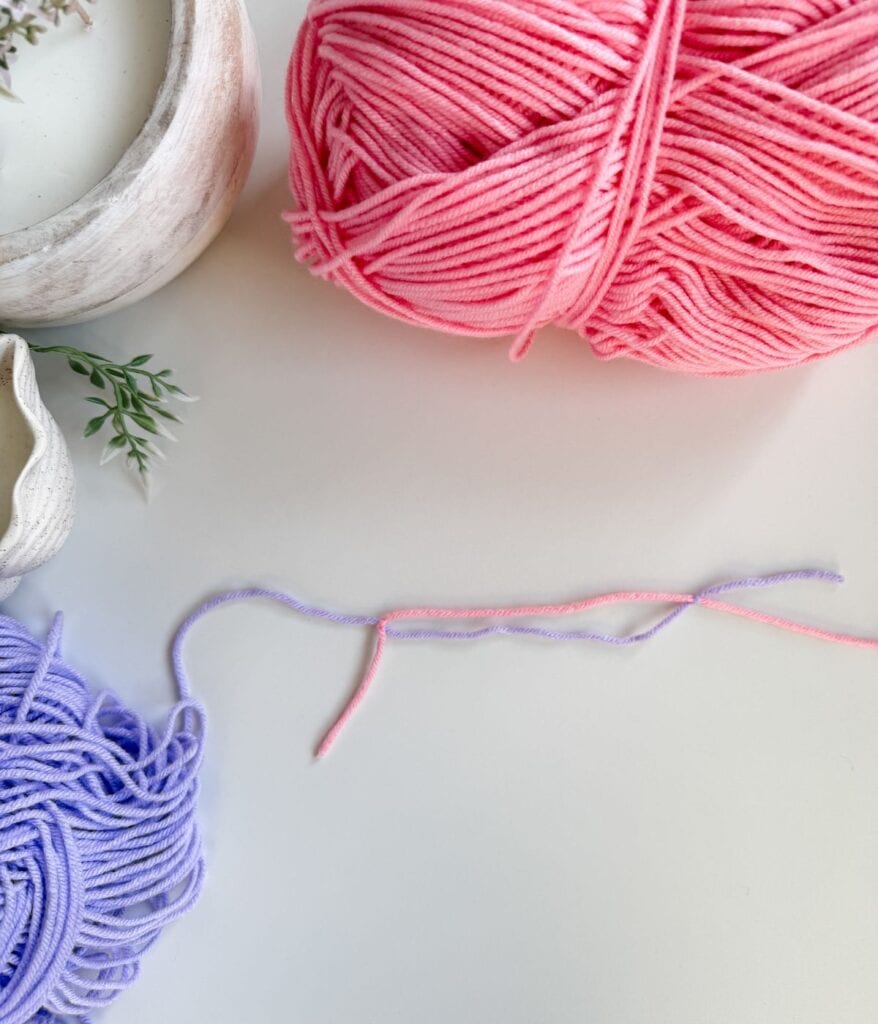
3. Magic Knot
The Magic Knot is one of the most popular yarn joining methods because it allows you to trim the yarn tails close to the knot before continuing your project.
Would you like to save this?
You can unsubscribe at any time.
To make the Magic Knot, each yarn is tied around the other before both knots are pulled together tightly to lock them in place.
Many crocheters love this technique because there are no tails left to weave in.
That said, I personally recommend using it only when you’re comfortable having a knot inside your finished project. Some projects hide the knot beautifully, while others, especially garments, may not.
Pros
- Quick to make
- No tails to weave in
- Secure when tied correctly
Cons
- Leaves a knot in your project
- Not ideal for every crochet project
- Some yarns hold knots better than others
Best for:
- Blankets
- Scarves
- Home décor
- Projects where the knot can be hidden
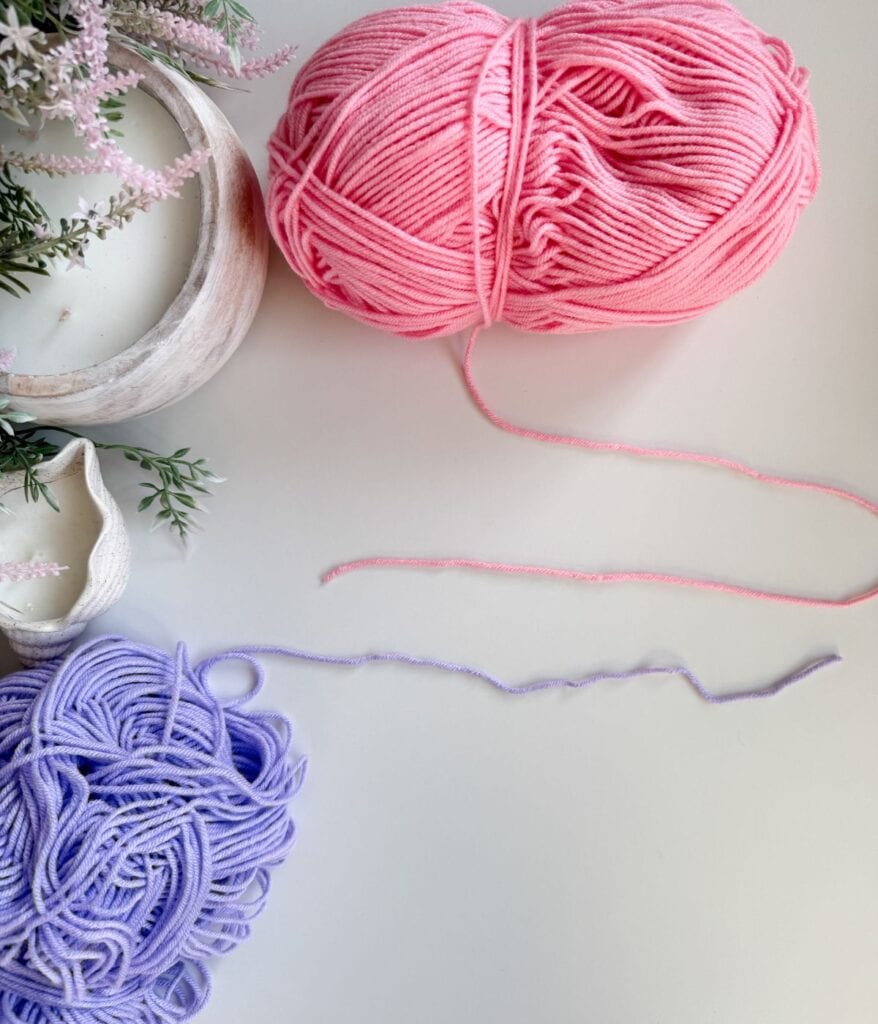
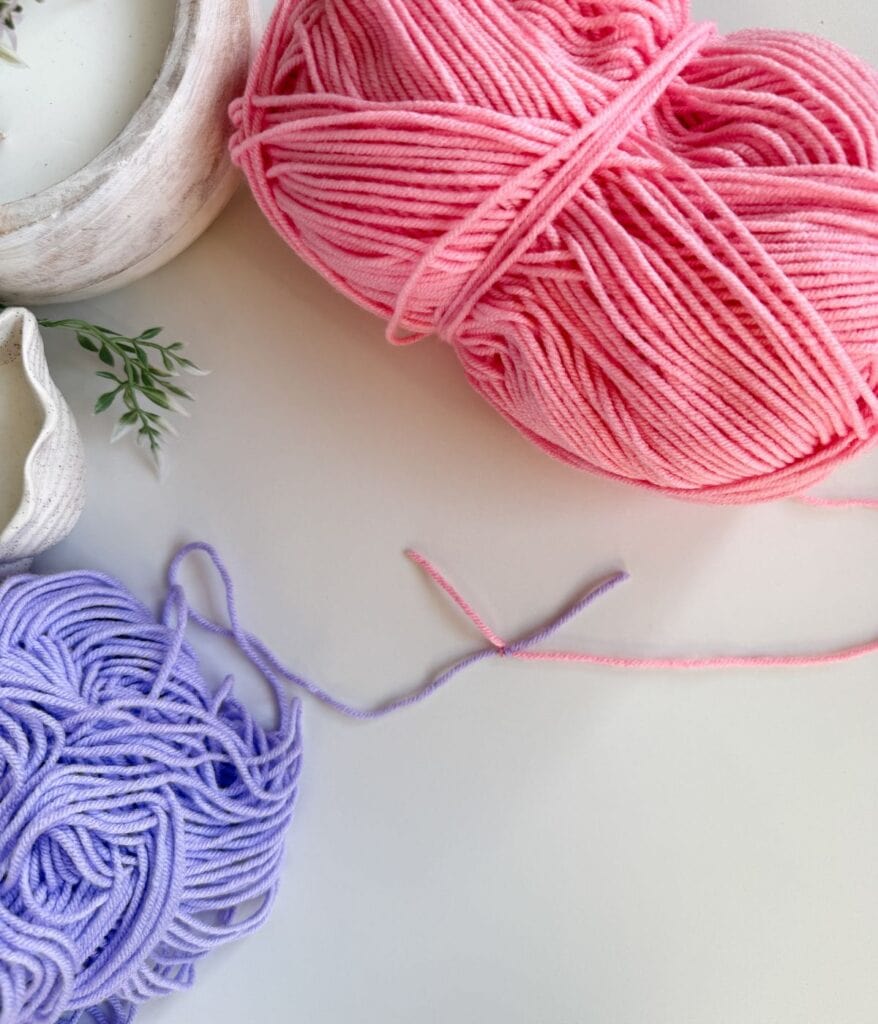
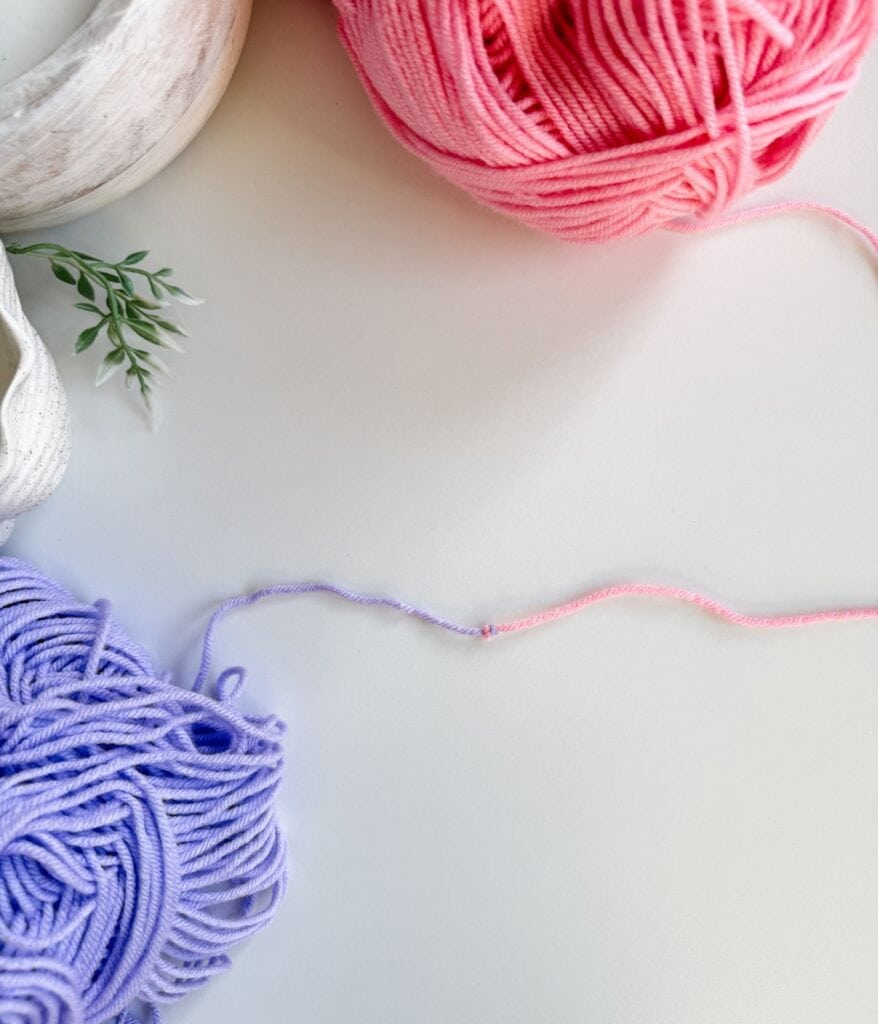
4. Russian Join
The Russian Join creates an incredibly secure connection without tying a knot.
Instead, each yarn tail is threaded back through itself using a yarn needle, creating two interlocking sections that hold together securely.
This method produces a very smooth looking join, but because the yarn overlaps itself, the joined section becomes slightly thicker than the rest of the strand. As a result, one or two stitches may appear just a little bulkier than the surrounding stitches.
The Russian Join also takes more patience than the other methods and works better with some yarns than others. A yarn needle that fits comfortably through your yarn is essential.
Pros
- No knots
- Extremely secure
- No tails to weave in
- Great for long lasting projects
Cons
- More time consuming
- Can be a little fiddly
- Slightly thicker section of yarn
- Works better with some fibres than others
Best for:
- Garments
- Shawls
- Heirloom blankets
- Frequently used projects
Which Yarn Joining Method Is Best?
There isn’t one perfect joining method for every crochet project.
If you’re just learning to crochet, I highly recommend starting with the Simple Yarn Join. It’s easy to learn, works with almost every yarn, and creates a clean finish without leaving knots in your project.
The other methods each have their place depending on the yarn you’re using and the finished look you want to achieve.
| Method | Knots | Tails to Weave | Best For |
|---|---|---|---|
| Simple Yarn Join | No | Yes | All crochet projects |
| Thumb Join | Yes | No | Textured yarns |
| Magic Knot | Yes | No | Blankets and home décor |
| Russian Join | No | No | Garments and heirloom projects |
Frequently Asked Questions
The easiest method is the Simple Yarn Join. Complete the final yarn over of your stitch with the new ball of yarn, continue crocheting, then weave in the yarn tails once your project is finished.
Absolutely! I often cut out manufacturer’s knots and use the Simple Yarn Join instead. This gives me more confidence knowing there isn’t an unknown knot hidden inside my finished project.
The Russian Join is considered one of the strongest joining methods because it doesn’t rely on a knot. Instead, the yarn strands are woven back through themselves to create a secure connection.
That’s completely up to you. Many crocheters use the Magic Knot or Thumb Join successfully, while others prefer knot free methods like the Simple Yarn Join or Russian Join. Choose the technique that gives you the most confidence for your project.
No. Some fibres behave differently than others. Slippery, silky yarns may not hold knots as securely, while thicker yarns may create more noticeable bulk with a Russian Join. It’s always a good idea to test a joining method on a small swatch before using it in a large project.
Final Thoughts
Every crocheter develops a favourite way to join a new ball of yarn, and honestly, there’s no wrong answer. I use different methods depending on the project, the yarn, and where the join falls.
If you’re new to crochet, start with the Simple Yarn Join. It’s quick, reliable, and works beautifully for almost every project. As your confidence grows, experiment with the Thumb Join, Magic Knot, and Russian Join to discover which methods you enjoy using most.
I hope this tutorial helps make joining a new ball of yarn a little less intimidating. Be sure to watch the video above for a close-up demonstration of each technique, and let me know in the comments which joining method is your favourite!
Related Posts
Thank you for visiting MJ’s Off The Hook Designs! I hope you enjoyed this pattern and feel inspired to pick up your hook and start creating.
You can find even more crochet patterns in our Ravelry and Etsy shops.
For daily inspiration and behind-the-scenes peeks, join me over on Facebook or Instagram or join our YouTube Membership for exclusive content!
You’ve got questions, we’ve got a community!
Crocheting is better with friends! Join our group to post pictures and ask all your pattern support questions.