*This post may contain affiliate links to support the cost of this blog. At no cost to you, I may make a small commission if you purchase through these links. Read our Privacy Policy HERE
If you love simple seasonal crochet projects, this Rustic Farmhouse Easter Egg Crochet Pattern is the perfect quick make for spring decorating.

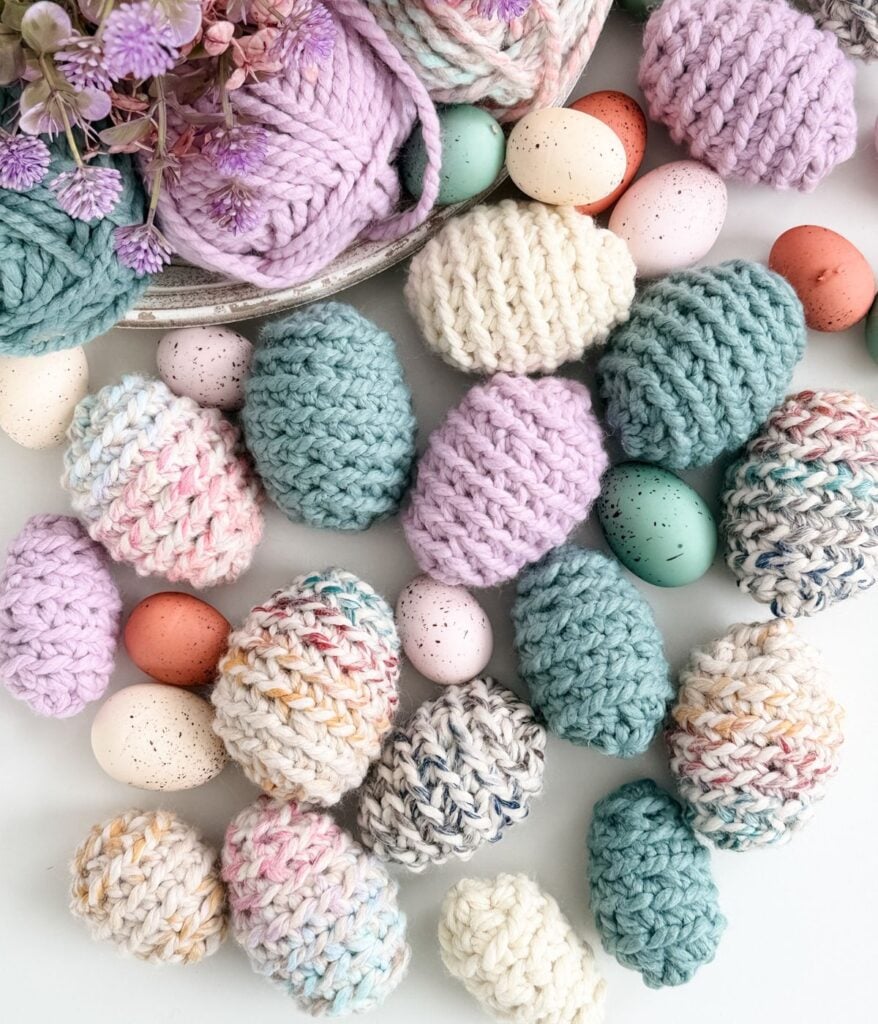
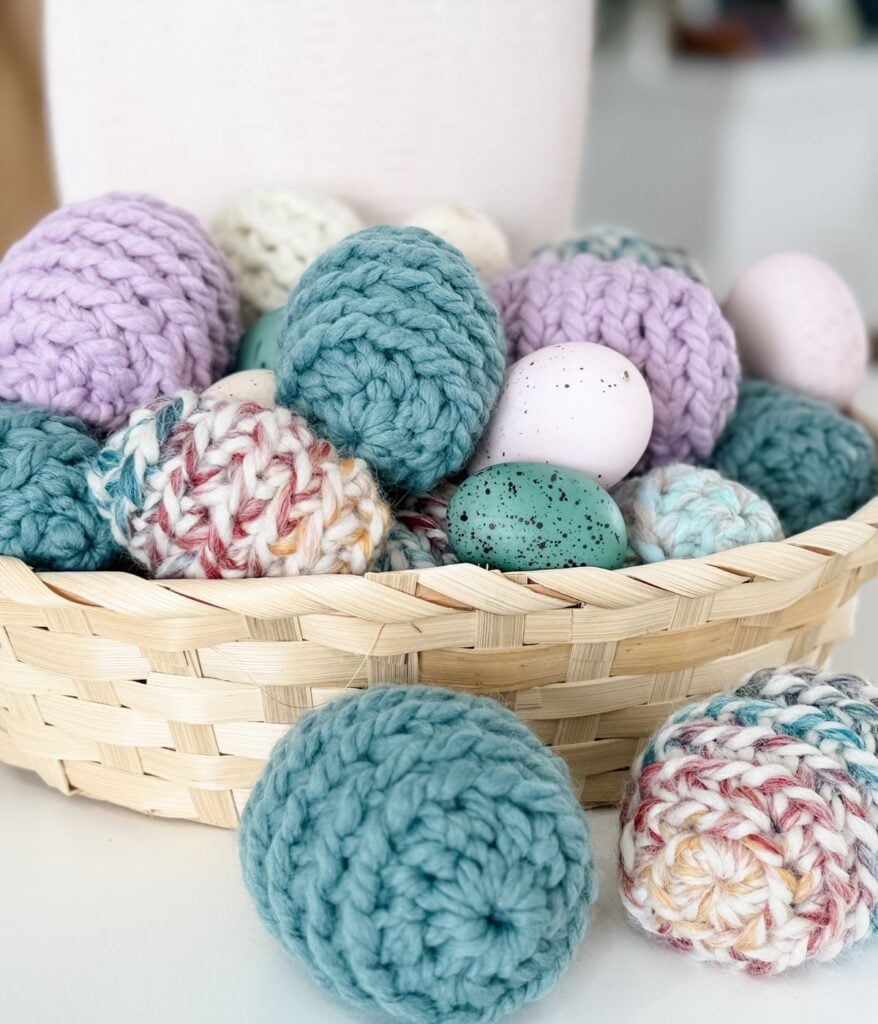
These chunky crochet eggs were originally made for my little granddaughter, and she quickly became obsessed with them. One egg turned into two… then five… then suddenly we had a whole basket full! Once we started making these Easter eggs, we honestly could not stop.
They are cozy and textured, with a soft farmhouse style that fits beautifully into spring decor.
Project Overview
The Rustic Farmhouse Easter Eggs feature a classic textured design that is simple to crochet and perfect for seasonal decorating. Worked in the round with Wool Ease Thick & Quick, they create a sturdy, plush finish that holds their shape beautifully. This pattern includes small, medium, and large stuffed eggs, plus a large fillable version with a step-by-step video tutorial to guide you through the construction. They are perfect for décor, gifting, Easter baskets, or filling with treats for an Easter egg hunt. Designed in fresh spring shades, these charming eggs add a subtle farmhouse touch to tiered trays and seasonal displays.
Skill level: Beginner
Sizes: Small, Medium, Large, Large Fillable
Yarn Weight: Super Bulky 6
Yarn: Lion Brand Wool Ease Thick & Quick
Why You’ll Love This Rustic Farmhouse Easter Egg Crochet Pattern
- Quick project that works up in minutes
- Perfect beginner-friendly crochet project
- Great for stash-busting yarn
- Ideal for Easter baskets and egg hunts
- Adds a cozy farmhouse touch to spring decor
- Includes multiple egg sizes
The Rustic Farmhouse Easter Egg Crochet Pattern creates thick, plush eggs that hold their shape beautifully thanks to the super bulky yarn.
Video Tutorial
If you prefer learning visually, this Rustic Farmhouse Easter Egg Crochet Pattern also includes a full step-by-step video tutorial to guide you through the project. Easter Eggs
This makes the pattern perfect for beginners.
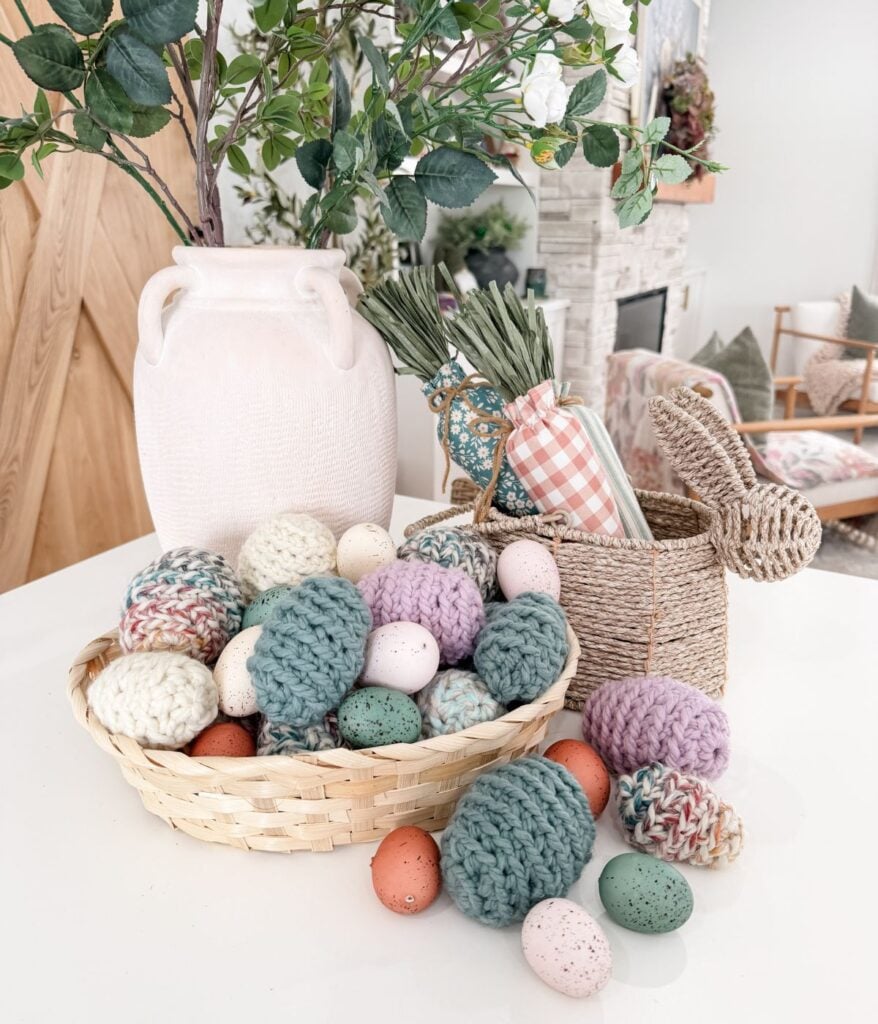
Ways to Use Your Crochet Easter Eggs
These Rustic Farmhouse Easter Egg Crochet Pattern eggs are incredibly versatile.
You can use them for:
- Easter baskets
- Tiered tray decor
- Spring table centrepieces
- Easter egg hunts
- Kids play
- Gift toppers
- Garland decorations
We especially love filling a basket with these crochet eggs for Easter morning.
Designed with Farmhouse Style in Mind
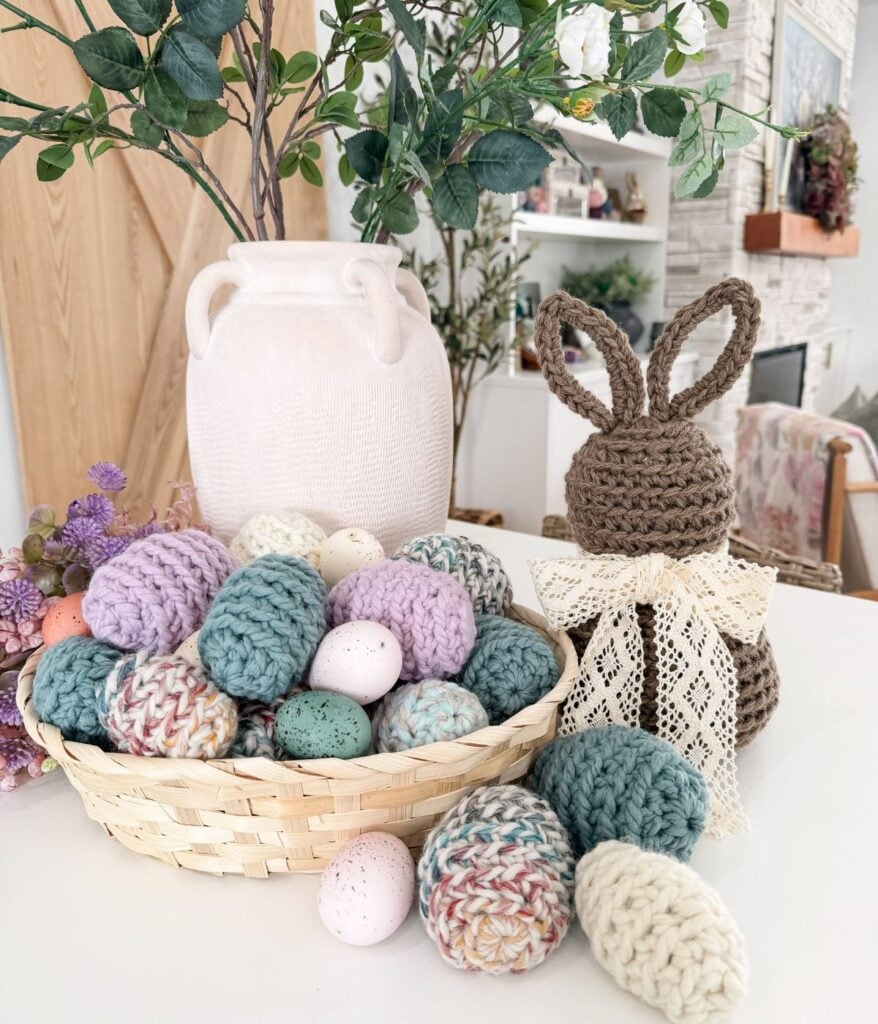
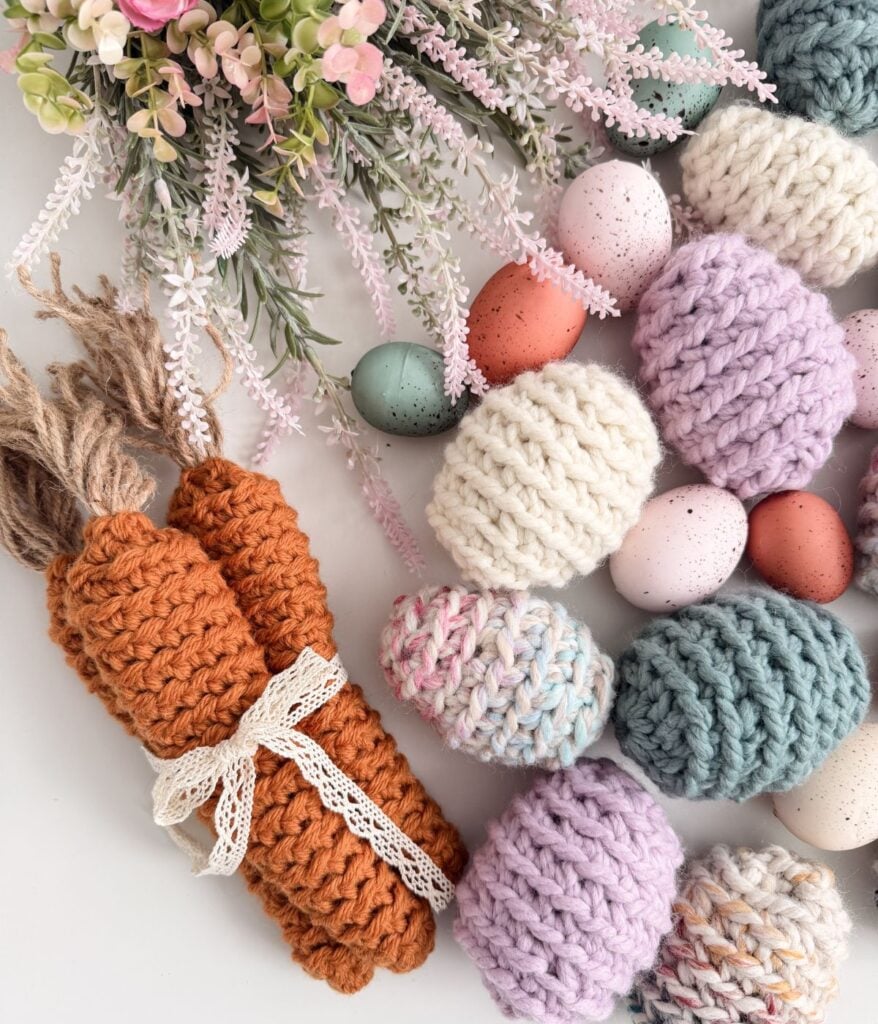
The Rustic Farmhouse Easter Egg Crochet Pattern features a classic textured crochet stitch worked in the back loop. They match perfectly with our Rustic Farmhouse Bunnies and Rustic Farmhouse Carrots!
This creates the beautiful ribbed texture that gives the eggs their cozy farmhouse look.
The eggs are worked in continuous rounds and finished with simple decreases to create a perfect egg shape.
Yarn Requirements
Lion Brand Wool Ease Thick & Quick
Super Bulky #6 , 80% Acrylic, 20% Wool, 106 yds/170g (Solids)
Shown in Carousel, Fairy, Succulent, Fisherman & Hudson Bay
Perfect Stash Buster Crochet Project
Another reason crocheters love this Easter Egg Crochet Pattern is that it uses very little yarn.
Approximate yarn usage:
- Small egg: about 7 yards
- Medium egg: about 10 yards
- Large egg: about 15 yards Easter Eggs
This makes it a fantastic stash-busting project.
Yarn Substitutes
- Lion Brand Hometown (~81 yds / 142 g, acrylic) ≈ 0.57 yds per gram
- Bernat Blanket (~220 yds / 300 g, polyester) ≈ 0.73 yds per gram
- Bernat Softee Chunky (CDN) (~108 yds / 100 g, acrylic) ≈ 1.08 yds per gram
- Loops & Threads Charisma (~109 yds / 100 g, acrylic) ≈ 1.09 yds per gram
- Premier Basix Chunky (~117 yds / 100 g, acrylic) ≈ 1.17 yds per gram
If using bulky (#5) yarns, you may wish to hold two strands together to achieve a thicker fabric and similar finished size. You can also hold two or three strands of worsted-weight yarn together, making this project perfect for using leftover yarn from your stash.
Crochet Hooks Needed
7 mm Crochet Hook
or the size needed to obtain gauge
Additional Supplies Needed
- Yarn Needle
- Scissors
- Measuring Tape
- Polyester Fill (CDN) (for stuffed eggs)
- Cardstock for Tags (CDN)
Sizes Included
The Rustic Farmhouse Easter Egg Crochet Pattern includes several sizes so you can mix and match.
- Small Egg
- Medium Egg
- Large Egg
- Large Fillable Egg
Approximate sizes:
- Small: 3 inches tall
- Medium: 3.5 inches tall
- Large: 4 inches tall Easter Eggs
The large, fillable egg is perfect for hiding treats or chocolate eggs inside.
Helpful Resources
- Sign up for our YouTube Membership
- Join our Facebook Crochet Community for pattern support and inspiration
- Subscribe on YouTube for hundreds of free tutorials
- Sign up for our newsletter and receive 40% off your first Ravelry purchase!
Digital Download + No Ads!
Digital PDF Download
The PDF includes: Clean formatted layout, A printable ad free version, and and printable gift tags
Digital pattern only. No physical item will be shipped.
FAQ & Terms
This post may contain affiliate links. Purchases made through these links may earn MJ’s Off The Hook Designs Inc. a small commission at no extra cost to you. Content on this site is supported by ads—please do not block or remove them.
Copyright
All patterns, photos, and written content are the property of MJ’s Off The Hook Designs Inc. and protected by copyright law.
Usage
Free patterns are for viewing only on this blog. You may not copy, download, print, screenshot, or redistribute any part of the pattern. Access must remain through this page with ads visible. Use of ad blockers, reader view, or any similar tools that remove or hide ads and site content is strictly prohibited.
Legal Notice
Unauthorized reproduction or distribution may result in copyright infringement penalties.
By accessing this post, you agree to these terms and conditions.
Yes! You may sell finished items made from MJ’s patterns, but please credit:
“Pattern by MJ’s Off The Hook Designs Inc.”
Pattern Support is only available in our Facebook Community group and Video Tutorials.
No additional support is provided for modified patterns, alternate yarns, or changes to gauge.
Free Crochet Pattern
Notes: Place a stitch marker in the first stitch of each round. Eggs are worked in continuous rounds; do not join unless instructed.
Small Stuffed Egg
Round 1:
Magic Ring, ch 1 (not included as a st), work 6 sc in the ring, pull ring tight, don’t join—6 sts.
Round 2 (Inc):
1 sc blo in first st (pm), 2 sc blo in next st, *1 sc blo in next st, 2 sc blo in next st; rep from * to marker—9 sts.
Round 3:
1 sc blo in each st around to marker—9 sts.
Round 4 (Inc):
1 sc blo in first 2 sts, 2 sc blo in next st, *1 sc blo in next 2 sts, 2 sc blo in next st; rep from * to marker—12 sts.
Round 5 (Dec):
1 sc blo in first 2 sts, 1 sc2tog in blo across next 2 sts, *1 sc blo in next 2 sts, 1 sc2tog in blo across next 2 sts; rep from * to marker—9 sts.
Round 6:
1 sc blo in each st around to marker—9 sts.
Round 7 (Dec):
1 sc blo in first st, 1 sc2tog in blo across next 2 sts, *1 sc blo next st, 1 sc2tog in blo across next 2 sts; rep from * around to marker —6 sts. Proceed to finishing.
Medium Stuffed Egg
Round 1:
Magic Ring, ch 1 (not included as a st), work 8 sc in the ring, pull ring tight, don’t join—8 sts.
Round 2 (Inc):
1 sc blo in first st (pm), 2 sc blo in next st, *1 sc blo in next st, 2 sc blo in next st; rep from * to marker—12 sts.
Round 3:
1 sc blo in each st around to marker—12 sts.
Round 4 (Inc):
1 sc blo in first 2 sts, 2 sc blo in next st, *1 sc blo in next 2 sts, 2 sc blo in next st; rep from * to marker—16 sts.
Round 5:
1 sc blo each st around to marker —16 sts.
Round 6 (Dec):
1 sc blo in first 2 sts, 1 sc2tog in blo across next 2 sts, *1 sc blo in next 2 sts, 1 sc2tog in blo across next 2 sts; rep from * to marker—12 sts.
Round 7:
1 sc blo in each st around to marker—12 sts.
Round 8 (Dec):
1 sc blo in first st, 1 sc2tog in blo across next 2 sts, *1 sc blo next st, 1 sc2tog in blo across next 2 sts; rep from * around to marker—8 sts. Proceed to finishing.
Large Egg Stuffed
Round 1:
Magic Ring, ch 1 (not included as a st), work 10 sc in the ring, pull ring tight, don’t join—10 sts.
Round 2 (Inc):
1 sc blo in first st (pm), 2 sc blo in next st, *1 sc blo in next st, 2 sc blo in next st; rep from * to marker—15 sts.
Round 3:
1 sc blo in each st around to marker—15 sts.
Round 4 (Inc):
1 sc blo in first 2 sts, 2 sc blo in next st, *1 sc blo in next 2 sts, 2 sc blo in next st; rep from * to marker—20 sts.
Rounds 5-6:
1 sc blo in each st around to marker—20 sts.
Round 7 (Dec):
1 sc blo in first 2 sts, 1 sc2tog in blo across next 2 sts, *1 sc blo in next 2 sts, 1 sc2tog in blo across next 2 sts; rep from * to marker—15 sts.
Round 8:
1 sc blo in each st around to marker—15 sts.
Round 9 (Dec):
1 sc blo in first st, 1 sc2tog in blo across next 2 sts, *1 sc blo next st, 1 sc2tog in blo across next 2 sts; rep from * around to marker—10 sts. Proceed to finishing.
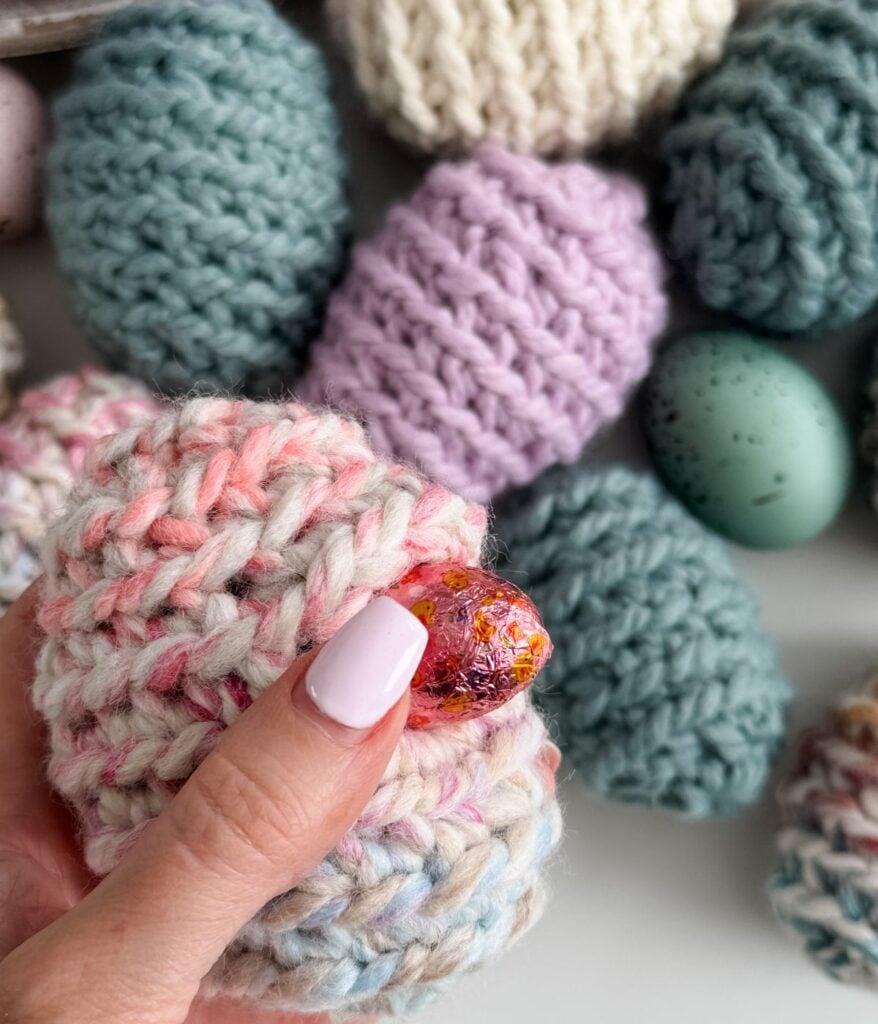
Large Fillable Egg
Round 1:
Magic Ring, ch 1 (not included as a st), work 10 sc in the ring, pull ring tight, don’t join—10 sts.
Round 2 (Inc):
1 sc blo in first st (pm), 2 sc blo in next st, *1 sc blo in next st, 2 sc blo in next st; rep from * to marker—15 sts.
Round 3:
1 sc blo in each st around to marker—15 sts.
Round 4 (Inc):
1 sc blo in first 2 sts, 2 sc blo in next st, *1 sc blo in next 2 sts, 2 sc blo in next st; rep from * to marker—20 sts.
Round 5 (opening):
1 sc blo next 9 sts, ch 3, sk 3 sts, 1 sc blo next 8 sts— 20 sts.
Round 6:
1 sc blo next 9 sts, 1 sc blo next 3 chs, 1 sc blo next 8 sts —20 sts.
Round 7 (Dec):
1 sc blo in first 2 sts, 1 sc2tog in blo across next 2 sts, *1 sc blo in next 2 sts, 1 sc2tog in blo across next 2 sts; rep from * to marker—15 sts.
Round 8:
1 sc blo in each st around to marker—15 sts.
Round 9 (Dec):
1 sc blo in first st, 1 sc2tog in blo across next 2 sts, *1 sc blo next st, 1 sc2tog in blo across next 2 sts; rep from * around to marker—10 sts.
Finishing
Fasten off, leaving a long tail. Using a yarn needle, weave the tail through the back loop only of each stitch around the final round.
Stuffed Eggs:
Before pulling the yarn tight, stuff the egg with fibre fill until the desired shape is reached. Once stuffed, pull the yarn tail tight to close the opening. Weave in and secure ends.
Large Fillable Egg:
Do not add stuffing. Weave the yarn through the back loop only of each stitch around and pull gently to shape the opening. Weave in and secure ends.
The fillable egg can be used to hold small treats or chocolate eggs for Easter baskets or egg hunts.
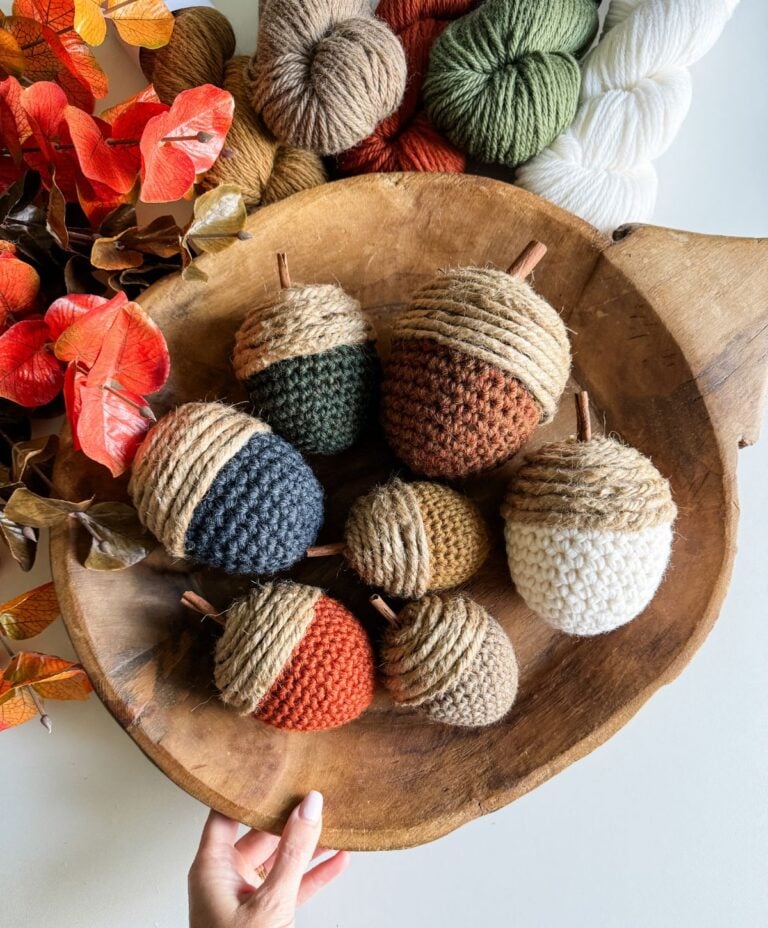
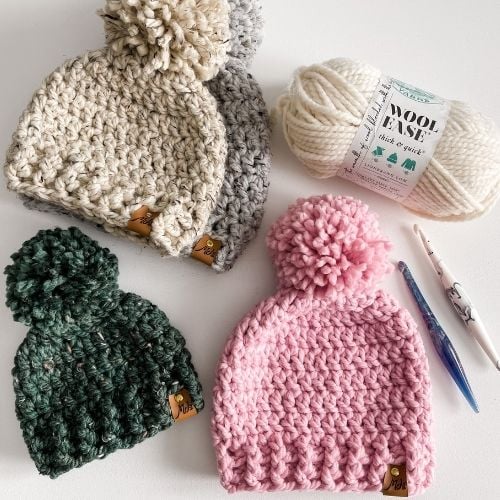
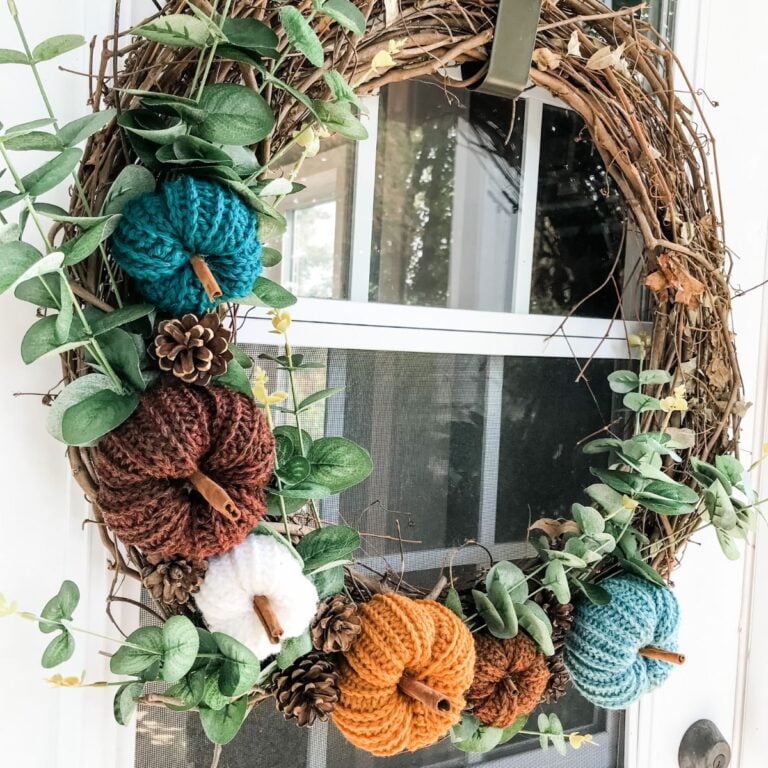
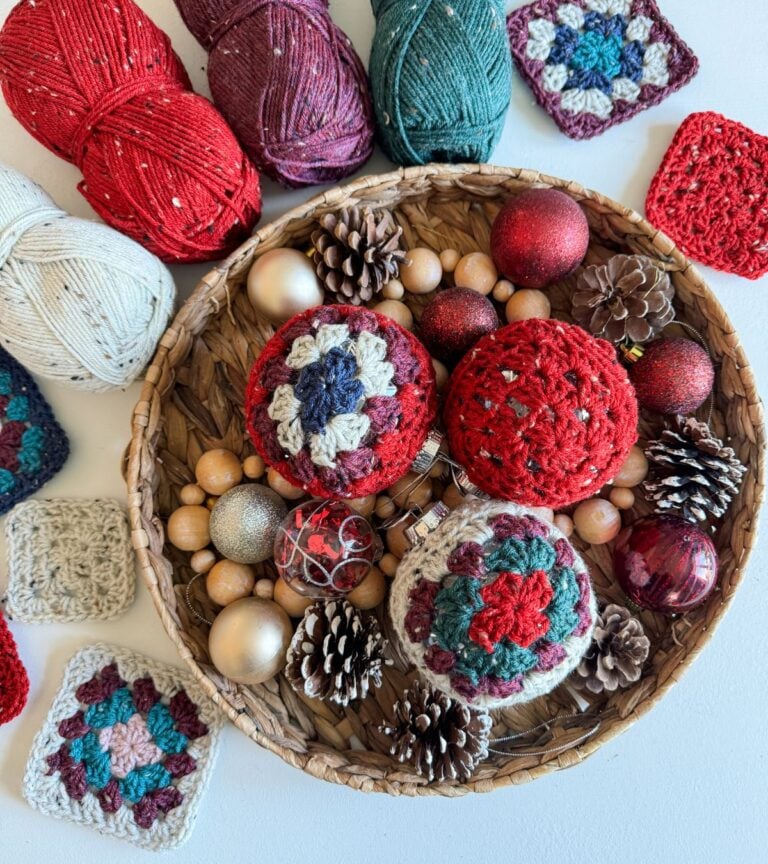
I hope you love our easy Easter Egg Crochet Pattern. You might also love these crochet patterns:
This pattern is designed by Michelle Moore of MJ’s Off The Hook Designs Inc., based in Lakefield, Ontario, Canada. Your go-to source for modern, easy crochet patterns. Published on March 4th, 2025.
Thank you for visiting MJ’s Off The Hook Designs! I hope you enjoyed this pattern and feel inspired to pick up your hook and start creating.
You can find even more crochet patterns in our Ravelry and Etsy shops.
For daily inspiration and behind-the-scenes peeks, join me over on Facebook or Instagram or join our YouTube Membership for exclusive content!
You’ve got questions, we’ve got a community!
Crocheting is better with friends! Join our group to post pictures and ask all your pattern support questions.