*This post may contain affiliate links to support the cost of this blog. At no cost to you, I may make a small commission if you purchase through these links. Read our Privacy Policy HERE


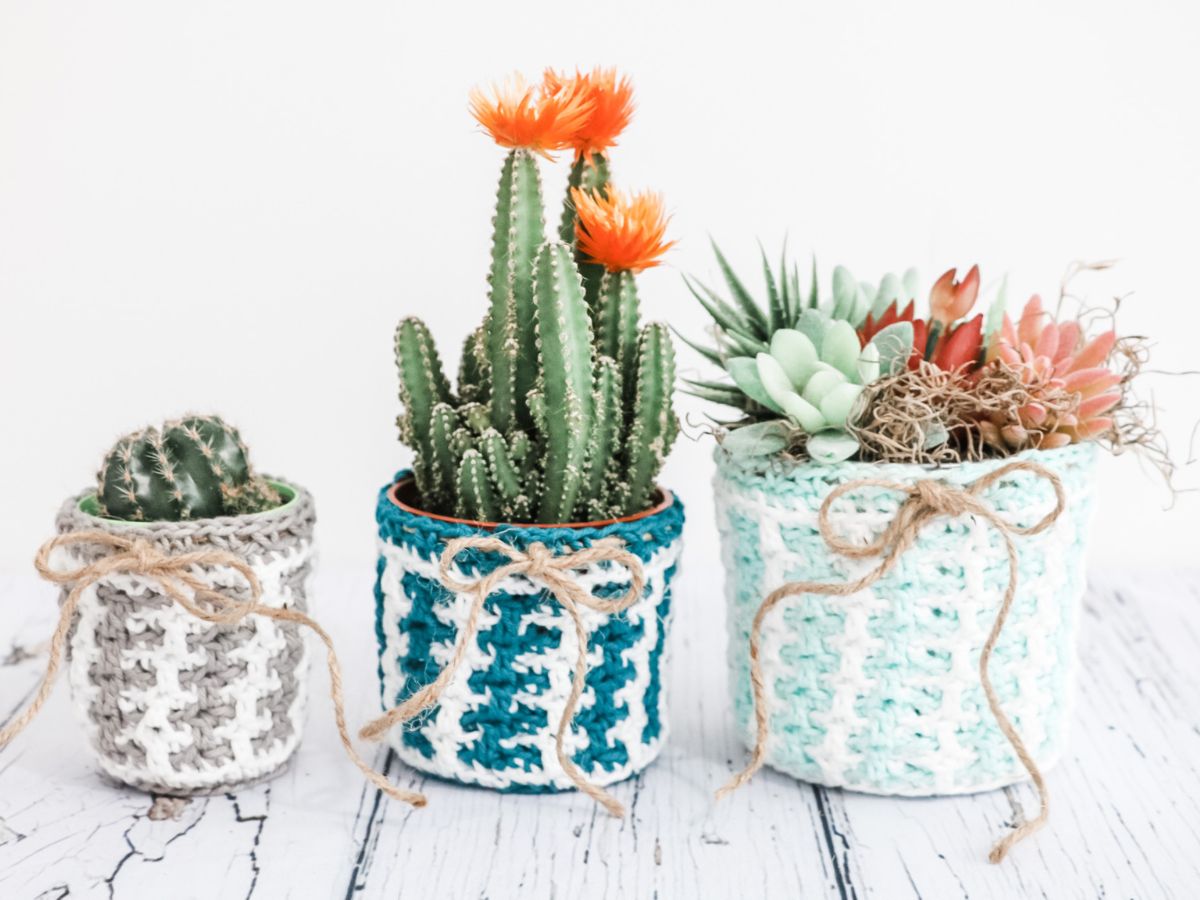
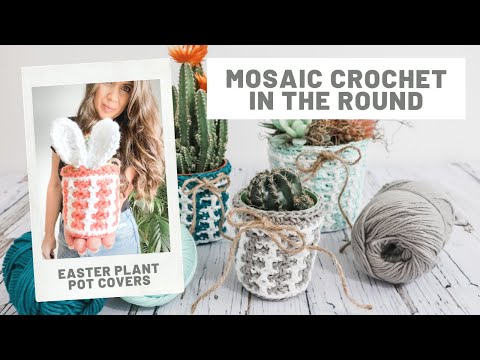
Introducing our Easter Mosaic Crochet Pattern, a contemporary Plant Pot Cover that adds a touch of elegance to your home decor. This pattern is ideal for beginners looking to explore mosaic crochet, with simple modifications available to tailor the design to any pot size.
Featuring an easy 2-row repeat, this pattern is quick to memorize and allows you to work up the chart swiftly. Whether you’re crocheting a thoughtful gift for a loved one or engaging in a creative home decor project, this pattern promises a satisfying crochet experience.
Discover the free crochet pattern below and start on a journey of crocheting beauty and functionality for your space.

“The first blooms of Spring always make my heart sing”
― S. Brown
Adding Plants to Your Home
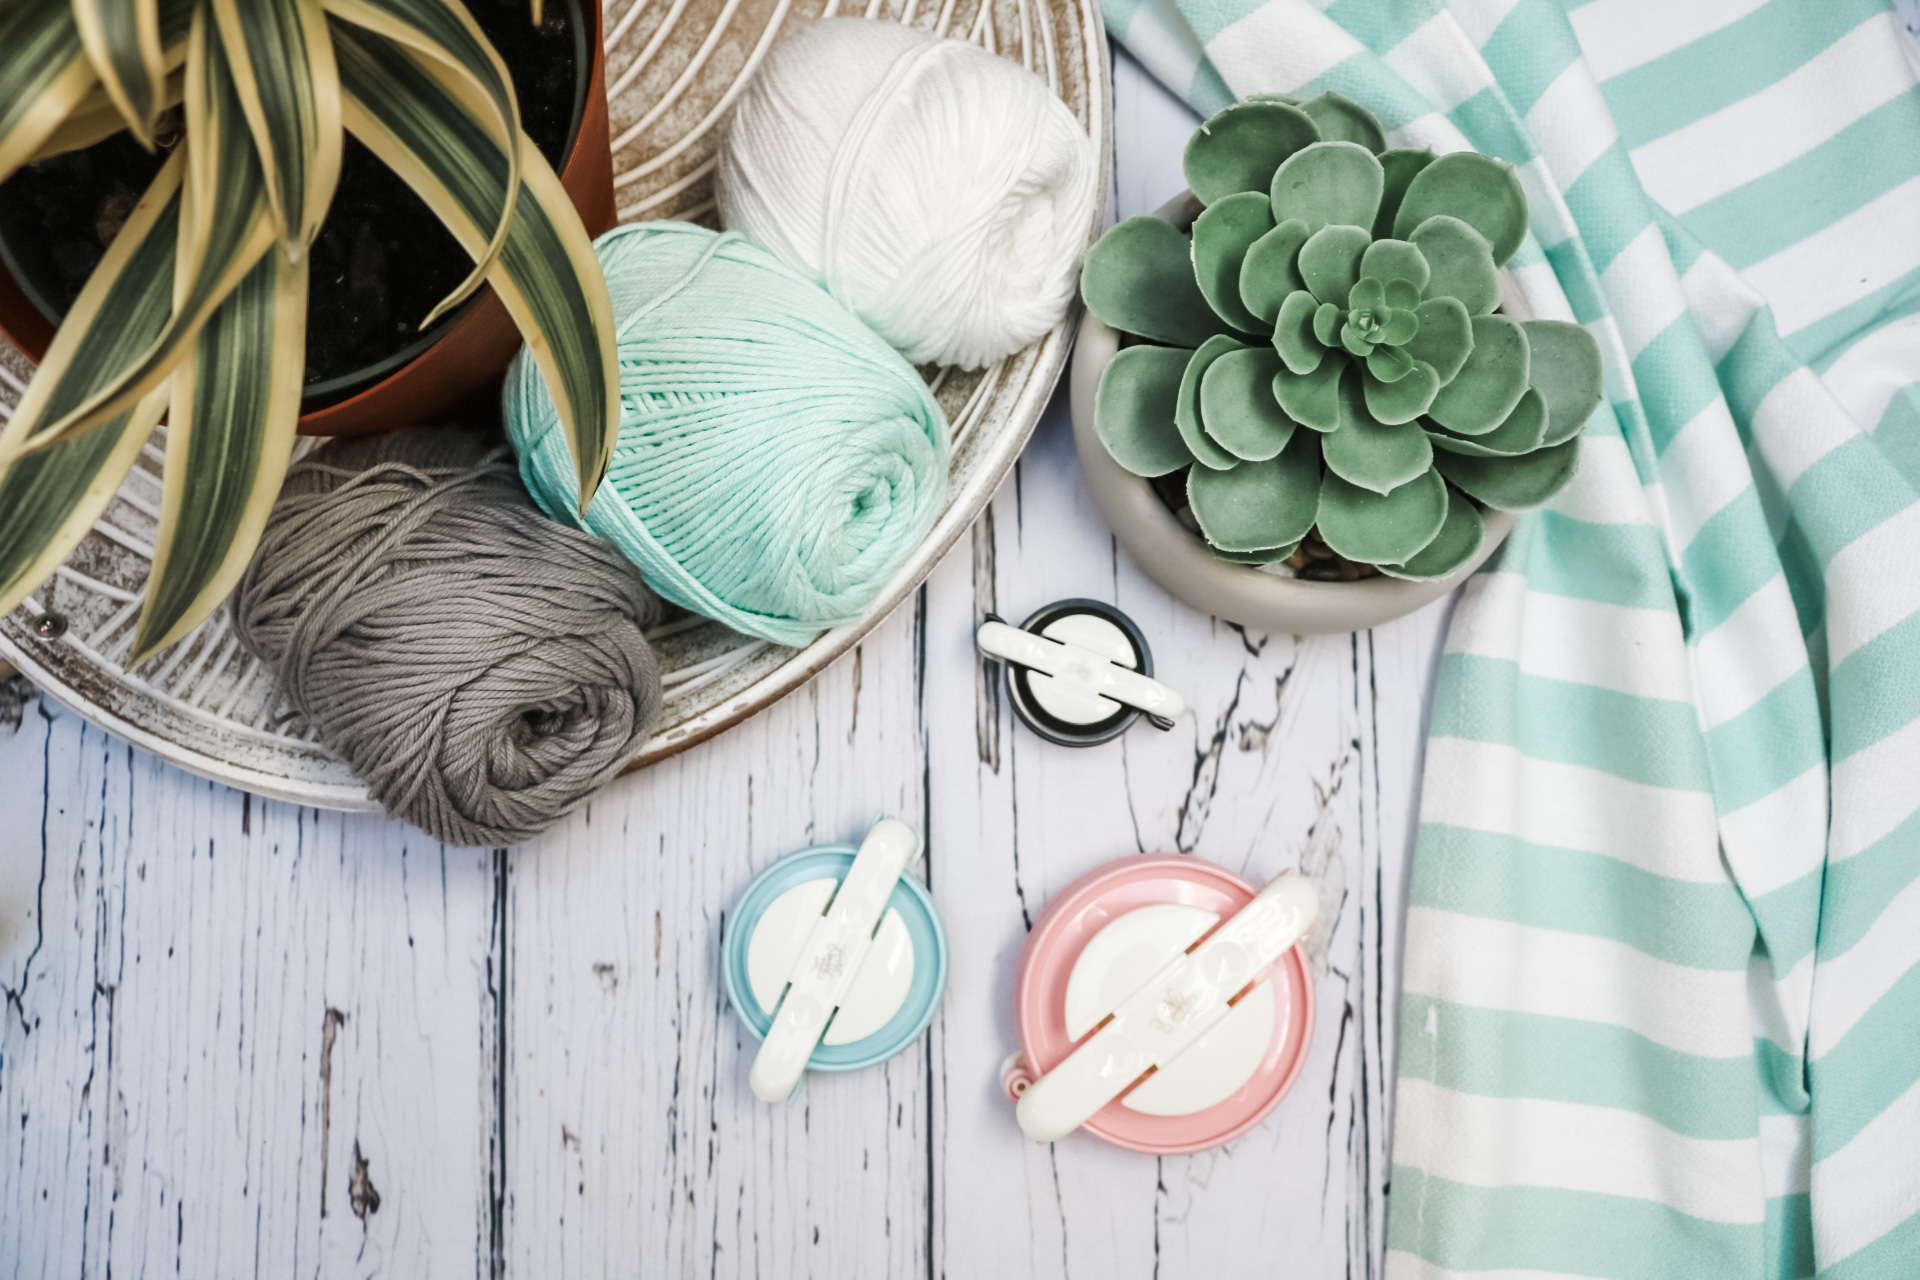
As Spring blooms, my creative spirit flourishes. I find joy in adorning my living spaces with lush greenery, nurturing seedlings for our garden, and fostering a newfound plant love within my children.
Together, we’ve developed a delightful plant obsession, playfully assigning names to each of our beloved green companions. The energy of growth and renewal that Spring brings truly ignites our home with warmth and vitality.
Witnessing my children’s enchantment with plants, nurturing them, assigning endearing names, and even playfully squabbling over their care has sparked a creative idea within me.
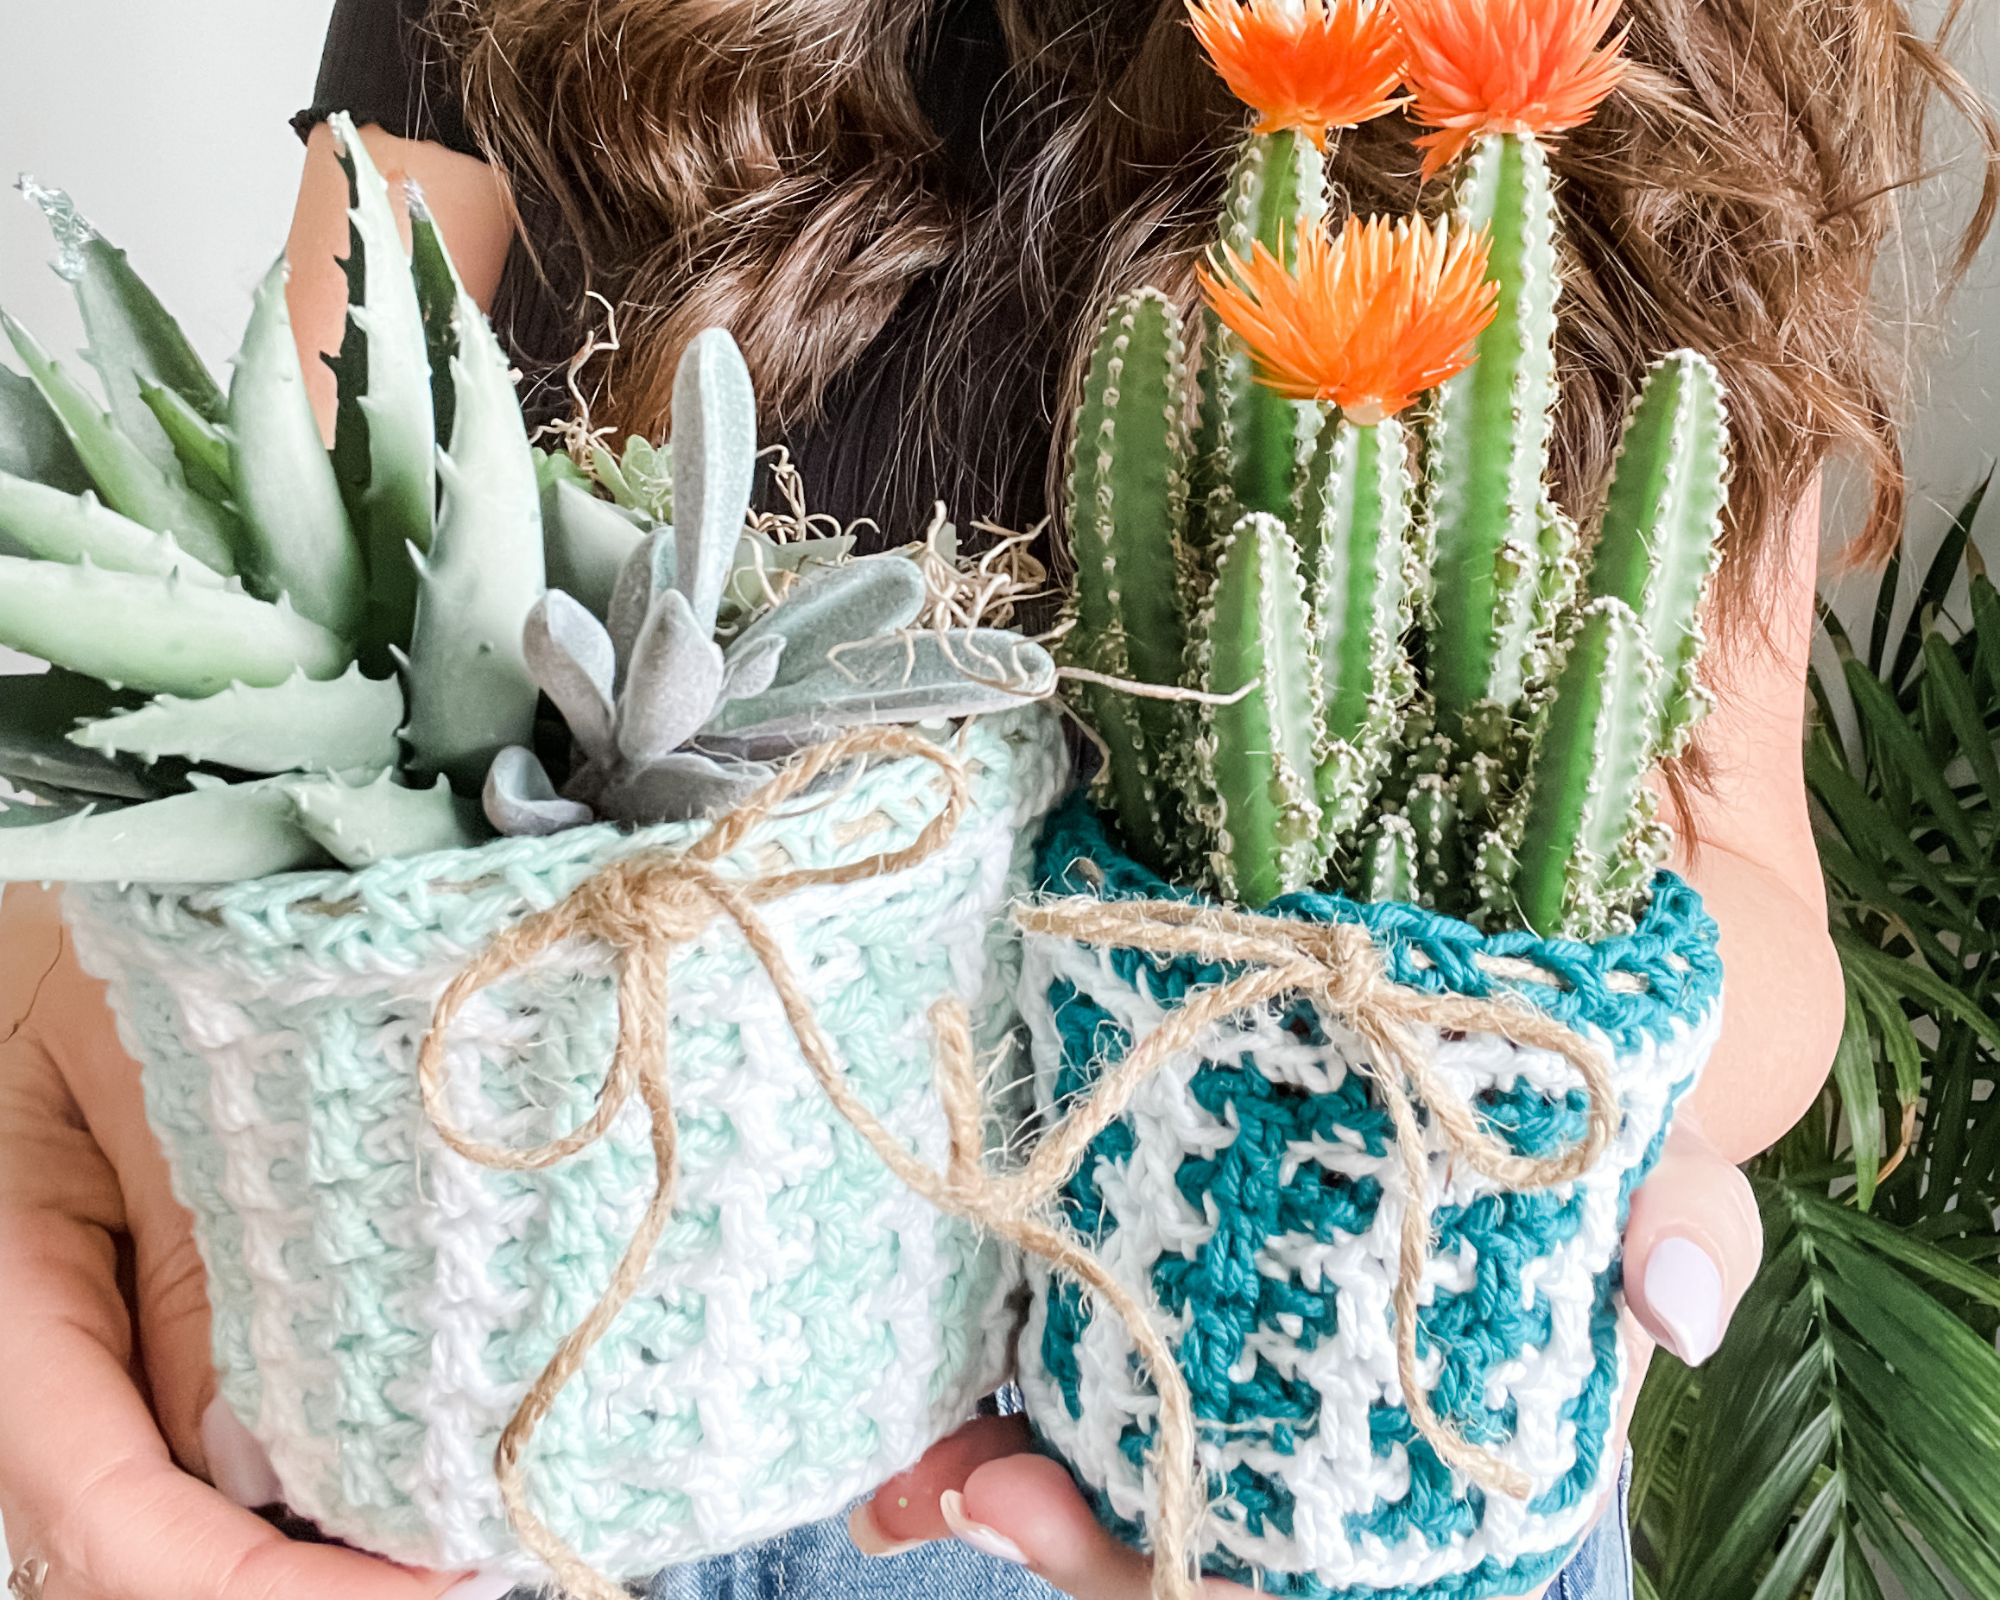
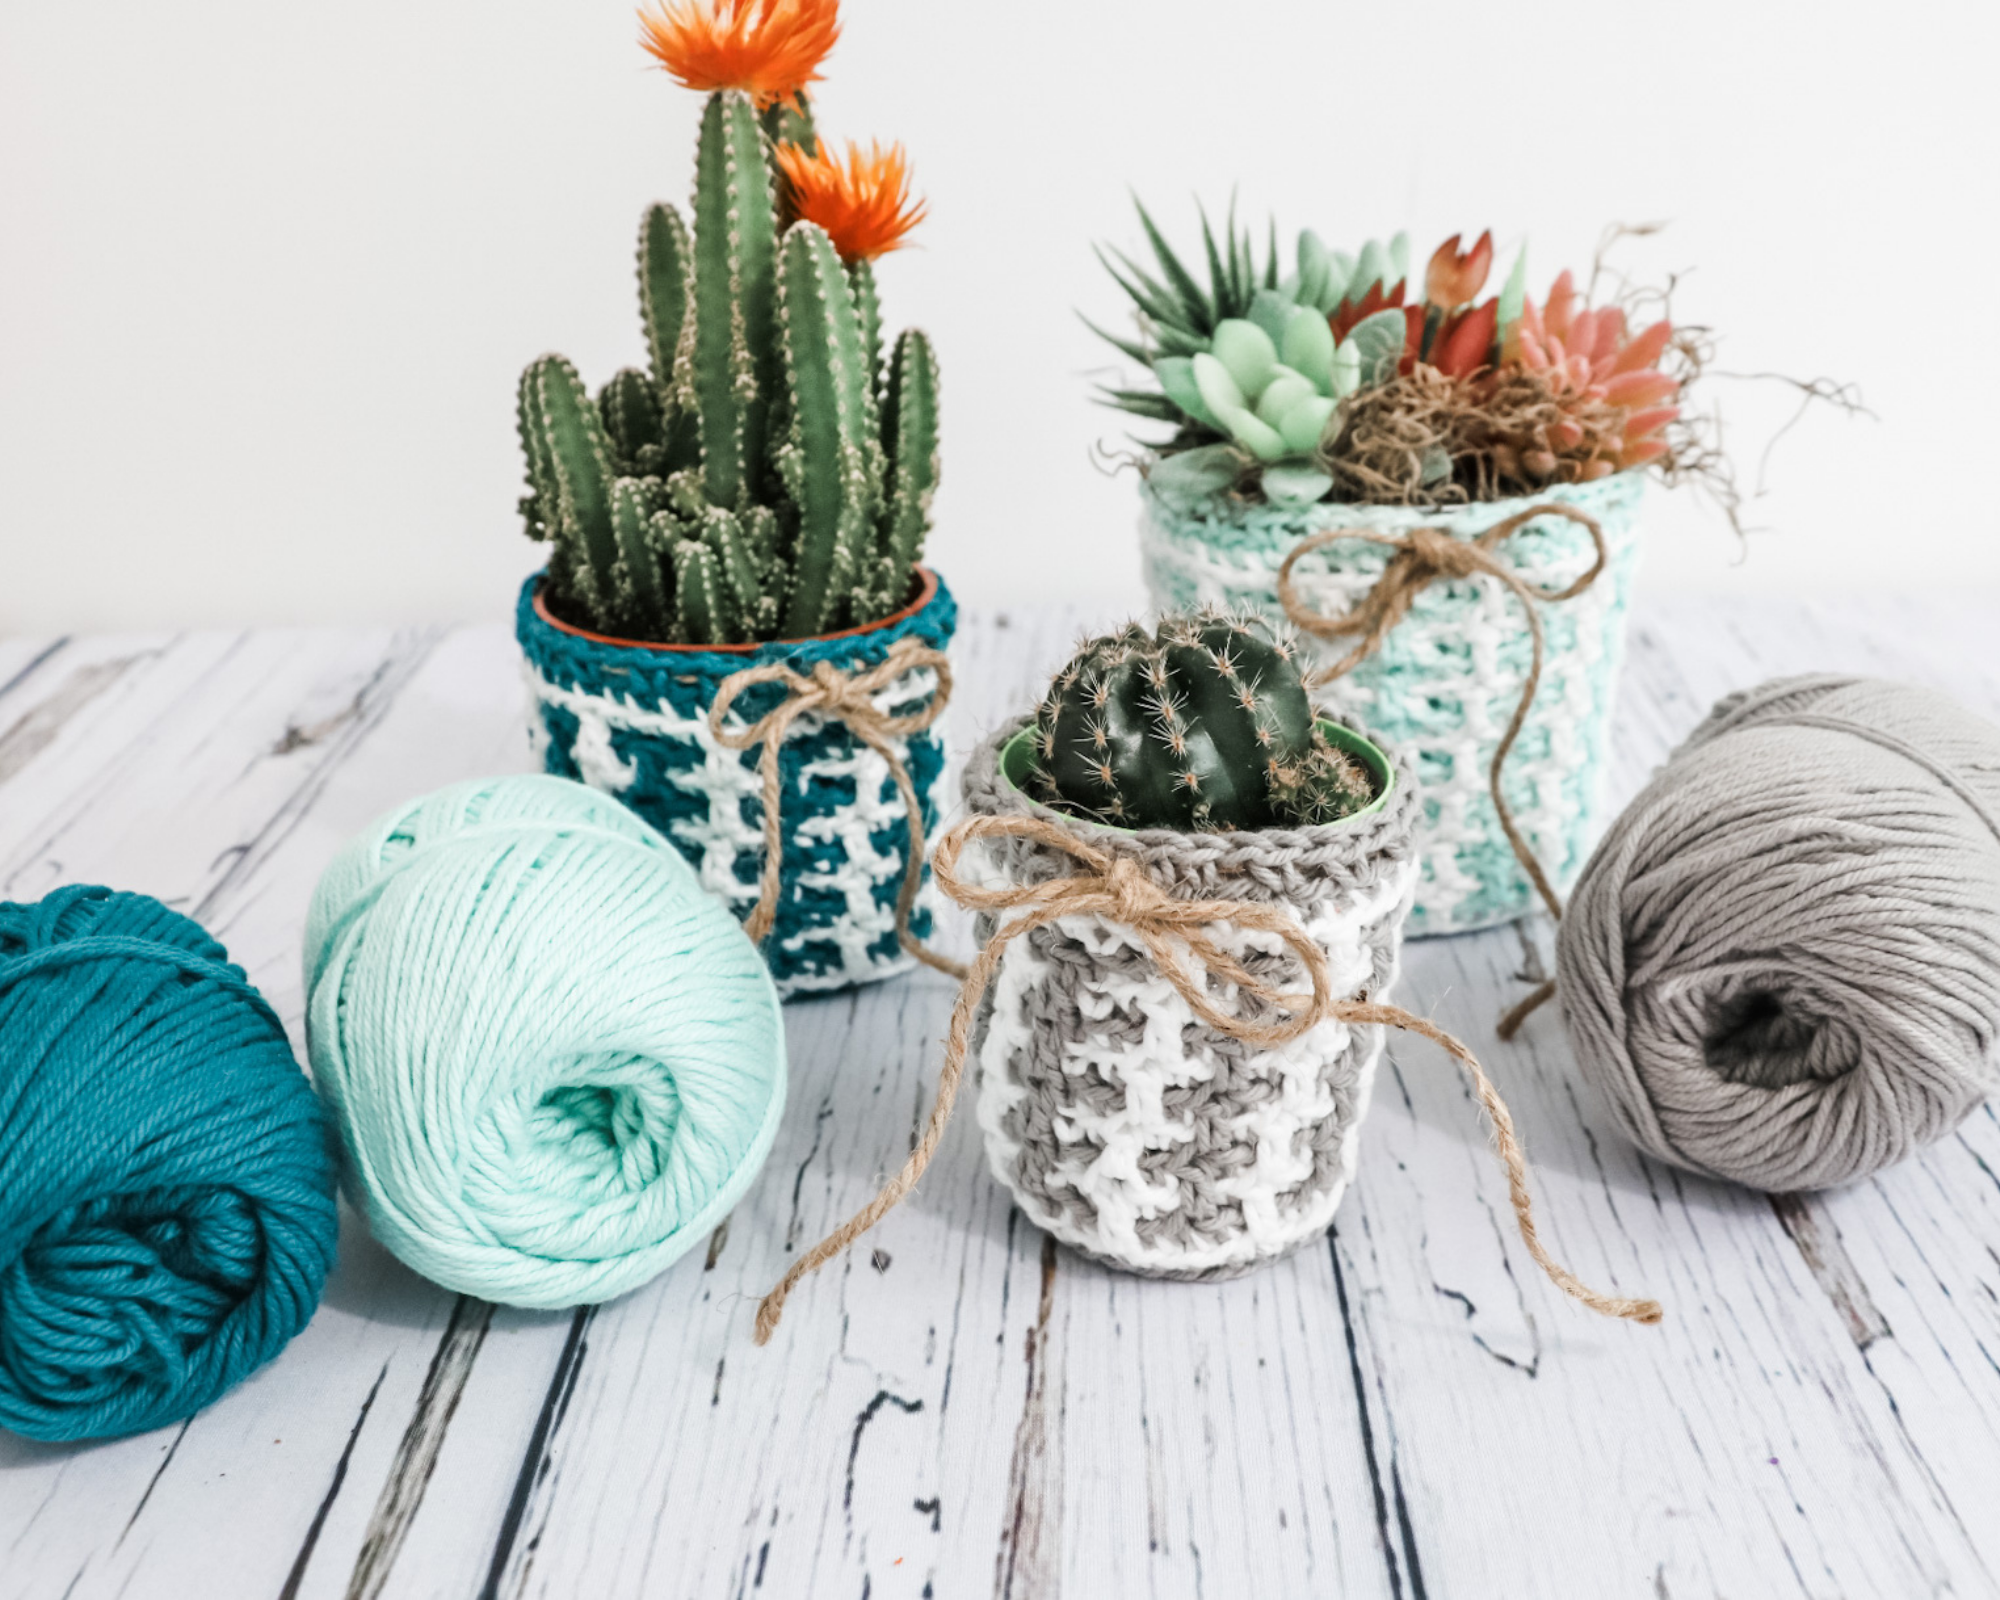
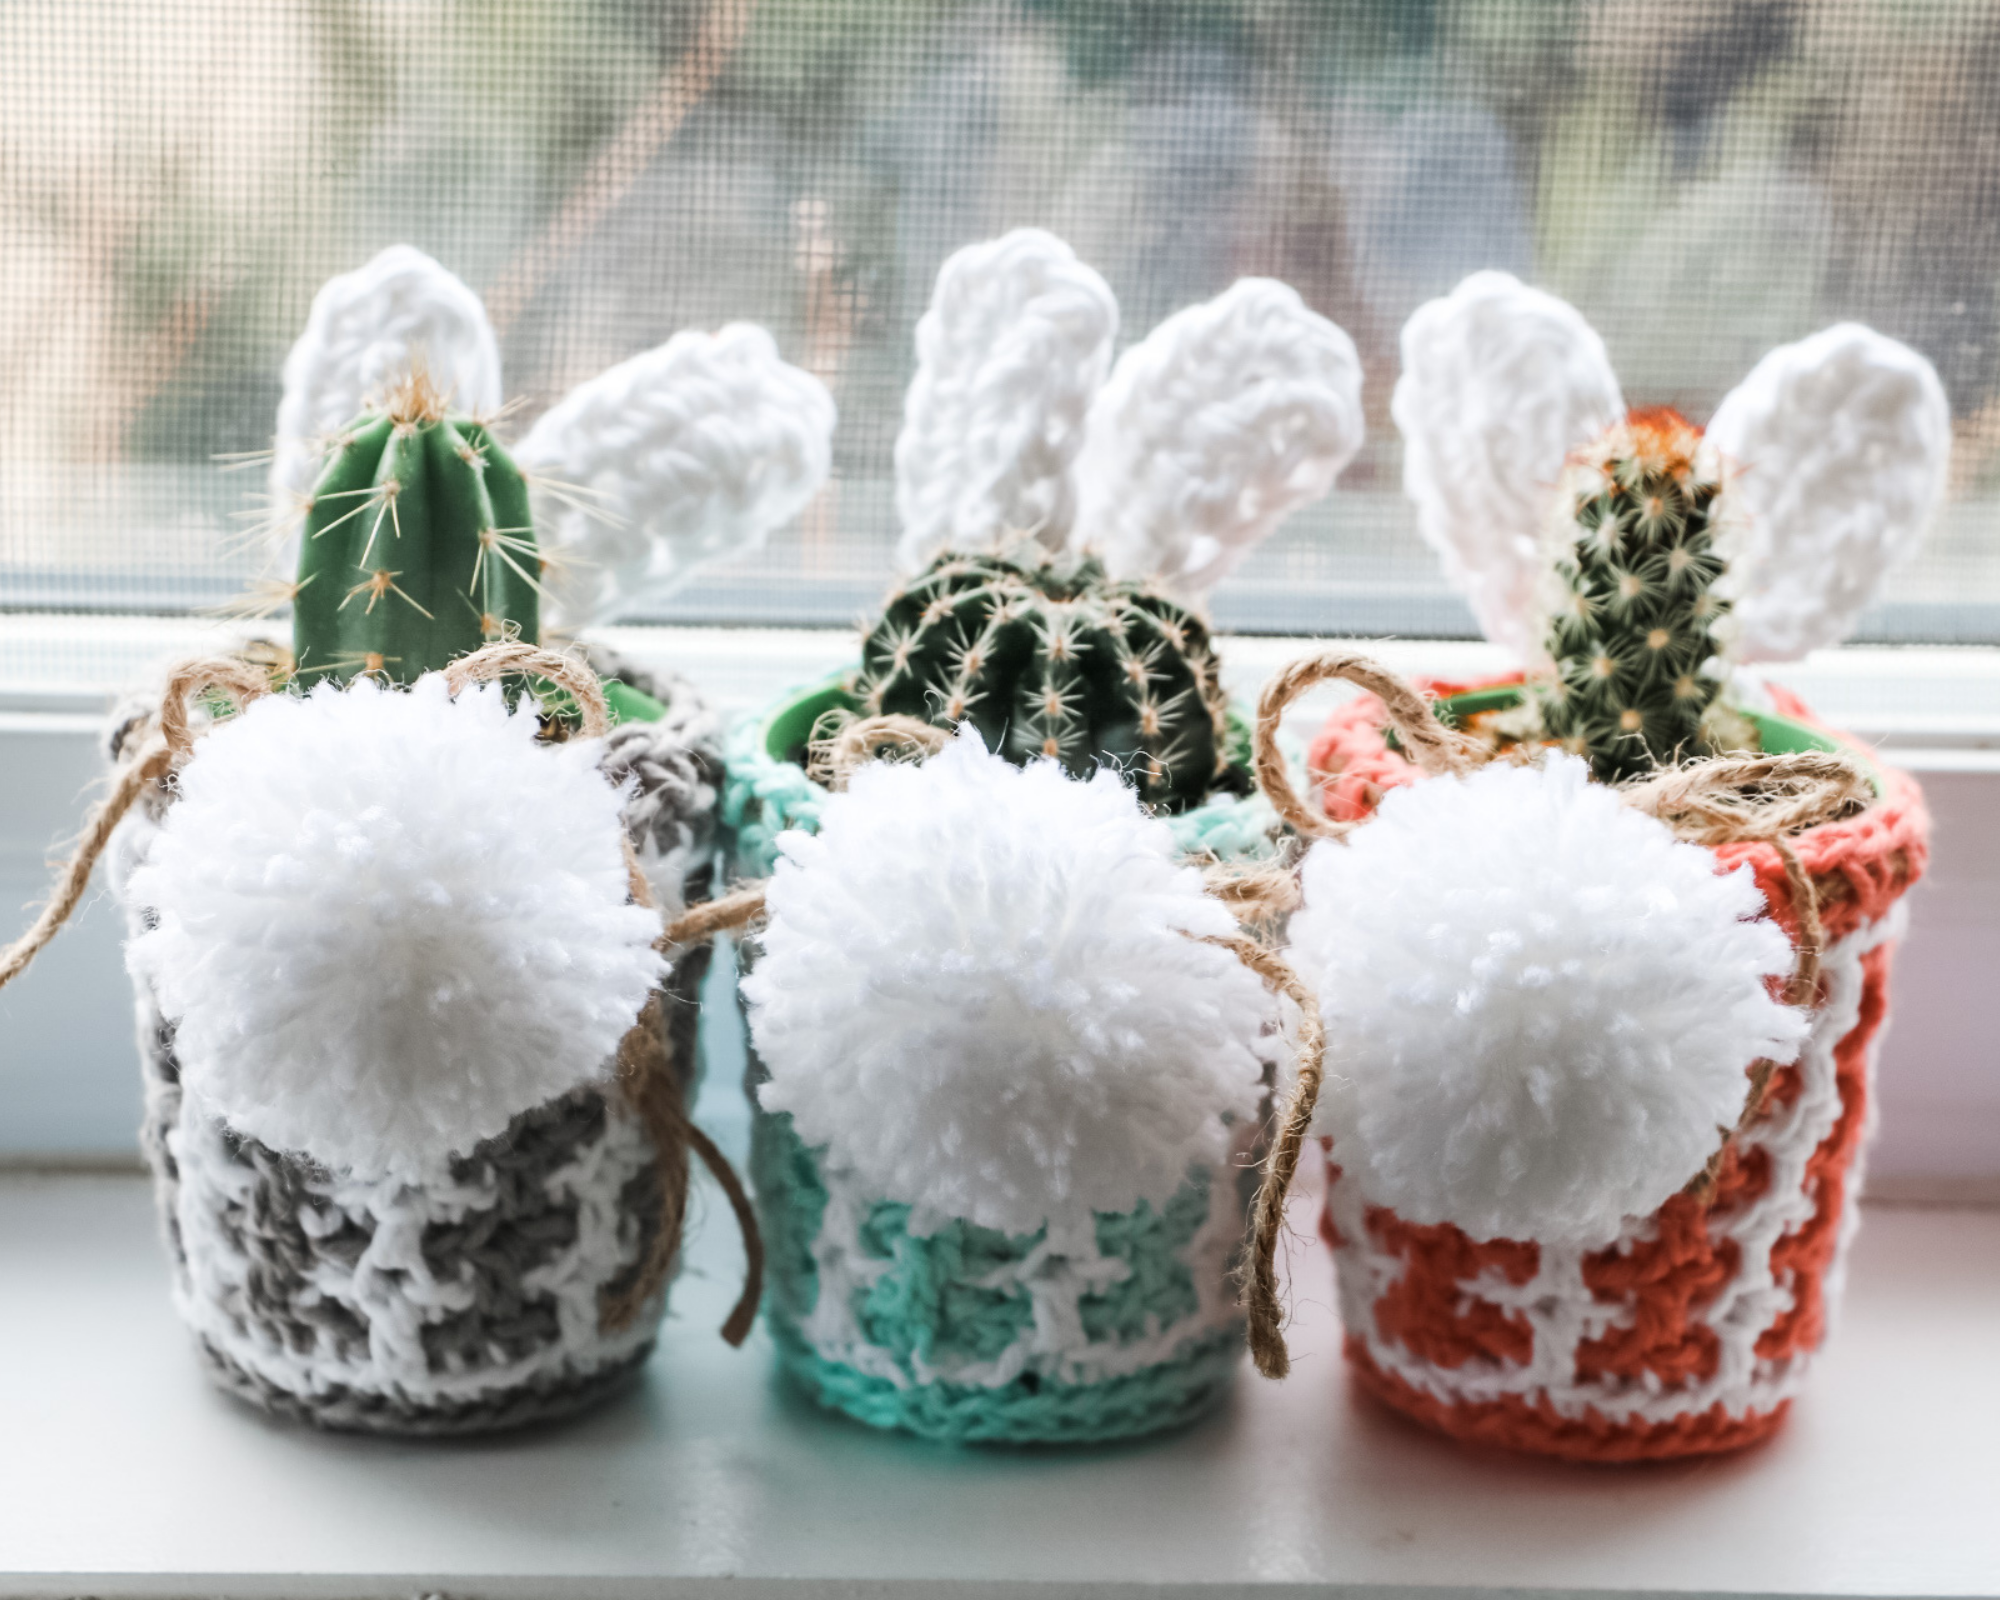
To celebrate this Easter season, I’ve crafted individual Easter Bunny Plant Pot Covers for each plant, infusing a touch of whimsy and joy into our home. I take delight in curating unique crochet gift ideas for Easter, ensuring that each creation brings smiles and warmth to our surroundings.
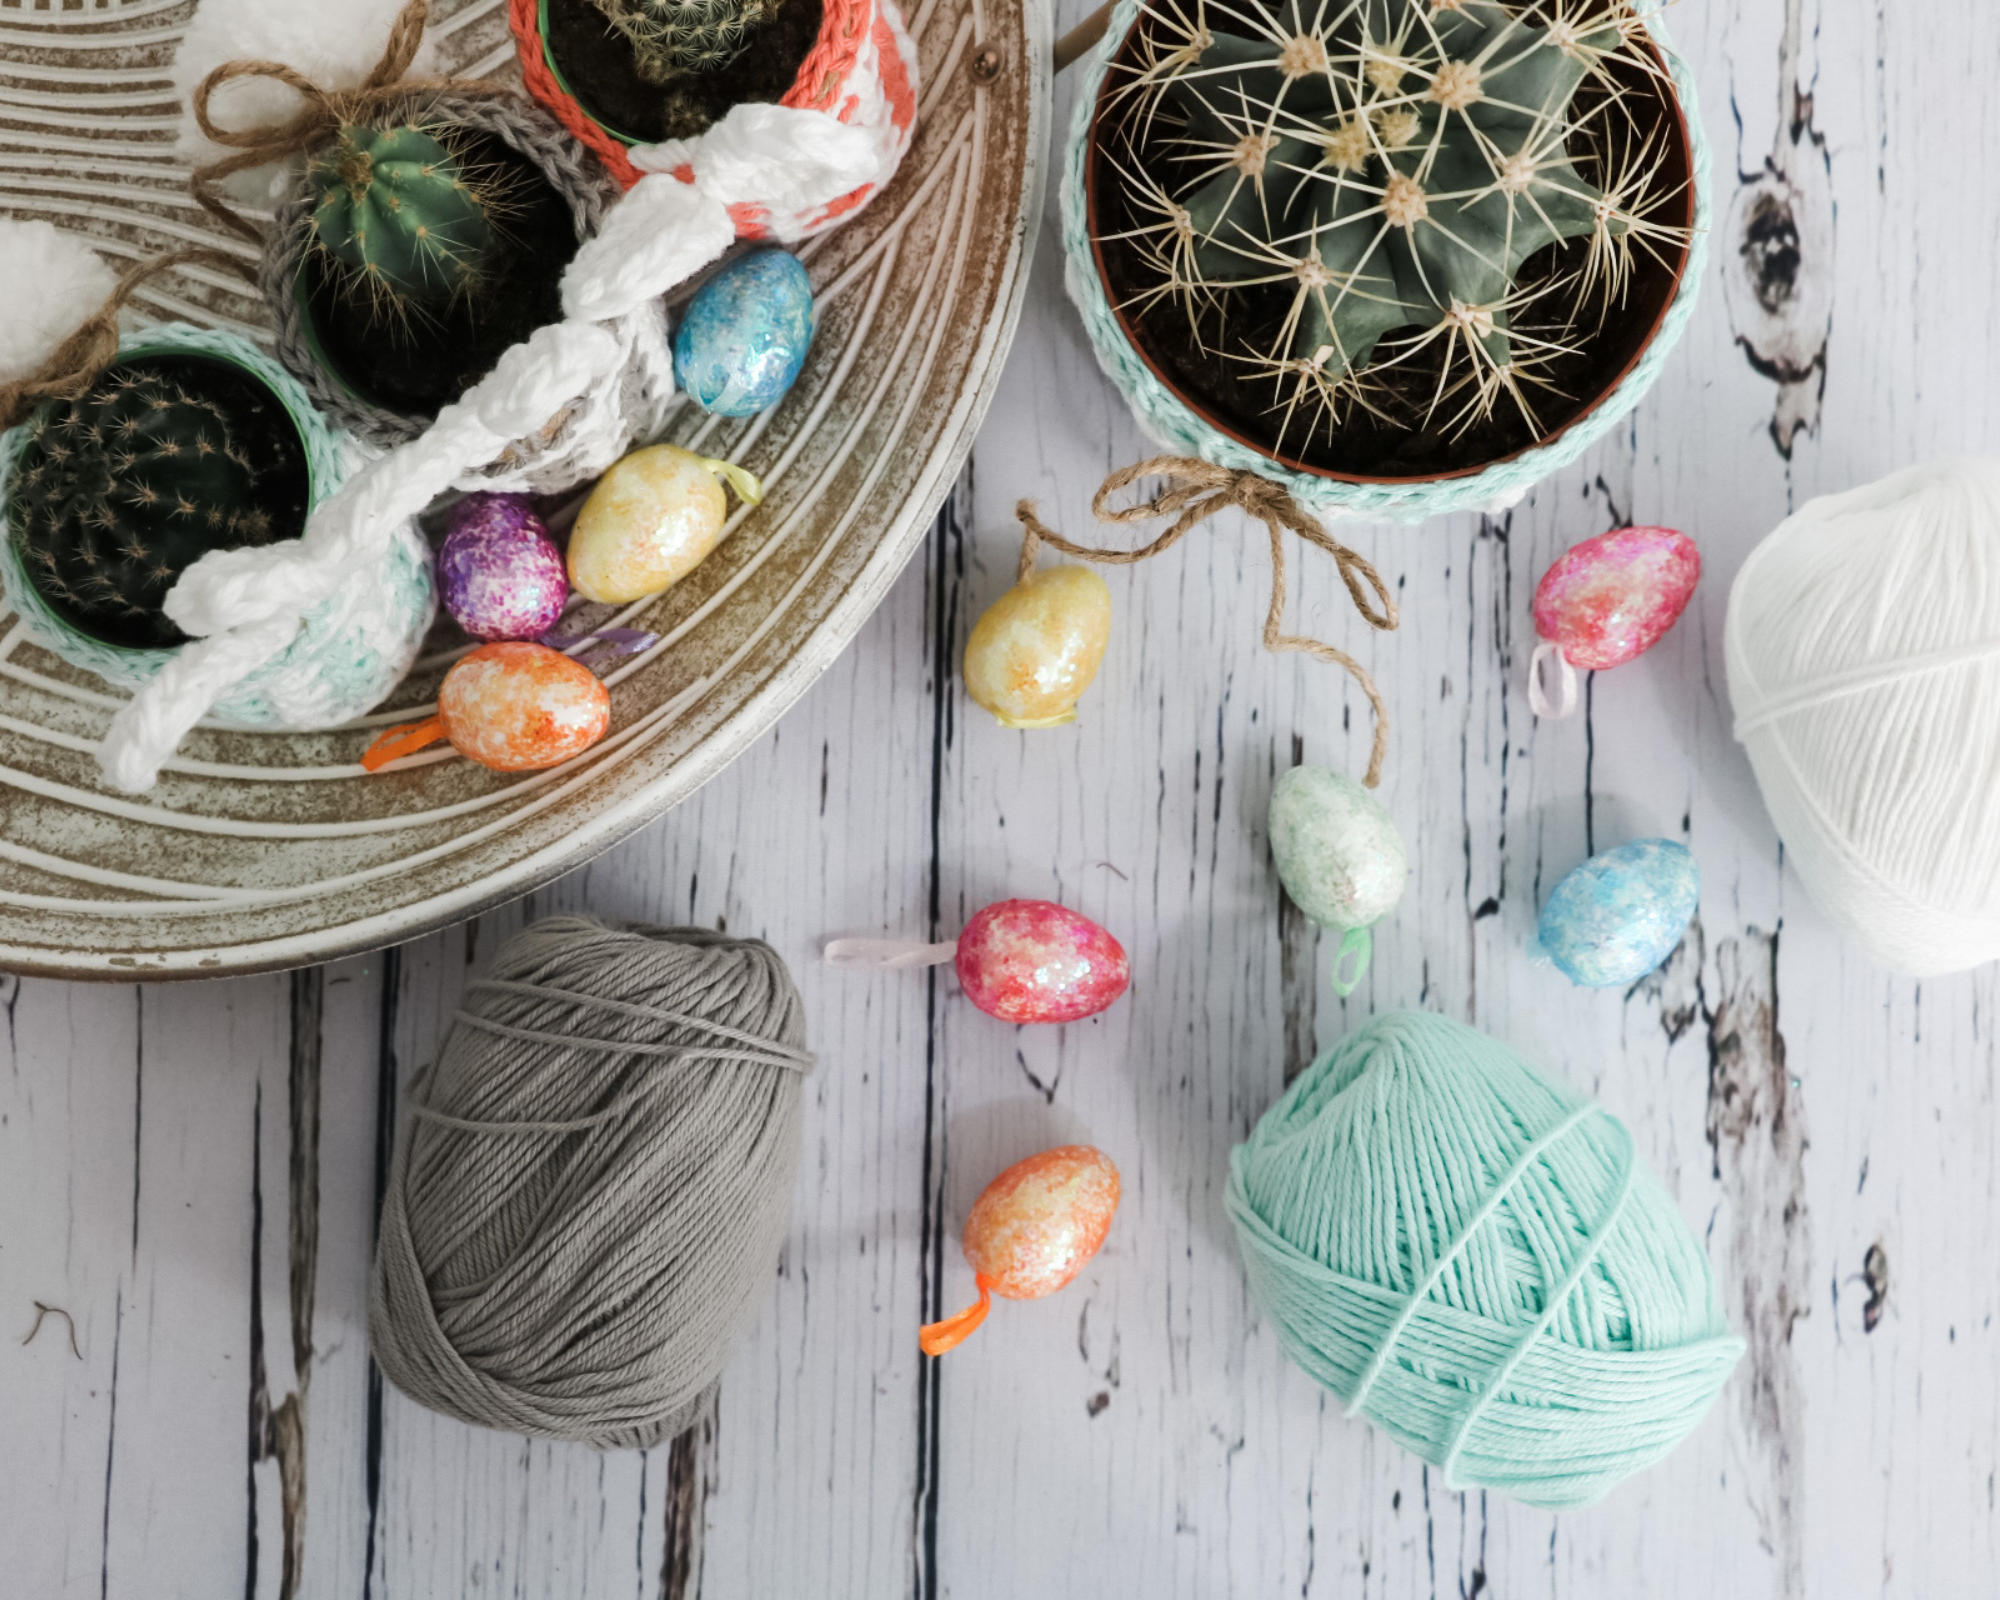
Cacti, in particular, make excellent companions for children, requiring minimal watering and maintenance. Allow me to introduce you to our beloved plant trio: Stacy, Fred, and Daphne.
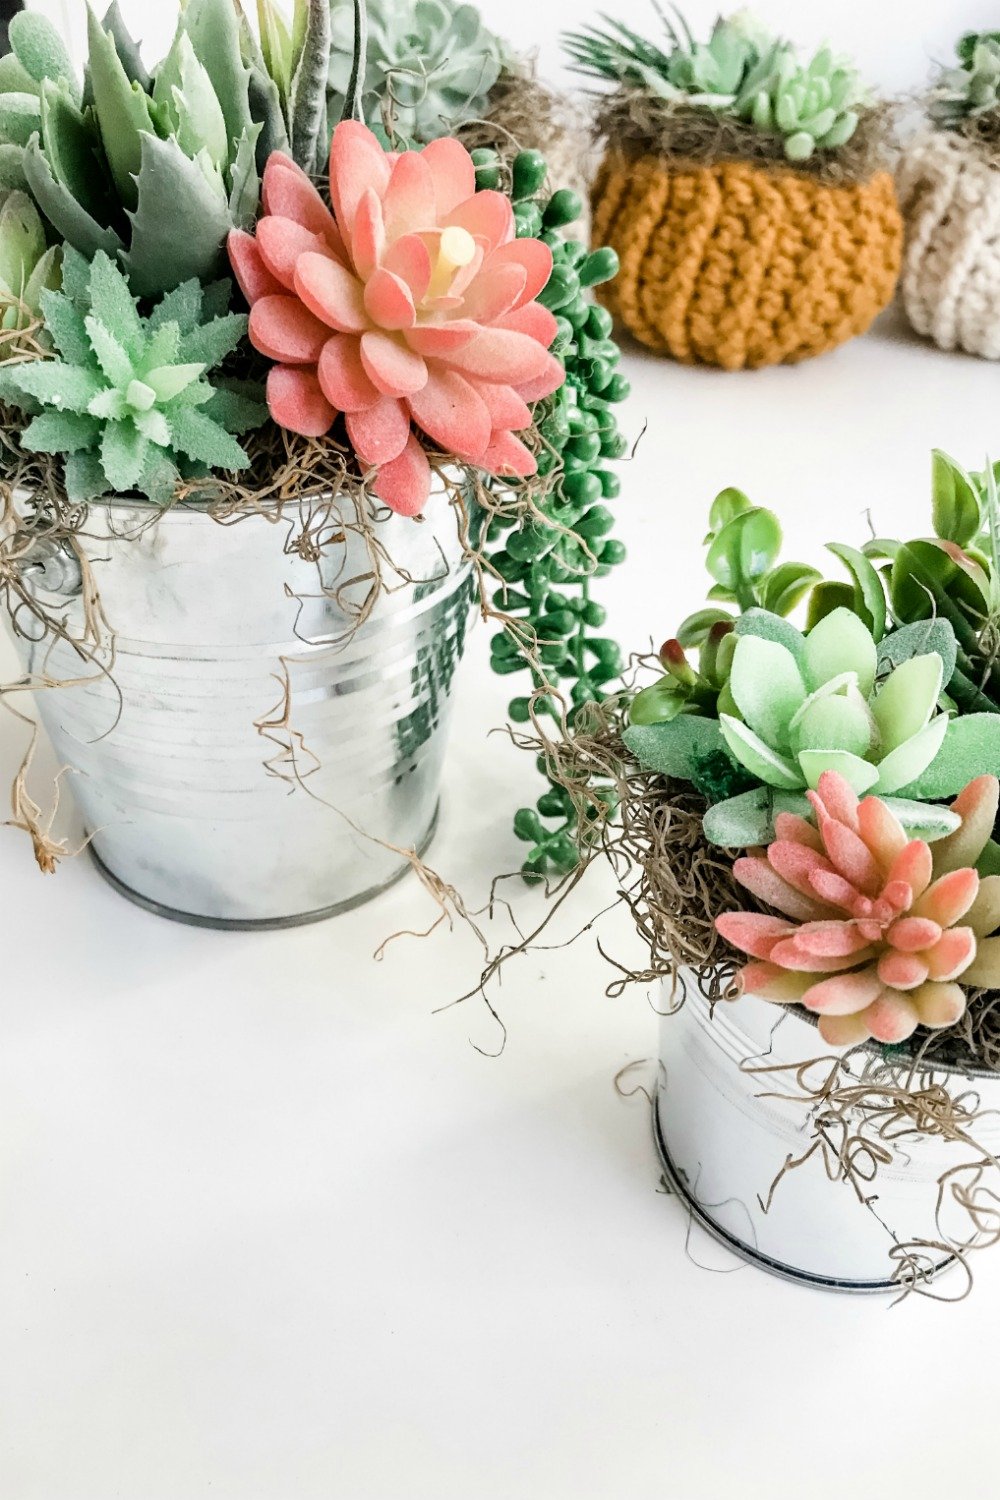
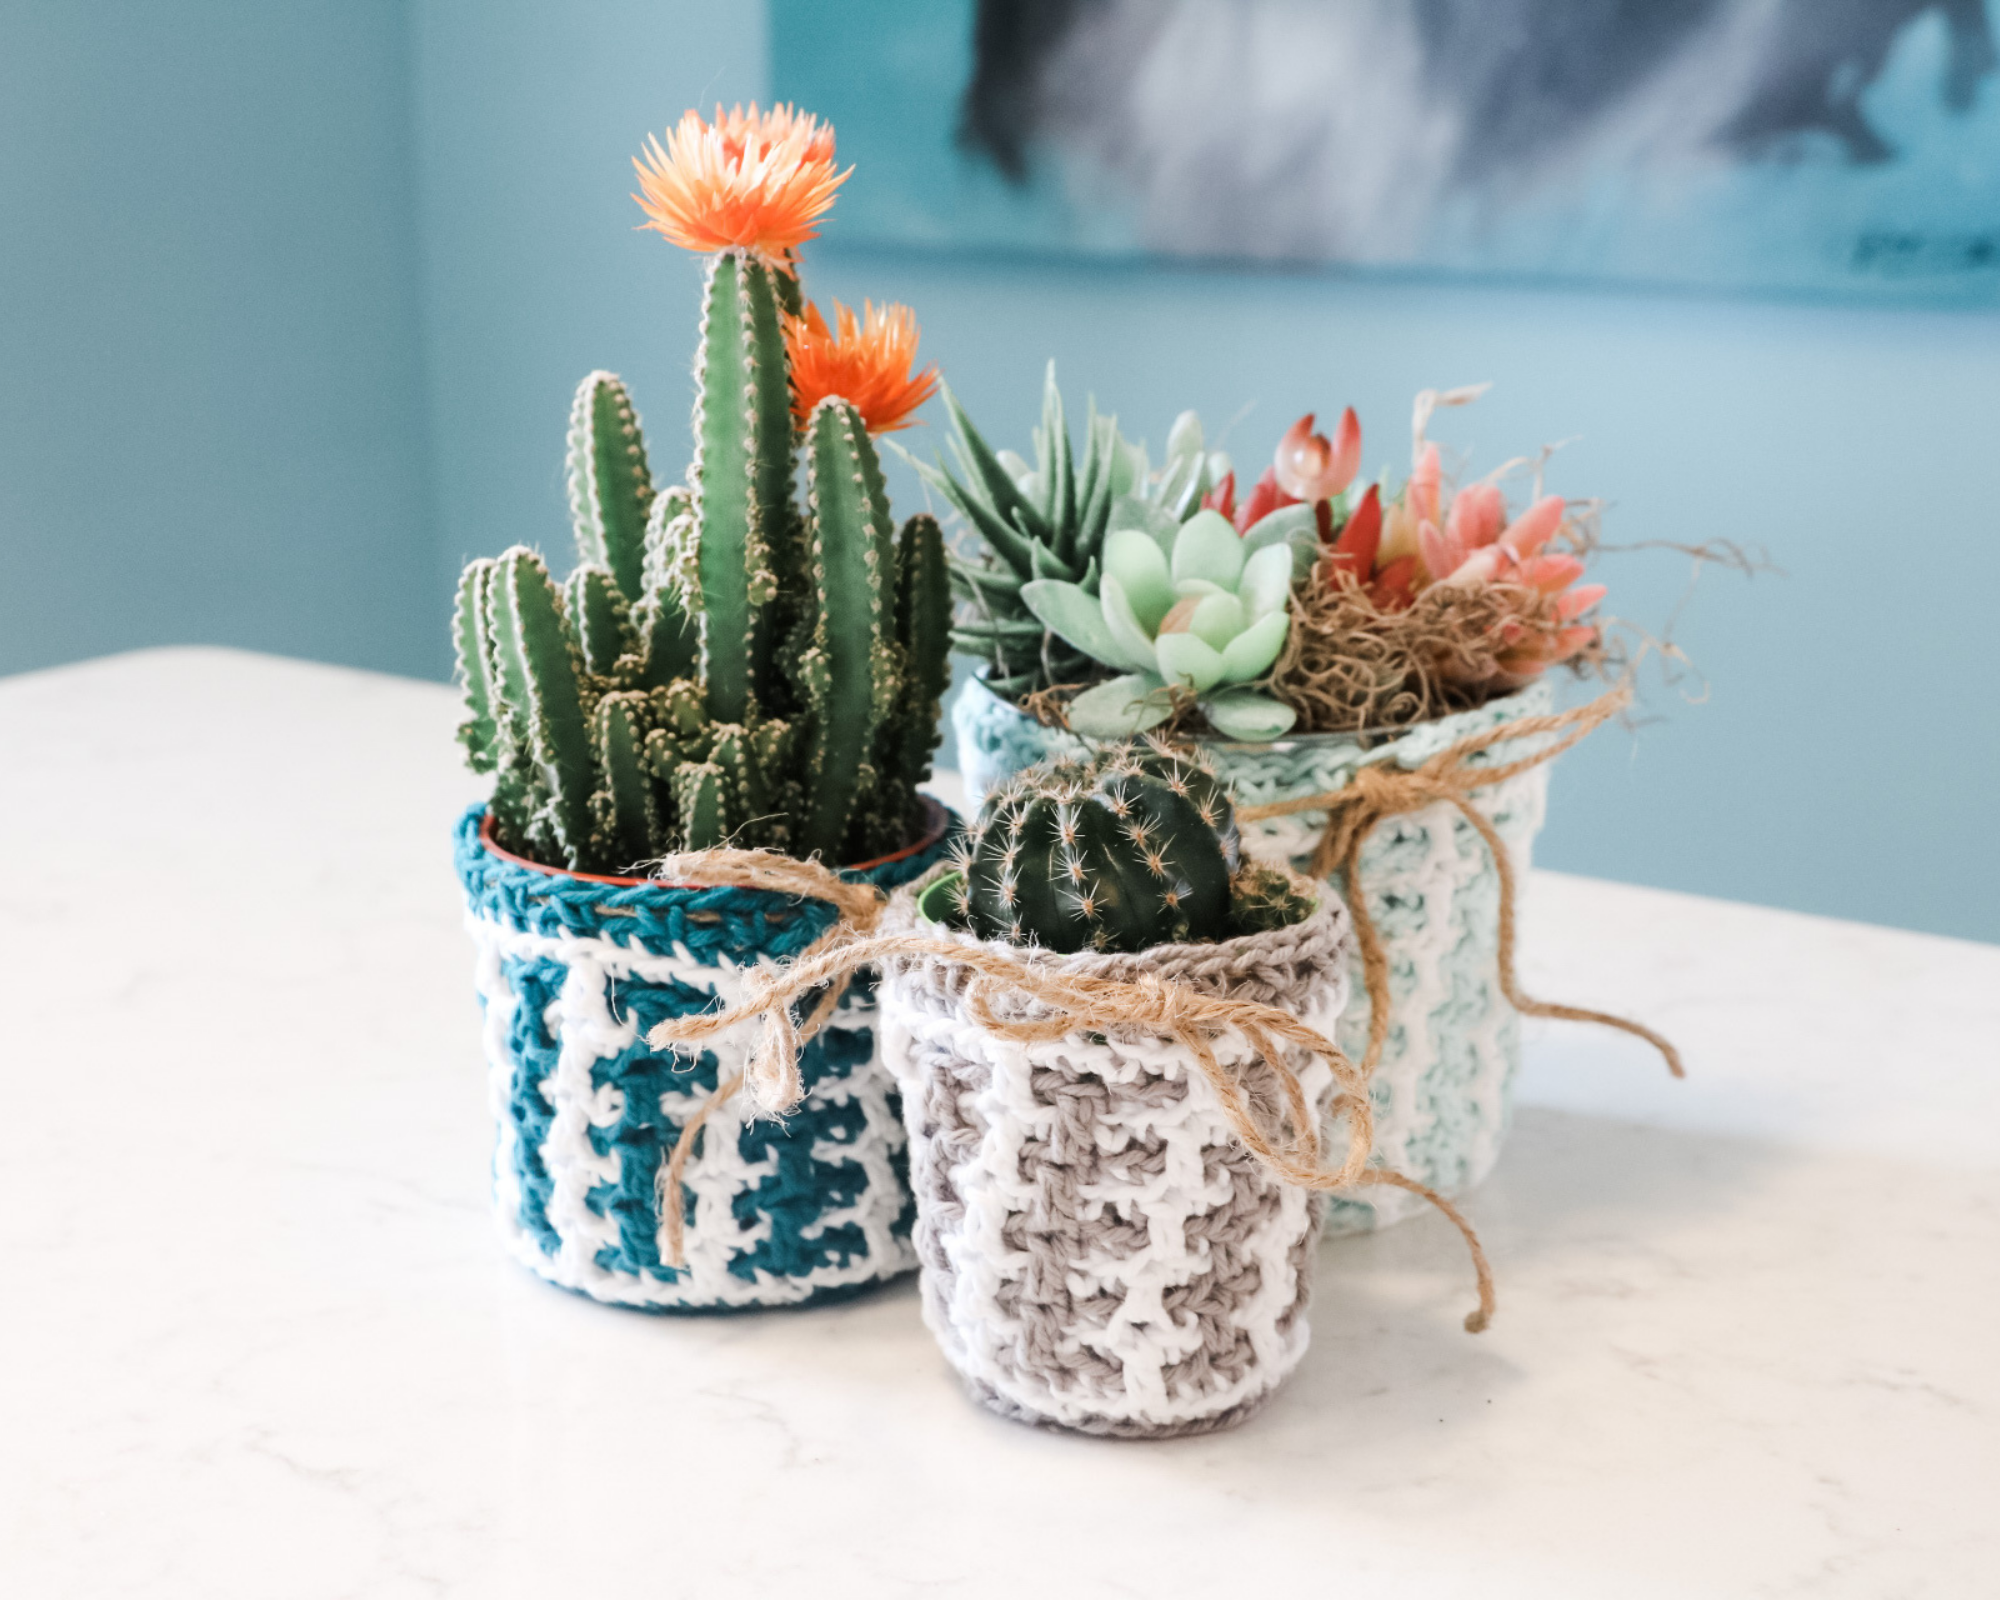
For those leaning towards artificial plants, succulents serve as the perfect alternative. I repurposed the succulents I initially crafted for my pumpkin cozies, giving them a new purpose in adorning our living space. The small succulent pots seamlessly fit within the large-sized mosaic pot cover, creating a harmonious and visually appealing display.
If you’re interested in making these charming succulents, you can find a detailed guide on how to create DIY succulent pots, which will add a touch of everlasting greenery to your home decor.
Are you curious about trying your hand at mosaic crochet? Are you wondering if it’s beginner-friendly? Let me assure you that if you can handle yarn, chain, and execute double and single crochet stitches, you’re more than capable of creating our Easter mosaic pot cover crochet pattern!
Even if you’re new to this technique, my step-by-step tutorial on YouTube will guide you through the process with ease, making it an enjoyable and rewarding experience. Embrace your creativity and start on a crafting journey with confidence – mosaic crochet is within your reach!
How to read a Mosaic Crochet Chart:
To navigate the mosaic chart effectively, read from right to left for each round. The rounds are crocheted in alternating colours, following the colour instructions listed in the left column.
When working each round, use the specified colour for the entirety of the round—disregard the colours displayed in individual boxes, as they simply illustrate the pattern’s appearance and do not signal colour changes within a round.
A blank box signifies a single crochet stitch in the back loop only (blo), while a box marked with an X denotes executing a drop-down double crochet stitch. Stay focused on these guidelines to interpret and crochet the mosaic pattern accurately. Enjoy the creative process!

When working mosaic crochet in the round, don’t cut colours. Drop off the colour at the end of the round and pick up the new colour as you go. The colour is changed at the sl st join. Always tighten yarn tails when joining at the end of each round; this will keep the join invisible.
Helpful Resources
- Join our Facebook Crochet Community for pattern support and inspiration
- Subscribe on YouTube for hundreds of free tutorials
- Sign up for our newsletter and receive 40% off your first Ravelry purchase!
- Sign up for our YouTube Membership

Upgrade to the Premium PDF Pattern!
Digital PDF Download
Digital pattern only. No physical item will be shipped.
Easter Mosaic Plant Pot Cover – Free Crochet Pattern
The pattern is written in Standard American Terms
Skill Level: Easy
Yarn Requirements:
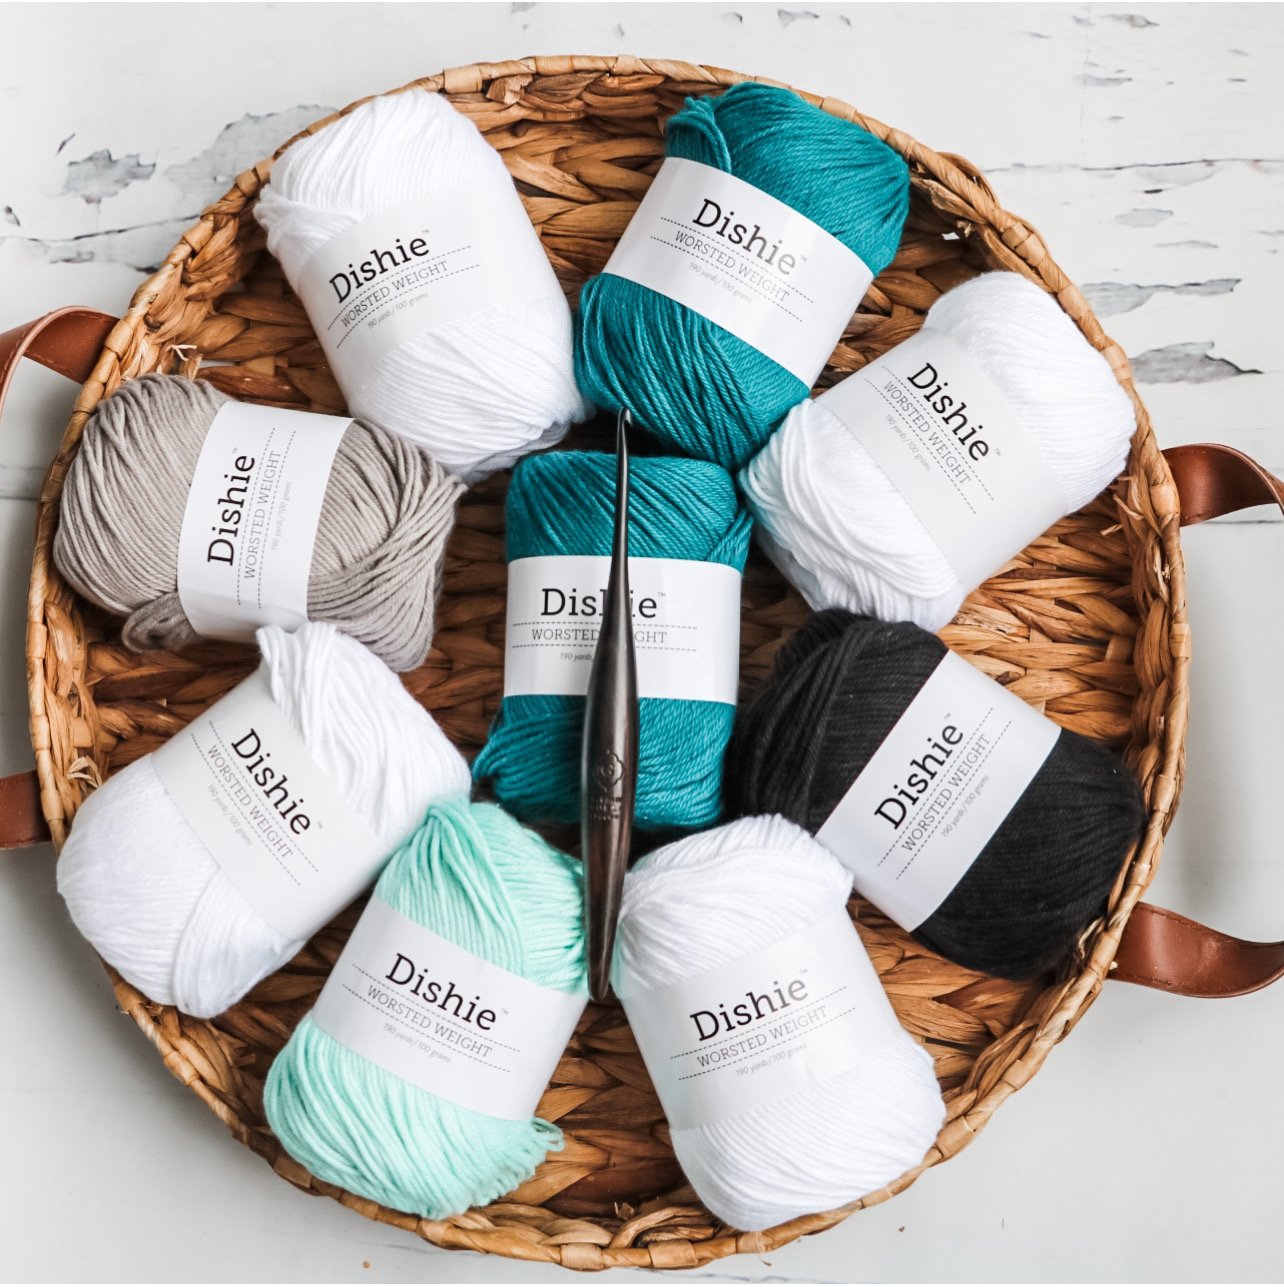
Dishie from WeCrochet – Shown in White (A), Mint (B), Silver (B) and Kenai (B) – 100% Cotton (190yds/100g)
Sizes: S (M, L) amounts needed in yards
| Size | A | B |
| Small | 16 | 20 |
| Medium | 20 | 28 |
| Large | 28 | 38 |
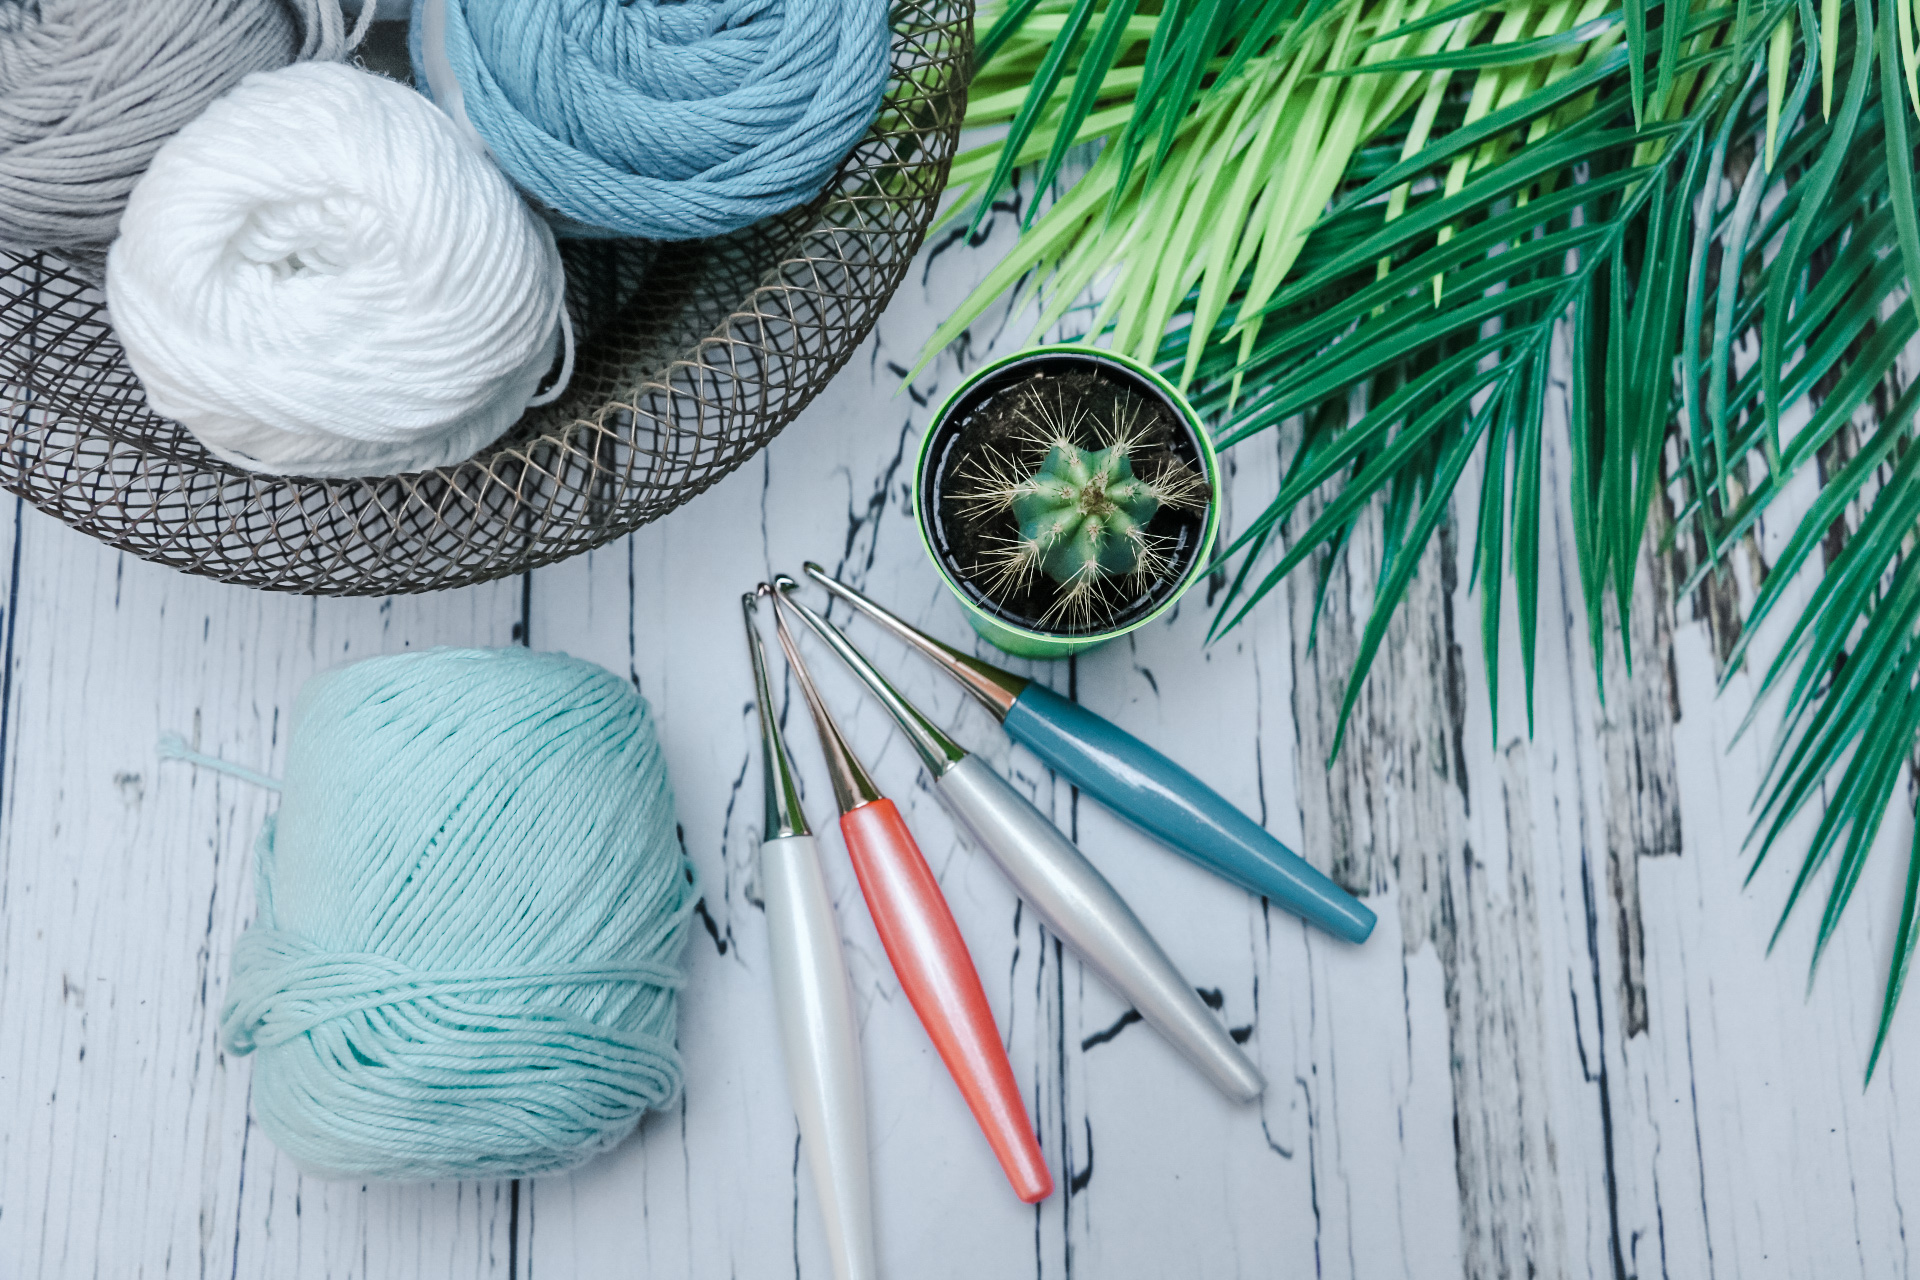
Crochet Hook Requirements:
Gauge:
8 sts and 8 rows equal to 2″ in mosaic pattern
Additional Supplies:
Plant pots – circumference 8 (10, 12)”
Twine
Abbreviations:
Blo – Back Loop Only
Ch – Chain
Dc – Double Crochet
Hdc – Half Double Crochet
Rep – Repeat
RS- Right Side
Sc – Single Crochet
Sk – Skip
Sl St – Slip Stitch
Sp(s) – Space(s)
St(s) – Stitch(es)
WS – Wrong Side
( ) – Work step in parentheses in indicated stitch
[ ] – Work step in brackets number of times indicated
Special Stitches:
Drop-down Dc – Drop-Down Double Crochet – Work a double crochet in the front loop of stitch 2 rows below.
Finished Measurements:
Diameter 4 (5, 6)”
Height 4 (4.25, 5.25)”
Video Tutorial
FAQ & Terms
This post may contain affiliate links. Purchases made through these links may earn MJ’s Off The Hook Designs Inc. a small commission at no extra cost to you. Content on this site is supported by ads—please do not block or remove them.
Copyright
All patterns, photos, and written content are the property of MJ’s Off The Hook Designs Inc. and protected by copyright law.
Usage
Free patterns are for viewing only on this blog. You may not copy, download, print, screenshot, or redistribute any part of the pattern. Access must remain through this page with ads visible. Use of ad blockers, reader view, or any similar tools that remove or hide ads and site content is strictly prohibited.
Legal Notice
Unauthorized reproduction or distribution may result in copyright infringement penalties.
By accessing this post, you agree to these terms and conditions.
Yes! You may sell finished items made from MJ’s patterns, but please credit:
“Pattern by MJ’s Off The Hook Designs Inc.”
Pattern Support is only available in our Facebook Community group and Video Tutorials.
No additional support is provided for modified patterns, alternate yarns, or changes to gauge.
Having trouble unlocking the pattern?
If you’re seeing the message “Email subscription failed, please try again”, don’t worry — it’s usually an easy fix! Here are a few quick things to try:
First, double-check your login details. Make sure you’re signing in with the same email you originally used to create your Grow account. If you’re not sure, click “Forgot Password” to reset your login. Once you’ve updated it, return to my site and try again.
Next, clear your browser’s cache and cookies. Sometimes the login just gets stuck. You can also try opening the page in a private or incognito window, or switching to another browser like Chrome, Safari, or Firefox to see if that does the trick.
It also helps to make sure you’re logged into Grow directly. Visit https://grow.me and sign in there first. Once you’re logged in, come back to my site and refresh the page — your pattern should unlock automatically.
If you’re still having trouble, check your browser’s privacy settings. Grow needs cookies to verify your account, so make sure cookies and cross-site tracking are allowed. On iPhone, go to Settings → Safari → Privacy & Security, then turn off “Prevent Cross-Site Tracking” and “Block All Cookies.” On Android or Chrome, go to Settings → Site Settings → Cookies and select “Allow all cookies.”
Lastly, ad blockers or browser extensions can sometimes block the login pop-up. Try turning them off temporarily while you sign in. If nothing seems to work, log out of Grow completely by going to https://grow.me, selecting your profile icon, and choosing Log Out. Then come back to my site and try logging in again.
If you’re still stuck after trying all of this, please reach out through my Contact Page and let me know what device and browser you’re using (and include a screenshot if you can).
Would you like to save this?
You can unsubscribe at any time.
To unlock Exclusive Content on my Blog, all you need to do is click the box below and the Grow.me app will pop up, allowing you to enter your email and create a password. Once you’ve created an account, every time you see Exclusive Content on my blog, simply login to your Grow account. Be sure to switch to the login screen to enter your login credentials.
If you forget your password, click the “forgot password” link and follow the prompts. Please note that I’m unable to assist with resetting Grow passwords or accessing your Grow account, so be sure to save your login information in a safe place.
To make things even easier, I’ve created a video for both desktop and mobile users that offer additional assistance. You can access this video by visiting my FAQs page HERE or by watching the video below.
Thank you for subscribing and for joining me on my crochet journey. I hope you enjoy the exclusive content available to our subscribers and create beautiful crochet projects using the resources you discover.
Instructions:
Notes:
The crochet pot cover is worked in the round from the bottom up—video tutorial for the small size on YouTube. The stitch pattern is worked in multiples of 4. Continue with the increase pattern for a larger pot. Continue with rounds to cover any pot size.
Pot Cover
Base – all sizes
Round 1: With B, Magic Ring, ch 2, 8 hdc in ring, sl st in first hdc to join—8 sts.
Increase
Round 2: Ch 1 (not included as a st here and throughout) 2 sc in each st around, sl st in first sc to join—16 sts.
Round 3: Ch 1, *1 sc in first st, 2 sc in next st; rep from * around, sl st in first sc to join—24 sts.
Round 4: Ch 1, *1 sc in first 2 sts, 2 sc in next st; rep from * around, sl st in the blo of first sc to join—32 sts. Small pot cover proceed to edge. Change to A.
Medium (Large)
Round 5: Ch 1, *1 sc in first 3 sts, 2 sc in next st; rep from * around, sl st in the blo of first sc to join—40 sts. Small basket proceed to basket edge. Medium pot cover proceed to edge. Change to A.
Large
Round 6: Ch 1, *1 sc in first 4 sts, 2 sc in next st; rep from * around, sl st in the blo of first sc to join—48 sts. Medium pot cover proceed to edge. Change to A.
Mosaic Pattern begins – refer to Chart
Edge Round 1: With A, ch 1, 1 sc in the blo of each st around, sl st in the blo of first sc to join—32 (40, 48) sts. Change to B.
Round 2: With B, ch 1, 1 sc in the blo of each st around, sl st in the blo of first sc to join—32 (40, 48) sts. Change to A.
Round 3: With A, ch 1, 1 sc in the blo of next 2 sts, 1 drop down dc in the flo of next st 2 rows below, *1 sc in the blo of next 3 sts, 1 drop down dc in the flo of next st 2 rows below; rep from * around to last st, end with 1 sc in the blo of last st, sl st in the blo of first sc to join—32 (40, 48) sts. Change to B.
Round 4: With B, ch 1, 1 drop down dc in the first st flo of 2 rows below, 1 sc in the blo of each of next 3 sts, *1 drop down dc in the flo of next st 2 rows below, 1 sc in the blo of next 3 sts; rep from * around, sl st in the blo of first sc to join—32 (40, 48) sts. Change to A.
Small (Medium)
Rounds 5-11: Rep Round 3 & 4, ending on Round 3. Cut A, proceed to edging.
Large
Rounds 5-15: Rep Round 3 & 4, ending on Round 3. Cut A, proceed to edging.
Edging
Round 1: With B, ch 1, 1 sc in the blo of each st around, sl st in first sc to join—32 (40, 48) sts.
Round 2: From WS, insert jute twine through joining st to RS of the pot cover. Pull through 7 (8, 9)”. 1 sc in the first st working under the twine, *ch 1, sk st, work 1 sc in the next st working over the twine; rep from * around to last st, work 1 sc in last st, sl st in first sc to join. Fasten off and weave in ends. Cut jute twine leaving a 7 (8, 9)” tail. Tie twine tails together in a bow.
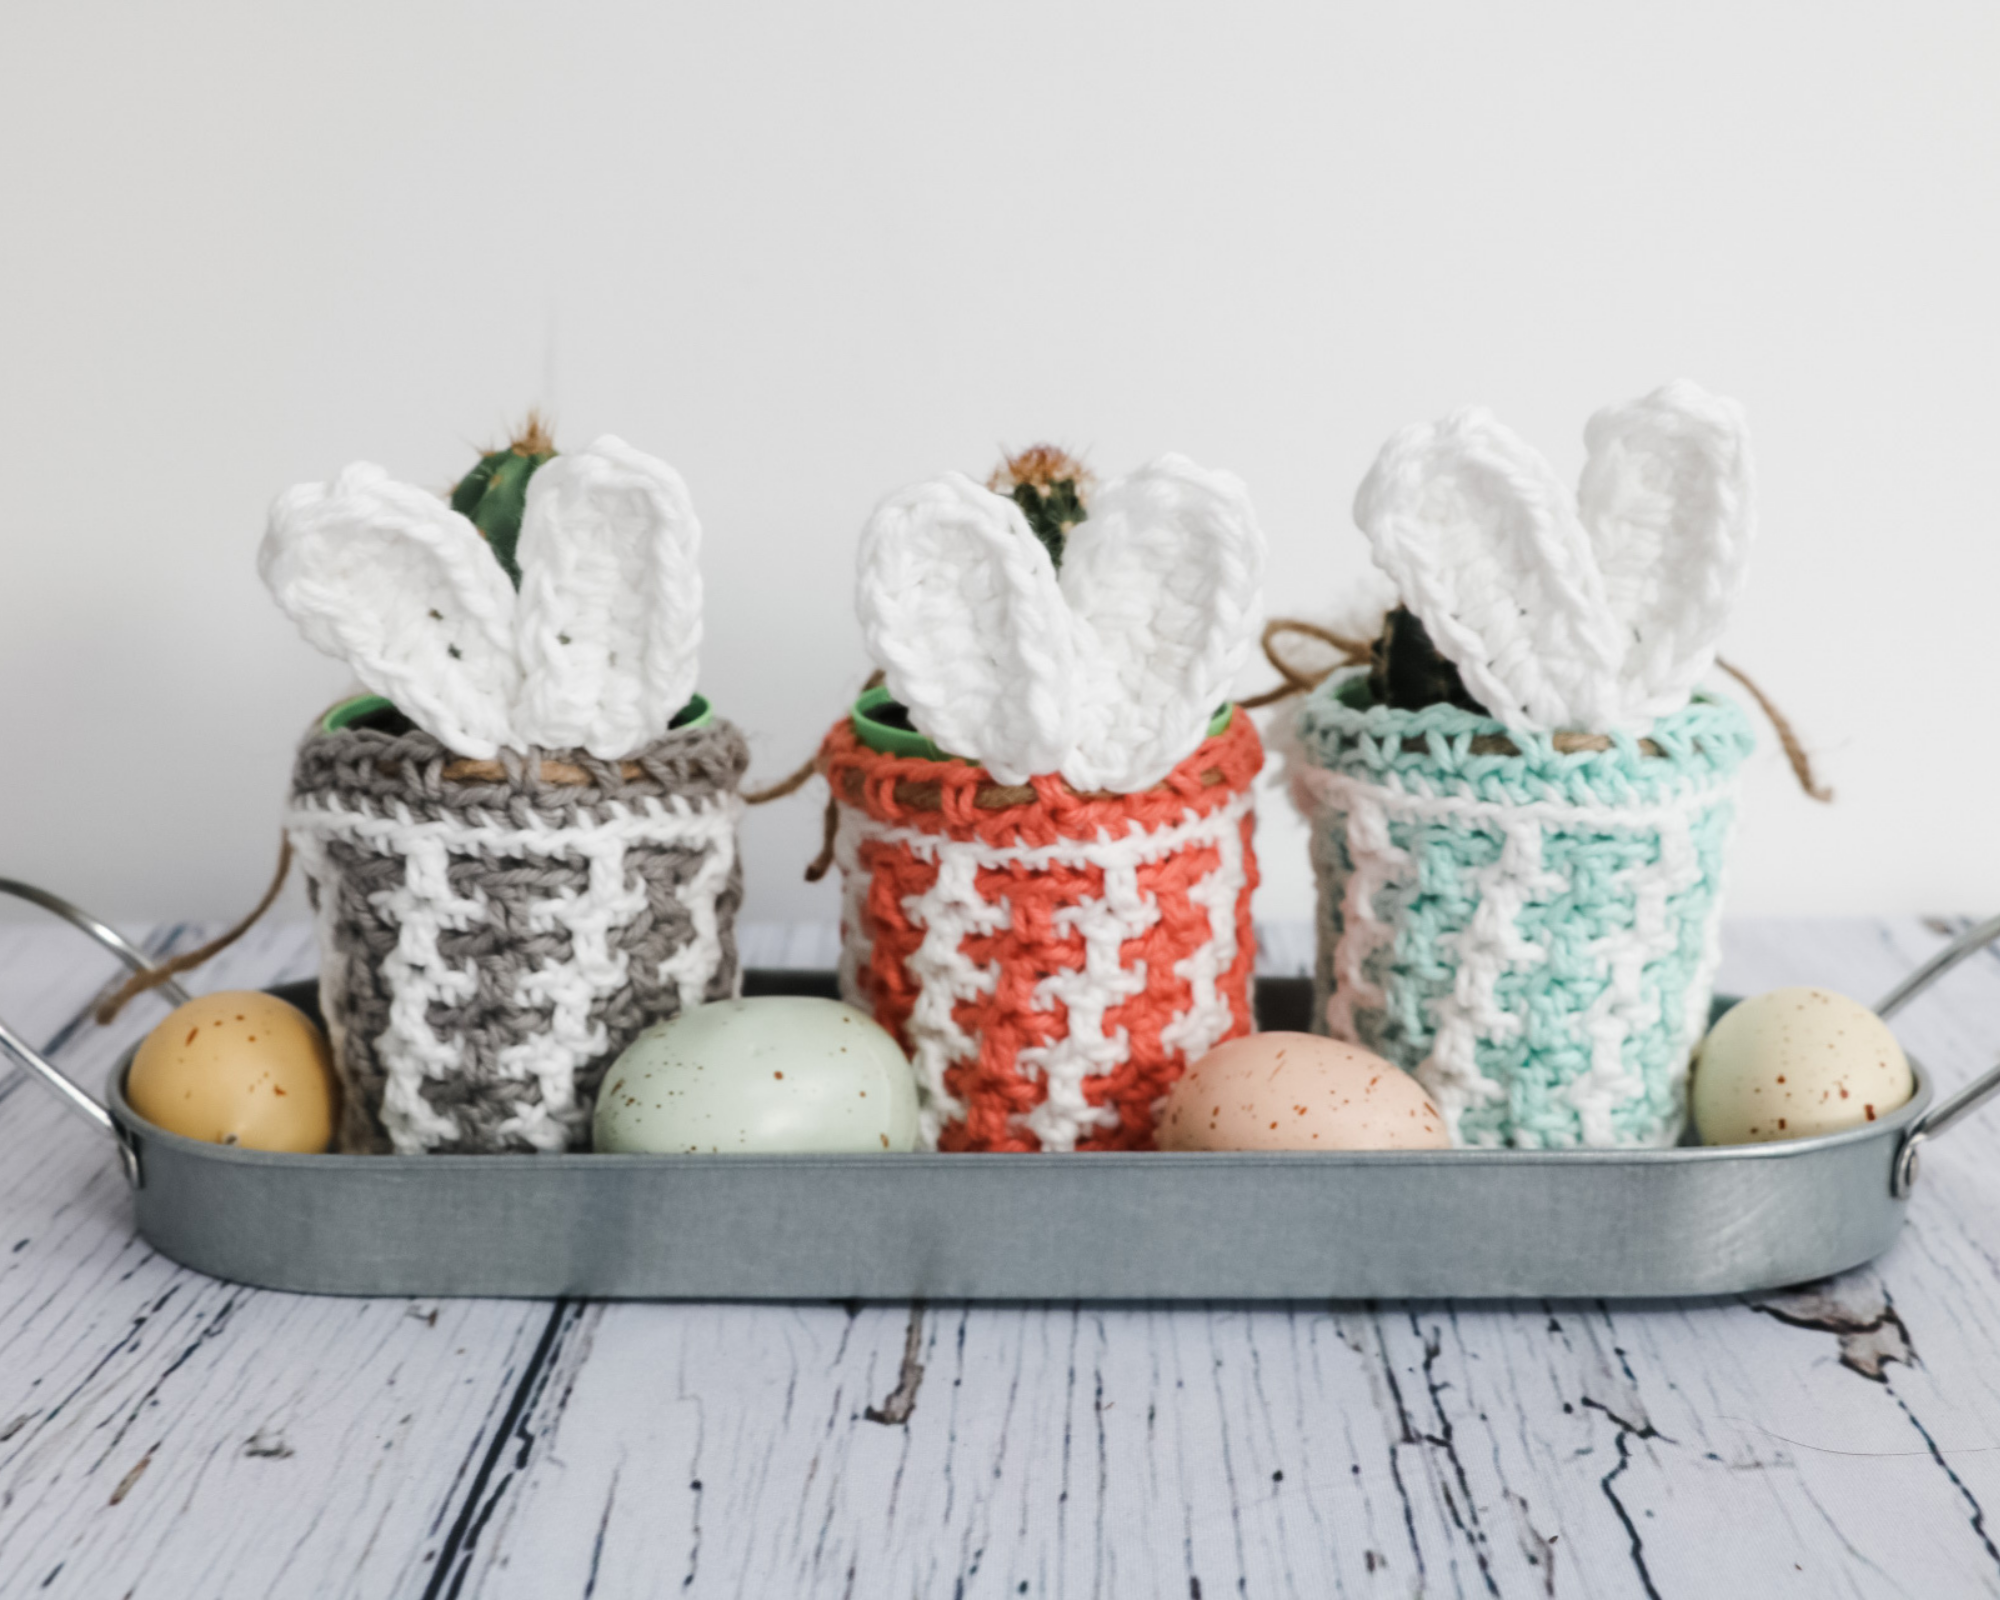
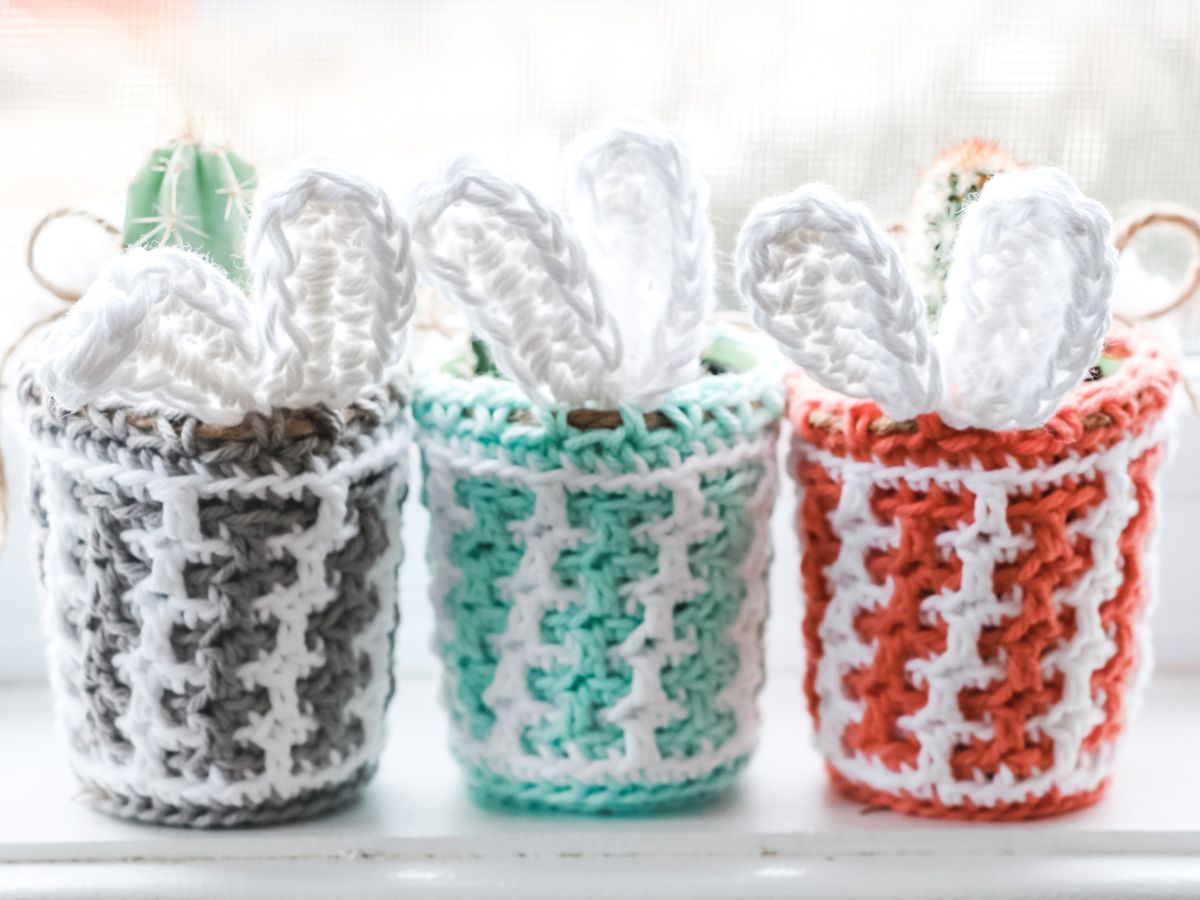
Bunny Ears: Make 2
Notes: Hold together 2 strands of yarn.
Round 1: Ch 7, 1 sc in the 2nd ch from hook, 1 sc in the next 2 chs, 1 hdc in next 2 chs, 4 hdc in the last ch, working down the opposite side of ch over tail (pull tail tight), work 1 hdc in next 2 chs, work 1 sc in last 3 chs. Fasten off. Use tails to tie ears to the basket—Centre ears centre of basket opposite bow.
Video Tutorial
Optional Bunny Tail

If you enjoyed this pattern, you may also like these patterns:
This pattern is designed by Michelle Moore of MJ’s Off The Hook Designs Inc, based in Lakefield, Ontario, Canada. Your go-to source for modern, easy crochet patterns. Published on March 19th, 2021.
Thank you for visiting MJ’s Off The Hook Designs. I hope you enjoyed this pattern and feel inspired to pick up your hook and start creating.
You can find even more crochet patterns in our Ravelry and Etsy shops.
For daily inspiration and behind-the-scenes peeks, join me over on Facebook or Instagram, or join our YouTube Membership for exclusive content!
You’ve got questions, we’ve got a community!
Crocheting is better with friends! Join our group to post pictures and ask all your pattern support questions.