*This post may contain affiliate links to support the cost of this blog. At no cost to you, I may make a small commission if you purchase through these links. Read our Privacy Policy HERE
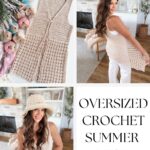
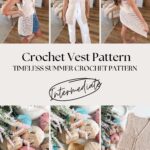
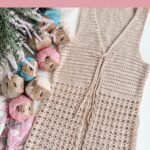
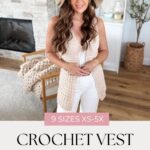
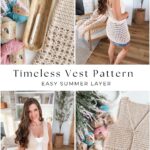

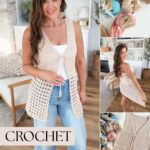
Summer crochet projects are some of my absolute favourites to design. I love creating pieces you can actually wear every day, whether you’re heading to the beach, meeting friends for lunch, or simply want an extra-lightweight layer without adding warmth.
The Solstice Vest has been sitting in my sketchbook for quite a while. I wanted something that combined clean modern lines with soft feminine lace. The upper portion is simple and structured, while the lower shell stitch adds beautiful movement and drape. It’s the kind of project that looks polished but is still relaxing to crochet.
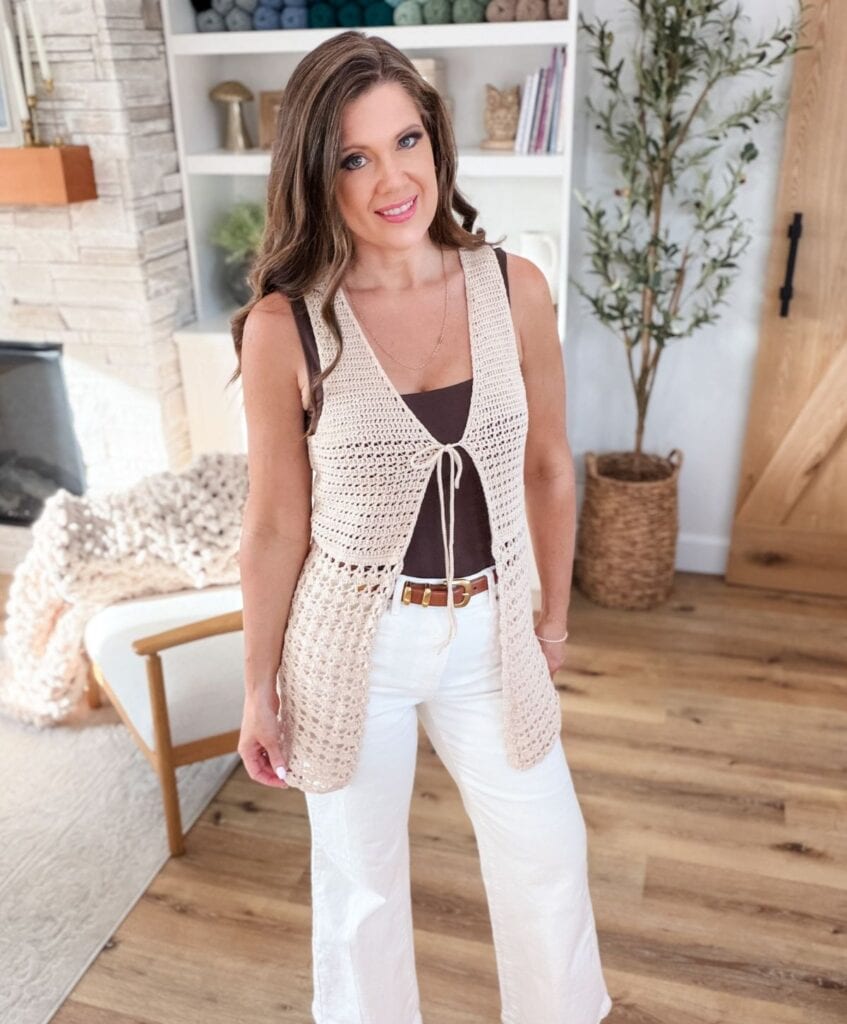
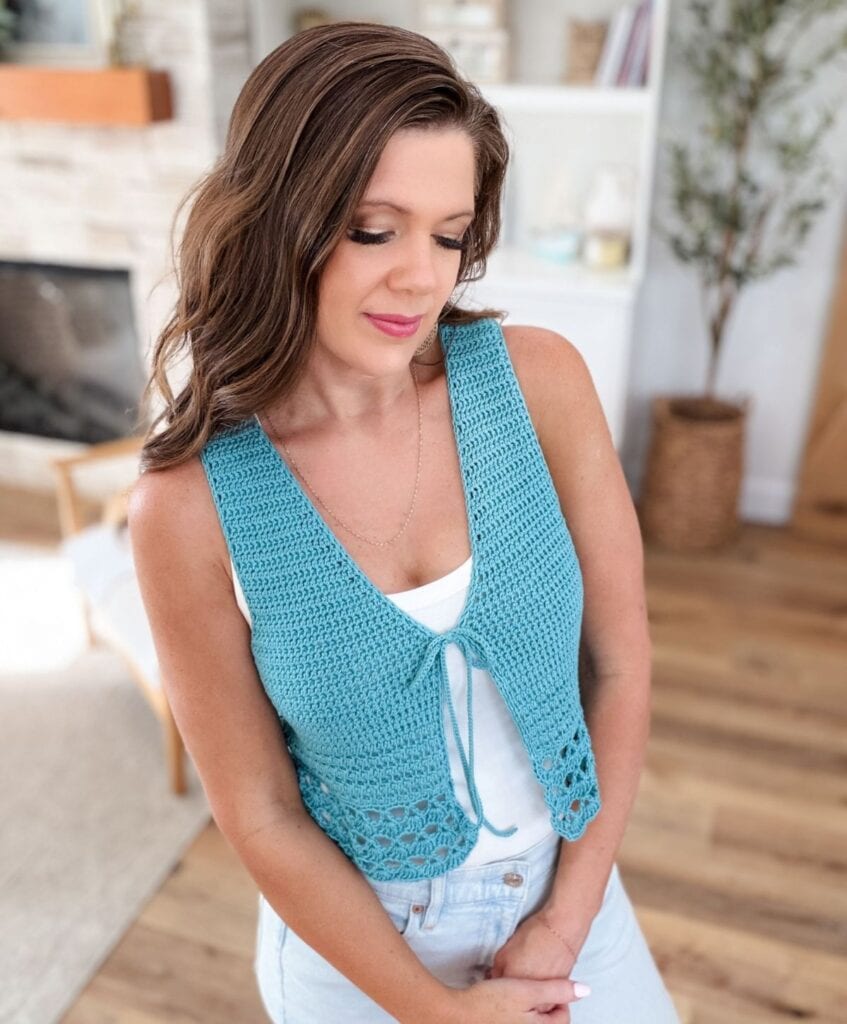
One of my favourite details is the tie front. It gives the vest a soft, effortless look and makes it easy to wear open or tied depending on your outfit.
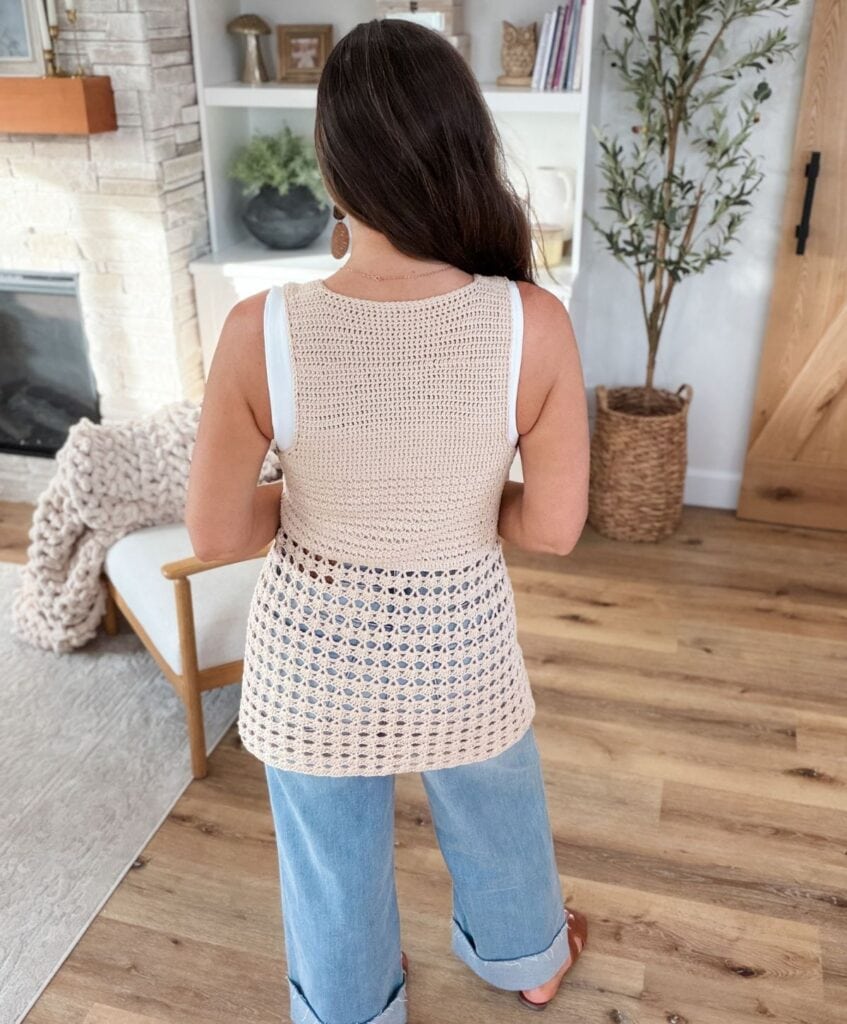
I also designed two lengths because everyone styles their wardrobe differently. The shorter version is perfect with high-waisted jeans or shorts, while the longer version creates a beautiful beach cover-up or layering piece over dresses and swimsuits.
Want less distractions?
Join Off the Hook Crochet Club
Join the Off The Hook Crochet Club and enjoy hundreds of MJ’s crochet patterns ad-free, plus exclusive resources, member perks and new free patterns added every week.
Project Overview
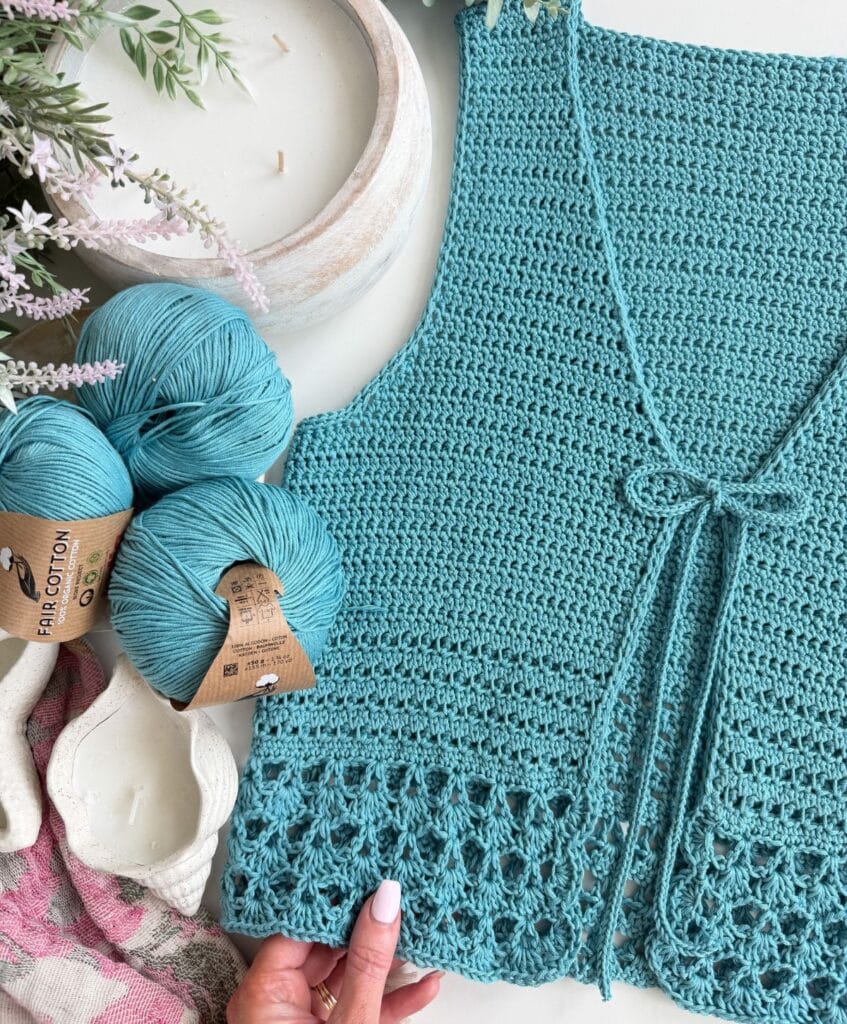
The Solstice Vest is a lightweight layering piece featuring a beautiful combination of texture and lace. The upper body is worked in extended single crochet with eyelet details, while the lower section flows into an elegant shell stitch pattern for a soft, feminine look. Designed with an open front and tie closure, this versatile vest can be customized to your preferred length, making it perfect for layering over tanks, dresses, or swimwear. Includes a full video tutorial demonstrating the size Small.
Skill level: Intermediate
Sizes: XS (S, M, L, XL, 2X, 3X, 4X, 5X )
Finished Fit: Semi-Fitted
Yarn Weight: Sport Weight #2
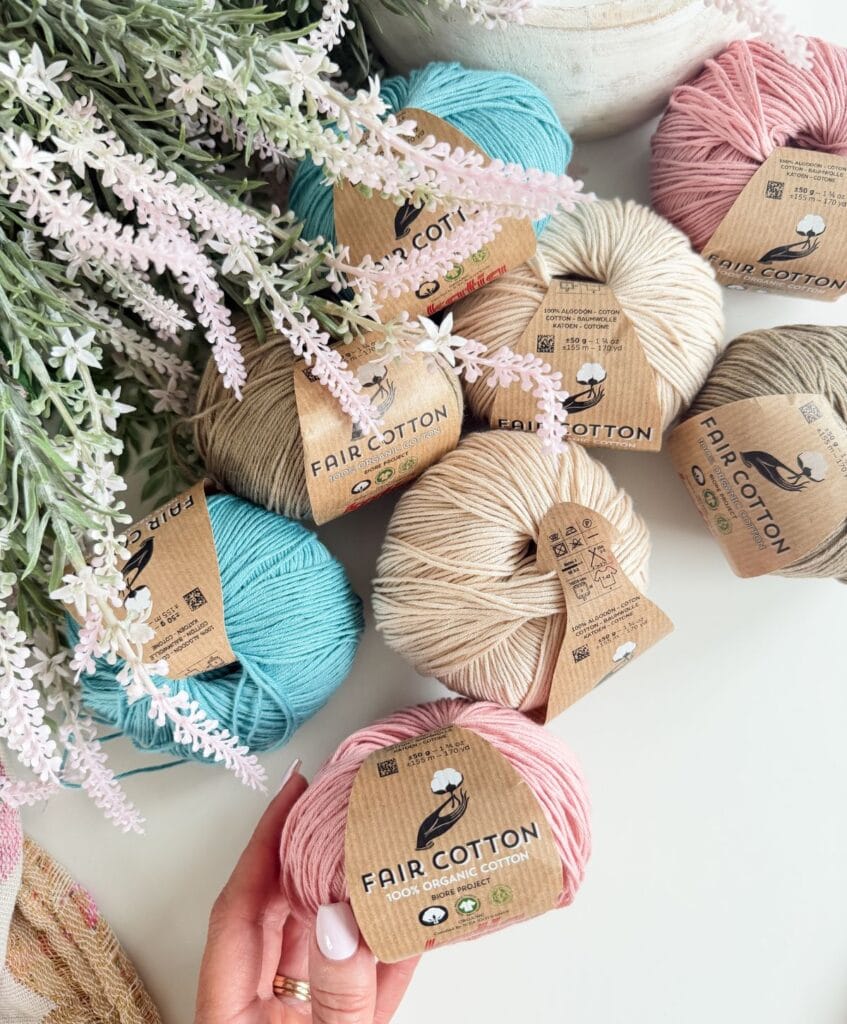
Yarn: Katia Fair Cotton

Why I Chose Katia Fair Cotton
Whenever I design a garment, choosing the yarn is just as important as designing the stitches.
For the Solstice Vest, I chose Katia Fair Cotton because I wanted a yarn with beautiful stitch definition, incredible drape, and comfort enough to wear all day in warmer weather.
What I really love about this yarn, though, is the story behind it.
Katia Fair Cotton is a 100% organic cotton yarn grown by small farmers in India and Tanzania under Fair Trade standards.
As the wife of a farmer, it’s important to me that the people who grow and produce the materials we use are treated fairly and compensated properly for their hard work. Farming isn’t easy, and I have a real appreciation for the amount of work that goes into producing natural fibres.
The name Fair Cotton reflects that commitment. It’s about supporting ethical farming practices while producing a beautiful quality yarn that feels wonderful to crochet with.
Another reason I love working with Fair Cotton is the colour selection. With over 40 gorgeous shades available, there’s something for every style, whether you love timeless neutrals, soft pastels, rich earth tones, or bright summer colours.
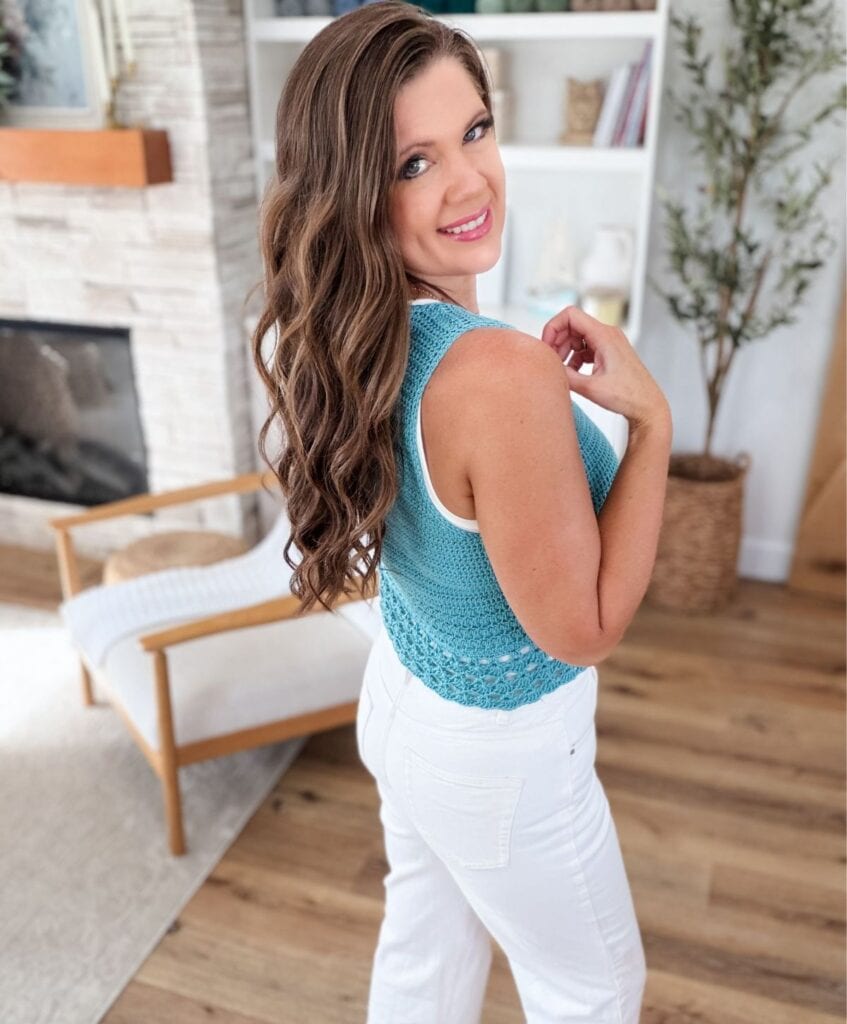
The Solstice Vest is shown in Beige and Turquoise, but I can already imagine this design in blush pink, sage green, denim blue, terracotta, crisp white, or even bold black.
It’s one of those yarns that makes you want to design an entire wardrobe.
If you love creating a handmade summer wardrobe, be sure to check out the rest of the collection, including:
- Solstice Vest
- Solea Cardigan
- Solara Sun Hat
- Selene Top
- Solana Circle Cover Up
- Sienna Shell Stitch Poncho
- Salt + Sand Beach Bag
- Saltwater Beach Dress
Each design mixes beautifully together to create an entire handmade summer wardrobe.
About the Solstice Vest
The Solstice Vest is designed as a lightweight layering piece that combines texture and lace into one wearable garment.
The upper body is worked in extended single crochet with subtle eyelet details before transitioning into an elegant shell stitch lace section that gives the vest beautiful drape and movement.
The vest is worked flat in three pieces before the lower lace section is added seamlessly around the body, making it easy to customize the length exactly how you like it.
Pattern Features
- Sizes XS to 5X
- Inclusive size range
- Lightweight summer layering piece
- Two length options
- Beginner-friendly intermediate pattern
- Full step-by-step YouTube tutorial
- Beautiful shell stitch lace
- Modern extended single crochet texture
- Tie front closure
- Sport weight yarn
- Perfect for spring and summer
Video Tutorial
If you prefer learning by watching, I’ve included a complete step-by-step YouTube tutorial demonstrating the size small from start to finish.
Video Tutorial

Yarn
Katia Fair Cotton
Katia Fair Cotton Canada:
Sport Weight #2, 170 yds/155 m/50 g/1.75 oz, 100% Organic Cotton. Shown in size Small in Beige (35) and Turquoise (16)
Sizes: XS (S, M, L, XL, 2X, 3X, 4X, 5X) See size chart for yarn requirements.
Get the Yarn and Pattern Kit from Mary Maxim (Long Version)
Get the Yarn and Pattern Kit From Mary Maxim (Short Version)
Size Chart
Sizes: XS (S, M, L, XL, 2X, 3X, 4X, 5X)
To Fit Bust: 28 to 30 (32 to 34, 36 to 38, 40 to 42, 44 to 46, 48 to 50, 52 to 54, 56 to 58, 60 to 62)”
Finished Bust: 29.75 (33.5, 37, 40.5, 44, 47.5, 51.25, 54.75, 58.25)”
Long Version: 5 (6, 7, 7, 8, 9, 9, 10, 11) balls, or 805 (920, 1040, 1160, 1290, 1400, 1530, 1670, 1815) yd.
Short Version: 3 (4, 4, 5, 5, 6, 6, 7, 8) balls, or 500 (575, 650, 740, 830, 910, 1010, 1110, 1220) yds
Yarn Substitutes
When substituting the recommended yarn, choose one that meets the pattern gauge and has a similar yardage-to-weight ratio. To compare yarns, use this simple formula: Yards ÷ Grams = Yards per Gram
For example: Katia Fair Cotton 170 yds ÷ 50 g = 3.40 yds/g
Yarns with a similar fibre content and a comparable yards-per-gram ratio will generally produce a similar fabric. Always make and block a gauge swatch before beginning.
Katia Fair Cotton Diverso • 678 yds/200 g (100% cotton) = 3.40 yds/g
Katia Fair Cotton Arlequin • 678 yds/200 g (100% cotton) = 3.40 yds/g
Hawthorne Fingering • 357 yds/100 g (80% superwash wool, 20% nylon) = 3.57 yds/g
Premier Cotton Fair • 317 yds/100 g (52% cotton, 48% acrylic) = 3.17 yds/g
Willow Yarns Farmhouse Cotton • 360 yds/100 g (100% cotton) = 3.60 yds/g
Fit and Ease
Designed with a close to lightly relaxed fit and approximately 2″ negative ease to 2″ positive ease, depending on size. Choose a size based on your preferred finished bust measurement. For a more fitted look, choose a size with less ease. For a more relaxed fit or layering, size up.
Yarn Quantity Note
Yarn amounts are approximate and include a small allowance for finishing details and weaving in ends. Yardage may vary depending on gauge, tension, blocking, and any length or fit adjustments. Additional yarn may be required when modifying the body length or adding extra hip ease increases.
Crochet Hooks
US G/6 (4 mm) or sizes needed to obtain gauge
Materials
Gauge
Solid: 18 sts and 17 rows = 4″ [10cm] in esc blocked
Lace: 4 shells and 8 rows = 4″ [10 cm] in shells and v st blocked
Checking your gauge before starting is recommended to ensure the finished vest fits as intended.
Gauge for this pattern is 18 sts and 17 rows = 4 inches (10 cm) in esc, blocked.
To check your gauge, create the following swatch.
Gauge Swatch
Using a 4 mm hook, ch 30.
Row 1: Esc in 2nd ch from hook and in each ch across, turn—29 sts.
Row 2: Ch 1, esc in each st across, turn.
Rep Row 2 until swatch measures approximately 6 inches square.
Block swatch before measuring. Measure a 4-inch section in the centre of the swatch to check the gauge. If you have too many stitches within the 4-inch measurement, try a larger hook. If you have too few stitches, try a smaller hook.
Construction
The Solstice Vest is worked flat in three pieces, including a back panel and two front panels. The upper body is crocheted in extended single crochet with eyelet details and shaped at the underarms and neckline. Once seamed, the lower body is worked in a single continuous piece using V and shell stitches, allowing you to customize the length. The vest is finished with an edging and front tie closure. A full video tutorial is included and demonstrates the size Small.
Project Tips
- Place stitch markers on the RS of your panels as you work to help keep track of row counts and ensure all pieces are facing the same direction during assembly.
- Before weaving in the shoulder seam tails, try on the vest to check the armhole fit. Additional rows can be added to the front and back panels for a deeper armhole, or rows can be removed for a more fitted armhole opening.
- The lower body can be customized to your preferred length by working additional repeats of Rows 2 and 3. Keep in mind that extra length will require additional yarn.
- If your hips are larger than your bust, consider adding the optional hip ease increases throughout the shell stitch section for a more comfortable fit.
- When working the shell stitch edging along the front opening, place shell stitches in the side of the final chain or stitch of each V-stitch row rather than in the open chain space. This creates a cleaner, more polished edge.
- Blocking is recommended for the best drape and stitch definition. The front and back panels may be blocked before assembly, or the finished vest can be blocked after completion.
Abbreveations
Ch – Chain
Dc – Double Crochet
Esc – Extended Single Crochet
Incr – Increase
MC – Main Colour
Pm – Place Marker
Rep – Repeat
RS – Right Side
Sc – Single Crochet
Sk – Skip
Sl St – Slip Stitch
Sp(s) – Space(s)
St(s) – Stitch(es)
WS – Wrong Side
( ) – Work step in parentheses in the indicated stitch
[ ] – Work step in brackets the number of times indicated
Special Stitches
Edge Stitch (edge st): Insert hook into the second bar of the previous stitch, insert hook into the next row end or stitch, yarn over and pull up a loop, pull through the first loop on hook, yarn over and pull through the remaining 2 loops.
Extended Single Crochet (esc): Insert hook in indicated stitch and pull up a loop, yarn over and pull through 1 loop on hook, yarn over and pull through remaining 2 loops.
Extended Single Crochet Decrease (esc2tog): Insert hook in indicated stitch and pull up a loop, pull up a loop in next st, yarn over and pull through 2 loops on hook, yarn over and pull through remaining 2 loops.
Shell Stitch (shell st): Work 5 dc in the indicated stitch or space.
V Stitch (v st): Work dc, ch 1, dc in the same stitch or space.
Digital Download + No Ads!
Upgrade to the Digital PDF Download
The printable PDF includes the schematic and the complete pattern in one beautiful, easy-to-follow download.
Digital pattern only. No physical item will be shipped.
To unlock Exclusive Content on my Blog, all you need to do is click the box below and the Grow.me app will pop up, allowing you to enter your email and create a password. Once you’ve created an account, every time you see Exclusive Content on my blog, simply login to your Grow account. Be sure to switch to the login screen to enter your login credentials.
If you forget your password, click the “forgot password” link and follow the prompts. Please note that I’m unable to assist with resetting Grow passwords or accessing your Grow account, so be sure to save your login information in a safe place.
To make things even easier, I’ve created a video for both desktop and mobile users that offer additional assistance. You can access this video by visiting my FAQs page HERE or by watching the video below.
Thank you for subscribing and for joining me on my crochet journey. I hope you enjoy the exclusive content available to our subscribers and create beautiful crochet projects using the resources you discover.

Pattern
XS (S, M, L, XL, 2X, 3X, 4X, 5X)
The pattern is written for the smallest size, with larger sizes shown in parentheses ( ). A step-by-step video tutorial is included and demonstrates the small size.
Back Panel
Setup Row (WS):
Ch 68 (76, 84, 92, 100, 108, 116, 124, 132), 1 sc in back bump of 2nd ch from hook and in each ch across, turn—67 (75, 83, 91, 99, 107, 115, 123, 131) sts.
Would you like to save this?
You can unsubscribe at any time.
Row 1 (RS):
Ch 1, 1 esc in each st across, turn—67 (75, 83, 91, 99, 107, 115, 123, 131) sts.
Assembly
Shoulder Seams
With RS facing, align the front panels with the back panel at the shoulders. Using your
preferred seaming method, seam each front shoulder to the corresponding back shoulder.
Fit Tip: Before weaving in your shoulder seam tails, try on the vest to check the armhole fit. If you would like a smaller armhole opening, remove a few rows from the front and back panels before seaming. For a deeper armhole opening, add additional rows to the front and back panels before seaming. Once satisfied with the fit, fasten off and weave in ends.
Side Seams
With RS facing, align the front and back panels at the sides. Using your preferred seaming method, seam from the underarm to the hem on each side. Fasten off and weave in ends.
Lower Body
With RS facing, join yarn to the bottom left corner of the vest.
Foundation Row (RS):
Ch 1, work 1 sc evenly across the bottom edge of the left front panel, back panel, and right front panel, turn—133 (149, 165, 181, 197, 213, 229, 245, 261) sts.
Row 1 (WS):
Ch 4 (counts as 1 dc, ch 1), sk 3 sts, *v st in next st, ch 1, sk 3 sts; rep from * across, 1 dc in last st, turn—32 (36, 40, 44, 48, 52, 56, 60, 64) v sts.
Row 2:
Ch 3, shell st in each v st across, 1 dc in turning ch, turn—32 (36, 40, 44, 48, 52, 56, 60, 64) shells.
Row 3:
Ch 4, *(v st in 3rd dc of shell st, ch 1); rep from * across, 1 dc in turning ch, turn—32 (36, 40, 44, 48, 52, 56, 60, 64) v sts.
Short (Long)
Rows 4- 6 (28):
Rep Rows 2 and 3 until the desired length is reached, ending on a Row 2 repeat.
Optional Hip Ease Adjustment:
If your hips are larger than your bust and you would like additional ease through the lower body, increases can be added as you work the shell stitch pattern. On a Row 3 repeat, work (v st, ch 1, v st) in the centre stitch of the shell at each side seam location instead of a regular v st. This will add one additional pattern repeat at each side seam.
Additional increases may be worked in the same manner on later Row 3 repeats as needed, spacing them evenly throughout the garment for a gradual flare. Each increase adds 1 additional shell pattern repeat.
Edging
With RS facing and without fastening off, ch 1 and turn.
Edging Row: Work 1 sc in the side of the first shell row, *work 1 shell st in the side of the next V-st row, working into the side of the final ch/st of the row
rather than the space, work 1 sc in the side of the next shell row;* rep from * to * up the lace section. Work 1 sc at the transition between the lace section and upper body. Work edge st evenly around the edge. When you reach the opposite lace section, work 1 sc in the side of the next shell row, rep from * to * down the lace section. Sl st in the bottom edge shell st to join. Fasten off and weave in ends.
Armhole Edging
With RS facing, place a slip knot on your hook and join yarn at the underarm seam.
Round 1:
Ch 1, work 1 sc in the same space as join, work edge st evenly around the armhole opening, sl st to first sc to join.
Fasten off and weave in ends.
Repeat for the second armhole.
Front Ties
Try on the vest and mark the tie placement on both front edging sections.
Pull out approximately 96 inches of yarn from the ball (about 4 times the desired finished tie length). Do not cut yarn. Insert the hook at the marked space and pull up a loop.
I-Cord:
- Yarn over with long tail.
- Yarn over with the working yarn, then pull through 2 loops on the hook.
Repeat these two steps until the tie reaches the desired length (approximately 100 sts).
Fasten off, knot ends securely, and trim. Rep on opposite side.
Blocking
Soak the vest in lukewarm water, gently squeeze out excess moisture, and roll in a towel. Lay flat to measurements, shaping the lace edging and shell stitch pattern as needed. Allow to dry completely before wearing.
Helpful Resources
Sign up for our YouTube Membership
Join our Facebook Crochet Community for pattern support and inspiration
Subscribe on YouTube for hundreds of free tutorials
Sign up for our newsletter and receive 40% off your first Ravelry purchase!
The Solstice Vest is rated intermediate because it includes shaping, seaming, extended single crochet, shell stitches, and V stitches. However, the included video tutorial walks you through each step.
Yes. The pattern includes nine sizes from XS through 5X.
Absolutely. The lace section is fully customizable, allowing you to add extra repeats to achieve your preferred length.
Definitely. The longer version makes a beautiful lightweight beach cover-up, while the shorter version is perfect for everyday summer outfits.
I hope you love our Free Crochet Vest Pattern. You might also love these crochet patterns:
- Waffle Stitch Cardigan
- Autumn’s Charm Mosaic Cardigan
- Everyday Ragg Cardigan
- Granny Stitch Cardigan
- Cabot Trail Cardigan
This pattern is designed by Michelle Moore of MJ’s Off The Hook Designs Inc., based in Lakefield, Ontario, Canada. Your go-to source for modern, easy crochet patterns. Published on July 13, 2026.
Thank you for visiting MJ’s Off The Hook Designs! I hope you enjoyed this pattern and feel inspired to pick up your hook and start creating.
You can find even more crochet patterns in our Ravelry and Etsy shops.
For daily inspiration and behind-the-scenes peeks, join me over on Facebook or Instagram or join our YouTube Membership for exclusive content!
You’ve got questions, we’ve got a community!
Crocheting is better with friends! Join our group to post pictures and ask all your pattern support questions.