*This post may contain affiliate links to support the cost of this blog. At no cost to you, I may make a small commission if you purchase through these links. Read our Privacy Policy HERE
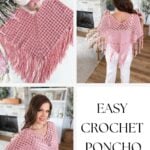
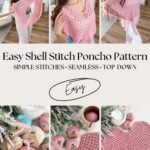
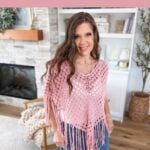
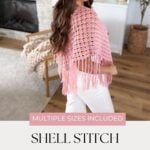
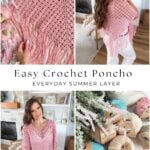
I honestly cannot believe it has taken me this long to design a crochet poncho.
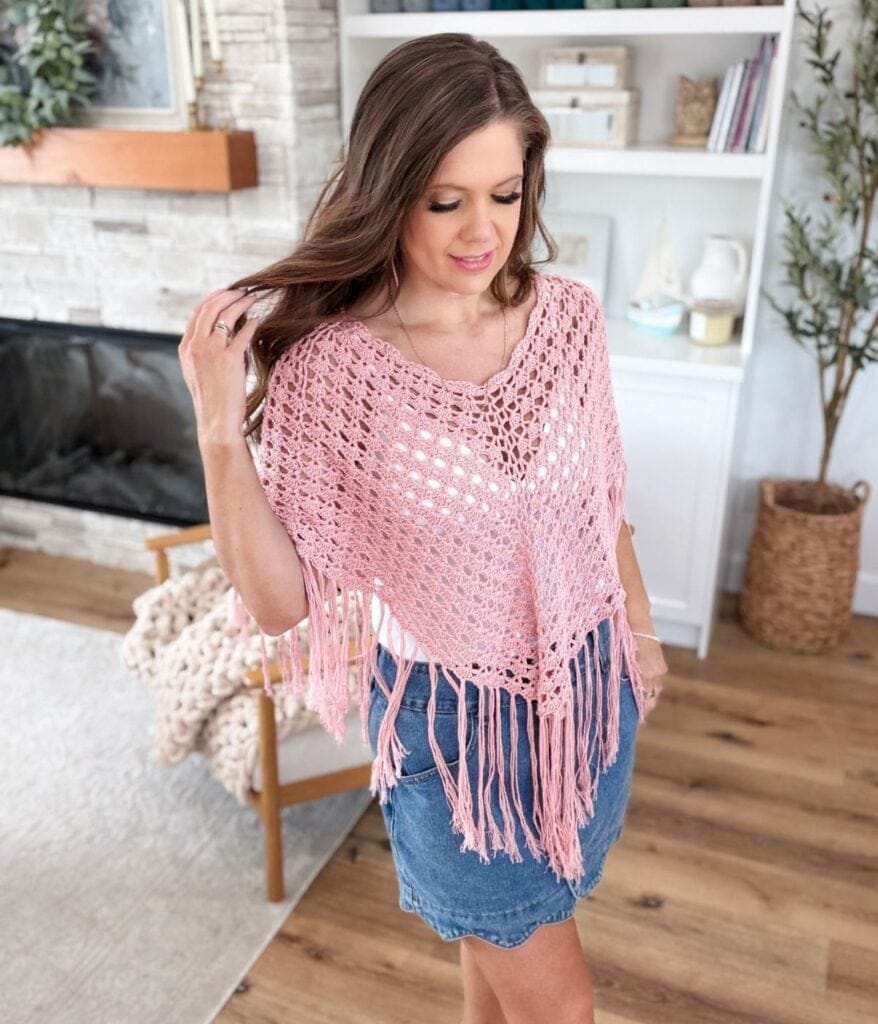
Now that the Sienna Shell Stitch Poncho is finished, I cannot seem to take it off. It has quickly become my newest crochet obsession, and I completely understand why ponchos remain such a timeless wardrobe piece.
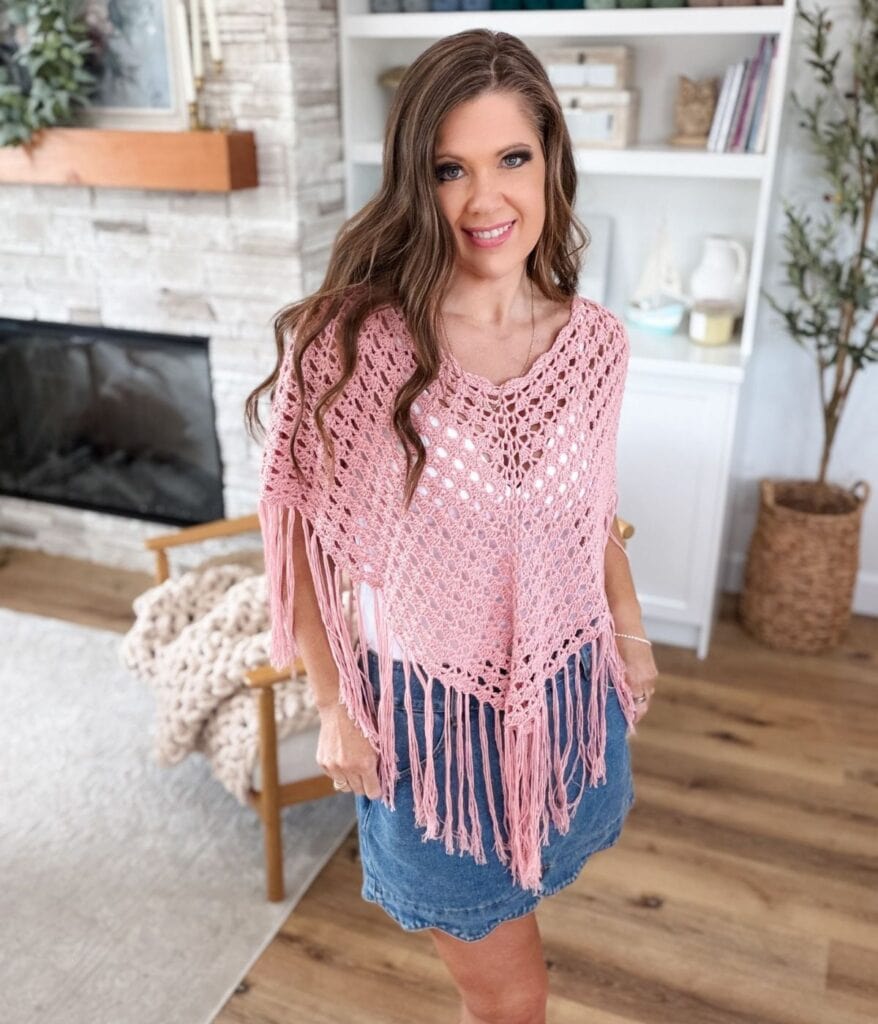
The Sienna Poncho is lightweight, relaxed, and incredibly easy to throw on. I have been wearing mine over tank tops and denim, but it would look just as beautiful layered over a summer dress or swimsuit. It gives you a little extra coverage without feeling heavy or restrictive, making it perfect for beach days, summer holidays, cool evenings, or simply relaxing at home.
The free Shell Stitch Poncho crochet pattern is now available to view right here on the blog.
Want less distractions?
Join Off the Hook Crochet Club
Join the Off The Hook Crochet Club and enjoy hundreds of MJ’s crochet patterns ad-free, plus exclusive resources, member perks and new free patterns added every week.
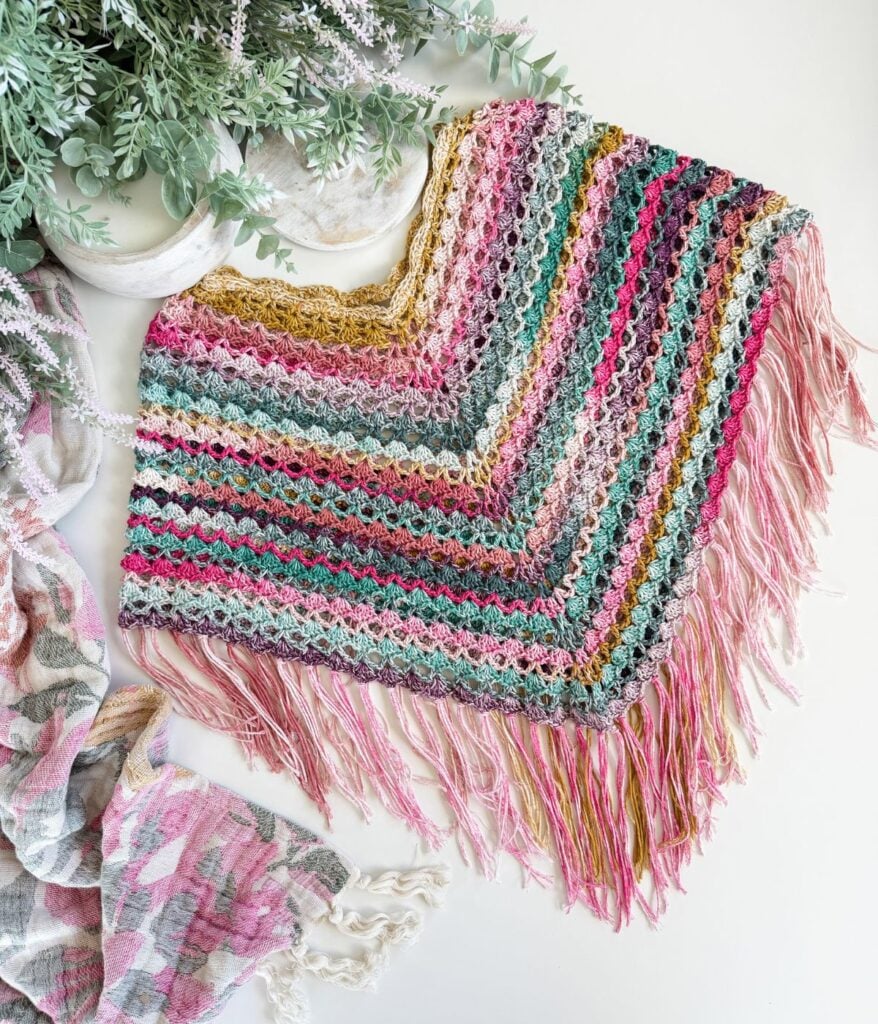
Project Overview
The Sienna Shell Stitch Poncho is a seamless, top-down design featuring our signature shell and V stitch pattern in a lightweight fabric with beautiful drape. Worked in the round from the neckline, it begins with subtle shoulder shaping before flowing into a relaxed poncho silhouette.
Perfect for layering over a tank top, dress, or swimsuit, Sienna is an elegant piece for beach days, cool summer evenings, and everyday wear. Finished with a soft fringe edging, it captures the effortless charm of Mediterranean style.
Skill level: Easy
Sizes: XS-L (XL-5X)
Finished Fit: Relaxed Fit
Yarn Weight: Sport Weight #2
Yarn: Katia Fair Cotton
Hook Sizes: 4 mm
Construction: Top-down, seamless, worked in the round
Video Tutorial: https://youtu.be/CN6c0aE0HLw
A Lightweight Crochet Poncho With Mediterranean Style
The Sienna Poncho is part of my Mediterranean-inspired collection designed in Katia Fair Cotton.
I wanted this collection to feel light, relaxed, and effortless, with pieces you could imagine wearing along the Mediterranean coast. The open shell stitch fabric, soft cotton yarn, pointed silhouette, and flowing fringe give Sienna that beautiful coastal feeling while still being practical enough for everyday wear.
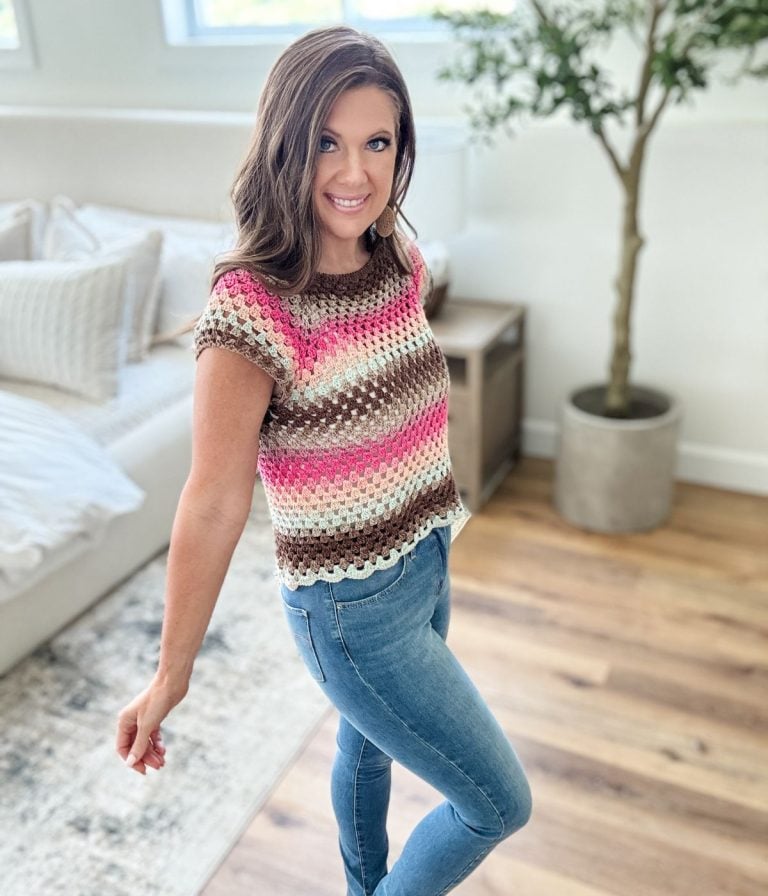
The poncho features my signature shell and V stitch combination, which you may recognize from the Serena Shell Stitch Top. The construction begins similarly, but instead of separating for sleeves and a body, the fabric continues outward to create the flowing poncho shape.
It looks detailed, but once the stitch pattern is established, the rounds become wonderfully repetitive and relaxing.
Why You Will Love This Crochet Poncho Pattern
• Easy skill level
• Seamless top-down construction
• Worked in the round
• No sewing or complicated assembly
• Lightweight and breathable fabric
• Relaxed fit
• Two inclusive size ranges
• Optional fringe
• Easy to customize for additional width or length
• Step-by-step video tutorial included
• Free written crochet pattern available below
Video Tutorial
Video Tutorial

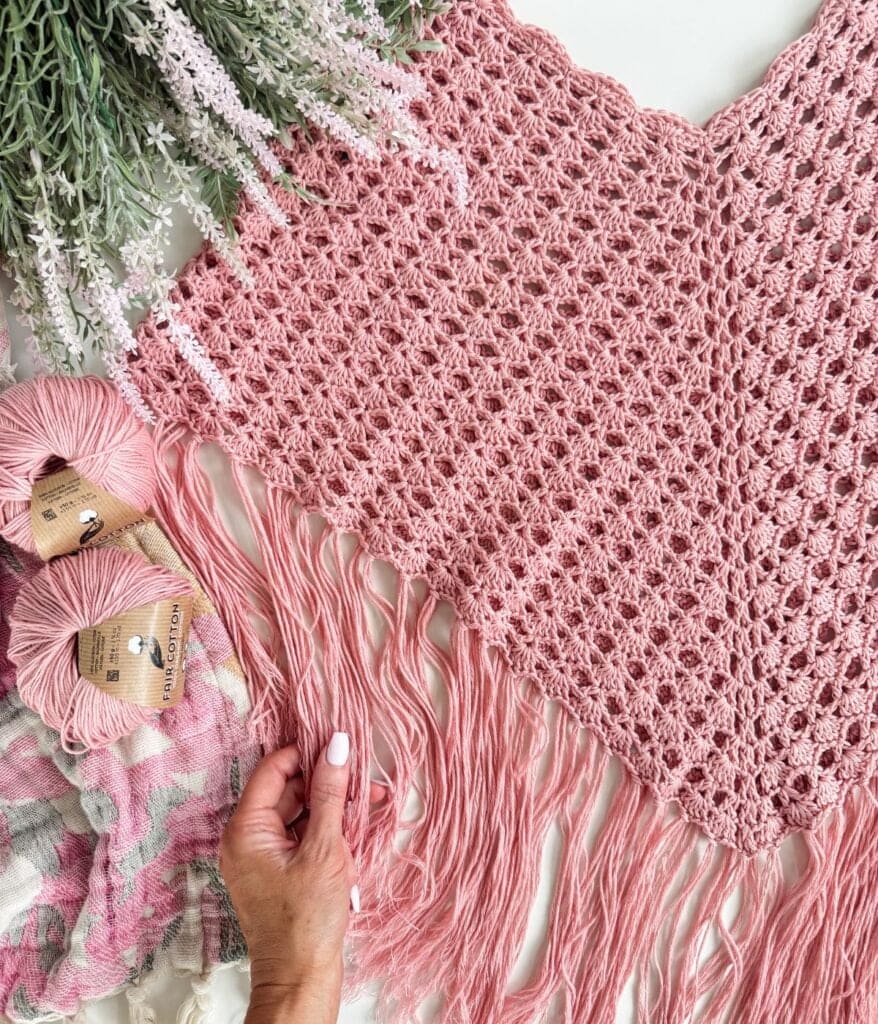
Yarn
Sport Weight #2, 170 yds/155 m/50 g/1.75 oz, 100% Organic Cotton. Shown in size XL-5X in Light Pink (13)
Sport Weight #2, 678 yds/620 m/200 g/7 oz, 100% Organic Cotton. Shown in size XS-L in Ochre-Rust-Petrol (253)
Sizes XS-L (XL-5X)
4 (5) Balls or 200 (230) grams
Without Fringe
4 (4) Balls or 175 (200) grams
This yarn creates a lightweight, breathable fabric with beautiful drape, which is exactly what I wanted for this design. The cotton relaxes after blocking and allows the shell stitches to open beautifully without making the finished poncho feel heavy.
The colourful sample was made using Katia Fair Cotton Arlequino in Ochre, Rust, Petrol. This yarn has the same fibre content and yardage ratio as the original Fair Cotton, but it comes in a stunning self striping colourway.
Crochet Hook Needed
US G/6 (4 mm) or sizes needed to obtain gauge
Materials
Gauge
4 shells and 9 rows equal 4 inches (10 cm) in pattern after blocking
Use a 4 mm crochet hook or the hook size needed to obtain gauge.
Before blocking, the fabric may measure slightly smaller because the shell stitches will relax and open during blocking.
Checking your gauge is important because it affects the finished width, length, yarn requirements, and drape of your poncho.
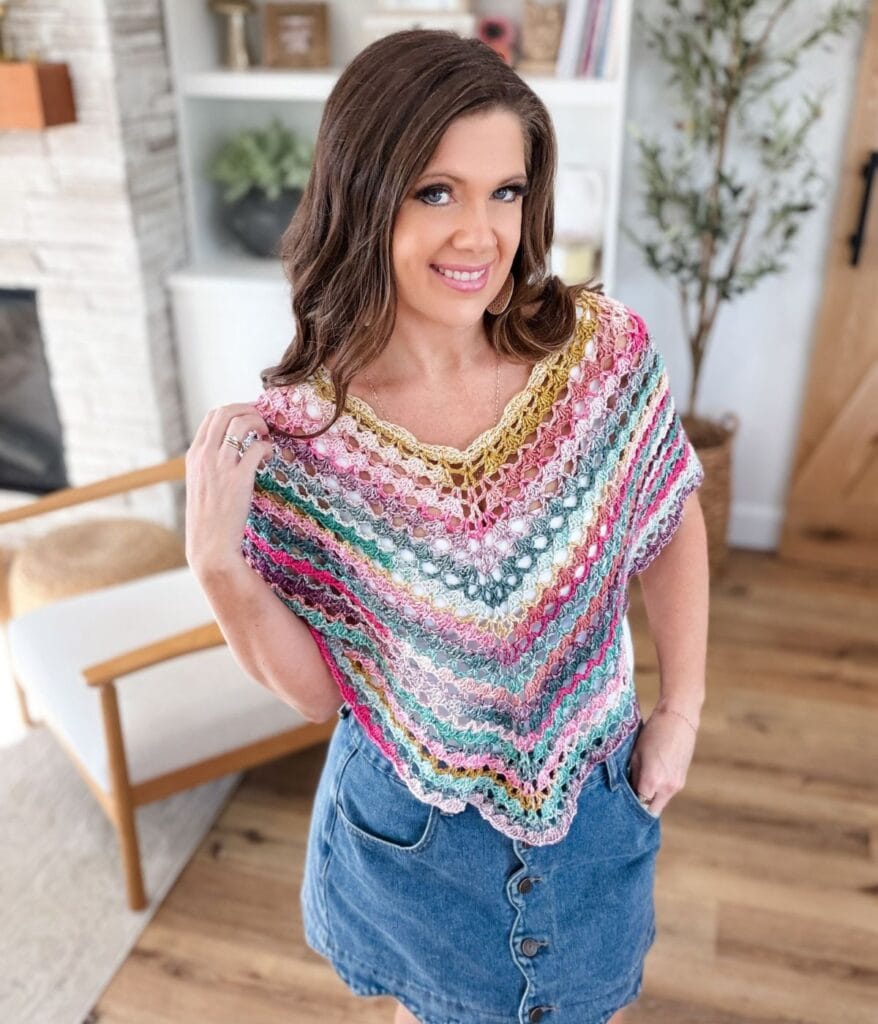
How the Sienna Poncho Is Constructed
The Sienna Shell Stitch Poncho is worked seamlessly from the top down in joined rounds.
The pattern begins at the neckline with four marked corner sections. Increases are worked around these markers to create gentle shoulder shaping.
The smaller size range completes the shoulder increases after Round 4. The larger size range continues increasing through Round 8 to provide additional width and shoulder coverage.
Once the shoulder shaping is complete, two of the stitch markers are removed. The remaining markers identify the front and back points of the poncho.
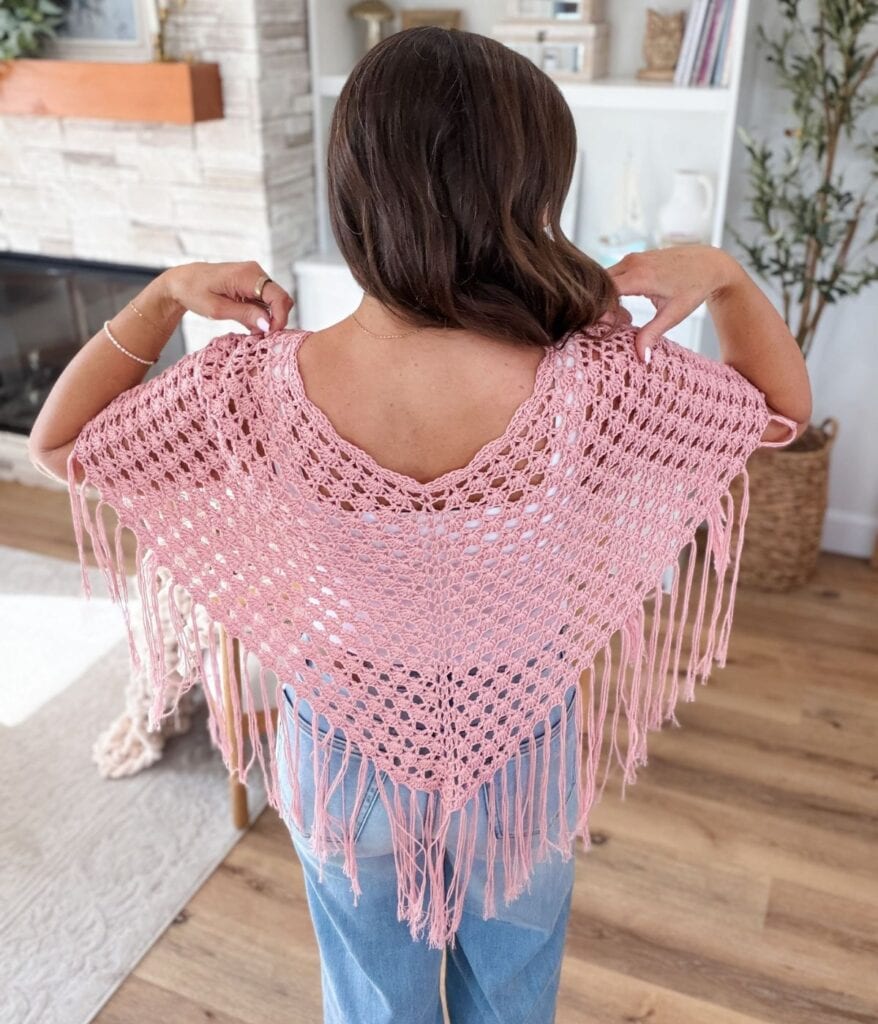
From this point forward, increases are worked only at the centre front and centre back. These increases create the signature pointed shape while allowing the sides to fall naturally over the arms.
The neckline is finished with a decorative shell stitch edging, and optional fringe is added along the bottom edge.
What Can I Wear With a Crochet Poncho?
The Sienna Poncho is one of those pieces that can completely change the look of a simple outfit.
Wear it over:
• A fitted tank top and denim shorts
• A simple summer dress
• A swimsuit or beach outfit
• A camisole and jeans
• A fitted long sleeve shirt during cooler weather
• Linen pants or a maxi skirt
The open stitch pattern provides coverage while still allowing the outfit underneath to show through.
Abbrevations
Sl St – Slip Stitch
Sp(s) – Space(s)
St(s) – Stitch(es)
WS – Wrong Side
( ) – Work step in parentheses in the indicated stitch
[ ] – Work step in brackets the number of times indicated
Shell Stitch (shell st): Work 5 dc in the indicated stitch or space.
V Stitch (v st): Work dc, ch 1, dc in the same stitch or space.
Yarn Substitutions
When substituting yarn, choose a Sport Weight Number 2 yarn that meets the pattern gauge and has a similar yardage to weight ratio.
Katia Fair Cotton provides approximately 3.4 yards per gram.
Suitable yarn options may include:
Katia Fair Cotton Diverso • 678 yds/200 g (100% cotton) = 3.40 yds/g
Katia Fair Cotton Arlequin • 678 yds/200 g (100% cotton) = 3.40 yds/g
Would you like to save this?
You can unsubscribe at any time.
Hawthorne Fingering • 357 yds/100 g (80% superwash wool, 20% nylon) = 3.57 yds/g
Premier Cotton Fair • 317 yds/100 g (52% cotton, 48% acrylic) = 3.17 yds/g
Willow Yarns Farmhouse Cotton • 360 yds/100 g (100% cotton) = 3.60 yds/g
For the closest result, look for a lightweight cotton or cotton blend that creates a soft fabric with good drape.
Always make and block a gauge swatch before beginning.
Project Tips
- This poncho is worked seamlessly from the top down in the round. Use stitch markers to identify the shoulder corners and front and back increase points.
- When working the V-stitch increase rounds, be careful not to miss the chain-1 spaces on either side of the corner V-stitches, as these stitches are required to maintain the increase pattern.
- For a larger fit, continue working additional shoulder increase rounds before transitioning to the body section.
- To create a longer poncho, continue repeating the body rounds until your desired length is reached. Additional yarn may be required for any modifications.
- The fringe edging is optional and can be customized to any length.
- Blocking is recommended to help the stitches relax and enhance the drape of the finished poncho. Lightly steam the fringe after attaching it for a smooth, even finish.
Get the Printable PDF Pattern
The complete Sienna Shell Stitch Poncho pattern is free to view below on the blog.
For an ad-free and printable version, you can purchase the professionally formatted PDF pattern. The PDF includes the complete written instructions, stitch chart, schematic, yarn substitution guidance, project tips, and additional pattern photographs.
You can also grab the Mediterranean Collection eBook, which includes:
• Sienna Shell Stitch Poncho
• Serena Shell Stitch Top
• Solstice Vest
Digital Download + No Ads!
Upgrade to the Digital PDF Download
The printable PDF includes the schematic and the complete pattern in one beautiful, easy-to-follow download.
Digital pattern only. No physical item will be shipped.
Terms & Conditions
This post may contain affiliate links. Purchases made through these links may earn MJ’s Off The Hook Designs Inc. a small commission at no extra cost to you. Content on this site is supported by ads—please do not block or remove them.
Copyright
All patterns, photos, and written content are the property of MJ’s Off The Hook Designs Inc. and protected by copyright law.
Usage
Free patterns are for viewing only on this blog. You may not copy, download, print, screenshot, or redistribute any part of the pattern. Access must remain through this page with ads visible. Use of ad blockers, reader view, or any similar tools that remove or hide ads and site content is strictly prohibited.
Legal Notice
Unauthorized reproduction or distribution may result in copyright infringement penalties.
By accessing this post, you agree to these terms and conditions.
Can I sell my Finished Product?
Yes! You may sell finished items made from MJ’s patterns, but please credit:
“Pattern by MJ’s Off The Hook Designs Inc.”
Where can I get help with a pattern?
Pattern Support is only available in our Facebook Community group and Video Tutorials.
No additional support is provided for modified patterns, alternate yarns, or changes to gauge.
Having trouble unlocking the pattern?
If you’re seeing the message “Email subscription failed, please try again”, don’t worry — it’s usually an easy fix! Here are a few quick things to try:
First, double-check your login details. Make sure you’re signing in with the same email you originally used to create your Grow account. If you’re not sure, click “Forgot Password” to reset your login. Once you’ve updated it, return to my site and try again.
Next, clear your browser’s cache and cookies. Sometimes the login just gets stuck. You can also try opening the page in a private or incognito window, or switching to another browser like Chrome, Safari, or Firefox to see if that does the trick.
It also helps to make sure you’re logged into Grow directly. Visit https://grow.me and sign in there first. Once you’re logged in, come back to my site and refresh the page — your pattern should unlock automatically.
If you’re still having trouble, check your browser’s privacy settings. Grow needs cookies to verify your account, so make sure cookies and cross-site tracking are allowed. On iPhone, go to Settings → Safari → Privacy & Security, then turn off “Prevent Cross-Site Tracking” and “Block All Cookies.” On Android or Chrome, go to Settings → Site Settings → Cookies and select “Allow all cookies.”
Lastly, ad blockers or browser extensions can sometimes block the login pop-up. Try turning them off temporarily while you sign in. If nothing seems to work, log out of Grow completely by going to https://grow.me, selecting your profile icon, and choosing Log Out. Then come back to my site and try logging in again.
If you’re still stuck after trying all of this, please reach out through my Contact Page and let me know what device and browser you’re using (and include a screenshot if you can).
To unlock Exclusive Content on my Blog, all you need to do is click the box below and the Grow.me app will pop up, allowing you to enter your email and create a password. Once you’ve created an account, every time you see Exclusive Content on my blog, simply login to your Grow account. Be sure to switch to the login screen to enter your login credentials.
If you forget your password, click the “forgot password” link and follow the prompts. Please note that I’m unable to assist with resetting Grow passwords or accessing your Grow account, so be sure to save your login information in a safe place.
To make things even easier, I’ve created a video for both desktop and mobile users that offer additional assistance. You can access this video by visiting my FAQs page HERE or by watching the video below.
Thank you for subscribing and for joining me on my crochet journey. I hope you enjoy the exclusive content available to our subscribers and create beautiful crochet projects using the resources you discover.
Pattern
XS-L (XL-5X)
The pattern is written for the smallest size, with the larger size in parentheses ( ). If there is only one number, it applies to all sizes—a step-by-step video tutorial is provided on YouTube for size small.
Yoke
Notes: Use four stitch markers to track your increase sections. Place each marker in the v stitch of each increase section and move it up each row.
On shell rows, when you reach a marked v stitch, work:
ch 1, v st in marked v st, ch 1, then continue with shells across.
On the following row, work a v stitch into each ch-1 space on either side of the marked v stitch and in the v stitch. These create your increases and must not be skipped.
Setup Round (RS):
Ch 128, join chain, being careful not to twist, work 1 sc in the back bump of each ch around, sl st in first sc to join—128 sts.
Body
XS-L (XL-5X)
The shoulder shaping is now complete. From this point forward, you will no longer increase at the shoulder corner v stitches. Remove the shoulder stitch markers, leaving only the markers at the front and back points of the poncho. Continue working the body, increasing only at the front and back points.
Round 5 (9):
Beg v st, ch 1, sk ch-1 sp, (v st in 3rd dc of shell st, ch 1) in each shell to marked v st, v st in ch-1 sp, ch 1, v st in v st (pm), ch 1, v st in ch-1 sp (front point), ch 1, (v st in 3rd dc of shell st, ch 1) in each shell to next v st, sk ch-1 sp, v st in st, ch 1, sk ch-1 sp, (v st in 3rd dc of shell st, ch 1) in each shell across to next marked st, v st in ch-1 sp, ch 1, v st in v st (pm), ch 1, v st in ch-1 sp (back point), ch 1, (v st in 3rd dc of shell st, ch 1) in each shell across, sk ch-1 sp, sl st in beg v st to join—44 (60) v sts.
Round 6 (10):
Ch 3 (counts as a dc), work 4 dc in same sp (counts as beg shell here and throughout), shell in each v st to next marker, ch 1, *v st in marked v st, ch 1, shell in each v st to next marker, ch 1; rep from * around, sl st in beg ch-3 to join—2 v sts, 42 shells (2 v sts, 58 shells).
Round 7 (11) (incr.):
Sl st across 2 sts (3rd dc of shell), beg v st, ch 1, (v st in 3rd dc of shell st, ch 1) in each shell across, to next marked st, v st in ch-1 sp, ch 1, v st in v st, ch 1, v st in ch-1 sp (front point), ch 1, (v st in 3rd dc of shell st, ch 1) in each shell across to next marked st, v st in ch-1 sp, ch 1, v st in v st, ch 1, v st in ch-1 sp (back point), ch 1, (v st in 3rd dc of shell st, ch 1) in each shell across, sl st in beg v st to join—48 (64) v sts.
Rounds 8-25 (12-25):
Rep Rounds 6 (10) & 7 (11) or to the desired length, ending with 84 (92) v sts.
Rounds 26:
Ch 3, work 4 dc in same sp, shell in each v st around, sl st in beg ch-3 to join—84 (92) shells.
Neck Edging
With a slip knot on the hook, join with a sl st in the first sc of the setup Row, ch 1, sc in the same st, sk next 3 sts, work shell in next st, sk next 3 sts, *sc in next st, sk 3 sts, work shell in next st, sk 3 sts; rep from * around, sl st in first sc to join. Fasten off and weave in tails.
Blocking
For best results, block your poncho before adding the fringe. Blocking allows the stitches to relax, improves the drape, and helps the finished piece settle into its final shape.
Wet Blocking:
Submerge the poncho in cool or lukewarm water and allow it to soak for 15 to 20 minutes. Gently squeeze out the excess water without wringing or twisting. Roll the poncho in a clean towel to remove additional moisture, then lay it flat to dry, smoothing the fabric into shape.
Steam Blocking:
Hang the poncho on a hanger or lay it flat, then lightly steam the fabric without pressing directly onto the stitches. Allow the poncho to cool and dry completely before adding the fringe. Note: The stitches will relax slightly during blocking, resulting in a softer drape and a beautifully flowing finished garment.
Once the poncho has been blocked and is completely dry, proceed with adding the fringe.
Fringe
Cut 168 (184) strands of yarn, each measuring 12 (18) in (30.5 (46 cm) long. With the right side of the poncho facing you, insert your crochet hook from the back to the front under the centre stitch of the first shell. Fold 2 strands in half, place the folded loop on the hook, and pull the loop through the stitch. Pull the yarn tails through the loop and tighten gently to secure the knot.
Repeat this process, attaching 2 strands to each shell stitch around the lower edge of the poncho, for a total of 90 fringe groups. Once all fringe has been attached, trim the ends evenly if needed. Lightly steam the fringe to relax the fibres and help it hang smoothly. Allow the poncho to dry completely before wearing.
Helpful Resources
Sign up for our YouTube Membership
Join our Facebook Crochet Community for pattern support and inspiration
Subscribe on YouTube for hundreds of free tutorials
Sign up for our newsletter and receive 40% off your first Ravelry purchase!
Blocking helps the stitches relax and opens the shell stitch pattern. It also improves the drape and allows the fabric to settle into its finished shape.
No. The fringe is optional.
You can leave it off or customize the length to suit your style.
Yes.
Continue alternating the body rounds until the poncho reaches your desired length. Finish with a shell stitch round before beginning the neckline edging and fringe.
Yes. The pattern includes two size ranges:
• XS to L
• XL to 5X
The open design and relaxed fit allow each size to fit a broad range of body measurements.
Yes. The poncho is worked seamlessly from the top down in the round.
There are no separate panels and no seams to sew.
The pattern is rated Easy.
You should be comfortable working double crochet stitches, V stitches, shell stitches, joined rounds, and simple increases.
The stitch markers and increase placement require some attention, but the pattern becomes repetitive once the construction is established.
I hope you love our Free Crochet Poncho Pattern. You might also love these crochet patterns:
This pattern is designed by Michelle Moore of MJ’s Off The Hook Designs Inc., based in Lakefield, Ontario, Canada. Your go-to source for modern, easy crochet patterns. Published on July 23, 2026.
Thank you for visiting MJ’s Off The Hook Designs! I hope you enjoyed this pattern and feel inspired to pick up your hook and start creating.
You can find even more crochet patterns in our Ravelry and Etsy shops.
For daily inspiration and behind-the-scenes peeks, join me over on Facebook or Instagram or join our YouTube Membership for exclusive content!
You’ve got questions, we’ve got a community!
Crocheting is better with friends! Join our group to post pictures and ask all your pattern support questions.