*This post may contain affiliate links to support the cost of this blog. At no cost to you, I may make a small commission if you purchase through these links. Read our Privacy Policy HERE

Introducing the Rustic Farmhouse Bunny Crochet Pattern:
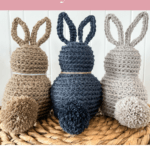
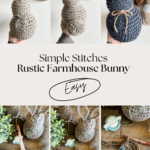
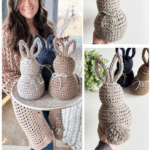
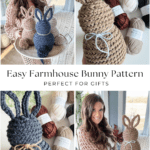
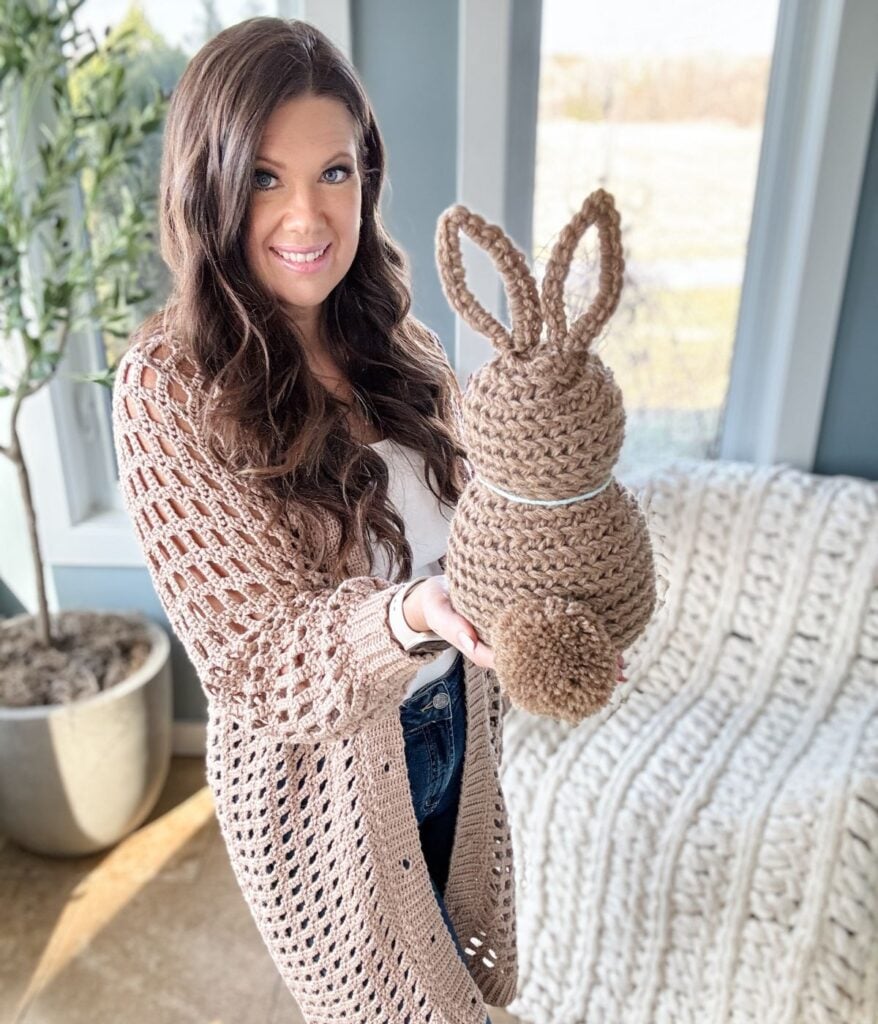
Are you in search of a modern home decor piece for spring and Easter? Look no further than the Rustic Farmhouse Bunny. This quick and simple project is an ideal addition to your mantel, centrepiece, or coffee table.

Project Overview
Skill level: Easy
Sizes: One Size
Yarn Weight: Worsted Weight #4/ Super Bulky Weight #6.
Key Takeaways
- The Bunny Crochet Pattern is a simple project for spring and Easter, perfect for home decor.
- Craft the bunny using 3 strands of worsted-weight yarn, pipe cleaners for ears, and a pom pom maker for the tail.
- The pattern includes a step-by-step YouTube tutorial, free written pattern, and material list for easy crafting.
- A variety of yarn substitutes are available, and it’s recommended to create a gauge swatch before starting.
- Join the supportive Facebook community for questions, sharing, and encouragement while crocheting.
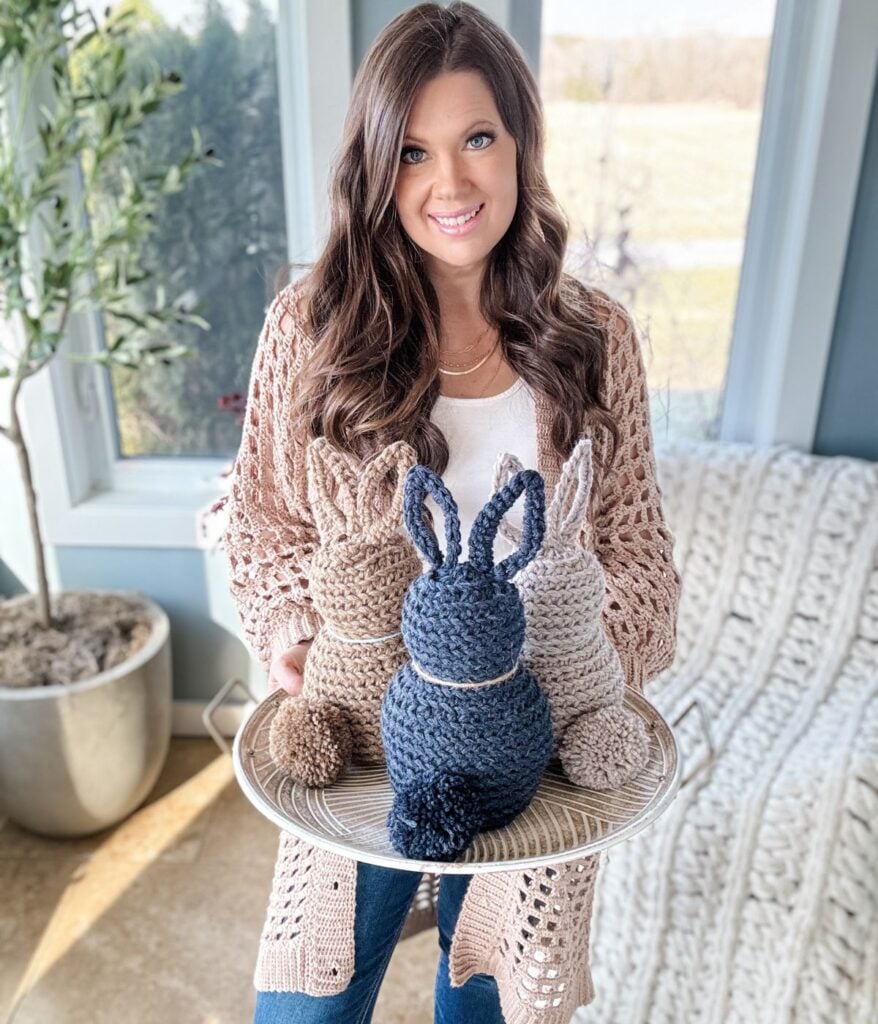
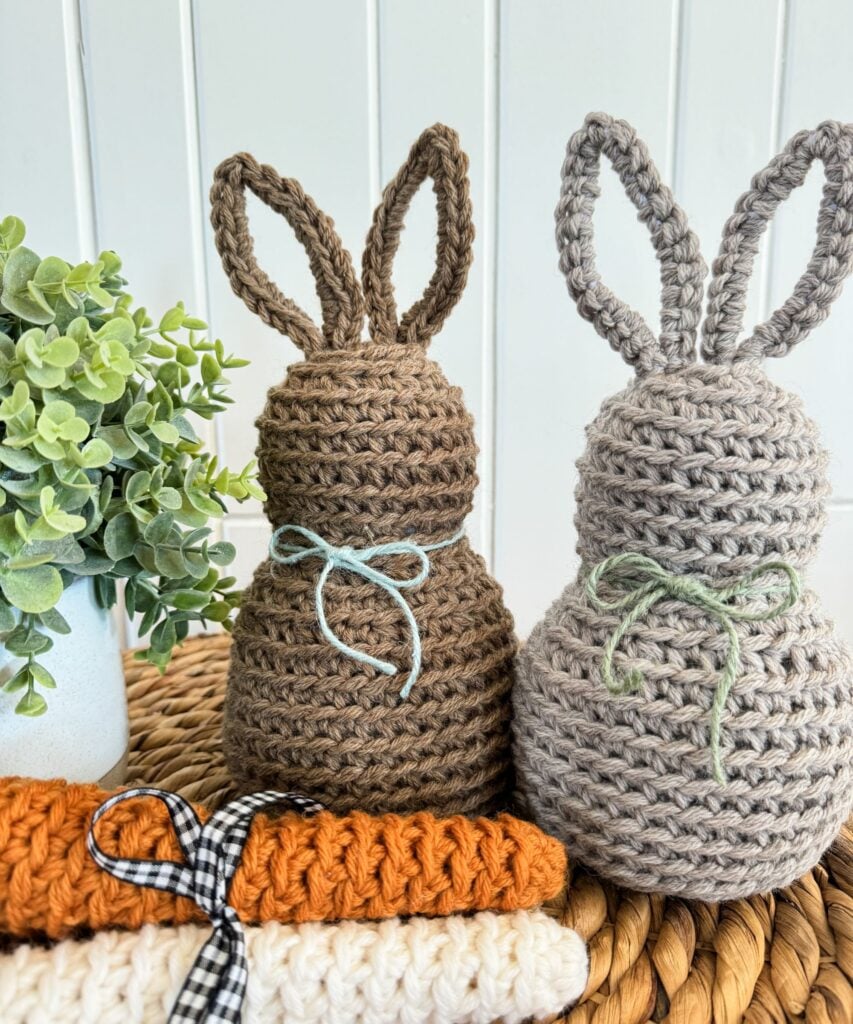
The bunny is crafted seamlessly in the round in one piece using 3 strands of worsted weight yarn held together to create a super bulky yarn. Its charming ears are constructed using pipe cleaners, crocheted over and shaped into adorable bunny ears.
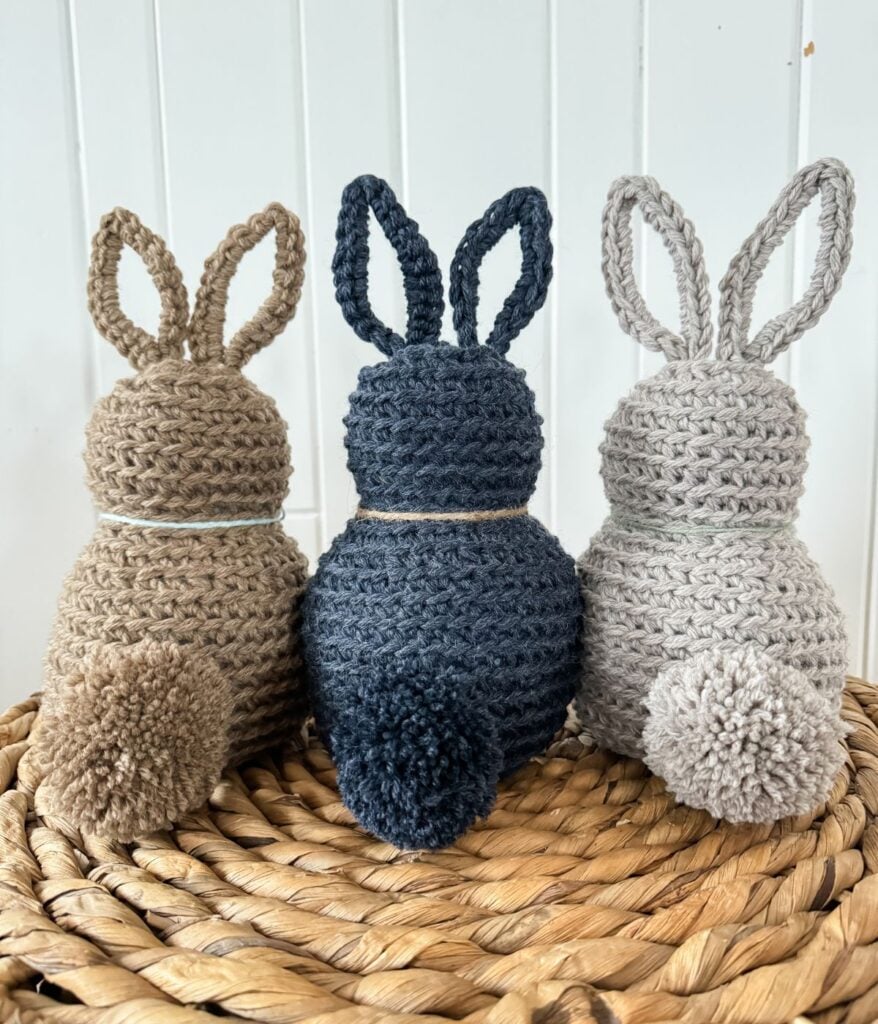
The finishing touch – the tail – is created with yarn and a pom pom maker.
For detailed guidance, the pattern includes a step-by-step tutorial available on our YouTube channel.
Below, you will find everything you need to make this Bunny Crochet Pattern, including the yarn, hook, materials, free written pattern for blog subscribers, pictures and a video tutorial. If you love this free crochet Easter pattern, please share!
Easy Bunny Crochet Pattern
Get ready to hop into the Easter spirit with my latest crochet pattern for adorable crochet bunnies! Perfect for adding a whimsical touch to your home decor, these charming bunnies will bring a festive and cozy atmosphere to any room. Made with love and attention to small details, these crochet bunnies are sure to be a delightful addition to your Easter celebrations. Whether displayed on tables, shelves, or mantels, these sweet creations will captivate hearts and spread joy throughout your home during the holiday season.
Watch the tutorial on YouTube https://youtu.be/XbBJzZ7CnBs
Video Tutorial
Join me and follow along with this detailed tutorial to complete these easy crochet bunnies.

Yarn Requirements
Wool Of The Andes Worsted (Tweed)
#4 Weight 100% Peruvian Highland Wool
110yds/50g ball Shown in Crane Heather, Camel Heather, Onyx Heather (3 strands held together)
260 yards needed in total (86 yards per ball)
Sizes included for the Crochet Bunnies
One Size. You may use different yarn weights to alter the size of the bunnies.
Size Chart

Skill Level
Easy, written in standard American terms.

Substituting Yarn
Wool of The Andes worsted is a charming rustic wool yarn that offers a wide range of colours, allowing you to find the perfect match for your home decor.
For an alternative to worsted-weight yarn consider using Super Bulky weight Yarn instead. Lion Brand Wool-Ease Thick & Quick, Bernat Softee Chunky and Lion Brand Hue + Me. These yarns are excellent choices and can be used effectively in place of the specified yarn.
When substituting yarn, it’s advisable to select a yarn with a weight comparable to the one recommended in the pattern for the exact sizing.
Also, before you begin your project, it’s highly recommended that you create a gauge swatch. This simple step will help you verify that your tension and stitch count align with the pattern’s requirements, ensuring a finished bunny of the same size.
Suitable Yarn Substitutes

MaterialsUS 7mm crochet hook
Use code MJS15 for 15% off Furls Crochet
Pom Pom Maker 2.5″ size
Rice for Filling Bag
Helpful Resources
Sign up for our YouTube Membership
Join our Facebook Crochet Community for pattern support and inspiration
Subscribe on YouTube for hundreds of free tutorials
Sign up for our newsletter and receive 40% off your first Ravelry purchase!
Construction
The Rustic Farmhouse Bunny is crocheted in a seamless, continuous round from the bottom up. Ensure to use a stitch marker to designate the first stitch of each round to maintain accurate tracking. Begin by working the base, then transition to decreasing stitches to shape the neck before increasing stitches to form the head.
For added stability, insert a rice bag into the body of the bunny. Stuffing can be added progressively during the crocheting process. Attach the ears before closing the head. To create the bunny’s fluffy tail, utilize a pom pom maker for a cute finishing touch.
Gauge
5 sts and 5 rows equal to 2″ with a 7mm crochet hook (stuffed) 5.5 sts and 5.5 rows not stuffed
New to gauge? Check out this helpful resource by my friend Briana K HERE. Obtaining the correct gauge is fundamental to having correct sizing. You may need to adjust your hook size to meet the pattern gauge.
Abbreviations
Blo – Back Loop Only
Ch- Chain
Flo – Front Loop Only
Rep – Repeat
Sc – Single Crochet
Sc2tog – Single Crochet Decrease: Insert hook through indicated st and pull up a loop, insert hook in next st, pull up a loop, YO, pull through 3 loops on the hook.
Sk(d)- Skip(ped)
Sp(s) – Space(s)
St(s) – Stitch(es)
( ) – Work step in parentheses in the indicated stitch
Digital Download + No Ads!
Digital PDF Download
Digital pattern only. No physical item will be shipped.
Bunny Crochet Pattern
FAQ & Terms
This pattern requires a beginner skill level.
This pattern is professionally written in technical writing and tech edited for accuracy.
Written in standard American terms.
This post may contain affiliate links. Purchases made through these links may earn MJ’s Off The Hook Designs Inc. a small commission at no extra cost to you. Content on this site is supported by ads—please do not block or remove them.
Copyright
All patterns, photos, and written content are the property of MJ’s Off The Hook Designs Inc. and protected by copyright law.
Usage
Free patterns are for viewing only on this blog. You may not copy, download, print, screenshot, or redistribute any part of the pattern. Access must remain through this page with ads visible. Use of ad blockers, reader view, or any similar tools that remove or hide ads and site content is strictly prohibited.
Legal Notice
Unauthorized reproduction or distribution may result in copyright infringement penalties.
By accessing this post, you agree to these terms and conditions.
Yes! You may sell finished items made from MJ’s patterns, but please credit:
“Pattern by MJ’s Off The Hook Designs Inc.”
Pattern Support is only available in our Facebook Community group and Video Tutorials.
No additional support is provided for modified patterns, alternate yarns, or changes to gauge.
If you’re seeing the message “Email subscription failed, please try again”, don’t worry — it’s usually
an easy fix! Here are a few quick things to try:
First, double-check your login details. Make sure you’re signing in with the same email you originally used to create your Grow account. If you’re not sure, click “Forgot Password” to reset your login. Once you’ve updated it, return to my site and try again.
Next, clear your browser’s cache and cookies. Sometimes the login just gets stuck. You can also try opening the page in a private or incognito window, or switching to another browser like Chrome, Safari, or Firefox to see if that does the trick.
It also helps to make sure you’re logged into Grow directly. Visit https://grow.me and sign in there first. Once you’re logged in, come back to my site and refresh the page — your pattern should unlock automatically.
If you’re still having trouble, check your browser’s privacy settings. Grow needs cookies to verify your account, so make sure cookies and cross-site tracking are allowed. On iPhone, go to Settings → Safari → Privacy & Security, then turn off “Prevent Cross-Site Tracking” and “Block All Cookies.” On Android or Chrome, go to Settings → Site Settings → Cookies and select “Allow all cookies.”
Lastly, ad blockers or browser extensions can sometimes block the login pop-up. Try turning them off temporarily while you sign in. If nothing seems to work, log out of Grow completely by going to https://grow.me, selecting your profile icon, and choosing Log Out. Then come back to my site and try logging in again.
If you’re still stuck after trying all of this, please reach out through my Contact Page and let me know what device and browser you’re using (and include a screenshot if you can).
To unlock Exclusive Content on my Blog, all you need to do is click the box below and the Grow.me app will pop up, allowing you to enter your email and create a password. Once you’ve created an account, every time you see Exclusive Content on my blog, simply login to your Grow account. Be sure to switch to the login screen to enter your login credentials.
If you forget your password, click the “forgot password” link and follow the prompts. Please note that I’m unable to assist with resetting Grow passwords or accessing your Grow account, so be sure to save your login information in a safe place.
To make things even easier, I’ve created a video for both desktop and mobile users that offer additional assistance. You can access this video by visiting my FAQs page HERE or by watching the video below.
Thank you for subscribing and for joining me on my crochet journey. I hope you enjoy the exclusive content available to our subscribers and create beautiful crochet projects using the resources you discover.
Ears: Make 2
Begin by preparing a 12″ length pipe cleaner, bending it at the 2″ mark on each end. Create a slip knot on the hook. Proceed to single crochet across the section of the pipe cleaner between the bends, measuring 8″ (working approximately 25 stitches).
Upon reaching the end of this section, fasten off with a tail to secure the crochet work. To secure the base of the ears, twist the ends of the pipe cleaner together and knot the starting and ending tails.
Utilize each end of the pipe cleaner to attach the ear to the last and second-last round of the head. Twist the pipe cleaner to the inside of the head to ensure a secure attachment. Additionally, use each tail end to tie it to the inside of the ear. Follow this method to attach both ears for a finished and stable construction.
Head Closure
Using a yarn needle and the finishing tail, weave through the flo of each stitch around. Pull the yarn tight and continue weaving through the last round to secure the closure.
While weaving, thread through the sides of the ears to position them closer together for a neat finish. For a visual demonstration, refer to the video tutorial. Once completed, trim any excess tails for a clean final appearance.
Neck Bow
Prepare a 26″ strand of twine or ribbon for the neck bow. Tie it around the neck, opting for various coloured twine to add a touch of colour to the bunny.
Bunny Tail
Select a 2.5″ pompom maker or your desired size. Begin by opening the pompom maker and wrapping yarn around the arms on each side. After wrapping, cut the yarn along the grooves.
To secure the pompom, knot two strands of yarn through the grooves- these tails will be utilized to attach the tail to the bunny. Finally, open the pompom maker and trim the pompom into shape for a fluffy and adorable bunny tail.
Utilize a yarn needle and yarn tails to attach the tail to the bunny. Knot the tails securely to the bunny and weave them in to finish.

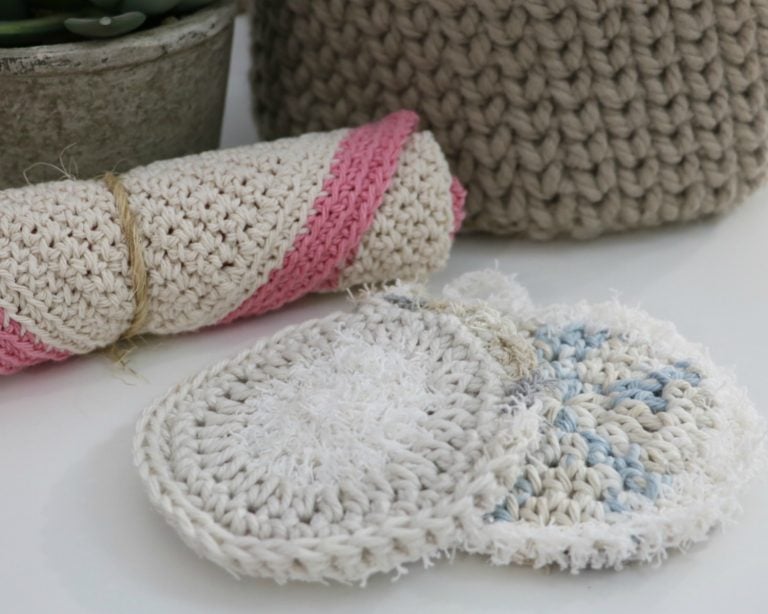
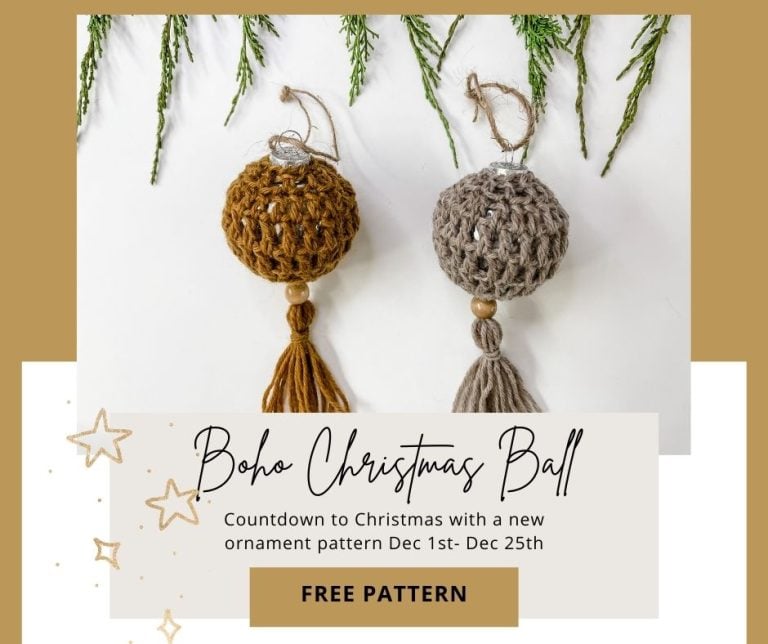
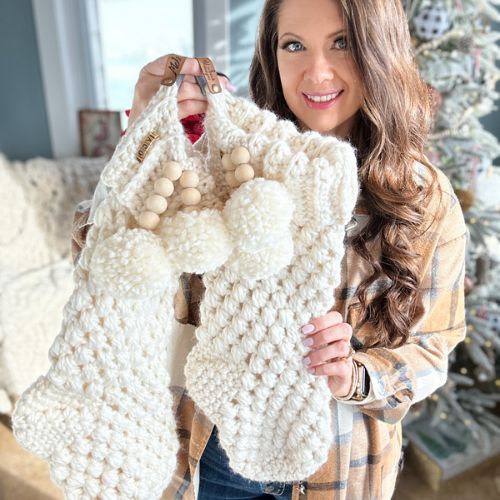
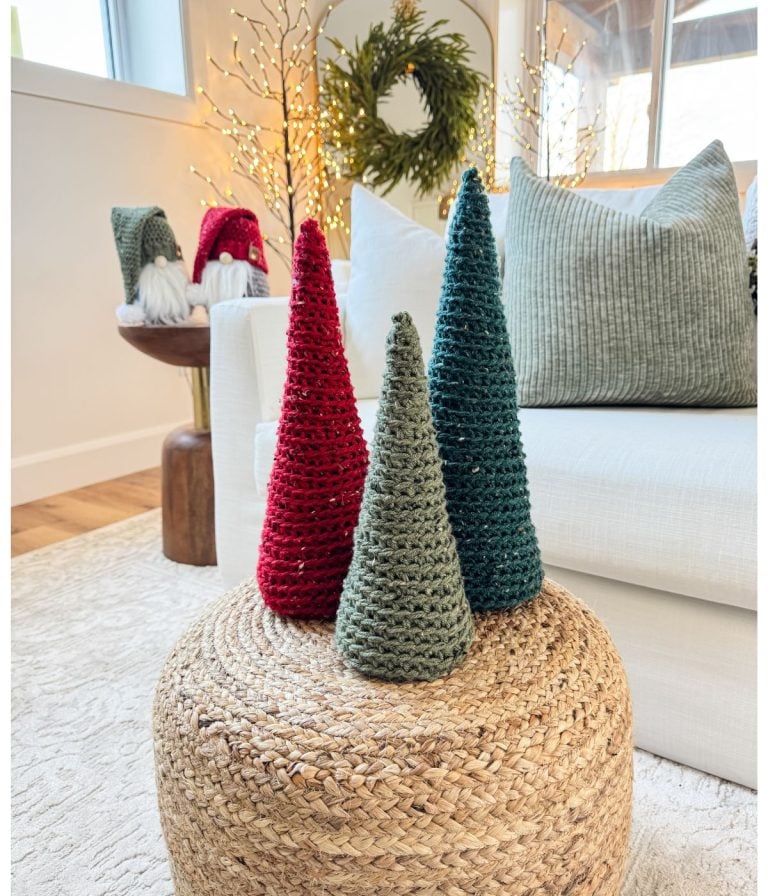
You might also love these crochet patterns if you love this pattern:
This pattern is designed by Michelle Moore of MJ’s Off The Hook Designs Inc, based in Lakefield, Ontario, Canada. Your go-to source for modern, easy crochet patterns. Published on March 13th, 2024.
Thank you for visiting MJ’s Off The Hook Designs. I hope you enjoyed this pattern and feel inspired to pick up your hook and start creating.
You can find even more crochet patterns in our Ravelry and Etsy shops.
For daily inspiration and behind-the-scenes peeks, join me over on Facebook or Instagram, or join our YouTube Membership for exclusive content!
You’ve got questions, we’ve got a community!
Crocheting is better with friends! Join our group to post pictures and ask all your pattern support questions.