*This post may contain affiliate links to support the cost of this blog. At no cost to you, I may make a small commission if you purchase through these links. Read our Privacy Policy HERE
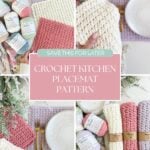
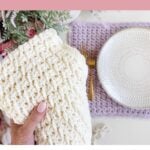
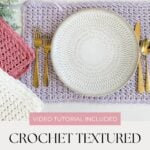

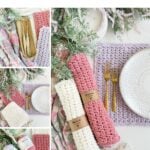
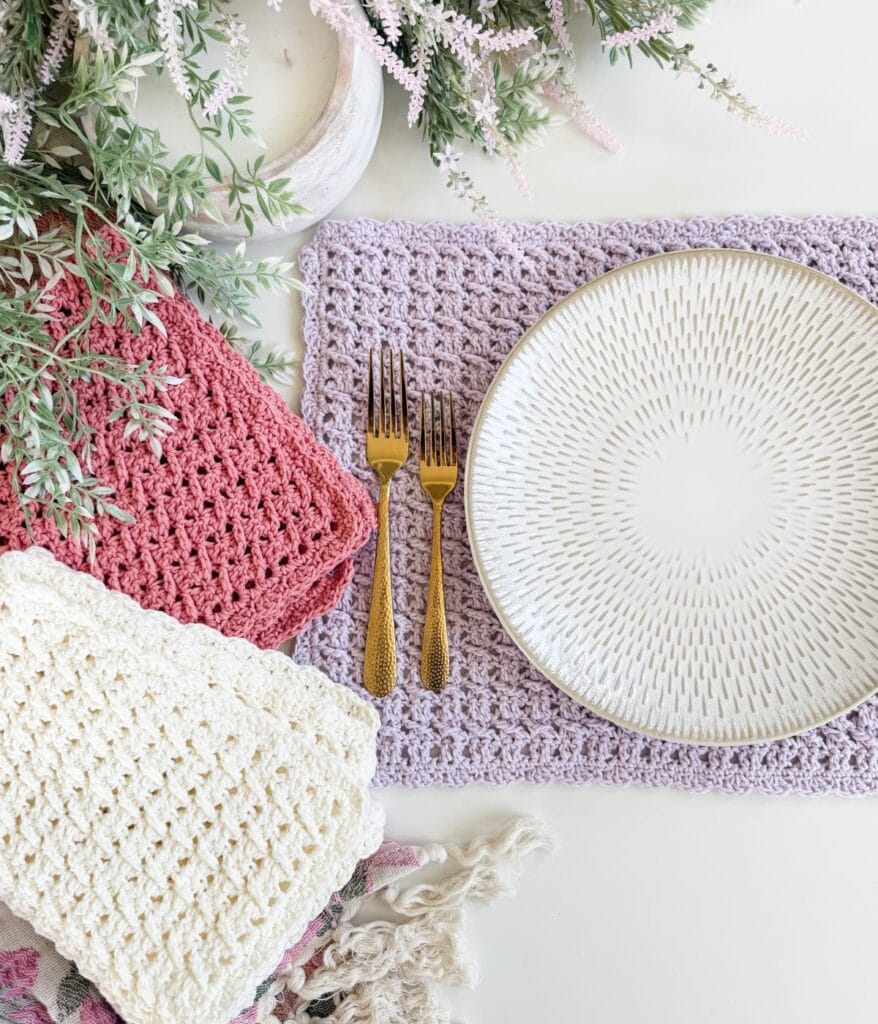
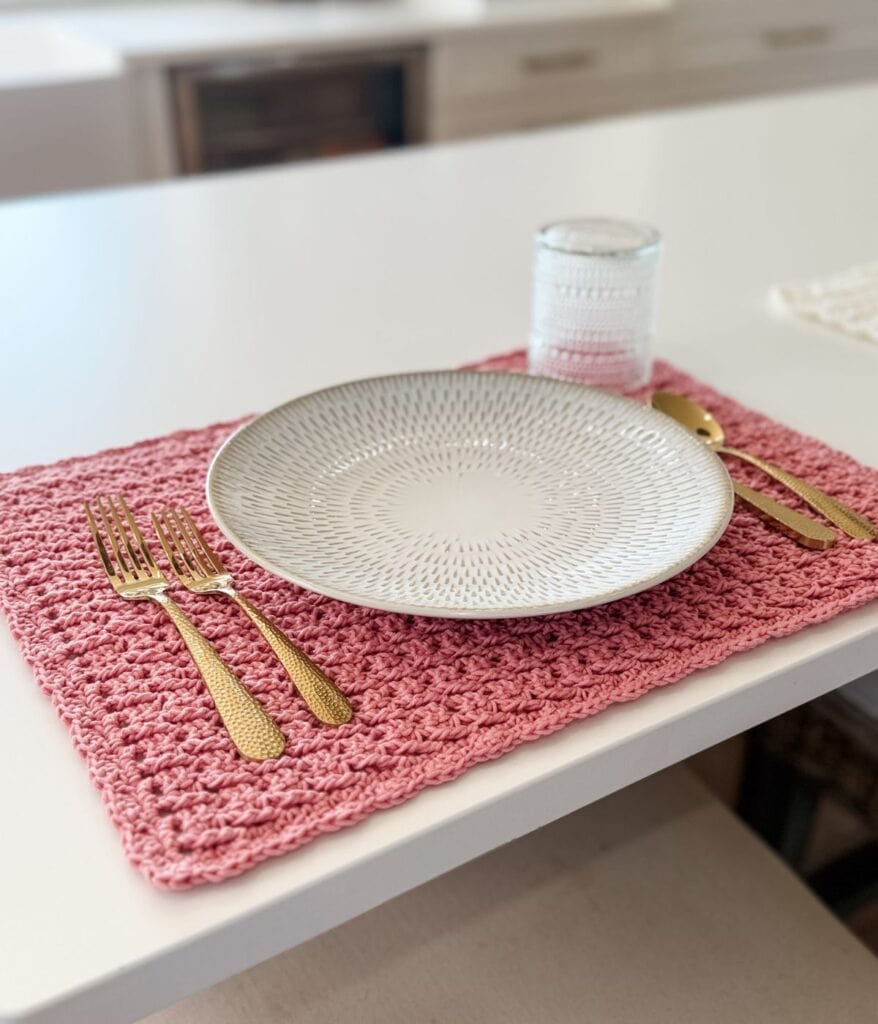
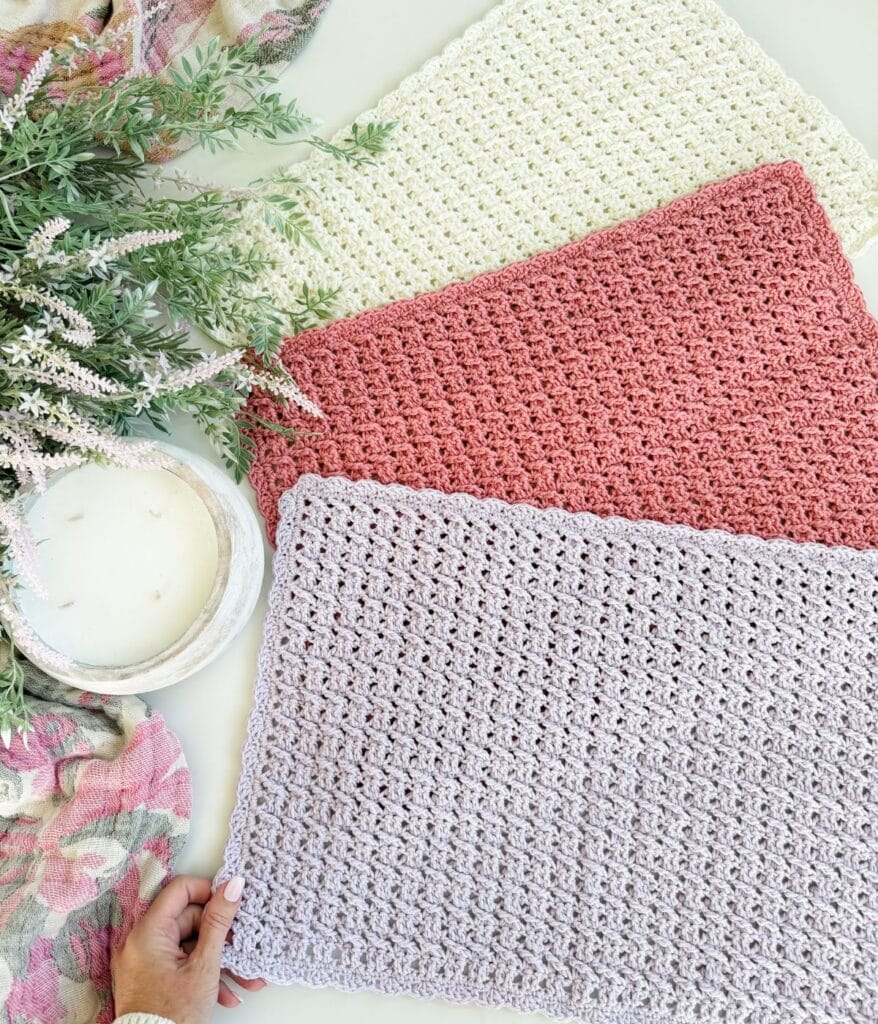
Add beautiful handmade texture to your table with the Honey Weave Placemat free crochet pattern. This easy crochet placemat features an open, woven texture created with double crochet and crossover treble crochet stitches, finished with a delicate shell stitch border.
Crocheted with soft cotton blend yarn in fresh, pretty colours, these placemats are perfect for everyday table settings, seasonal decorating, handmade gifts, or craft markets. The pattern is beginner-friendly and includes a full step-by-step video tutorial to help you master the Honey Weave stitch.
Project Overview
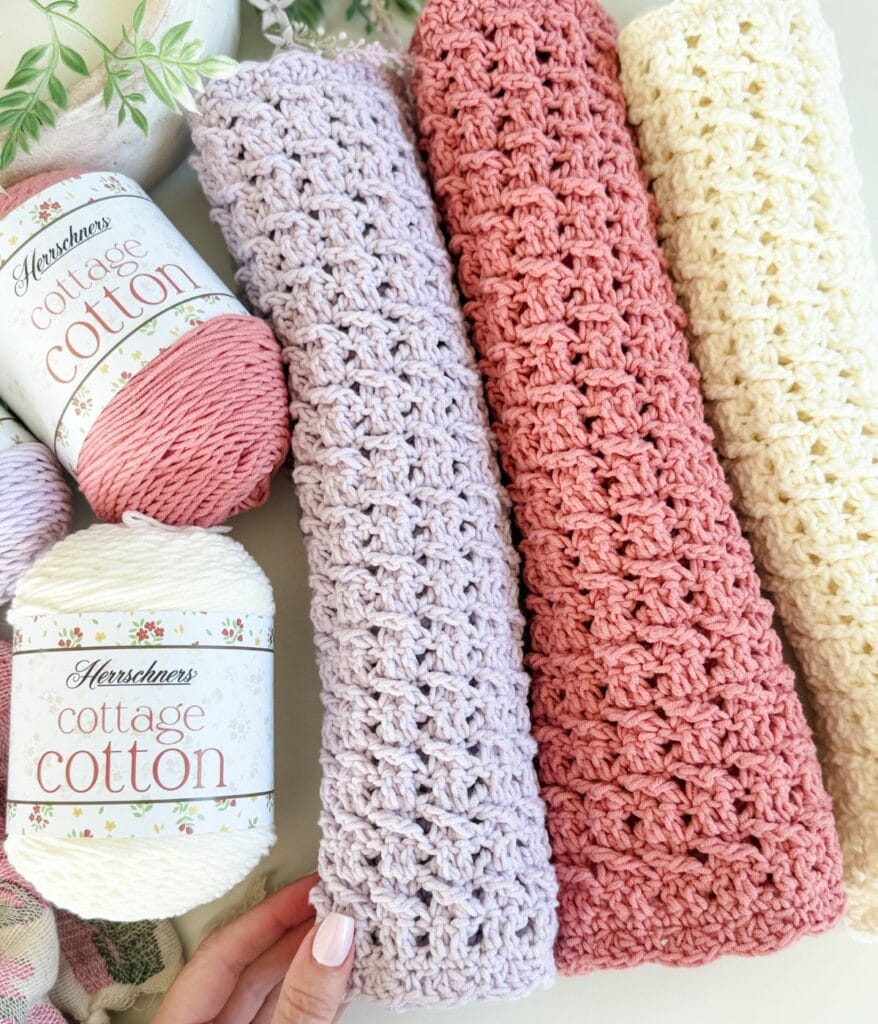
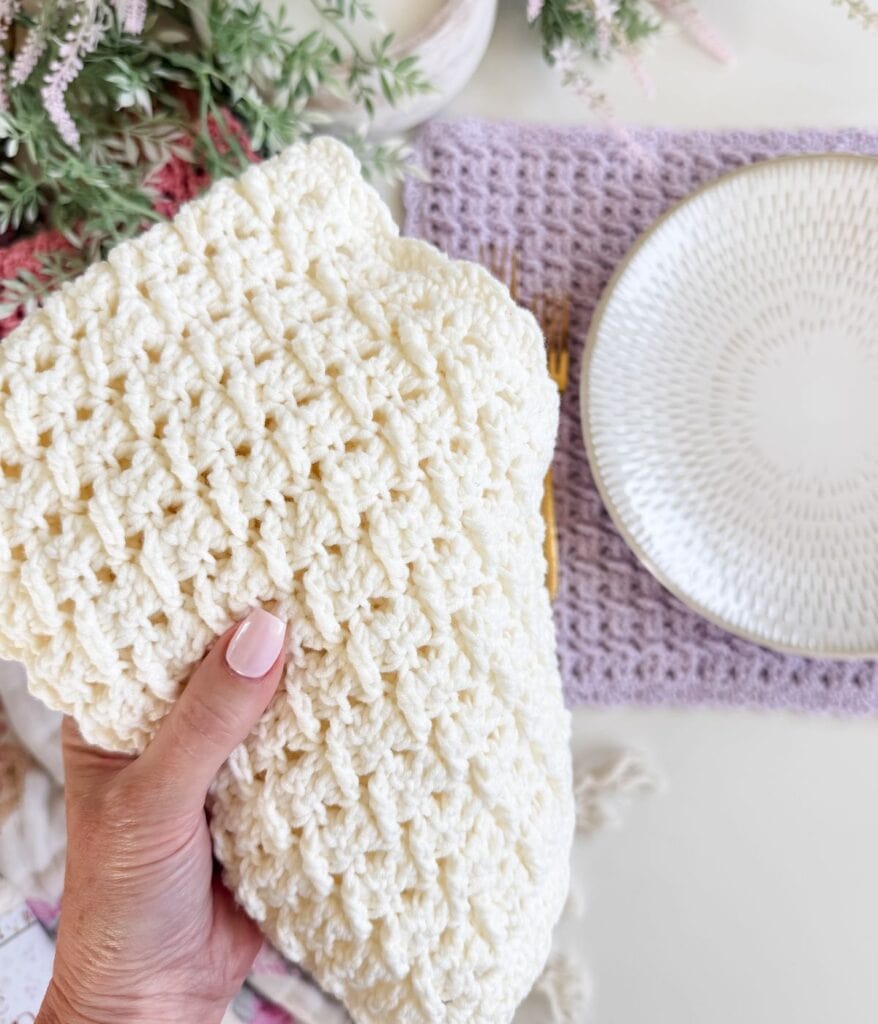
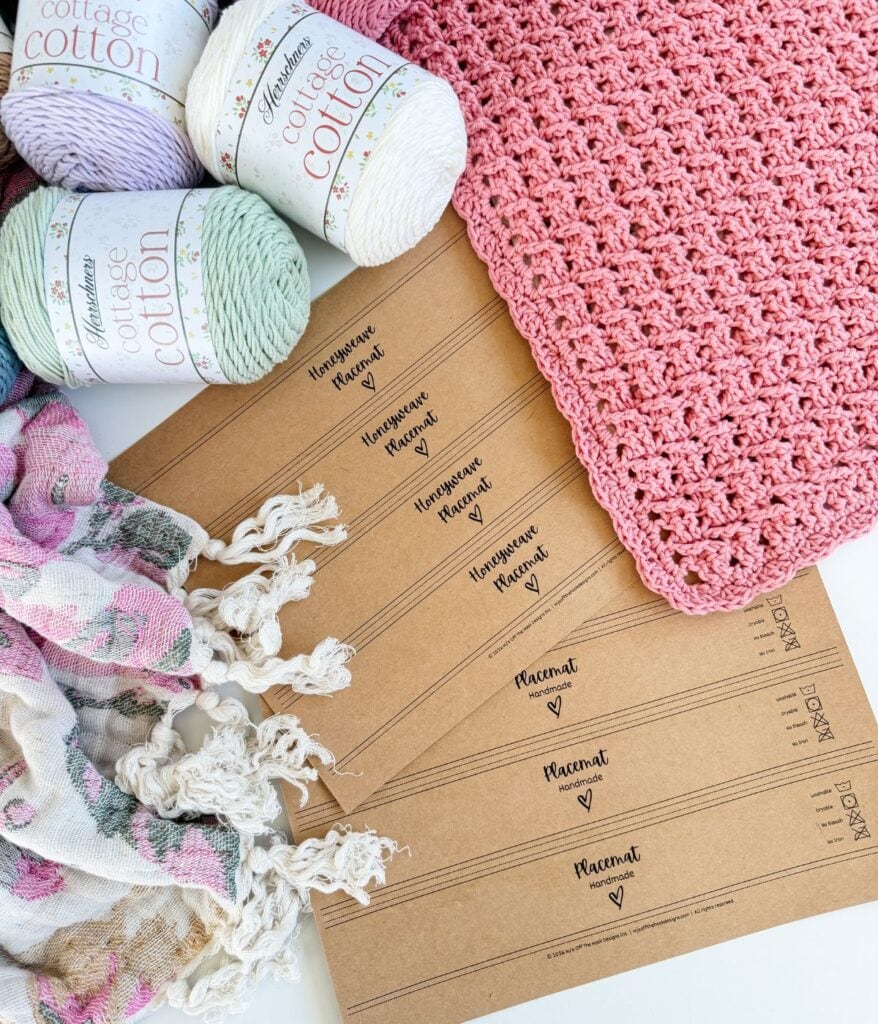
The Honey Weave Placemat features an open, airy stitch pattern with beautiful texture created using double crochet and crossover treble crochet stitches for a woven look. Worked in Herrschners Cottage Cotton, a soft cotton-acrylic blend, it is durable, easy to care for, and available in a selection of fresh colours that beautifully highlight stitch definition. A delicate shell stitch border adds the perfect finishing touch, creating a timeless design that complements any table setting. The pattern includes a step-by-step YouTube video tutorial and printable gift tags that are perfect for handmade gifts, craft markets, or adding a professional finishing touch to your completed placemats.
Skill level: Beginner
Sizes: One Size 19″ x 13″
Yarn Weight: Worsted Weight 4
Yarn: Herrschners Cottage Cotton
Hook Sizes: 4 mm & 4.5 mm
Construction: Worked flat in rows
Video Tutorial: https://youtu.be/HyTSQmhqYs8
Placemat Crochet Pattern
The Honey Weave Placemat combines simple crochet stitches with a crossover treble crochet technique to create its beautiful woven texture.
If you’ve made my Honey Weave Dishcloth or Honey Weave Throw Blanket, you’ll recognize this gorgeous stitch pattern. I love how versatile the Honey Weave stitch is. It creates plenty of texture while still keeping the fabric light and flexible.
Want less distractions?
Join Off the Hook Crochet Club
Join the Off The Hook Crochet Club and enjoy hundreds of MJ’s crochet patterns ad-free, plus exclusive resources, member perks and new free patterns added every week.
For the placemat, I added a pretty shell stitch edging around the entire border. It’s a simple detail, but it gives the finished placemat such a polished look.
The finished placemat measures approximately 19″ wide by 13″ tall, making it a great size for everyday place settings.
Inspiration Behind the Honey Weave Placemat
After using the Honey Weave stitch for both the Honey Weave Dishcloth and Honey Weave Throw Blanket, I knew I wanted to bring this beautiful texture to the table.
The woven look of the crossover stitches works so well for home décor, and I wanted the placemat to feel pretty and decorative while still being practical enough for everyday use.
I chose a selection of fresh, soft shades of Herrschners Cottage Cotton, and I am so happy with how they turned out! The colours really show off the stitch definition, while the shell border adds just the right amount of detail around the edge.
Make a matching set in one colour, mix and match your favourite shades, or choose colours to coordinate with your seasonal table décor.
Video tutorial
I’ve created a full step-by-step YouTube tutorial for the Honey Weave Placemat.
The video walks you through the stitch pattern, including the crossover treble crochet technique, as well as the border and finishing.
If you’re new to the Honey Weave stitch, I highly recommend following along with the video for your first placemat.
Yarn Requirments
Worsted Weight #4
60% Cotton, 40% Acrylic, 207 yds/100 g
Shown in Chiffon, Blossom & French Lilac
Approx. 300 yards per placemat
Crochet Hooks Needed
or the size needed to obtain the gauge
Supplies
Yarn Substitutes
This pattern is designed using Herrschners Cottage Cotton Yarn (60% cotton, 40% acrylic, approximately 207 yds/100 g) ≈ 2.07 yds per gram. When substituting yarn, choose a yarn with a similar weight and structure rather than matching yardage exactly. Cotton and cotton blend yarns will work best. Adjust hook size as needed to achieve a dense, durable fabric.
Comfy Worsted (~109 yds/50 g, cotton acrylic blend) ≈ 2.18 yds per gram
WeCrochet Dishie Cotton (~190 yds/100 g, 100% cotton) ≈ 1.9 yds per gram
Bernat Handicrafter Cotton (CDN) (~80 yds/50 g, 100% cotton) ≈ 1.6 yds per gram
Village Yarn Craft Cotton Yarn (~115 yds/71 g, 100% cotton) ≈ 1.6 yds per gram
Lion Brand Made With Love (~185 yds/100 g, cotton blend) ≈ 1.85 yds per gram
Premier Home (CDN) (~131 yds/75 g, cotton poly blend) ≈ 1.75 yds per gram
Gauge
This pattern is not a fitted project, so exact gauge is not critical. Small variations in size will not affect the overall look or function of the placemat. Gauge is provided for reference only and may vary based on yarn choice, hook style, and individual tension.
Approximate Gauge:
18 sts and 9 rows equal to 4″ in pattern with 4.5 mm hook
Rather than focusing on exact measurements, aim to create a fabric that is smooth, sturdy, and lies flat. If your fabric feels too loose, try a smaller hook. If your stitches feel too tight or the fabric feels stiff, move up a hook size.
Abbrevations
Ch – Chain
Dc – Double Crochet
Rep – Repeat
RS – Right Side
Sc – Single Crochet
Sk – Skip
Skd – Skipped
Sl St – Slip Stitch
Sp(s) – Space(s)
St(s) – Stitch(es)
Tr – Treble Crochet
WS – Wrong Side
Project Tips
Project Time: Approximately 1½ to 2 hours per placemat.
Would you like to save this?
You can unsubscribe at any time.
- Adjusting the Size:
The stitch pattern is worked in multiples of 3 plus 2. To make the placemat wider or narrower, add or remove multiples of 3 from the starting chain. Work additional pattern rows to increase the length as desired.
- Yarn Substitutions:
Different cotton or cotton blend yarns may affect the finished size, texture, and drape. Herrschners Cottage Cotton creates a soft yet durable placemat with excellent stitch definition. Gauge is not critical for this project.
- Keeping the Placemat Flat:
Work the border stitches as evenly as possible along each side, especially around the corners. Light steam or wet blocking will help relax the stitches and allow the shell edging to lie neatly.
- Stitch Placement:
The crossover treble crochet is worked in front of the double crochet stitches and placed back into the skipped stitch, inserting the hook from back to front. This stitch may feel unfamiliar at first, so the included video tutorial is highly recommended for proper stitch placement.
Digital Download + No Ads!
Upgrade to the Digital PDF Download
The printable PDF includes the complete pattern in one beautiful, easy-to-follow download and printable gift tags.
Digital pattern only. No physical item will be shipped.
To unlock Exclusive Content on my Blog, all you need to do is click the box below and the Grow.me app will pop up, allowing you to enter your email and create a password. Once you’ve created an account, every time you see Exclusive Content on my blog, simply login to your Grow account. Be sure to switch to the login screen to enter your login credentials.
If you forget your password, click the “forgot password” link and follow the prompts. Please note that I’m unable to assist with resetting Grow passwords or accessing your Grow account, so be sure to save your login information in a safe place.
To make things even easier, I’ve created a video for both desktop and mobile users that offer additional assistance. You can access this video by visiting my FAQs page HERE or by watching the video below.
Thank you for subscribing and for joining me on my crochet journey. I hope you enjoy the exclusive content available to our subscribers and create beautiful crochet projects using the resources you discover.
Pattern
Notes: The stitch pattern is worked in multiples of 3 plus 2. The crossover treble crochet is worked over the double crochet stitches, inserting the hook through the stitch from back to front rather than front to back. Refer to the video tutorial for additional guidance.
Row 1 (RS):
With larger hook, ch 83, work 1 dc in the 6th ch from hook, 1 dc in next st, 1 tr in the ch before the first dc, *sk next ch, 1 dc in each of next 2 chs, 1 tr in skd ch; rep from * across, work 1 dc in last ch, turn—80 sts.
Row 2 (WS):
Ch 3 (included as a st here and throughout), *sk next st (tr previous row), 1 dc in each of next 2 sts, 1 tr in skd st; rep from * across, work 1 dc in turning ch, turn—80 sts.
Row 3:
Ch 3, *sk next st, 1 dc in each of next 2 sts, 1 tr in skd st; rep from * across, work 1 dc in turning ch, turn—80 sts.
Rows 4-28:
Repeat Row 3 until the placemat measures approximately 12 inches tall, ending on the right side. After the final row, change to a smaller hook.
Border
Round 1:
Ch 1, turn, work 57 sc evenly down side of placemat (working approximately 2 sc in each row and 1 additional sc evenly along the side), work ch 1 in corner, work 80 sc evenly across bottom edge, work ch 1 in corner, work 57 sc evenly up next side (working approximately 2 sc in each row and 1 additional sc evenly along the side), work ch 1 in corner, work 80 sc evenly across top edge, work ch 1 in corner, sl st in first sc to join.
Shell Edging
Round 2:
Ch 1, [work 1 sc in first st, *sk next st, work 3 dc in next st, sk next st, work 1 sc in next st; rep from * across side to corner. Work 3 dc in corner ch-1 sp. Rep from * across long side. Work 3 dc in corner ch-1 sp] twice. Sl st in first sc to join. Fasten off and weave in tails.
Blocking
For a polished finish, lightly steam or wet block your placemat to relax and smooth the stitches.
Helpful Resources
Sign up for our YouTube Membership
Join our Facebook Crochet Community for pattern support and inspiration
Subscribe on YouTube for hundreds of free tutorials
Sign up for our newsletter and receive 40% off your first Ravelry purchase!
Why You’ll Love This Crochet Placemat Pattern
The Honey Weave Placemat is a beautiful way to add handmade texture to your home without taking on a huge crochet project.
It’s quick enough to make in multiples, beginner-friendly once you learn the crossover stitch, and easy to customize with different colors.
Make a coordinating set for your own dining table, crochet a few as hostess or housewarming gifts, or add them to your handmade market inventory.
And because the Honey Weave stitch has already been used in the matching dishcloth and throw blanket, you can even create an entire coordinating collection for your home.
Yes! A complete step-by-step YouTube tutorial is included. Watch the tutorial.
Pattern Support is only available in our Facebook Community group and Video Tutorials.
No additional support is provided for modified patterns, alternate yarns, or changes to gauge.
All patterns, photos, and written content are the property of MJ’s Off The Hook Designs Inc. and protected by copyright law.
Usage
Free patterns are for viewing only on this blog. You may not copy, download, print, screenshot, or redistribute any part of the pattern. Access must remain through this page with ads. The use of tools that remove or hide ads or site content is strictly prohibited.
Legal Notice
Unauthorized reproduction or distribution may result in copyright infringement penalties.
By accessing this post, you agree to these terms and conditions.
This post may contain affiliate links. Purchases made through these links may earn MJ’s Off The Hook Designs Inc. a small commission at no extra cost to you. Content on this site is supported by ads—please do not block or remove them.
Yes! You may sell finished items made from MJ’s patterns, but please credit:
“Pattern by MJ’s Off The Hook Designs Inc.”
Cotton and cotton blend yarns are great choices for crochet placemats because they are durable and easy to care for. I would highly suggest using a machine-washable yarn. The Honey Weave Placemat is made with Herrschners Cottage Cotton, a Worsted Weight #4 yarn made from 60% cotton and 40% acrylic. It creates a soft yet sturdy fabric with beautiful stitch definition.
You’ll need approximately 300 yards of Worsted Weight #4 yarn to make one Honey Weave Placemat. Yardage may vary slightly depending on your tension, yarn choice, and any adjustments you make to the finished size.
Yes. The Honey Weave stitch pattern is worked in multiples of 3 plus 2, making it easy to adjust the width. Add or remove starting chains in multiples of 3, then work additional or fewer rows to adjust the length.
Keep in mind that changing the finished size may require adjusting the stitch counts around the border so that the shell edging works out correctly.
I hope you love our Free Crochet Placemat Pattern. You might also love these crochet patterns:
This pattern is designed by Michelle Moore of MJ’s Off The Hook Designs Inc., based in Lakefield, Ontario, Canada. Your go-to source for modern, easy crochet patterns. Published on August 22, 2026.
Thank you for visiting MJ’s Off The Hook Designs! I hope you enjoyed this pattern and feel inspired to pick up your hook and start creating.
You can find even more crochet patterns in our Ravelry and Etsy shops.
For daily inspiration and behind-the-scenes peeks, join me over on Facebook or Instagram or join our YouTube Membership for exclusive content!
You’ve got questions, we’ve got a community!
Crocheting is better with friends! Join our group to post pictures and ask all your pattern support questions.