*This post may contain affiliate links to support the cost of this blog. At no cost to you, I may make a small commission if you purchase through these links. Read our Privacy Policy HERE

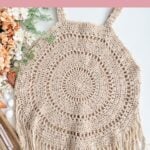

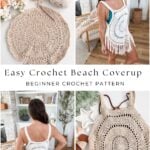
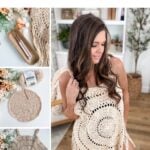
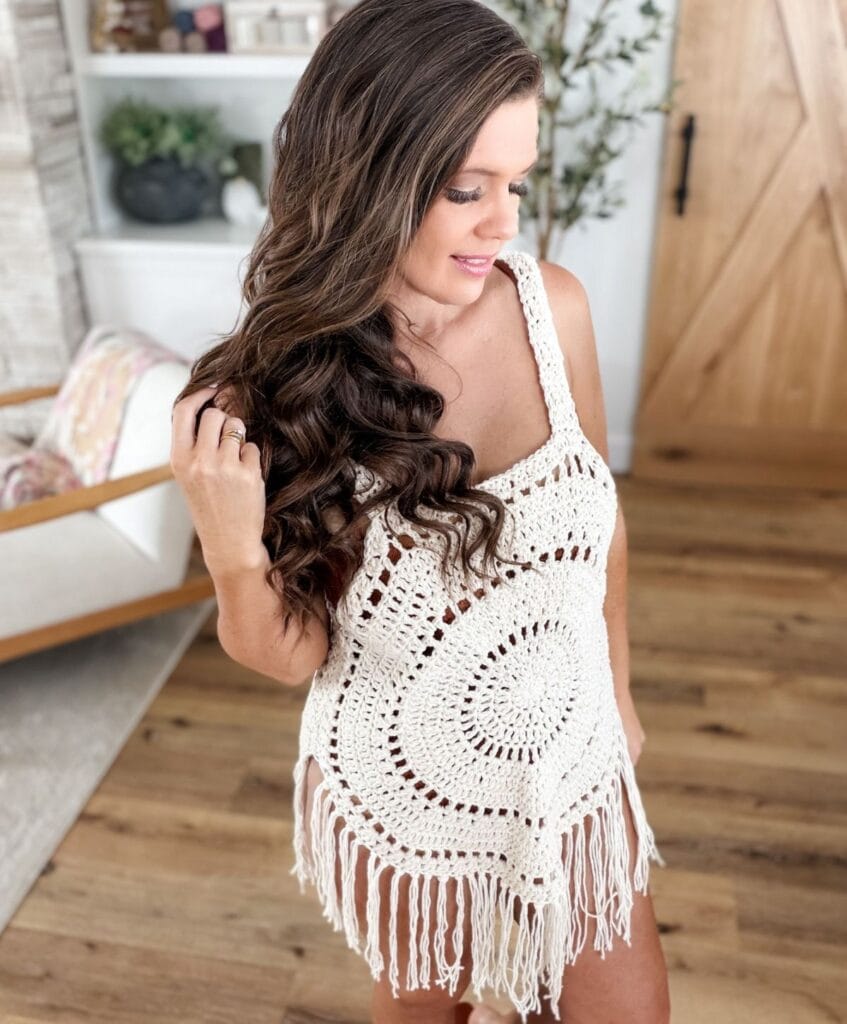
The Solana Circle Cover Up is the easiest beach cover-up you’ll crochet this summer!
There is just something so satisfying about turning two simple crochet circles into a beautiful garment.
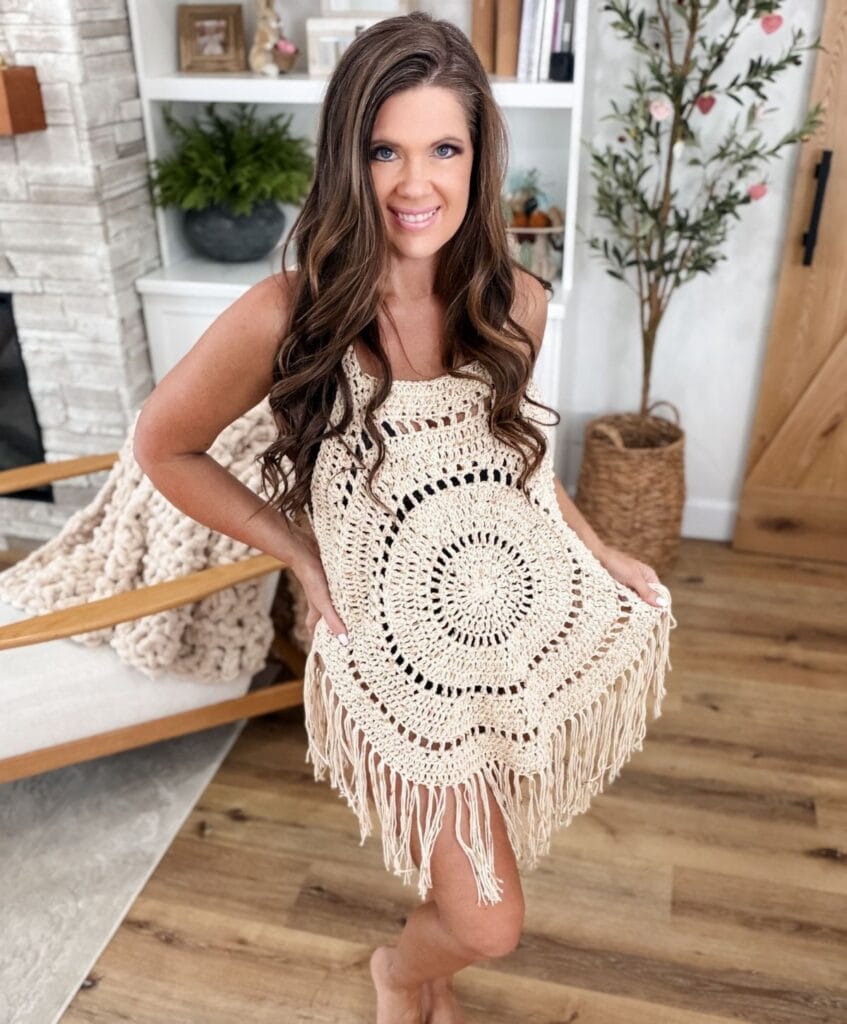
When I started designing the Solana Circle Cover Up, I wanted to create something that felt effortless. A project you could crochet while relaxing outside, take on vacation, and actually wear all summer long.
I also wanted it to be beginner-friendly.

Want less distractions?
Join Off the Hook Crochet Club
Join the Off The Hook Crochet Club and enjoy hundreds of MJ’s crochet patterns ad-free, plus exclusive resources, member perks and new free patterns added every week.
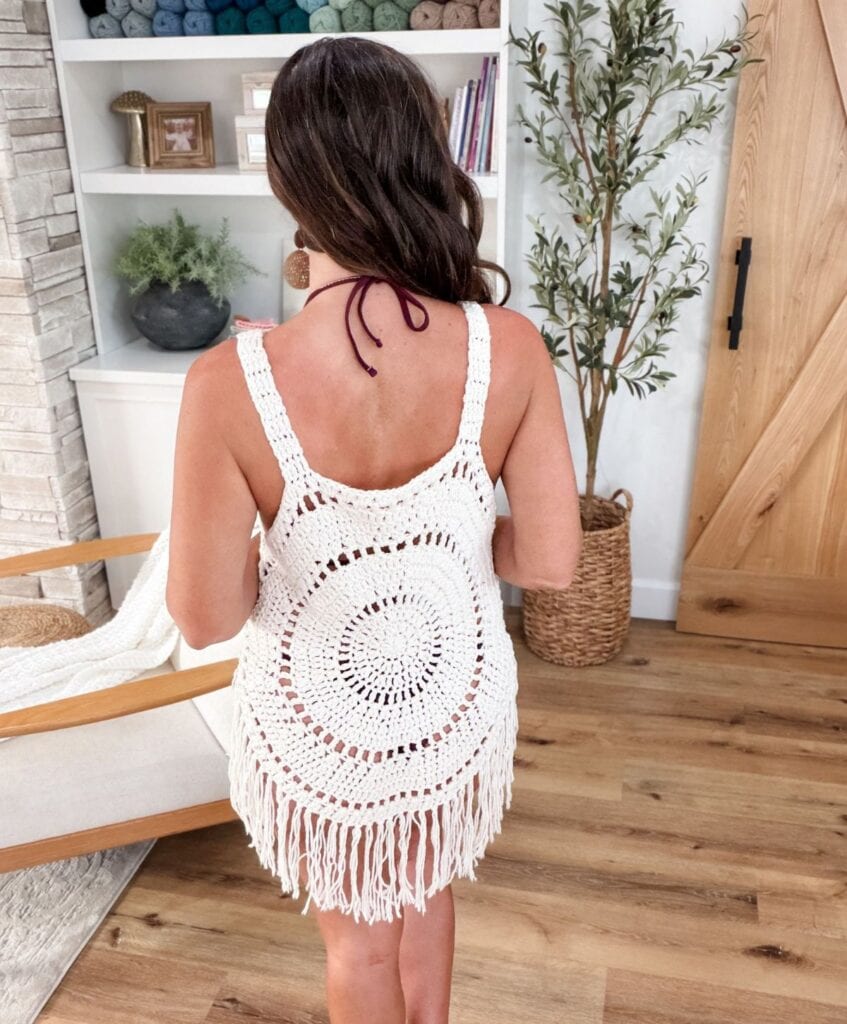
The result is a lightweight crochet beach cover-up pattern that works up surprisingly quickly using basic stitches. Two oversized circular motifs are joined by simple shoulder straps and finished with long bohemian fringe for a relaxed, beachy look.
Whether you’re heading to the beach, relaxing by the pool, packing for vacation, or simply love modern crochet garments, I think you’re going to love making this one.
Project Overview
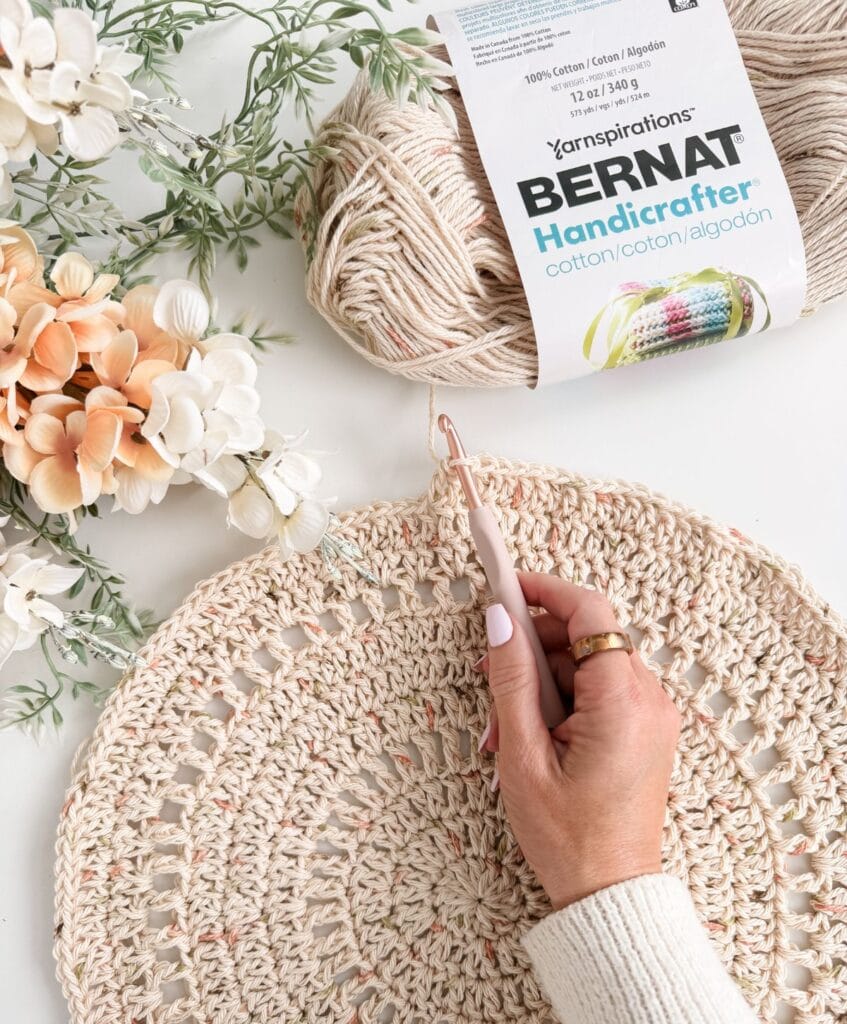
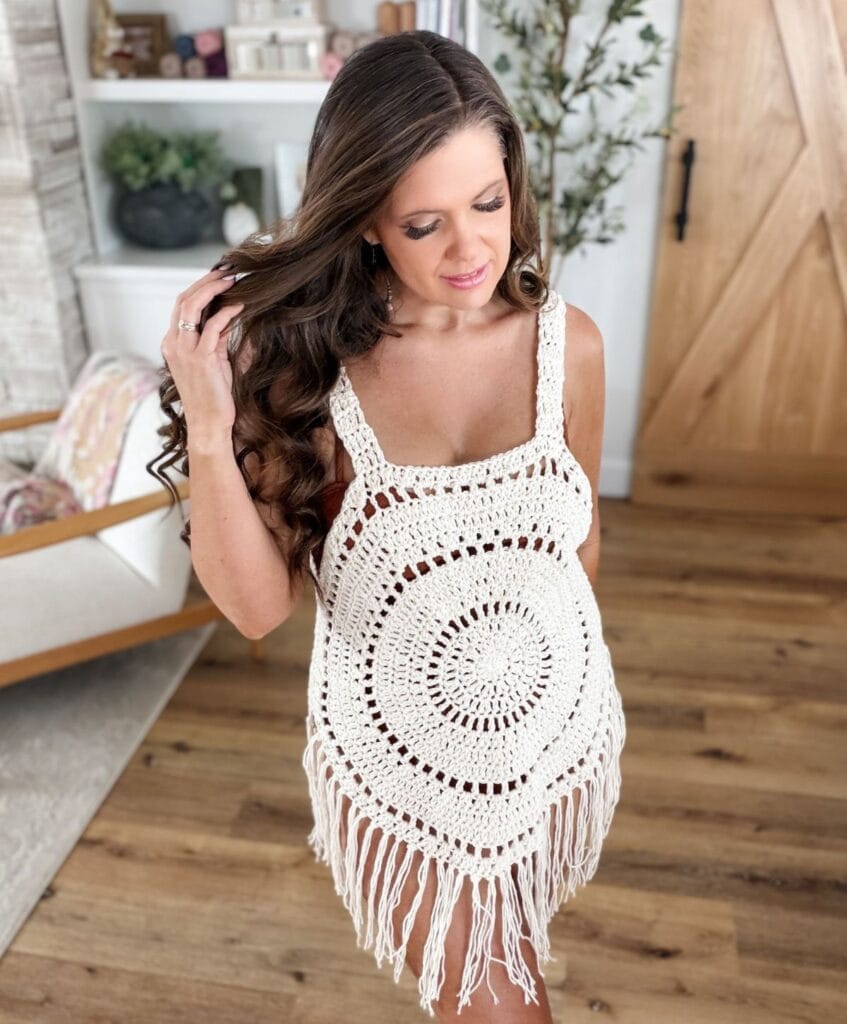
The Solana Circle Cover Up is a lightweight, bohemian-inspired beach cover-up that’s perfect for sunny days by the water. Designed with Bernat Handicrafter Cotton, it has a beautiful drape and playful fringe, making it an effortless piece to throw on over your favourite swimsuit.
With its easy construction and relaxing stitch pattern, this beginner-friendly design is both enjoyable to crochet and stylish to wear. The pattern also includes a complete step-by-step video tutorial to help guide you through the project from start to finish.
Skill level: Beginner
Sizes: XS (S, M, L, XL, 2X, 3X, 4X, 5X )
Finished Fit: Oversized
Yarn Weight: Worsted Weight #4
Yarn: Bernat Handicrafter Cotton
Why You’ll Love the Solana Circle Cover Up
- Beginner-friendly crochet pattern
- Includes sizes XS to 5X
- Step-by-step YouTube video tutorial
- Lightweight cotton fabric perfect for warm weather
- Beautiful oversized boho style
- Made from two simple crochet circles
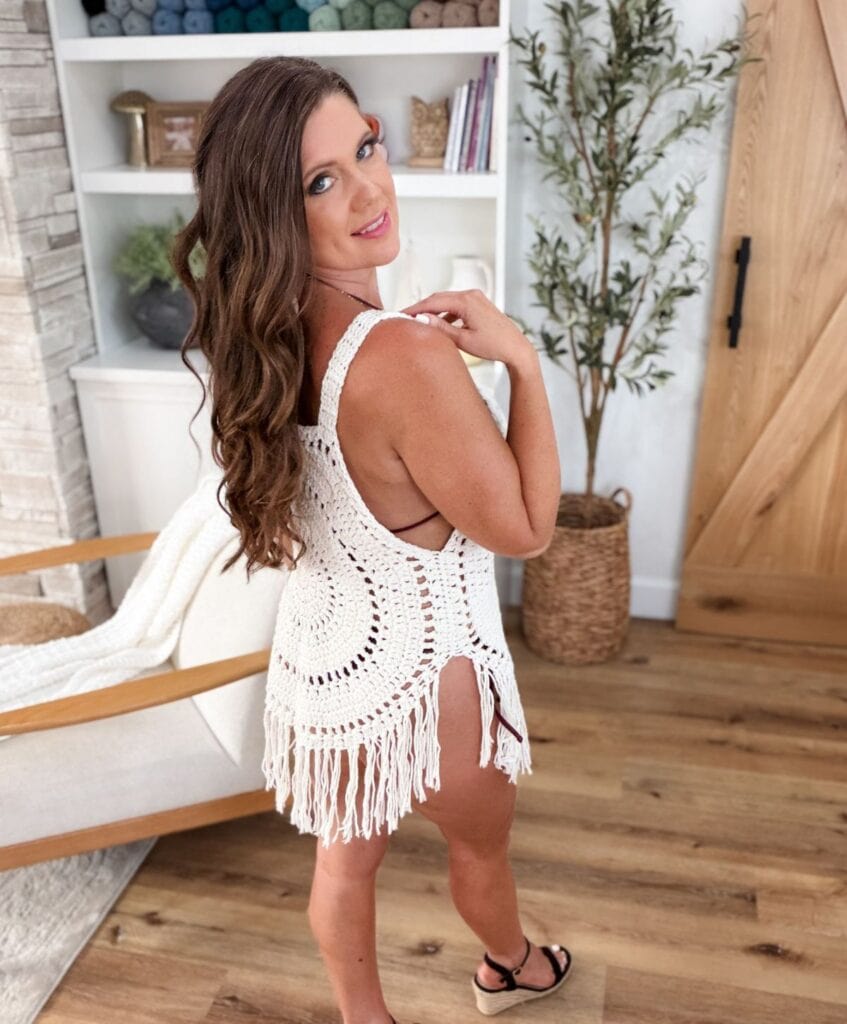
- Easy customization with optional lace-up sides
- Great first crochet garment project
- Uses basic crochet stitches
- Designed using affordable Bernat Handicrafter Cotton
Prefer learning by watching?
I’ve included a complete step-by-step YouTube video tutorial that walks you through every part of the project, making this a fantastic first crochet garment.
Whether you’re new to garment making or simply enjoy visual instructions, I’ll guide you through the entire cover-up, from the magic ring to adding the fringe.
Video Tutorial

Salt + Sol Collection
The Solana Circle Cover Up is one of nine coordinating designs in my Salt + Sol Collection.
This collection was inspired by everything I love about summer:
- beach days
- lightweight cotton yarn
- effortless layering
- relaxed silhouettes
- timeless crochet textures
If you love creating a handmade summer wardrobe, be sure to check out the rest of the collection, including:
- Solstice Vest
- Solea Cardigan
- Solara Sun Hat
- Selene Top
- Solana Circle Cover Up
- Sienna Shell Stitch Poncho
- Salt + Sand Beach Bag
- Saltwater Beach Dress
- Serena Top
Each design mixes beautifully together to create an entire handmade summer wardrobe.
Yarn
Bernat Handicrafter Cotton (CDN)
Worsted Weight #4, 100% Cotton
84 yds/50 g ball or 674 yds/400 g
Sizes and Yarn Requirments
XS/S
Upper Bust: 31 to 34″
Motif Diameter: 15″
Side Panel Rows: N/A
Approx. Yarn: 200 g / 337 yds
M/L/XL
Upper Bust: 35 to 42″
Motif Diameter: 18″
Side Panel Rows: N/A
Approx. Yarn: 285 g / 481 yds
2X
Upper Bust: 43 to 45″
Motif Diameter: 21″
Side Panel Rows: N/A
Approx. Yarn: 350 g / 590 yds
3X
Upper Bust: 46 to 48″
Motif Diameter: 21″
Side Panel Rows: 3 rows per side
Approx. Yarn: 362 g / 610 yds
4X
Upper Bust: 49 to 52″
Motif Diameter: 21″
Side Panel Rows: 6 rows per side
Approx. Yarn: 374 g / 631 yds
5X
Upper Bust: 53 to 56″
Motif Diameter: 21″
Side Panel Rows: 9 rows per side
Approx. Yarn: 386 g / 651 yds
Hooks
or the size needed to obtain the gauge
Supplies
Gauge
The circular motif serves as your gauge swatch, so you can begin the project right away.
Using a 6 mm (J/10) crochet hook and Bernat Handicrafter Cotton, work the motif through Round 5.
After completing Round 5, the motif should measure approximately 7 to 7¼ inches (18 to 18.5 cm) in diameter.
Continue measuring the motif as you work to ensure you are on track for your selected size.
Finished Motif Diameters
- Round 11 (XS to S): Approximately 15 inches (38 cm)
- Round 13 (M to XL): Approximately 18 inches (46 cm)
- Round 15 (2X to 5X): Approximately 21 inches (53 cm)
If your motif measures smaller than the stated diameter, try a larger hook. If it measures larger, try a smaller hook.
Round 5 = approximately 7 to 7¼ inches in diameter.
Finished motif measures approximately:
- Round 11 = 15 inches
- Round 13 = 18 inches
- Round 15 = 21 inches
Construction
The Solana Circle Cover Up is made by crocheting two identical circles from the centre outward. Once complete, the circles are seamed together along the sides to create the body of the cover-up.
Shoulder straps are then added to join the front and back, followed by a fringe border along the lower edge for a relaxed bohemian finish. The pattern uses basic crochet stitches throughout, making it an enjoyable project for beginners and experienced crocheters alike.
Abbrevations
Ch – Chain
Dc – Double Crochet
Rep – Repeat
RS – Right Side
Rev – Reverse
Sk – Skip
Sl st – Slip Stitch
Sp(s) – Space(s)
St(s) – Stitch(es)
( ) – Work instructions in parentheses in the indicated stitch.
Reverse Slip Stitch (Rev sl st): Insert the hook through the first dc of the round from back to front, keeping the working yarn in front of your work. Yarn under and pull the loop through the stitch and the loop on your hook to complete the join. This creates a nearly invisible seam.
Project Tips
- Watching the video tutorial is recommended, especially if this is your first time working a circular motif.
- Use stitch markers to help identify the shoulder straps and side seam placement before assembly.
- Try on the cover up before weaving in the shoulder strap tails. Add or remove rows from the straps if needed for a more comfortable fit.
- If making the optional side panels, complete both panels on one motif before beginning assembly.
- Steam or wet block the finished cover up to help smooth the motifs and fringe for the best finished appearance.
- Cut the fringe in small batches as you work to keep the strands organized and allow for adjustments before cutting the remaining fringe.
Yarn Substitutes
Recommended Yarn
This cover-up was designed using Bernat Handicrafter Cotton.
84 yds/50 g = 1.68 yds per gram
When substituting yarn, look for a worsted-weight cotton with a similar yards-per-gram ratio to achieve comparable results.
Suggested Substitutions
Dishie Yarn: 190 yds/100 g = 1.9 yds per gram
Lion Brand 24/7 Cotton (CDN): 186 yds/100 g = 1.86 yds per gram
Village Yarn Craft Cotton: 115 yds/71 g = 1.62 yds per gram
Digital Download + No Ads!
Upgrade to the Digital PDF Download
The printable PDF includes the complete pattern in one beautiful, easy-to-follow download.
Digital pattern only. No physical item will be shipped.
To unlock Exclusive Content on my Blog, all you need to do is click the box below and the Grow.me app will pop up, allowing you to enter your email and create a password. Once you’ve created an account, every time you see Exclusive Content on my blog, simply login to your Grow account. Be sure to switch to the login screen to enter your login credentials.
If you forget your password, click the “forgot password” link and follow the prompts. Please note that I’m unable to assist with resetting Grow passwords or accessing your Grow account, so be sure to save your login information in a safe place.
To make things even easier, I’ve created a video for both desktop and mobile users that offer additional assistance. You can access this video by visiting my FAQs page HERE or by watching the video below.
Thank you for subscribing and for joining me on my crochet journey. I hope you enjoy the exclusive content available to our subscribers and create beautiful crochet projects using the resources you discover.

Pattern
Pattern Notes
- The cover-up is made from two identical circular motifs.
- Sizes are created by working each motif to a different number of rounds. Follow the instructions for each round until you reach the final round for your size, then proceed to straps.
Sizes:
- XS to S: Work through Round 11.
- M to XL: Work through Round 13.
- 2X to 5X: Work through Round 15.
- Repeat to make a second identical motif.
Would you like to save this?
You can unsubscribe at any time.
Motif – Make 2
Round 1:
Magic Ring, ch 2 (not included as a st here and throughout), work 12 dc in the ring, pull ring tight, rev sl st in the first dc to join—12 sts.
Round 2:
Ch 2, work 2 dc in each st around, rev sl st in the first dc to join—24 sts.
Round 3:
Ch 2, work 1 dc in first st, 2 dc in next st, * 1 dc in next st, 2 dc in next st; rep from * around, rev sl st in the first dc to join—36 sts.
Round 4:
Ch 4 (counts as 1 dc and ch 1), * work 1 dc, ch 1 in next st; rep from * around, sl st in the third ch of ch-4 to join—36 sts and 36 ch-1 sps.
Round 5:
Ch 2, work 2 dc in each ch-1 sp around, rev sl st in the first dc to join—72 sts. The diameter should measure approx 7.25″.
Optional Side Panels (3X to 5X)
For additional width, work a side panel on each side of one motif before assembly.
First Side Panel
With RS facing, join yarn in the stitch immediately following the stitch marker.
Row 1:
Ch 1, dc in each of the next 20 sts, turn—20 sts.
Rows 2 to 6 (3X), Rows 2 to 9 (4X), Rows 2 to 12 (5X):
Ch 1, dc in each st across, turn.
Fasten off, leaving a long tail for seaming.
Second Side Panel
With RS facing, join yarn in the stitch 20 sts below the remaining stitch marker.
Row 1:
Ch 1, dc in each of the next 20 sts, ending in the stitch immediately before the stitch marker, turn—20 sts.
Rows 2 to 6 (3X), Rows 2 to 9 (4X), Rows 2 to 12 (5X):
Ch 1, dc in each st across, turn.
Fasten off, leaving a long tail for seaming.
Design Option: For a more open, bohemian look, skip the optional side panels and lace the sides together instead. Use a strand of yarn, a long chain or a crocheted i-cord to weave through the side stitches of both motifs, similar to lacing a shoe. This creates an adjustable side opening while still securing the front and back together.
Side Seams
With RS facing together, align the front and back motifs.
Sew each side seam together using the long tails and your preferred seaming method.
- XS to S: Sew 16 sts.
- M to 2X: Sew 20 sts.
- 3X to 5X: Sew each side panel to the corresponding 20 sts on the opposite motif.
Fringe
Pattern Tip: Cut the fringe in small batches as you work rather than all at once. This keeps the strands organized and allows you to adjust the finished length before cutting the remaining fringe.
Cut strands of yarn measuring 16 inches each.
Beginning in the first unseamed stitch along the lower edge of the motif, attach 2 strands of fringe in every other stitch across the bottom edge.
To attach the fringe, fold 2 strands in half. Insert your crochet hook through the indicated stitch from front to back. Place the folded loop over the hook and pull it through the stitch, forming a loop. Pull the loose ends of the fringe through the loop and tighten gently to secure. Repeat across the lower edge of the first motif, then repeat for the second motif.
Number of strands required:
- XS: Cut 128 strands.
- S to XL: Cut 164 strands.
- 2X to 5X: Cut 184 strands.
Finishing & Care
- Weave in all ends securely before wearing your cover up.
- Lightly steam or wet block the motifs to smooth the stitches and enhance the drape of the finished cover up.
- After attaching the fringe, gently steam the strands and comb through them with your fingers to help them hang evenly. Trim the fringe as needed after steaming.
- Hand wash or machine wash on a gentle cycle in cool water using a mild detergent.
- Lay flat to dry, reshaping the cover up while damp. Do not tumble dry.
- After washing, lightly steam the fringe and reshape the motifs as needed to restore their finished appearance.
- Storage Tip
- Fold your cover up for storage rather than hanging it, as cotton can naturally stretch over time. Before wearing again, lightly steam the fringe and reshape the motifs if needed to refresh the finished look.
Good to Know
Cotton yarn naturally softens and relaxes with wear and after the first wash, giving your cover up an even softer drape. This is a normal characteristic of cotton and helps create the relaxed, bohemian look of the finished garment.
Helpful Resources
Sign up for our YouTube Membership
Join our Facebook Crochet Community for pattern support and inspiration
Subscribe on YouTube for hundreds of free tutorials
Sign up for our newsletter and receive 40% off your first Ravelry purchase!
Yes! A complete step-by-step YouTube tutorial is included. Watch the tutorial.
Yes! The Solana Circle Cover Up uses basic crochet stitches and simple construction, making it an excellent first crochet garment.
You’ll use basic stitches including chain stitches, double crochet, slip stitches, and a reverse slip stitch for a clean invisible join.
Pattern Support is only available in our Facebook Community group and Video Tutorials.
No additional support is provided for modified patterns, alternate yarns, or changes to gauge.
All patterns, photos, and written content are the property of MJ’s Off The Hook Designs Inc. and protected by copyright law.
Usage
Free patterns are for viewing only on this blog. You may not copy, download, print, screenshot, or redistribute any part of the pattern. Access must remain through this page with ads. The use of tools that remove or hide ads or site content is strictly prohibited.
Legal Notice
Unauthorized reproduction or distribution may result in copyright infringement penalties.
By accessing this post, you agree to these terms and conditions.
This post may contain affiliate links. Purchases made through these links may earn MJ’s Off The Hook Designs Inc. a small commission at no extra cost to you. Content on this site is supported by ads—please do not block or remove them.
Yes! You may sell finished items made from MJ’s patterns, but please credit:
“Pattern by MJ’s Off The Hook Designs Inc.”
I hope you love our Free Crochet Coverup Pattern. You might also love these crochet patterns:
This pattern is designed by Michelle Moore of MJ’s Off The Hook Designs Inc., based in Lakefield, Ontario, Canada. Your go-to source for modern, easy crochet patterns. Published on August 7, 2026.
Thank you for visiting MJ’s Off The Hook Designs! I hope you enjoyed this pattern and feel inspired to pick up your hook and start creating.
You can find even more crochet patterns in our Ravelry and Etsy shops.
For daily inspiration and behind-the-scenes peeks, join me over on Facebook or Instagram or join our YouTube Membership for exclusive content!
You’ve got questions, we’ve got a community!
Crocheting is better with friends! Join our group to post pictures and ask all your pattern support questions.